15 Safety Tips for Solo Female Hikers on Remote Trails
Maya Lin
Maya Lin is a travel journalist and outdoor enthusiast who believes the best trips combine rugged adventures with urban comforts. After spending six years backpacking across four continents, she founded Trail & Town Guide to help fellow travelers navigate both hidden mountain passes and bustling city neighborhoods with confidence.
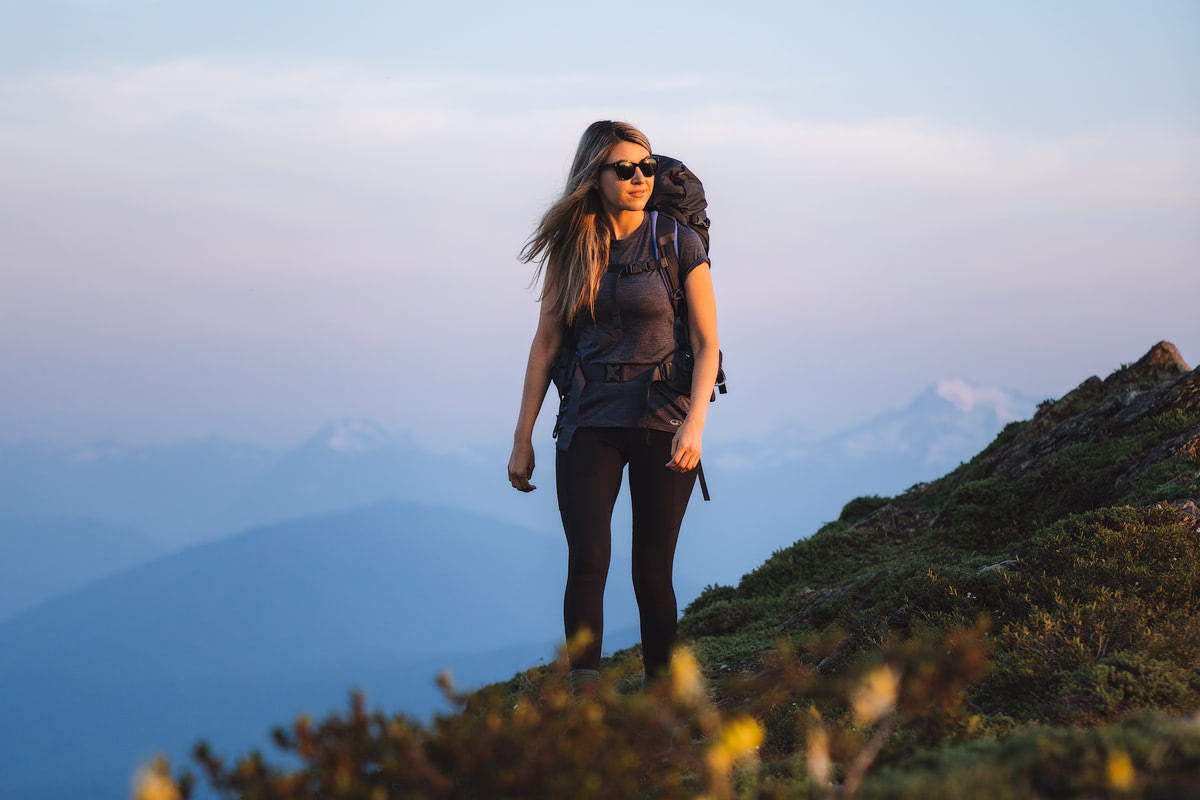
Solo hiking can be one of the most grounding, confidence-building things you do, especially on a quiet trail where the only soundtrack is wind in the pines and your own steady breathing. It can also feel intimidating, and not because you are less capable. Remote trails have fewer variables you can control: spotty service, shifting weather, and long stretches without other people.
These tips are the ones I rely on when I head out alone. They are not about hiking in fear. They are about stacking the odds in your favor so you can move through wild places with calm, capable presence.
Before you leave: plan like a pro
1) Share a real trip plan
Texting “going hiking” is not a plan. Send a quick itinerary with specifics, and make it easy for someone to act if you do not check in.
- Trailhead name and GPS pin (not just the park name)
- Route plan: out-and-back, loop, or point-to-point
- Estimated start time and hard turnaround time
- Where you will park (lot name or roadside mile marker)
- When you will check in and with whom
- What to do if you miss a check-in (who to call first, and which emergency number to use for that area)
If you want a simple system: one person gets the full plan, one person gets your “if you do not hear from me by X, call Y” instructions. In many places, the right escalation is calling 911 (or the local emergency number) so they can route you to the correct agency. If you are in a national park or managed forest, look up the park dispatch or ranger station number ahead of time and include it in your plan.
2) Check conditions in three places
For remote routes, I like the “three source rule”:
- Weather: a mountain forecast plus hourly outlook (storms, wind, heat)
- Official alerts: park or forest service updates for closures, fire, or trail damage
- Recent trail reports: local hiking groups or recent reviews for blowdowns, washouts, snowfields, water crossings, or a bridge being out
If you want a quick example: an NWS point forecast (or a mountain-specific forecast), the land manager’s alerts page, and a trail report from a local group or recent reviews. Remote trails can change fast. One small detail can be the difference between a pleasant day and an exhausting reroute.
3) Pick a route that matches you
A remote solo hike is not the day to “see what happens.” Choose a trail with clear navigation, reasonable bailout points, and a terrain profile you have handled before. You can always build up: shorter remote routes first, then longer and more committing ones.
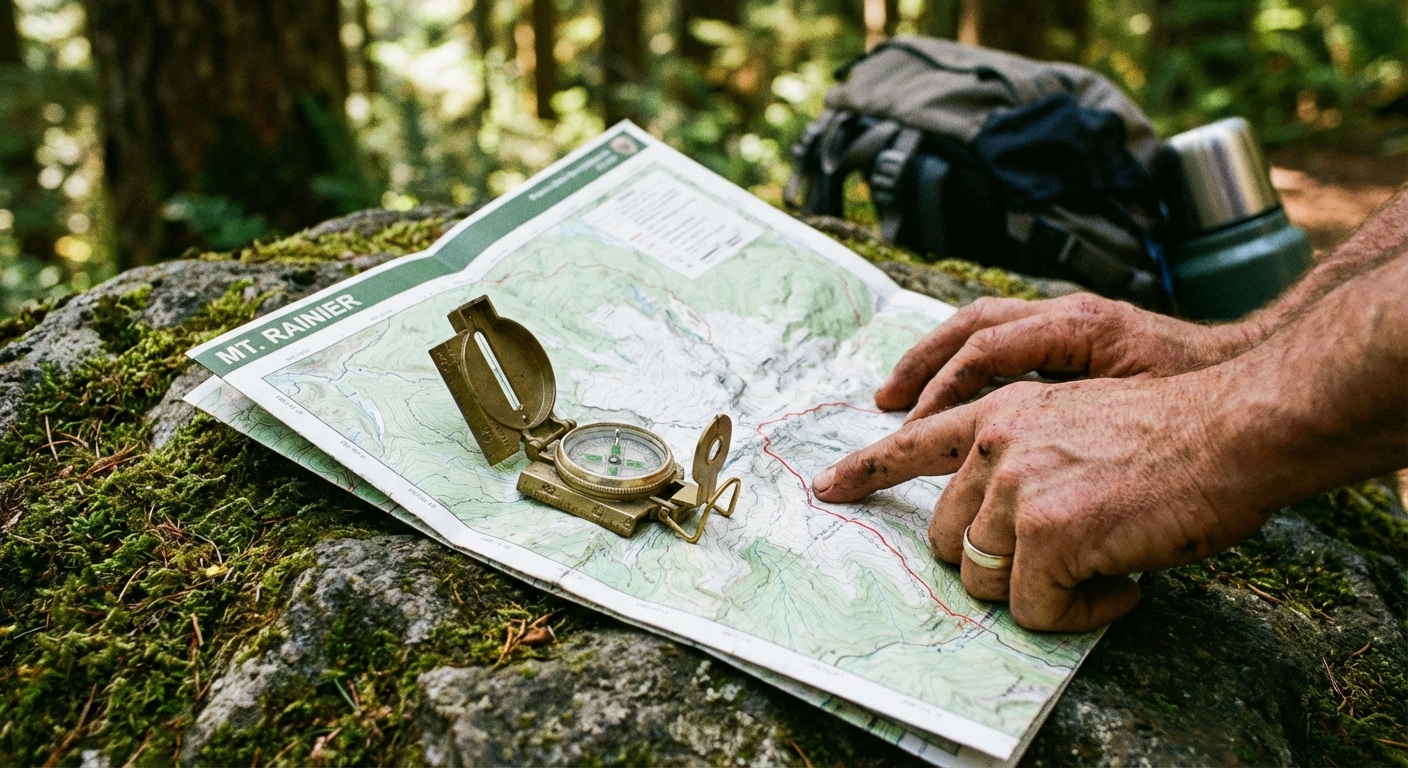
4) Download offline maps
Bring at least two navigation methods:
- Offline map app (download the region and base map tiles at home on Wi-Fi)
- Paper map (or printed route overview) plus a compass
Know how to identify your location using landmarks, contour lines, and trail junctions. Practice on an easy hike so you are not learning under stress.
Communication and tech
5) Carry a satellite messenger
If you will be out of cell range for hours, a satellite messenger is one of the best safety upgrades you can make. It lets you share your location, send check-in messages, and trigger SOS if something goes wrong.
- Test it before you go
- Keep it accessible, not buried at the bottom of your pack
- Know the difference between SOS and non-emergency messaging
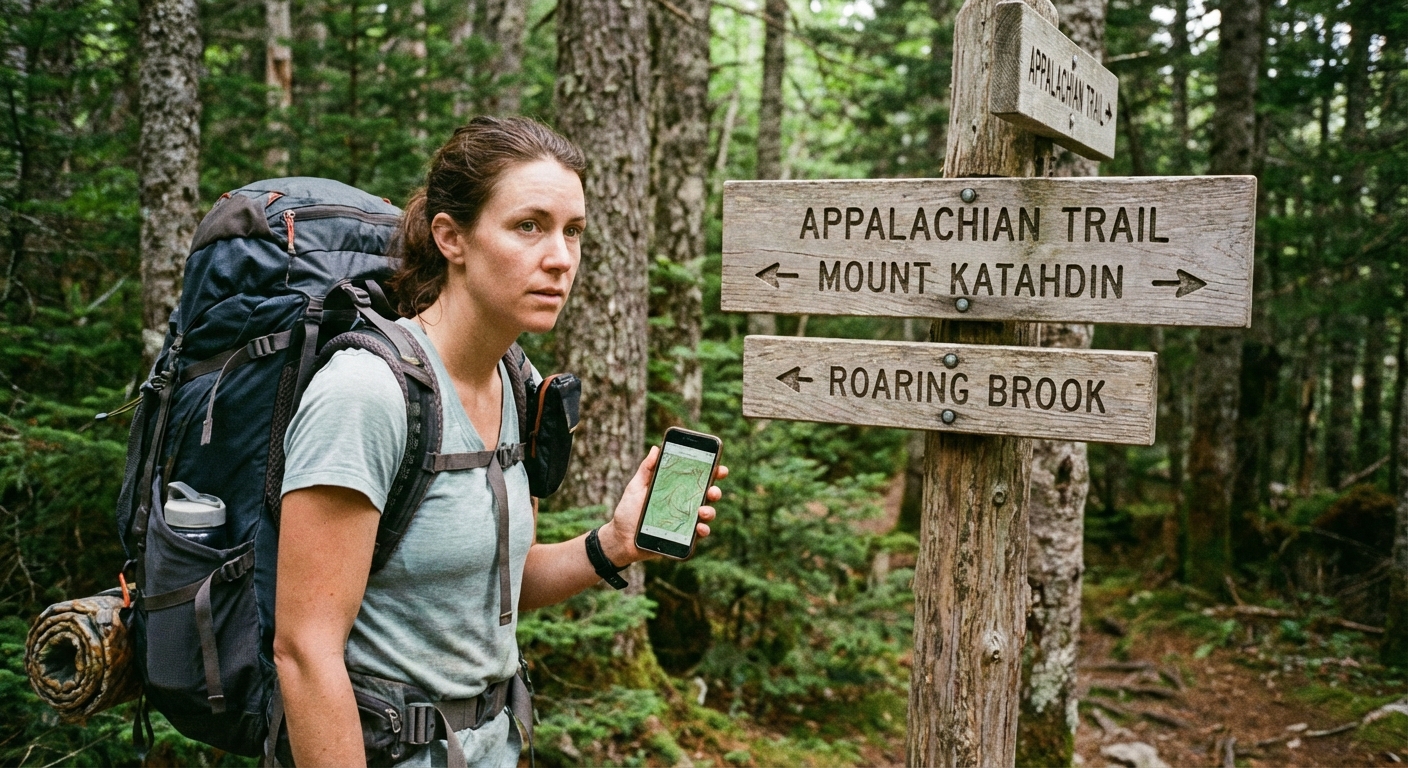
6) Save phone battery early
Battery disappears faster in cold, direct sun and overheating conditions, and constant GPS use. Start conserving at the trailhead, not when your phone hits 12%.
- Airplane mode if you have no service
- Screen brightness down
- Close background apps
- Bring a small power bank and a short cable
- In cold weather, keep your phone and power bank warm (inside a pocket, not strapped to the outside of your pack)
7) Use simple check-in triggers
Instead of messaging all day, set clear check-in points: “At trailhead,” “At summit,” “Back at car.” It reduces phone use and gives your contact meaningful milestones.
Awareness without paranoia
8) Trust the off feeling
This is the most important tip in the whole list. If something feels wrong, you do not need evidence to justify leaving. Turn around, change your plan, or wait near a busier area. Your intuition is data, especially when you are alone and far from help.
9) Keep headphones off
Remote trails require more listening: bikes coming fast, branches cracking, river crossings roaring louder than you think, or wildlife moving nearby. If you love music, use one earbud and keep the volume low.
10) Be deliberate at trailheads
Most awkward encounters happen where people linger: parking lots, trail registries, and confusing intersections.
- Have your gear organized so you are not rummaging with your back turned
- Look around before you unlock your car or change layers
- At junctions, step off-trail a bit to check your map without blocking the path
When you look prepared, you move differently. That alone prevents a lot of trouble.
Navigation habits
11) Use a hard turnaround time
Pick a time you will turn around no matter what. This matters even more in shoulder seasons when daylight drops fast, or in summer when afternoon storms build.
A useful rule: if you are not at the halfway point by your turnaround time, the summit is not the goal today. Getting back safely is.
12) Reconfirm direction after breaks
It sounds basic, but it is one of the most common ways hikers get turned around. Before you start walking again, ask: “Which way is the trailhead?” Then double-check your map. This is especially important after snack breaks near junctions or when trails braid through meadows.
13) Mark key waypoints
On remote routes, I drop pins for:
- Trailhead and parking spot
- Key junctions
- River crossings
- Where I left the main trail for a viewpoint or side path
This is not about relying on tech. It is about having a breadcrumb backup if visibility drops or the tread gets faint.
Wildlife and weather
14) Know the top two risks
Every region has its “usual suspects.” In the Rockies it might be lightning and bears. In the desert it might be heat illness and navigation. On coastal trails it might be tides and slick rock.
Before you go, identify the top two hazards and make a mini plan for each: what prevents it, and what you do if it happens.
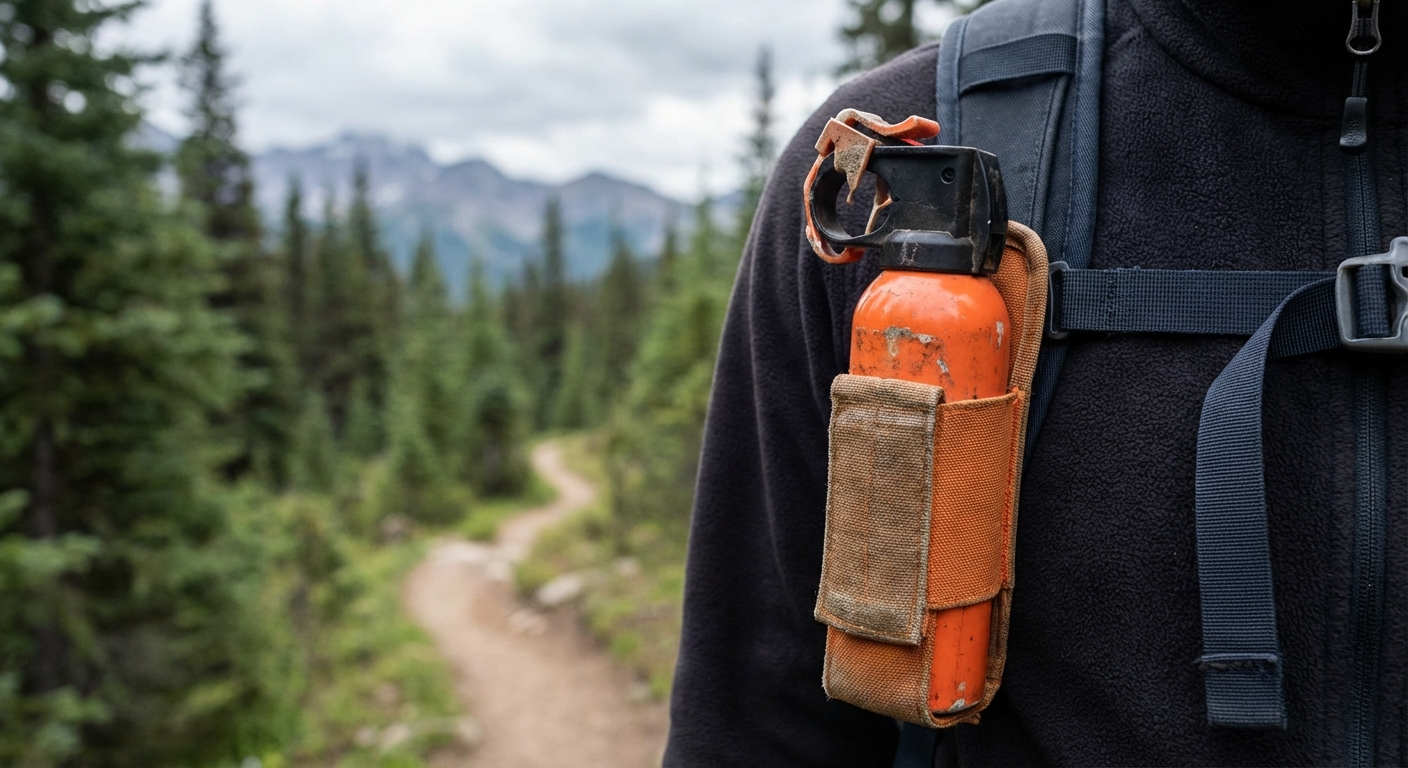
15) Store food right
Most wildlife encounters are avoidable with a few habits:
- Make noise in low visibility areas (dense brush, loud creeks, blind corners)
- Give animals space and never approach for photos
- Store food correctly based on local rules (canister, locker, or an approved hang method where permitted)
- Do not leave snacks in side pockets where they are easy to forget
If you hike in bear country, learn the local guidance for bear spray: how to carry it (accessible), when to deploy it, and the wind considerations. Practice drawing it with the safety on at home so the motion is familiar.
Quick solo safety checklist
If you want the simplest possible pre-trail ritual, run this list while you are still at your car:
- Trip plan sent and check-in times set
- Offline maps downloaded and open (including base map tiles)
- Satellite messenger on and accessible (if needed)
- Water plan: enough for the route, plus a way to treat more if reliable sources exist
- Layers for wind and rain, even if the sky is blue
- Headlamp (always)
- Emergency basics: whistle, small fire starter, and an emergency shelter (space blanket or bivy)
- First aid basics and blister care
- Food beyond “just enough”
- Bear spray or other region-appropriate safety gear where you can reach it
- Hard turnaround time decided
If you get hurt
If you cannot safely walk out, shift from “keep moving” to “get stable.” Get out of wind and wet conditions, add layers, and use your emergency shelter. Make yourself easy to find and conserve battery. If you have a satellite messenger, use SOS for life-threatening or cannot-self-rescue situations, and use non-emergency messaging if you simply need assistance and conditions are stable.
A note on confidence
This article is written with solo female hikers in mind, because the mental load can be real. You do not have to minimize that, but you also do not have to let it take the joy out of the experience. The goal is steady, practiced competence: good planning, clear boundaries, and the ability to change your plan without apologizing.
The wilderness is not a place you have to earn access to. It is a place you belong, one well-prepared step at a time.
Safety disclaimer
This article shares general safety information for outdoor travel. Conditions vary by location, season, and your experience level. Always follow local regulations, check official advisories, and make decisions appropriate for your skills and the day’s conditions.