7 Trip Planning Mistakes When You Mix Backcountry and City
Maya Lin
Maya Lin is a travel journalist and outdoor enthusiast who believes the best trips combine rugged adventures with urban comforts. After spending six years backpacking across four continents, she founded Trail & Town Guide to help fellow travelers navigate both hidden mountain passes and bustling city neighborhoods with confidence.
I love a trip that starts with pine needles underfoot and ends with a perfect espresso in a neighborhood cafe. The problem is that backcountry travel and city travel are built on totally different assumptions. In the mountains, you plan around weather windows, daylight, water sources, and bailout options. In cities, you plan around check-in times, transit schedules, reservations, and the fact that your hotel lobby might judge you if you stroll in dripping wet at 11 p.m. (or at least it will feel that way).
If you have ever tried to glue these two worlds together and ended up with a tangled mess of wet gear, missed trains, and one very sad pair of feet, this one is for you. Here are seven common trip planning mistakes I see (and have personally made), plus the fixes that keep your itinerary feeling intentional instead of chaotic.

1) Treating the transfer day like a free day
The classic mistake: you hike out in the morning, then confidently schedule a few hours at a museum, a dinner reservation, and maybe even a rooftop bar. On paper, the trail-to-town transition looks simple. In real life, it is a chain of small frictions.
- Trailhead shuttles that run twice a day, not every 20 minutes.
- No cell service when you need to confirm pickup.
- Trying to hitchhike a ride that you think will take two hours, then it turns into four.
- A bus that is full or delayed, plus a station on the opposite side of the city.
- Arriving exhausted, hungry, and very ready to sit down.
Do this instead
- Plan a buffer transfer day and give it one main goal only: get to town, shower, eat, sleep.
- Book flexible city plans for that night: casual food hall, walkable neighborhood dinner, no timed tickets.
- Set your personal “hard stop” time: if you are not checked in by 6 p.m., you cancel anything with a clock attached.
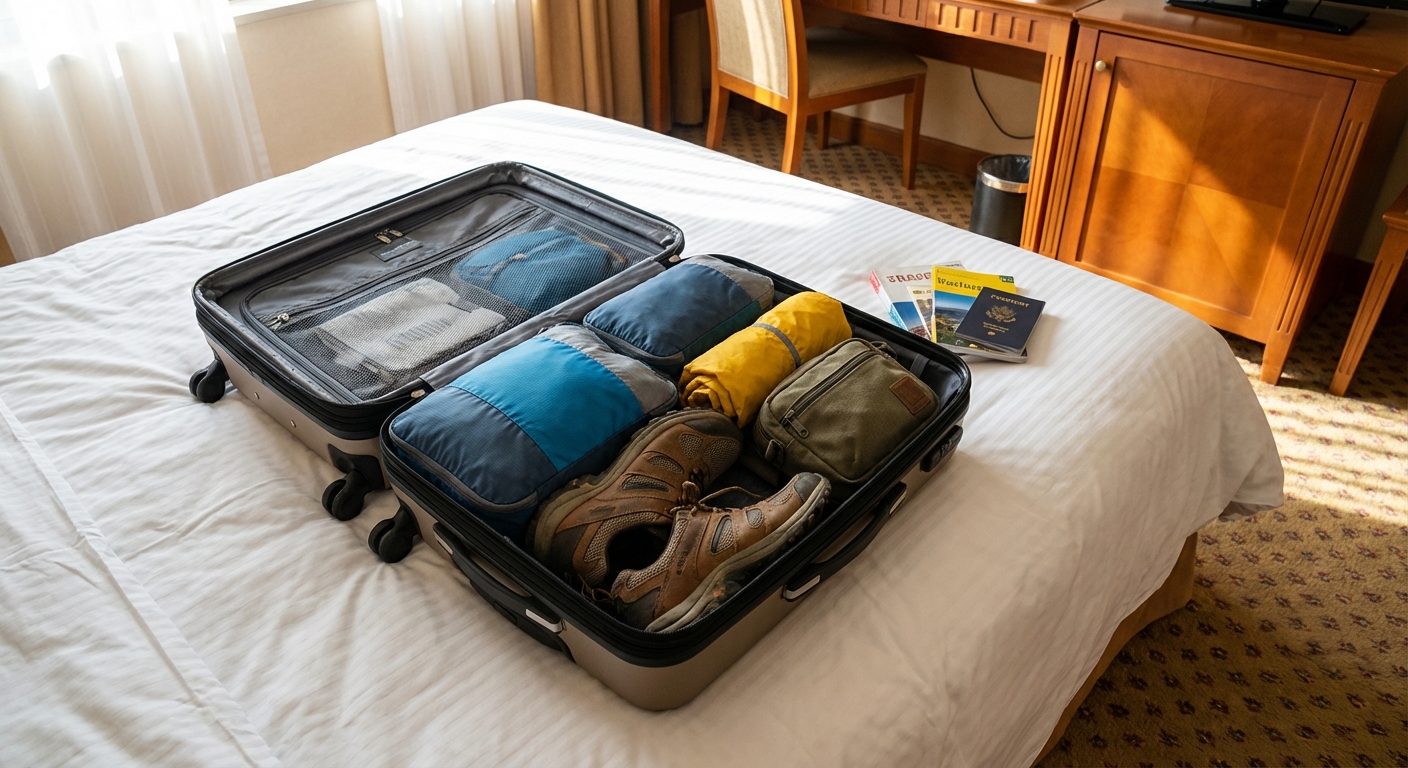
2) Packing for two trips and carrying everything anyway
When you mix backcountry and city time, it is tempting to overpack “just in case.” The result is usually one of these:
- A pack that is too heavy for the trail.
- A city bag that is a pain to lug on transit.
- Too many outfits, not enough layers that actually work.
My rule is carry-on only whenever possible, and the key is not minimalism for its own sake. It is choosing items that bridge both environments. Caveat: longer treks and colder seasons can force more volume, and food can be the real space hog. When that is the case, I try to keep the “city” part compact and plan to do laundry in town.
Do this instead
- Pick a “crossover capsule”: one pair of pants that can hike and do dinner (nylon travel pants or dark softshell), one base layer that looks good under a jacket, one insulating layer that does not scream campsite.
- Separate by function, not by setting: warmth, rain, sun, sleep, movement, and one clean set for town.
- Use a packable tote or sling for cities so your hiking pack can stay at the hotel.
- Make a plan for your city gear while you are on trail: if you are carrying a laptop, nicer clothes, or extra toiletries, consider storing a small “city bag” in a train station locker, using a luggage storage network, or asking a basecamp hotel to hold it while you trek. (Many places will store luggage before and after stays, but always confirm.)
- Remember the fuel reality check: stove fuel cannot fly, and some buses and trains can be picky about fuel canisters and sharp items. Plan to buy fuel locally near the trail, and keep anything questionable out of your carry-on.
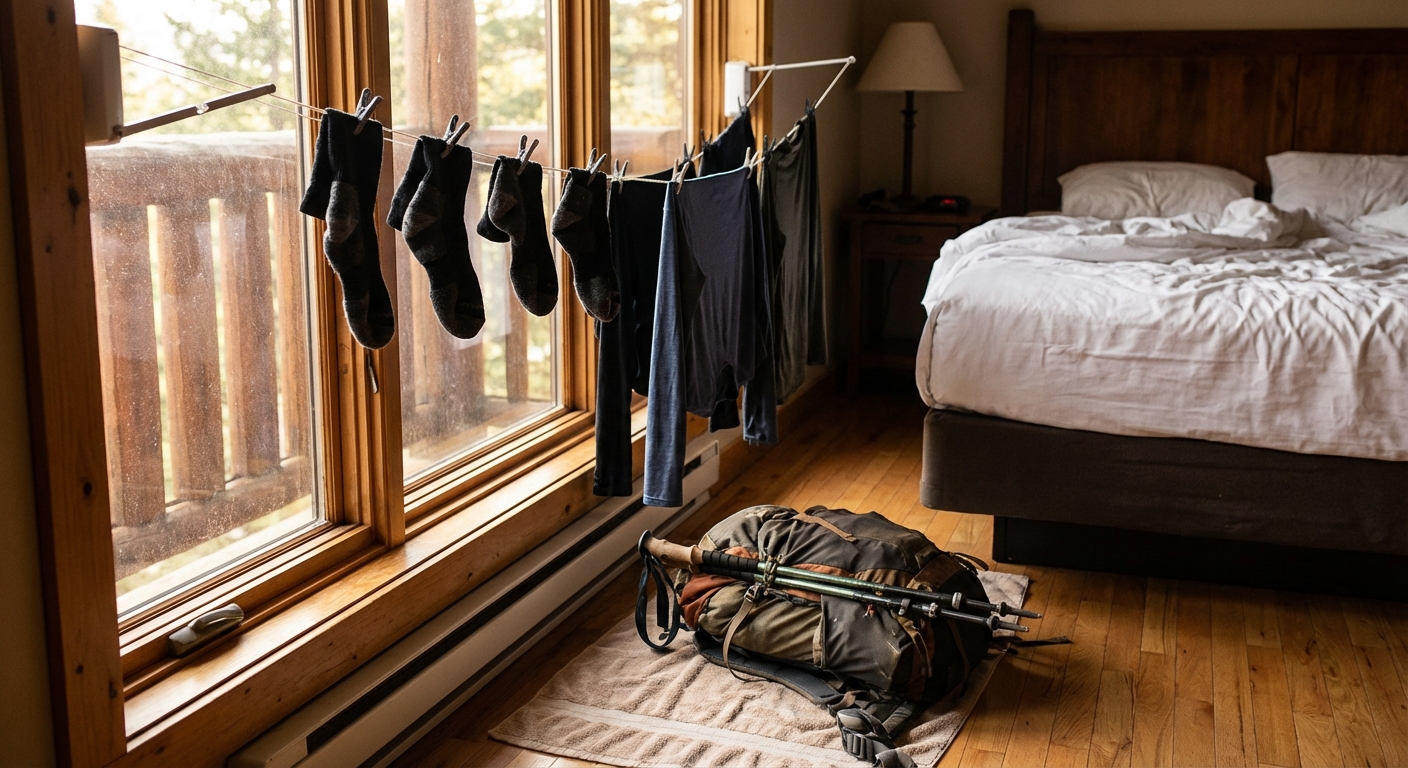
3) Not planning for wet and dirty gear in the city
Nothing humbles you like showing up to a boutique hotel with a muddy pack, wet boots, and the smell of three days of camp stove meals. Even if the front desk is lovely, your gear still needs a plan. City accommodations often do not have the space, tolerance, or airflow that a campsite does.
Do this instead
- Book one “gear-friendly” night after your hike: places with an on-site laundry room, a balcony or patio, a utility sink, a mud room or entry area, a heated towel rack, or even a simple guesthouse that is used to hikers.
- Pack a lightweight dry bag or trash compactor bag to isolate wet items inside your luggage.
- Bring a mini laundry kit: a small packet of detergent sheets, a sink stopper, and a travel clothesline. This solves more problems than you would think.
- Know your drying priority list: socks and base layers first, then insulation, then shoes. Rain shells can wait.
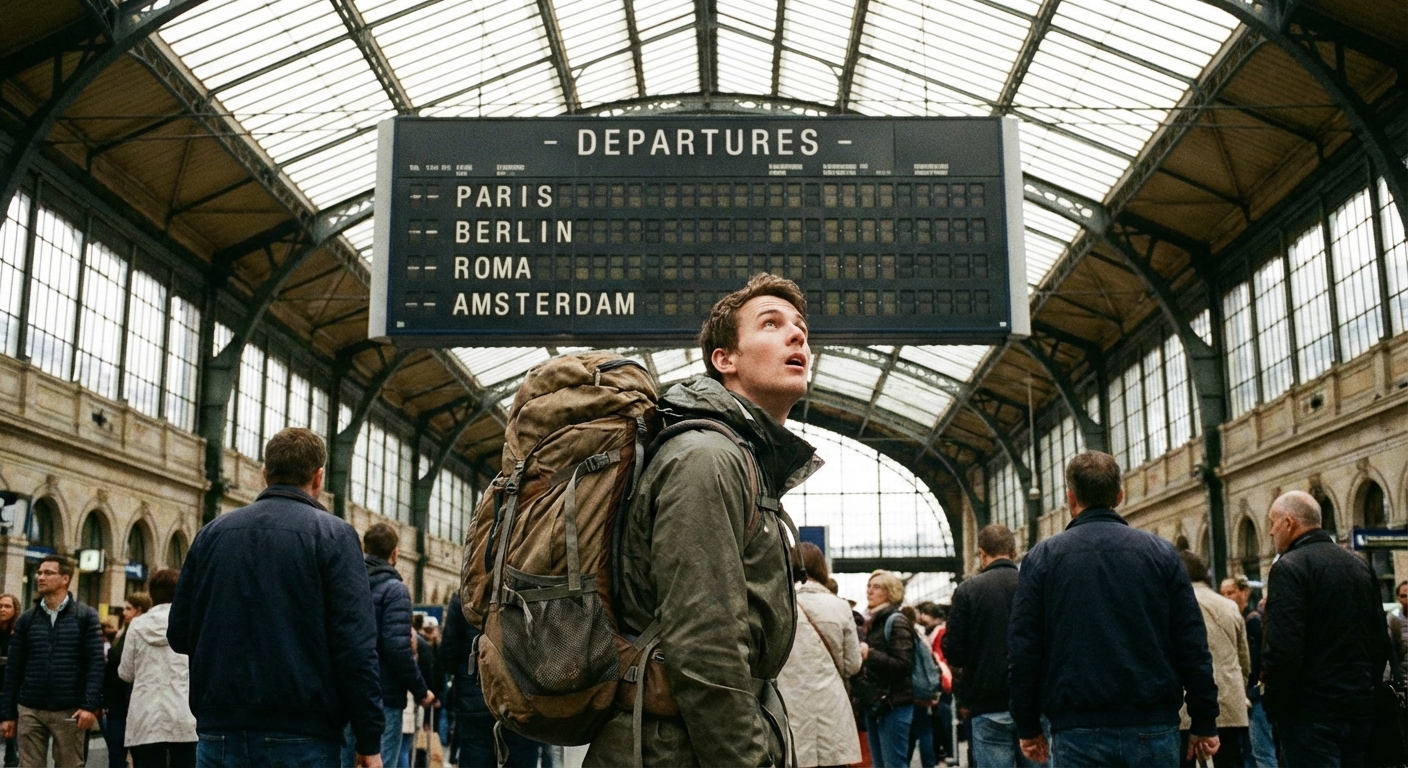
4) Underestimating transit and last mile logistics
Backcountry routes are often far from where public transit is straightforward. Cities are transit-rich, but only if you are starting from the right place at the right time. The last mile between trailhead, bus stop, station, and hotel is where plans fall apart.
This gets extra tricky internationally, where seasonal routes change and information online is sometimes optimistic at best.
Do this instead
- Build your route as a chain: trailhead to town, town to regional hub, hub to city, city station to hotel.
- Screenshot essentials before you lose service: shuttle times, booking confirmations, pickup coordinates, and offline maps.
- Plan your arrival neighborhood: staying near the main station for one night can be smarter than staying in the coolest district when you are arriving late and exhausted.
- Carry local cash for rural transfers and taxis. Some trailhead shuttles still do not do cards.
- Use storage strategically: if your route forces awkward timing, check whether your arrival station has lockers or a left-luggage desk, or whether your hotel will store bags before check-in. It is an underrated way to keep the “last mile” from becoming a full-body workout.
5) Scheduling your hardest hike right before your most walk-heavy city days
Cities are sneaky endurance sports. Even if you are not “working out,” you are on your feet all day: museums, markets, subway stairs, cobblestones, and that one neighborhood you insist on exploring because the coffee looks good.
If you stack a big mileage day in the backcountry right before two packed city days, you end up sightseeing from a bench, which is not the worst, but also not the plan.
Do this instead
- Insert a recovery day between wilderness and city intensity. Think: laundry, long lunch, slow neighborhood wandering, early bedtime.
- Front-load the city “must-dos” if you know your legs will be sore after the trail, or keep the first city day intentionally light.
- Be honest about stair fatigue: if your hotel is a fifth-floor walk-up, book it on a city-only leg, not immediately after a trek.
6) Bringing the wrong shoes for the actual mix of terrain
Shoes are where mixed itineraries punish you fastest. Hiking boots that feel great on trail can be clunky and hot in a city. Stylish sneakers can be a disaster on wet rock or steep descents. And “I will just wear my trail runners everywhere” works until you need something clean, dry, and presentable.
Do this instead
- Decide your primary shoe based on the toughest terrain, not the most common terrain.
- Add one lightweight city shoe: packable flats, minimal sneakers, or sandals depending on season. The goal is to let your trail shoes rest and dry.
- Plan for weather: if rain is likely, prioritize quick-drying trail runners over waterproof boots that can take much longer to dry once they soak through.
- Protect your feet in transit: compression socks for long buses and flights, blister patches in your day bag, and foot balm if you are prone to hot spots.
- Do one small foot-care reset: wash your feet in the shower the night you arrive, dry thoroughly (between toes), and rotate into a truly dry pair of socks. A little foot powder can make the next day feel brand new.

7) Ignoring permits, reservations, and seasonal closures on one side of the trip
Backcountry planning often requires permits, campsite reservations, quota systems, and strict entry dates. City planning increasingly requires timed tickets and advance bookings, especially for popular museums, temples, and restaurants. The mistake is focusing on the side you feel more confident about and assuming the other side will “work out.”
I have seen travelers lock in a nonrefundable city hotel, then realize their trail requires a permit lottery. I have also seen hikers finish a trek perfectly, only to discover the city is sold out for the weekend because of a festival they did not know existed.
Do this instead
- Identify the “hard constraints” first: permit dates, hut availability, park entry quotas, and seasonal road closures. Build the rest around them.
- Check the city calendar: major holidays, school breaks, marathons, concerts, and local festivals can spike prices and reduce availability.
- Use refundable bookings where possible for the city leg until your backcountry dates are confirmed.
- Save confirmation details offline and keep them in one place. I use a single note with reservation numbers, addresses, and local contact info.
A simple planning flow that works
If you want a quick framework for mixed trips, here is the order I plan in, almost every time:
- Lock the backcountry constraints: permits, huts, shuttle seasons, weather windows.
- Map transfer days with realistic buffers.
- Choose city neighborhoods based on arrival and departure logistics, not just vibes.
- Build a crossover packing list and decide what gets washed in town.
- Then add the fun stuff: one anchor meal, one museum or cultural experience, one “wander with coffee” morning.
If your itinerary feels slightly underbooked on paper, you are probably doing it right. The magic happens in the space between plans.
Quick checklist before you hit “book”
- Do you have at least one buffer transfer day between trail and city highlights?
- Do you have a plan for wet gear, laundry, and muddy shoes?
- Do you have a plan for your city gear while you are on the trail (lockers, luggage storage, basecamp hotel hold)?
- Can you complete the full trailhead to hotel route without live internet?
- Are your city reservations flexible on your arrival day?
- Do your shoes and layers work for both environments?
- Are your city bookings refundable until permits and trail dates are confirmed?
- Have you accounted for any transport restrictions (especially stove fuel on flights)?
Mixing backcountry and city travel is one of my favorite ways to see the world because it forces you to experience a place from multiple angles. Get the logistics right, and you can have the kind of trip where you earn your views and still make it to dinner with clean hair and a great local pour-over.