Best Travel Camera Bags for Hikes and City Days
Maya Lin
Maya Lin is a travel journalist and outdoor enthusiast who believes the best trips combine rugged adventures with urban comforts. After spending six years backpacking across four continents, she founded Trail & Town Guide to help fellow travelers navigate both hidden mountain passes and bustling city neighborhoods with confidence.
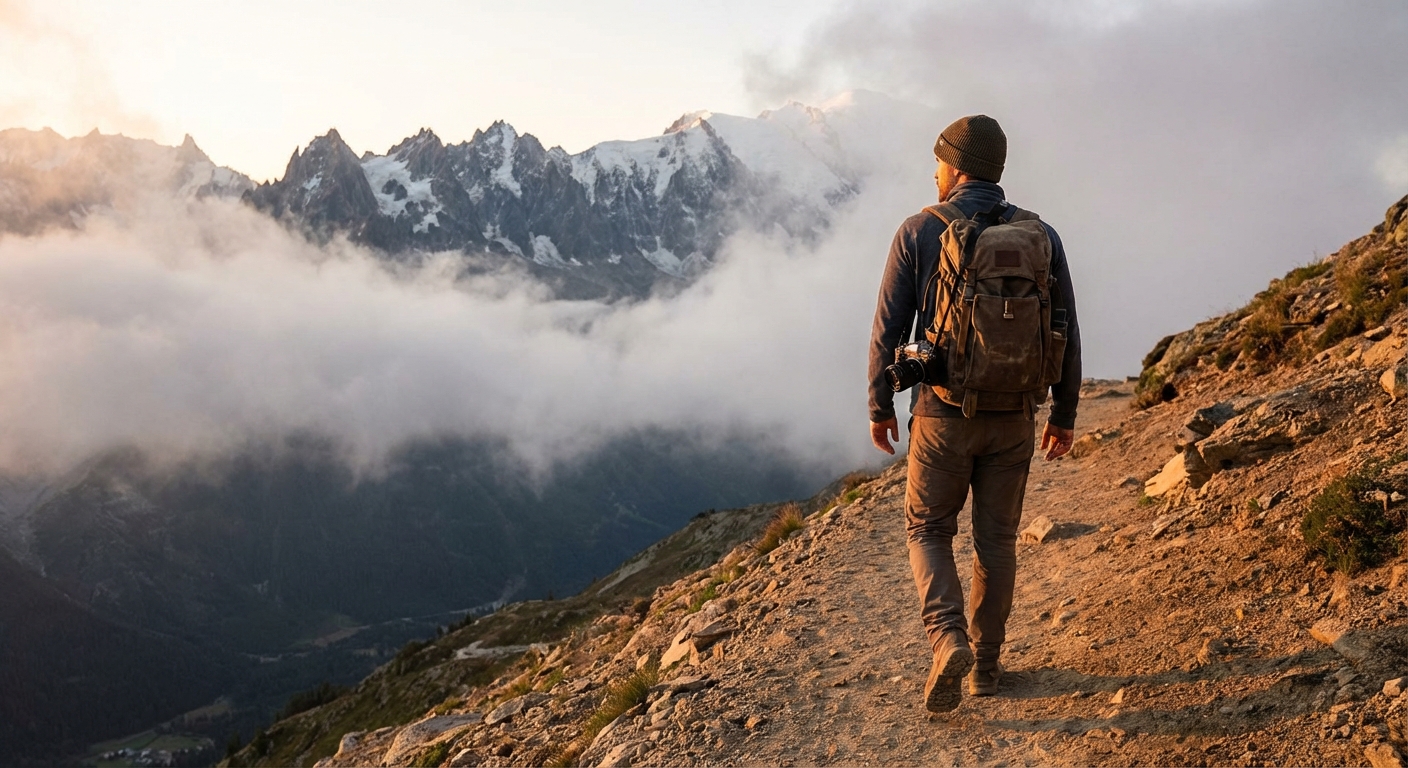
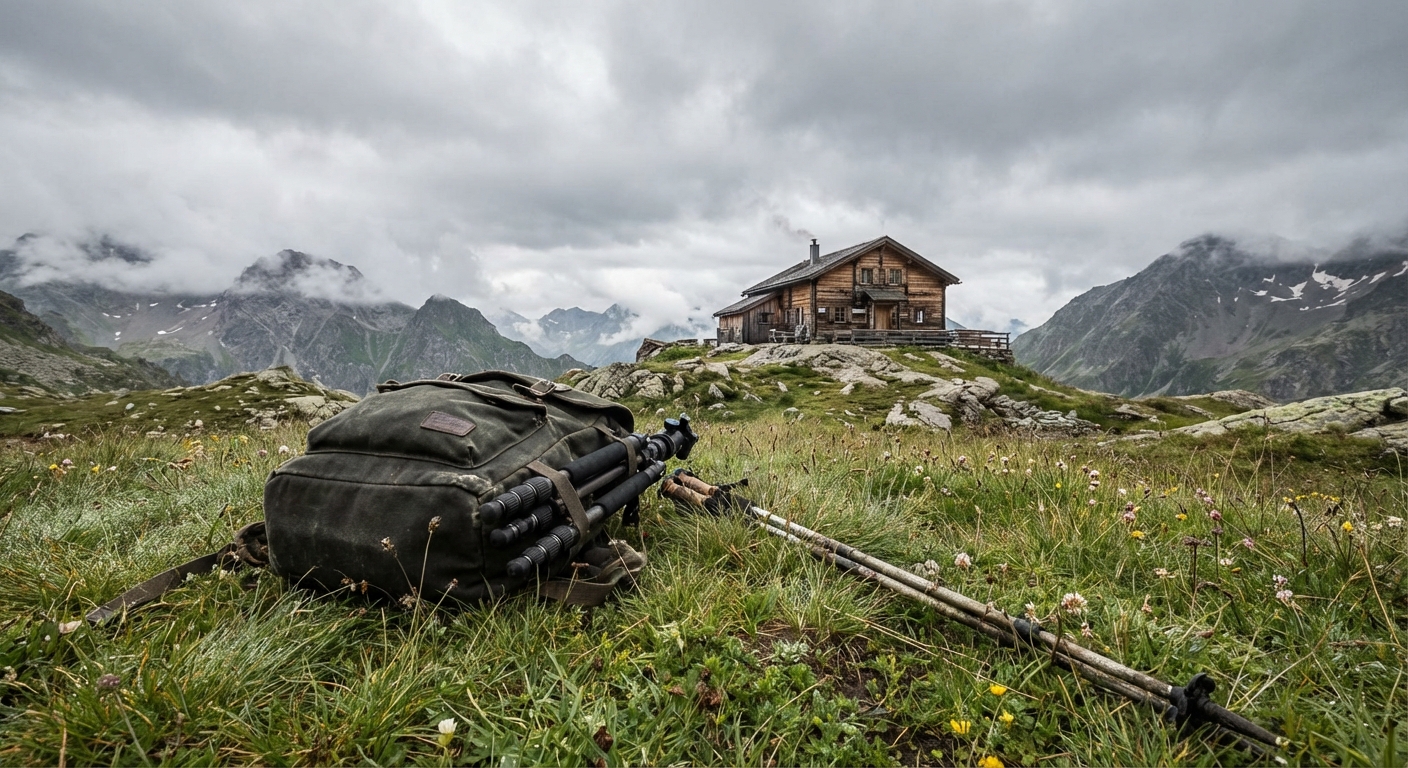
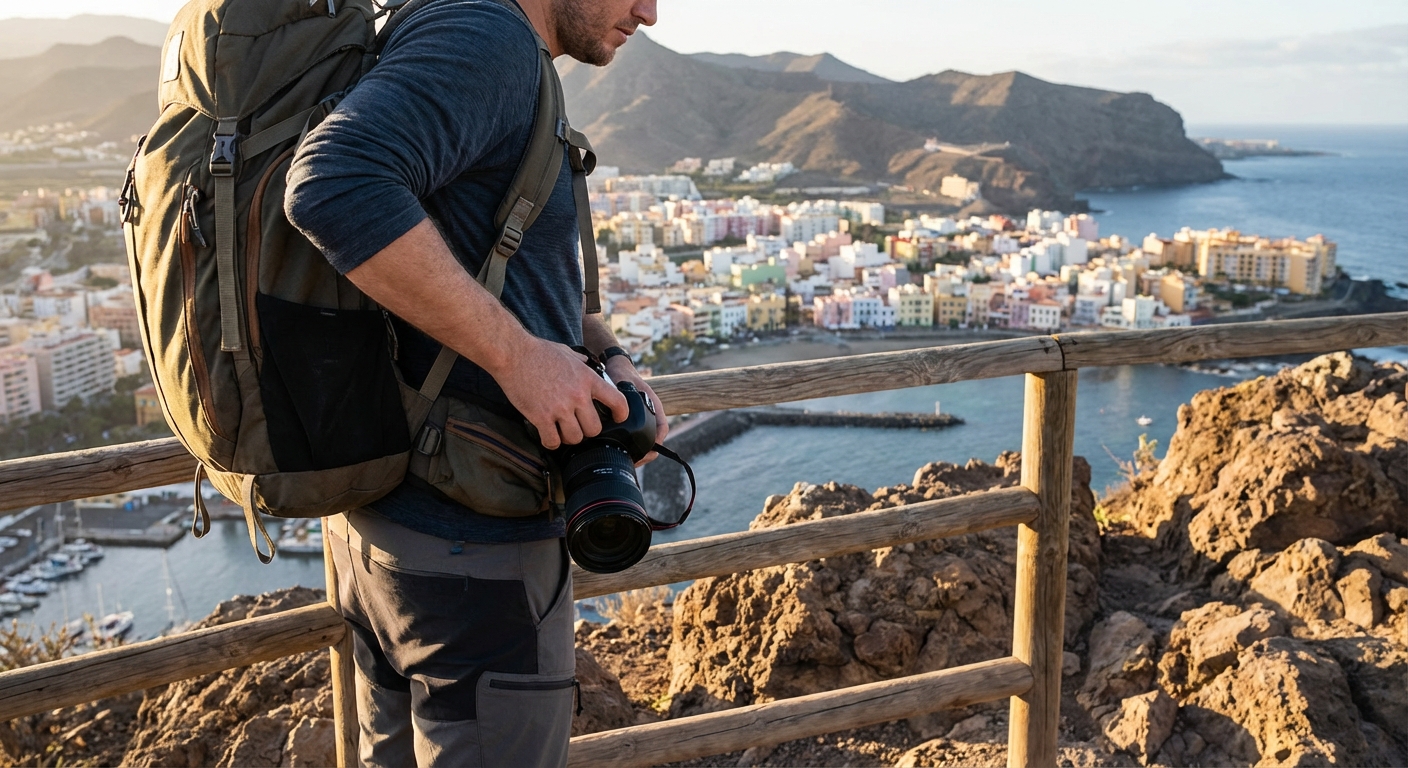
I love a sunrise ridge walk as much as I love a good espresso bar with a view of a mural alley. The problem is my camera gear wants different bags for each scenario. Hiking packs protect, but they are slow to access. Urban camera slings are quick, but they can soak through fast or feel clammy the second mountain weather rolls in.
So this is my sweet spot: hybrid camera bags that carry like outdoor gear, move like a commuter bag, and protect like a proper camera case. Below are my favorite options for traveling photographers who bounce between switchbacks and subway platforms.
What makes a travel-ready camera bag
Most camera bags are built around one idea of travel. The ones I trust for real trips do three things well: they handle weather, they make cameras easy to reach, and they keep sticky fingers out.
- Weather resistance you can rely on: water-resistant fabric, weather-resistant zippers, and ideally a rain cover. Bonus points for a raised base that can sit on wet pavement or muddy ground.
- Quick access without chaos: side access for a camera body, a top hatch for layers and snacks, and dividers that do not shift when you toss the bag under a café chair.
- Anti-theft that is practical: lockable or parkable zippers, hidden pockets, and access points that are hard to reach while you are wearing the bag. On some models you may also get slash-resistant materials, but I treat that as a nice-to-have, not a default.
- Comfort for long days: a real hip belt or at least a supportive harness, breathable back panel, and load lifters if you carry heavier kits.
- Carry-on friendly sizing: check the bag’s published dimensions (H × W × D) against your airline’s limits. “45L” can mean different shapes across brands and some carry beautifully in overhead bins while others become a headache, especially on smaller regional planes.
Quick reality check before you buy: confirm dimensions, torso fit (especially for hiking-forward packs), and how you will carry a tripod, water, and a laptop. These three details decide whether a bag feels like freedom or like punishment.
My rule: if a bag makes me reluctant to pull my camera out, I shoot less. If it makes me anxious on a crowded train, I enjoy the city less. The right bag removes both problems.
Quick picks: best hybrid camera bags
If you want the headline list first, here is the short version. After that, I break each one down with who it fits best and what to watch for.
- My best overall hybrid: Peak Design Travel Backpack 30L or 45L
- My pick for structured protection and access: Lowepro ProTactic BP 450 AW II
- My outdoor-first pick: Shimoda Explore V2 30 (or 35)
- My pick for fast day access: Peak Design Everyday Backpack 20L or 30L
- My budget-friendly weather-ready pick: Lowepro PhotoSport X (size varies by version)
- My sleek city pick with real weather protection: WANDRD PRVKE 21L or 31L
In-depth reviews
Peak Design Travel Backpack (30L or 45L): best overall for mixed itineraries
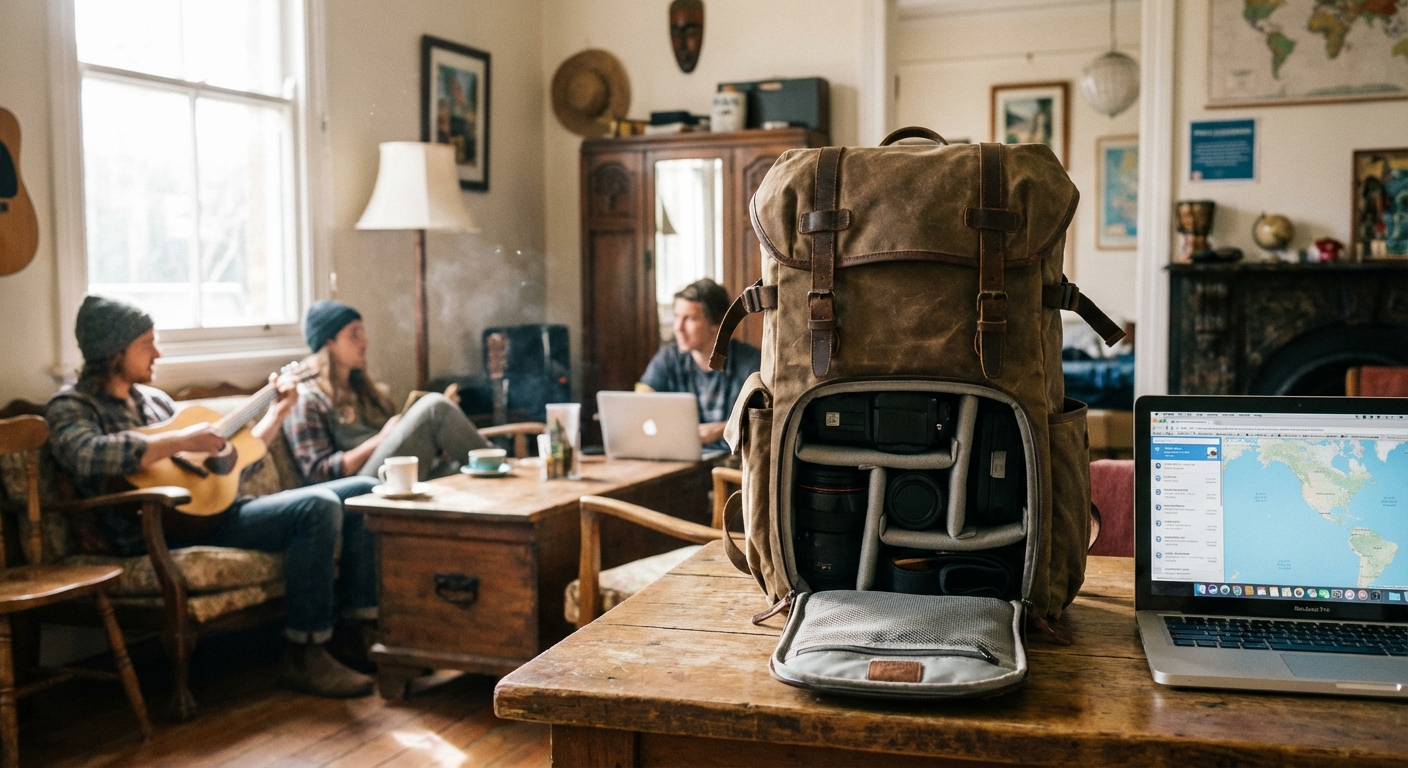
This is one of the most travel-smart camera bag setups I have used. It feels like a clean, minimal travel backpack, but the interior is easy to customize with camera cubes. That matters on real trips where one day is a windy coastal hike and the next day is museum hopping.
- Why it works: excellent organization, strong materials, thoughtful access points, and it does not scream “camera bag” in the way some padded packs do.
- Quick accessibility: wide rear access panel plus multiple entry points, especially when paired with a camera cube.
- Weather: robust weather resistance. I still pack a small rain cover for sustained rain because prolonged rain finds seams.
- Anti-theft: zip pulls that can be secured and a tidy profile that is less snaggy in crowds.
- Tripod and laptop: works well as a one-bag travel option if you are also carrying a laptop. Tripod carry depends on how you configure the exterior straps and what tripod you use.
- Best for: photographers who do carry-on only travel, want one bag for flights plus day use, and like modular packing.
- Watch for: if you carry heavy lenses all day, you may want a more hiking-forward harness. Also, do not buy the 45L on volume alone. Check the actual dimensions against your most common airlines and how much time you will spend wearing it in tight city cafés.
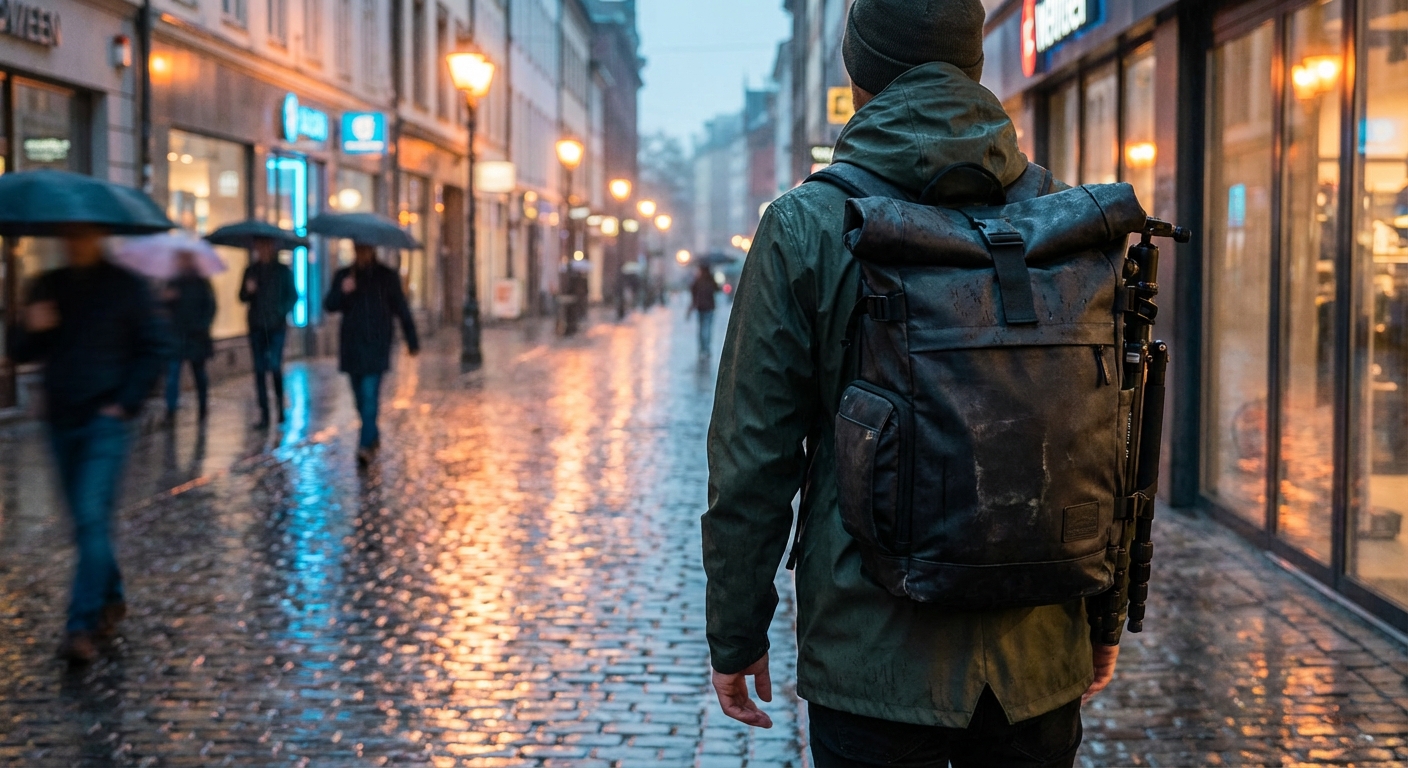
WANDRD PRVKE (21L or 31L): best for city style with real weather protection
The PRVKE hits that rare middle ground: it looks at home in a design district coffee shop, but it is also built for weather and movement. The roll-top makes it flexible for layers, groceries, or that “I did not plan on buying ceramics” moment.
- Why it works: durable materials, a sleek silhouette, and smart pocketing for travel documents and small tech.
- Quick accessibility: side access is fast for a camera body, especially when you are moving through a street market.
- Weather: strong water resistance for drizzle and surprise showers. For all-day rain, I still like a dedicated rain cover.
- Anti-theft: secure access points and a profile that does not draw much attention.
- Tripod and laptop: a practical choice if your day includes a laptop and you want a clean city carry. Tripod carry is doable but you will feel it if the tripod is heavy.
- Best for: photographers who spend more time in cities but still hike, especially day hikes and lighter trail loads.
- Watch for: roll-tops are not everyone’s favorite for constant in-and-out. If you frequently swap lenses mid-hike, you may want more structured access.
Shimoda Explore V2 (30 or 35): best outdoor-first pack that still travels well
Shimoda is the bag I reach for when the trip is clearly outdoors-led but I still want to transition into towns without looking like I am carrying a mountaineering bag full of fragile glass.
- Why it works: hiking comfort, modular camera inserts, and access designed for uneven ground and bad weather.
- Quick accessibility: rear panel access protects your back panel and harness from mud and lets you open the bag without dumping gear into gravel.
- Weather: built with the assumption you will be in real conditions. Pair it with a rain cover for sustained storms.
- Anti-theft: rear access is naturally more secure when worn in crowds.
- Tripod and fit: great if you carry a tripod and hike often, but do your homework on torso length and hip belt fit. A dialed fit is where the comfort magic happens.
- Best for: long day hikes, hut-to-hut routes, and trips where you carry lenses and water all day.
- Watch for: it is more outdoor in look than some urban-first bags, and the price reflects the build.
Lowepro ProTactic BP 450 AW II: best for structured protection and access
This is the “I need my kit to arrive unbothered” bag. It is protective, structured, and designed with working photographers in mind, but it is still very usable for travel when you want back access and strong organization.
- Why it works: rugged build, lots of configurable compartments, and a strong all-weather approach.
- Quick accessibility: multiple access points, including side openings and full back access.
- Weather: includes a rain cover and handles rough conditions well.
- Anti-theft: back panel access helps in crowded transit. The structured body is also harder to casually rummage through.
- Best for: heavier kits, multi-lens setups, and travel where you want maximum protection, including jobs or trips with lots of gear changes.
- Watch for: it reads more camera bag than minimalist travel packs, which can attract attention in certain places. Also, it is not a comfort-first hiking harness for long elevation days, so I treat it as “urban plus short walks and viewpoints,” not “all-day alpine.”
Peak Design Everyday Backpack (20L or 30L): best for day trips and fast access
This is the bag for the days when you want to shoot a lot but you do not want a full travel pack. It is fast, tidy, and built around the rhythm of taking your camera out repeatedly without playing divider Jenga.
- Why it works: very fast access and a clean layout for camera plus everyday items.
- Quick accessibility: excellent side access for camera and lens swaps.
- Weather: strong water resistance for city rain and light trail use.
- Anti-theft: secure closure design and minimal exterior pockets.
- Tripod and laptop: a solid “camera plus laptop” day bag if your travel rhythm includes editing in cafés. Tripod carry is straightforward for smaller travel tripods.
- Best for: city days with a hike tacked on, scenic drives with frequent stops, and travelers who want one personal-item style camera bag.
- Watch for: not as comfortable as a hiking pack for long, steep days with water and extra layers.
Lowepro PhotoSport X: best budget-friendly hybrid for active travel
For travelers who want a lighter, more hiking-forward bag without paying premium prices, the PhotoSport line is a solid starting point. It is not as sleek as the urban-first options, but it is functional and made for movement.
- Why it works: good comfort for the money, outdoor-minded carry, and camera protection where it counts.
- Quick accessibility: side access for your camera compartment, depending on the exact model.
- Weather: generally strong, and many versions include a rain cover or use weather-focused materials. Still, I treat the cover as mandatory in steady rain.
- Anti-theft: more about practical trail security than city-specific features, but side access can be managed with mindful zipper habits.
- Best for: hiking-heavy trips, national parks, and travelers who carry one camera and a lens or two.
- Watch for: organization can be simpler than premium bags. Add a small pouch for batteries and cards so they do not vanish into the depths.
How to choose the right bag
Before you buy, do a quick reality check on how you actually shoot and move through a day. This saves you from carrying a 30L pack to take photos of pastries.
- Mirrorless with 1 to 2 lenses: a 20L to 30L daypack-style camera bag usually fits, plus a layer and water.
- Full-frame with 3+ lenses, drone, or audio kit: look for structured protection, a stiffer back panel, and a bag that stays comfortable when loaded heavy. Some people happily carry 8 to 12 kg, but comfort depends on fit, fitness, and how long you are walking.
- Mostly cities, occasional hikes: prioritize discreet looks, fast access, and practical anti-theft details like back access and secure zipper pulls.
- Mostly hikes, occasional cities: prioritize harness comfort, ventilation, and rear panel access so you can set the bag down on damp ground without soaking the harness.
- If you carry a tripod: look for dedicated straps or a stable side pocket plus compression straps. A floppy tripod carry turns into a shoulder ache fast.
- If you carry a laptop: confirm the sleeve size and think about balance. Laptop plus camera gear can feel top-heavy in smaller bags.
My carry-on only tip: do not buy by liters alone. Compare the bag’s published dimensions to your airlines and build your kit around what you can comfortably carry for 20 minutes through a terminal. If the bag feels heavy before the trip starts, it will feel brutal after day three.
Anti-theft habits that matter
Even the best anti-theft features are just features. The real safety comes from small routines that become automatic.
- Wear zippers toward your back in crowds and on transit. Back access is your friend.
- Use a small carabiner or zipper clip for the compartments you do not need often.
- Do not store everything together: keep one card in your camera, backups in a separate pocket, and your passport elsewhere.
- Never set your bag on the chair next to you in busy cafés. Loop a strap around your leg or keep it in your lap.

Rain and dust: keep it smooth
Mountain weather and city grime have the same goal: get into your zippers. A little maintenance keeps bags smooth and gear safer.
- Pack a rain cover even if the bag is water-resistant. Prolonged rain finds seams.
- Wipe zippers after dusty days with a damp cloth. Grit is what makes water-resistant zips start to fail.
- Use a lightweight dry bag inside for your camera cube if you expect serious rain or boat travel.
- Let your bag dry fully before storing it, especially after humid or wet conditions.
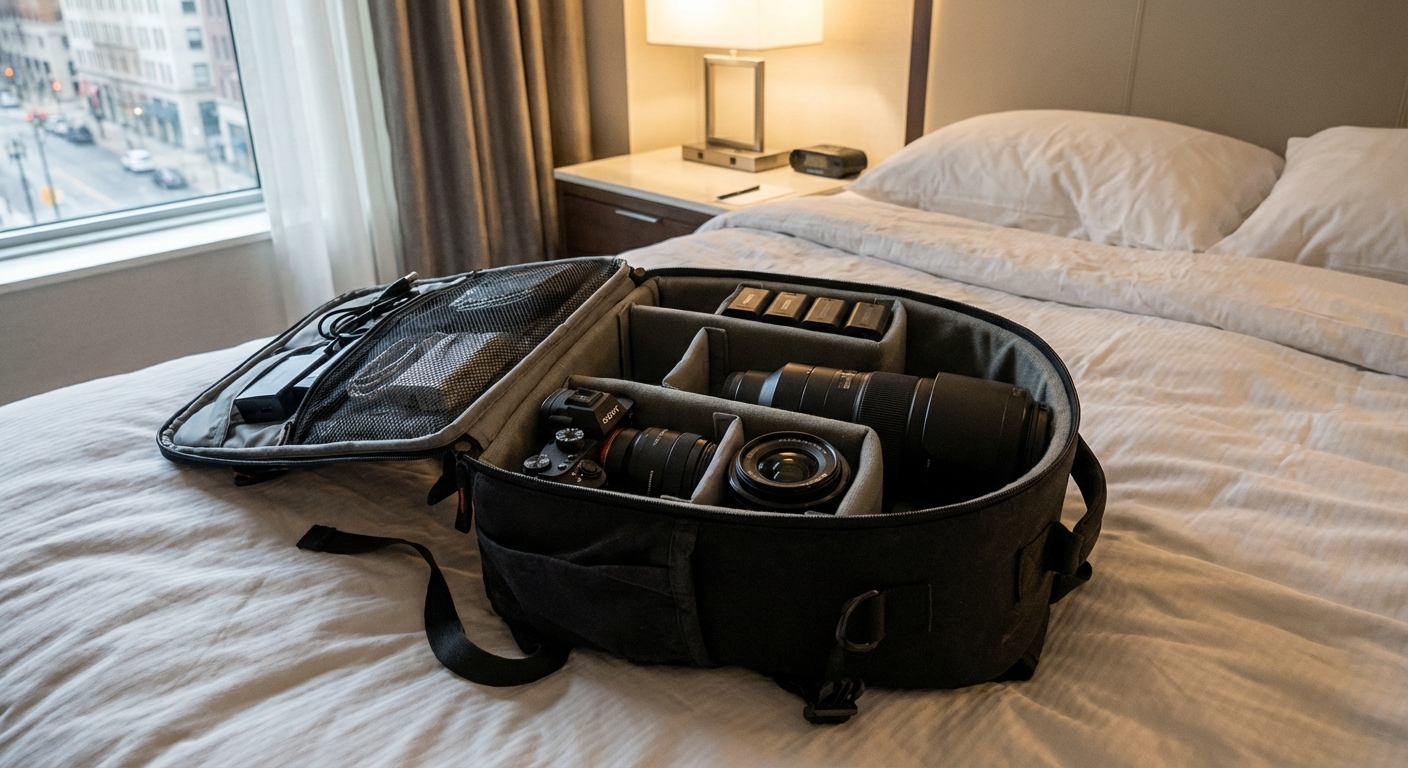
My packing layout
I aim for a layout that lets me grab the camera in ten seconds without setting the bag down in questionable places.
- Camera body + main lens: side access compartment.
- Second lens: adjacent divider slot, hood reversed.
- Batteries and cards: a tiny zip pouch that always goes in the same pocket.
- Rain layer and warm layer: top compartment or roll-top, not mixed with gear.
- Water: external pocket, never inside with camera gear.
- Passport and cash: internal hidden pocket against the back panel.
If your bag forces you to unpack half your life to change a lens, you will stop changing lenses. Choose access that matches how you actually shoot.
FAQ
Are camera slings enough for travel?
For light city days, yes. For long hikes, slings often strain one shoulder and do not carry water and layers comfortably. If your trip includes real elevation gain, a backpack-style harness is usually the better call.
Do I need a dedicated camera bag or can I use a normal backpack?
You can absolutely use a normal backpack with a padded camera insert. The tradeoff is usually slower access and fewer security details. If you travel often with gear, the convenience of purpose-built access and protection is worth it.
What is better: side access or back access?
Side access is faster for shooting on the move. Back access is more secure in crowds and cleaner on wet ground because your back panel and harness stay against you. My ideal bag has both, or at least one that matches the way I travel most.
Bottom line
The best travel camera bag is the one that makes you bring your camera everywhere, then makes you forget about it because the carry is comfortable and the access is effortless. Pick a bag that fits your kit and your day, not the fantasy version of your day.
If you want one versatile option that handles flights, city streets, and moderate hikes, I would start with a travel backpack plus a camera cube setup, and double-check the bag’s dimensions for your airline. If your trips lean outdoor-heavy, go with a hiking-forward camera pack, get the torso fit right, and enjoy the comfort.
Either way, I will see you on the trail at sunrise and in the coffee shop line afterwards.