Corona Arch Trail Near Moab

Maya Lin
Maya Lin is a travel journalist and outdoor enthusiast who believes the best trips combine rugged adventures with urban comforts. After spending six years backpacking across four continents, she founded Trail & Town Guide to help fellow travelers navigate both hidden mountain passes and bustling city neighborhoods with confidence.
If you only have time for one big-payoff hike near Moab that is not inside Arches National Park, Corona Arch is the classic. It is a Bureau of Land Management (BLM) trail with a real desert-scramble vibe: two short ladder sections, some carved footholds in the sandstone (moki steps), steel safety cables in the steep spots, a few moments with airy edges, and a parking situation that feels like it belongs in a small town hosting a very big season.
This page is the logistics reality check I wish I had the first time I rolled up late, in full sun, with “quick hike” optimism.
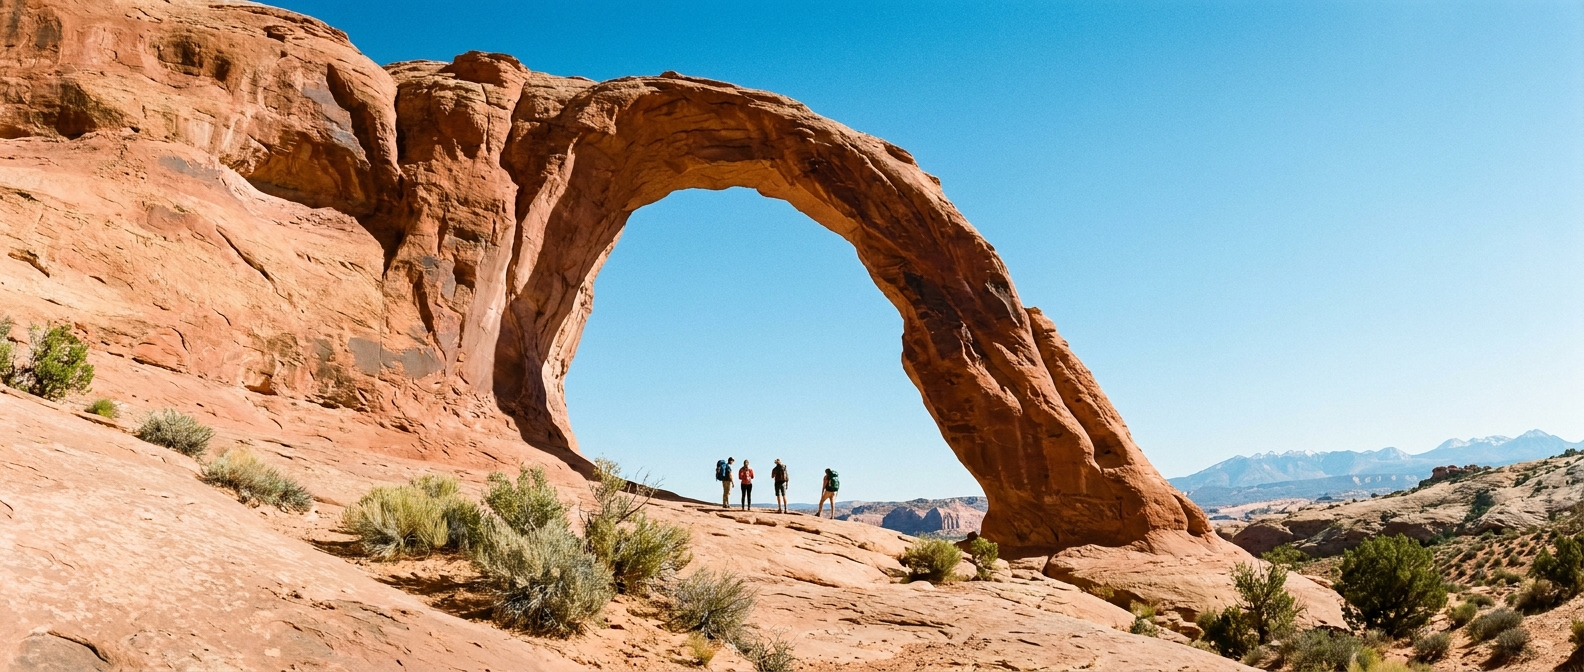
Trail snapshot
- Trail: Corona Arch (BLM)
- Distance: about 2.9 to 3.3 miles round trip (common across popular GPS tracks; your number may vary a bit depending on device and route wandering near the arch)
- Elevation gain: roughly 450 to 550 feet (varies by track and how your app smooths the climb)
- Time: 1.5 to 3 hours depending on pace, crowds, and how long you linger at the arch
- Difficulty: Moderate, with short steep sections, ladders, and cables
- Dogs: Common on-leash, but think hard about ladders, cables, and hot slickrock for paws
- Fees/permits: No entrance fee like Arches. Day hiking is generally permit-free, but always check current BLM notices for temporary closures, group rules, or parking changes
Good to know: There is little shade and the rock reflects heat. Treat this like a sun-exposure hike even in shoulder seasons.
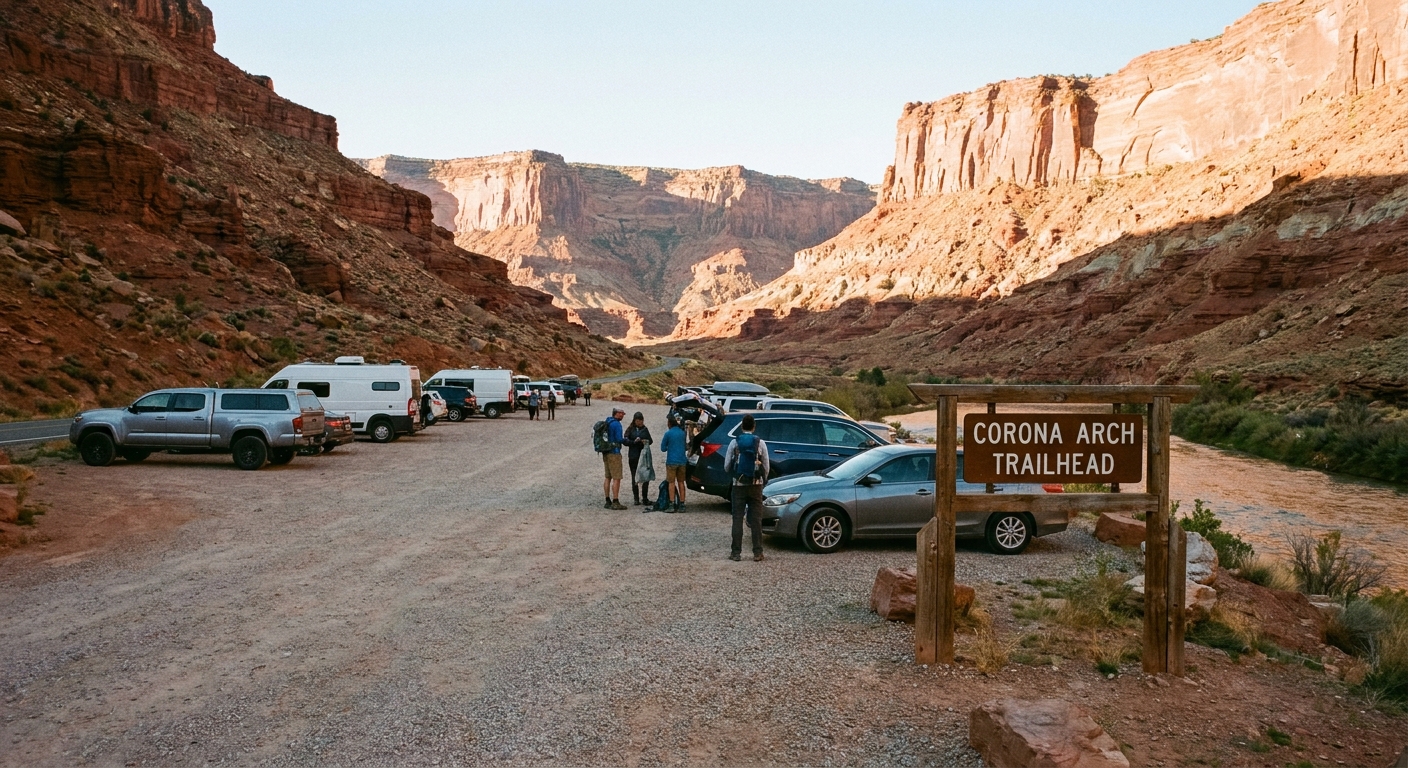
Parking on Highway 279
The Corona Arch trailhead sits off UT-279 (Potash Road) along the Colorado River corridor west of Moab. The drive is beautiful, but the trailhead parking is the choke point.
What parking is like
- Small lots fill early, especially March through May and September through October.
- Overflow becomes roadside parking, and it can get chaotic fast. Expect tight pulls, uneven shoulders, and people darting across the road.
- Cell service is not something to count on for last-minute navigation or messaging a friend running late.
My rule: If you are arriving after mid-morning in peak season, go in assuming you might have to pivot to a different hike rather than playing parking roulette in the sun.
Timing that helps
- Best bet: Arrive early morning. You’ll beat the heat, the wind, and the biggest waves of people.
- Second-best: Late afternoon in cooler months, but remember the walk back is exposed and can feel longer if you misjudge daylight.
Bathrooms: Do not assume there is a usable restroom at the trailhead. Plan accordingly and pack out all trash, including toilet paper.
The hike: step by step
The first part of the trail is straightforward desert walking with a few sandy stretches and slickrock transitions. You will cross the railroad tracks early on, then start climbing gradually into the rock.
Railroad note: Treat the track crossing like a real crossing. Look and listen, cross directly, and do not linger on the tracks.
Ladders, steps, and cables
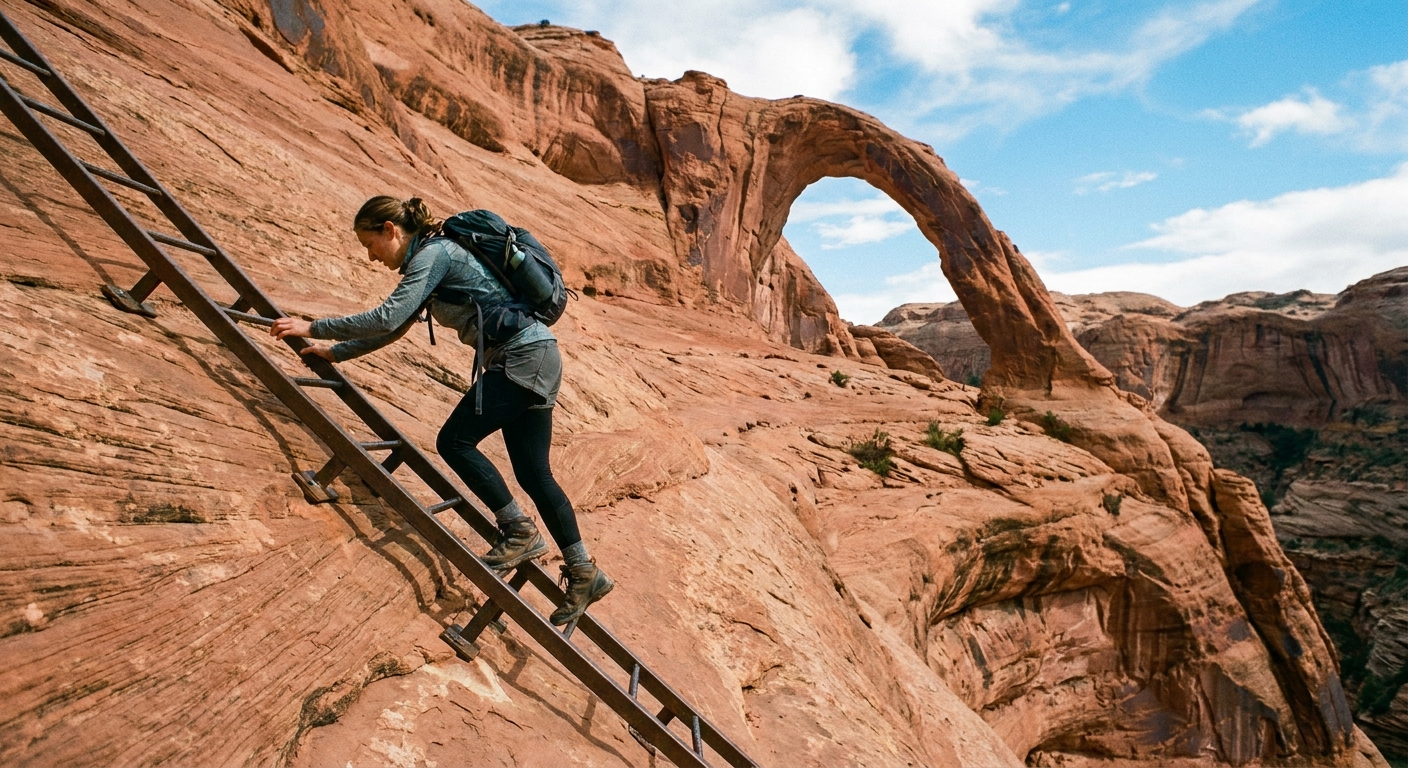
There are two main ladder sections that get all the attention, plus a couple of steep bits where the trail uses built-in adventure infrastructure to get you up the slickrock.
- Metal ladders: Short and typically manageable for confident hikers.
- Moki steps: Carved footholds in the sandstone that feel like a natural staircase, until you realize you are on a steep slab.
- Steel safety cables: Anchored handlines in the steeper spots. They are there for a reason, especially on the way down.
- Exposure factor: None of this is technical climbing, but it can feel exposed if you are uncomfortable with heights or if people are stacking up behind you.
- Kids and dogs: These sections can be the make-or-break moment for small kids and some dogs, especially when down-climbing.
Practical scramble tips:
- Go one at a time and let faster groups pass before you start climbing.
- Keep three points of contact and avoid rushing because someone is waiting.
- Use the cables, even if you feel fine. They help more than you think on the descent.
- If you are hiking with kids, decide ahead of time who spots and who goes first so you are not negotiating mid-ladder.
Wayfinding: The route is generally obvious, but slickrock can make people wander. Follow cairns and trail markings and avoid inventing new lines up the rock.
Bowtie Arch
Right next to Corona Arch is Bowtie Arch, a big pothole-style arch tucked into the same slickrock bench. It is easy to miss if you laser-focus on the main span and start wandering for photo angles.
- Why it matters: It is a two-for-one highlight and a fun bonus destination for kids and anyone who likes exploring the amphitheater.
- How to find it: When you reach Corona Arch, look nearby along the same rock bench. You will usually see people poking around it, or you will spot the distinctive hole-in-the-rock shape once you know to look.
- Safety note: Treat the pothole edges with respect. The rock can be sloped, and it is easy to drift closer to an edge than you intended while framing photos.
Exposure near the arch
Most of the route is wide enough to feel comfortable, but there are a couple of areas where the trail skirts slickrock slopes and ledges. The exposure is not constant, but it is enough that you should plan for it if anyone in your group is height-sensitive.
Where people get nervous
- At the steep sections: The ladders, moki steps, and cable-protected slabs are where anxiety spikes, especially if the wind is up or a crowd is forming.
- Near the final approach: People wander to find viewpoints, and some edges are closer than they look in photos.
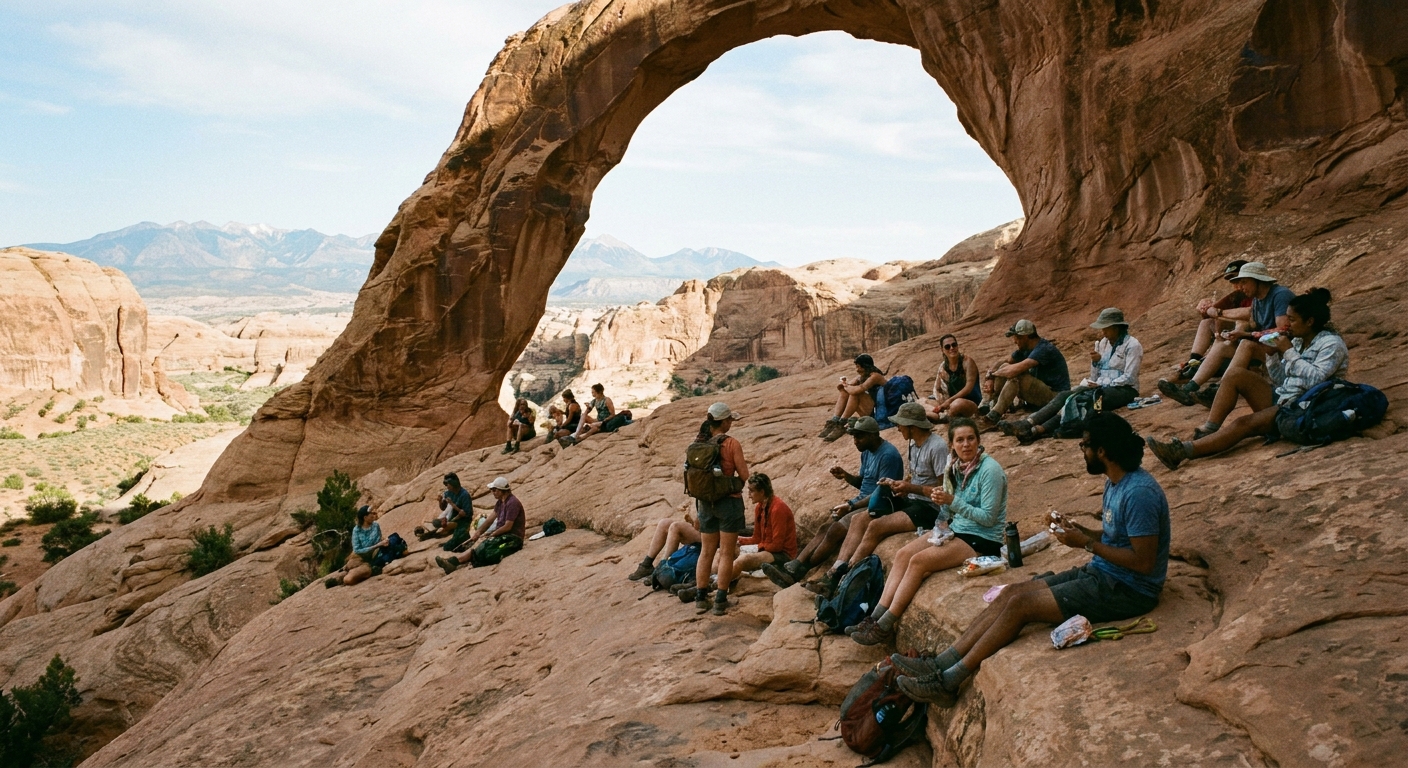
At the arch itself: Corona Arch is massive, and the open bowl around it encourages exploration. The safest family move is to pick a home-base viewing spot away from edges, drop packs, snack, and keep kids within arm’s reach when moving around for photos.
Best time of day
Moab weather is a personality. Even when the forecast seems mild, the sun on rock can feel intense, and the wind can turn a comfortable morning into a sandblaster by noon.
My go-to plan
- Start early and aim to be heading back before late morning in warm months.
- Bring more water than you think for a short hike. Dry air and sun exposure sneak up on you.
- Pack a sun layer (hat, long sleeves, sunscreen). Shade is rare.
Seasonal hazards: Summer monsoon storms can move in fast. Even though this is not a slot canyon hike, slickrock gets sketchy when wet and drainages can run. In winter, shaded sections can hold ice longer than you want to believe.
If you want photos without a line of people under the arch, early morning is also your best shot.
Turnaround tips
Corona Arch is absolutely doable for many families, but it is not the kind of trail where you want to “see how it goes” once you are already committed to the ladders, cables, and exposed slickrock.
Turn around if
- A child (or adult) is already anxious before the first steep section.
- It is getting hot fast and you are burning through water early.
- Wind is strong enough to throw off balance on sloped rock.
- You arrive and see a crowded ladder line that would force your group to wait in full sun.
Family-friendly strategy: Treat the first ladder or cable section as your decision point. If everyone feels calm and coordinated there, the rest usually goes smoothly. If it feels like a big emotional moment, call it and switch to a more mellow creek-side option nearby.
Nearby alternatives
If Corona Arch sounds like too much ladder, cables, and exposure for your group, you have excellent nearby Plan B trails that trade drama for shade and water.
Grandstaff Canyon
Note: This area was formerly labeled “Negro Bill Canyon” on older maps and guidebooks. The official name is Grandstaff Canyon.
- Vibe: A friendlier, creek-canyon walk with multiple stream crossings.
- Why choose it: Less exposure and no ladders. Great for families in cooler seasons when the creek is manageable.
- Reality check: You may get wet feet, and spring runoff can make crossings harder.
Mill Creek
- Vibe: Local favorite with more shade and a water-play feel.
- Why choose it: If you want a lower-stress outing where kids can splash and you can cool off.
- Reality check: Trail conditions and access can vary, and water levels change through the season.
Simple decision: Choose Corona Arch for a bucket-list arch and a little adventure infrastructure. Choose Grandstaff Canyon or Mill Creek when your group wants water, shade, and fewer nerves.
What to bring
- Water: Enough for your group, plus a bit extra for ladder waits
- Sun protection: Hat, sunscreen, light long sleeve
- Grippy shoes: Slickrock-friendly soles matter
- Snacks: Quick calories for kids and for the “we are halfway but it feels like more” moment
- Small first-aid basics: Scrapes happen on sandstone
- Layers: Mornings can be cool, wind can be real
- Offline map: Download before you go, because service can be spotty
Sustainable travel note: Stay on durable rock and established trail where possible. Desert crust and fragile soils recover slowly, and shortcuts become permanent scars fast.
Quick etiquette
- At ladders and cables: Let people climb without being crowded. Keep kids close and packs secure.
- At the arches: Spread out and avoid edging into risky spots for photos.
- Leave no trace: Pack out all trash, including fruit peels, snack wrappers, and toilet paper.
If you nail the timing and respect the exposure, Corona Arch is one of those hikes that feels way bigger than its mileage, in the best way.