Eastern Sierra Day Hikes from Mammoth Lakes
Maya Lin
Maya Lin is a travel journalist and outdoor enthusiast who believes the best trips combine rugged adventures with urban comforts. After spending six years backpacking across four continents, she founded Trail & Town Guide to help fellow travelers navigate both hidden mountain passes and bustling city neighborhoods with confidence.
Mammoth Lakes is one of those rare mountain towns where you can sip a truly good latte at nearly 8,000 feet, hike to a sky-blue lake by 10, and still be back in town in time for tacos. The catch is altitude and weather. Many trailheads here start high, lots of hikes top out above 10,000 feet, and summer afternoons love to brew thunderstorms right when you feel strongest.
This starter guide focuses on two zones that make perfect first days in the Eastern Sierra: Lakes Basin for mellow-to-moderate acclimation loops, and Mammoth Crest for big views with smart turnaround options. I will also call out what to do when clouds build, which parking lots fill first, and what to double-check before you go so you can plan like a local, not like someone circling a trailhead with a hungry passenger.
Before you hike
Altitude: the quiet skill that makes everything better
Mammoth Lakes sits around 7,800 to 7,900 feet, and many popular trailheads are closer to 9,000 to 10,000 feet. If you flew in from sea level or drove up quickly, give your body a chance to catch up.
- Make day 1 shorter than your ego. Aim for a 2 to 6 mile hike with modest gain, then reassess.
- Hydrate early, not just on trail. Start drinking extra water the day before. Add electrolytes if you are sweating.
- Eat like you mean it. High altitude appetite can dip. Bring salty snacks and a real lunch.
- Sleep helps. If you can, spend a night in town before tackling the Crest or anything above 10,500 feet.
Know the red flags: headache that does not improve with rest and hydration, nausea, unusual fatigue, dizziness, or confusion. If symptoms worsen, descend and call it. The mountain will still be there tomorrow.
Thunderstorms: plan your bail before you need it
In July and August especially, afternoons can turn dramatic fast. Lightning risk is real above treeline and on exposed ridgelines like Mammoth Crest.
- Start early: aim to be on trail by around 7:00 am in peak summer.
- Turnaround rule: if you hear thunder, you are already in the danger window. Turn around immediately and drop elevation.
- Choose routes with exits: Lakes Basin trails let you cut loops short and return to your car or shuttle stops quickly.
- Watch the sky: building cauliflower clouds by late morning often mean trouble later.
Parking and shuttles: what fills first
In summer, the Lakes Basin is where parking stress peaks. The most competitive lots tend to be:
- Lake Mary and Horseshoe Lake area lots on busy weekends and holiday weeks
- Coldwater Campground and nearby trail access for popular out-and-backs
- Red’s Meadow and Devils Postpile corridor access points when the shuttle system is active and day use demand spikes
If you are arriving mid-morning on a Saturday, assume prime spaces are gone. Your best move is to either start earlier, use the town trolley and seasonal shuttles when running, or pick a hike with less famous parking.
Important note on Red’s Meadow Road: access rules can change by date and day of week. Some periods use mandatory shuttles and restrict private vehicles. Check current Red’s Meadow Road and shuttle updates before you commit.
Local habit that saves the day: keep one alternate hike in your pocket that starts from a different trailhead. You will hike more and argue less.
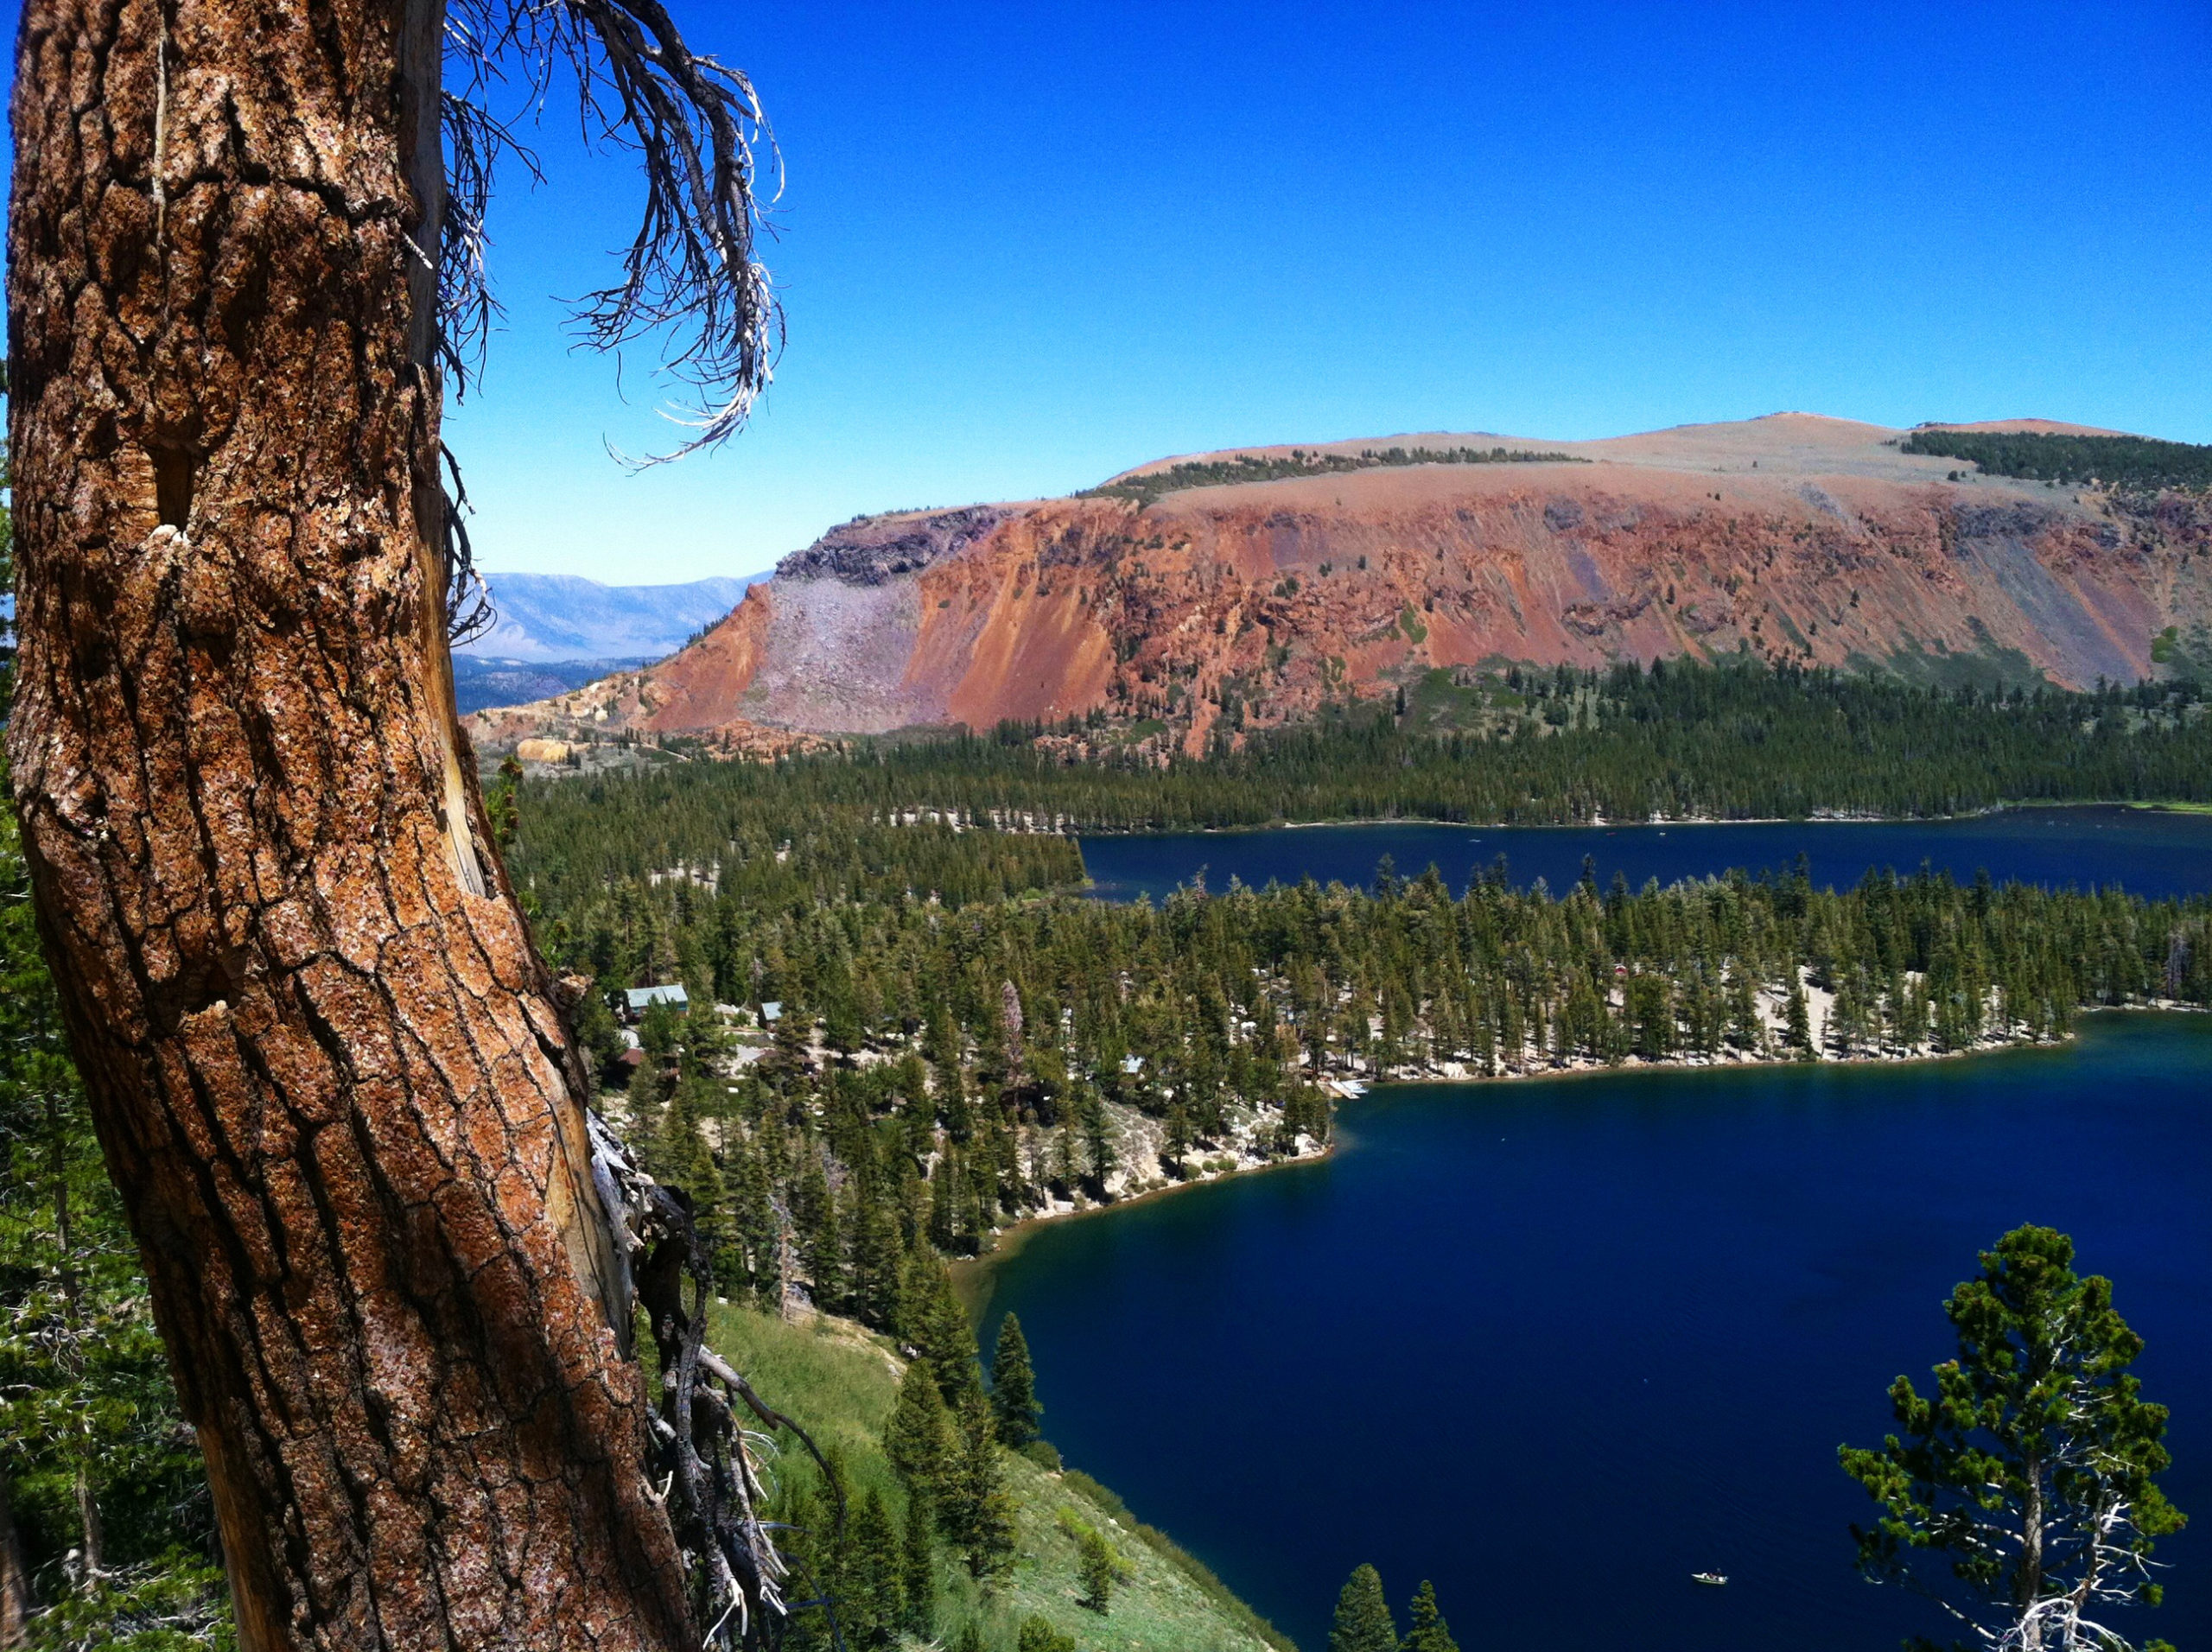
Lakes Basin starters
Lakes Basin is the classic Mammoth postcard zone: granite, lodgepole pines, and a string of lakes that look filtered even when they are not. The big advantage for acclimation is flexibility. You can make most hikes longer or shorter with connectors and shoreline options.
1) Twin Lakes and Lake Mary sampler
Why it works: low-stress miles, big scenery fast, and plenty of turnaround points if altitude hits.
- Distance: approx. 2 to 5 miles round trip, depending on how you link lakes and shorelines
- Elevation: generally moderate, with rolling ups and downs
- Best for: acclimation day, families, casual hikers who still want “wow” views
How to do it: Start near Lake Mary, stroll sections of shoreline, then connect toward Twin Lakes via signed paths. If you feel great, add extra lake spurs. If you feel off, keep it simple and return the way you came.
Thunderstorm bail plan: If clouds build, stay close to the lake corridor and avoid any higher, more exposed connectors. Turn back early so you are not caught on open granite during lightning.
Parking strategy: Lake Mary area lots are among the first to fill. Arrive early or plan to use seasonal transit options when available.
2) McLeod Lake from Horseshoe Lake
Why it works: when you want a real alpine lake payoff without asking your lungs to write checks your legs cannot cash on day 1.
- Distance: approx. 1 mile round trip from the Horseshoe Lake trailhead (varies slightly by exact start)
- Elevation: easy to moderate
- Best for: true acclimation day, families, sunset or “quick lake” missions
How to do it: Park at the Horseshoe Lake area and take the short signed trail to McLeod Lake. It is the kind of hike that leaves you with energy for a second lap around Horseshoe or a slow picnic by the water.
Thunderstorm bail plan: Because it is short and close to the trailhead, your best move is simple: if clouds start building, turn it into a quick out-and-back and call it a win.
Parking strategy: Horseshoe Lake can still get busy, but it is often less chaotic than Lake Mary at peak times.
3) Mammoth Rock Trail
Why it works: if the Basin feels slammed or you want a lower-elevation option to ease into the week, this is a solid “get your legs moving” hike with a more local feel.
- Distance: approx. 2 to 6 miles round trip, depending on your turnaround point
- Elevation: moderate
- Best for: first afternoon in town, smoke-sensitive days when you want options, anyone building altitude tolerance
How to do it: Follow the Mammoth Rock Trail through the forest and set a casual turnaround based on time and energy. The goal here is rhythm, not bragging rights.
Thunderstorm bail plan: This route stays mostly in forest. If thunder starts, turn around and head back on the main trail, staying away from exposed high points.
Parking strategy: This can be a smarter midday option when Lakes Basin lots are packed.
4) Duck Pass Trail (starter out-and-back)
Why it works: Duck Pass is a famous climb for a reason, but it is also a classic place to overdo it on day 1. The starter version gives you lakes and views without committing to the pass.
- Distance: choose-your-own, approx. 2 to 6 miles out-and-back for acclimation (varies by turnaround)
- Elevation: steady climb
- Best for: hikers who want a challenge but still want to play it smart
How to do it: Start up the Duck Pass Trail and set a firm turnaround time based on weather and how you feel. Many hikers aim for a scenic lake turnaround rather than the pass on the first attempt.
Thunderstorm bail plan: This is one to start early. If clouds build, turn around before you are high and exposed. Descend as soon as thunder is audible.
Parking strategy: Popular trailhead access fills quickly. If you do not have an early start, pick another hike and save Duck Pass for a weekday morning.
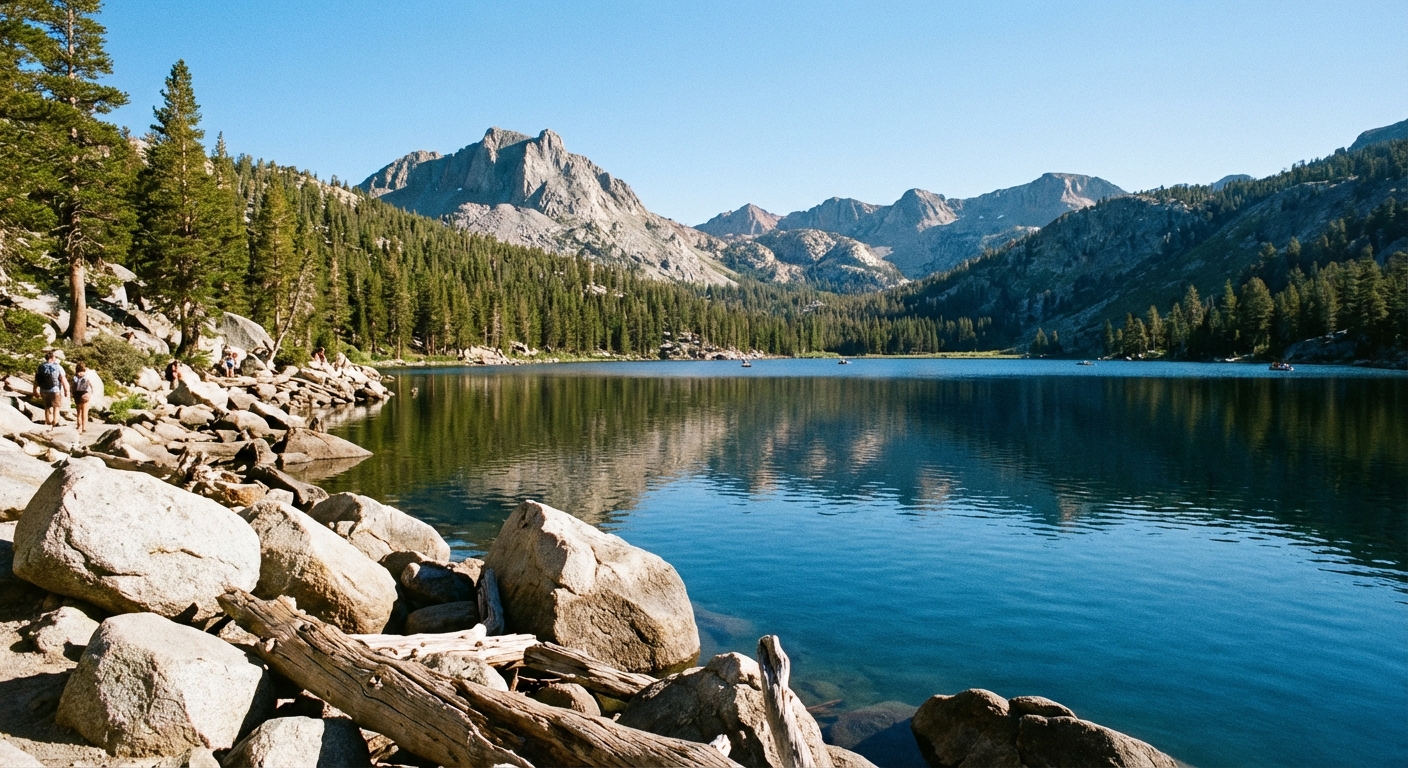
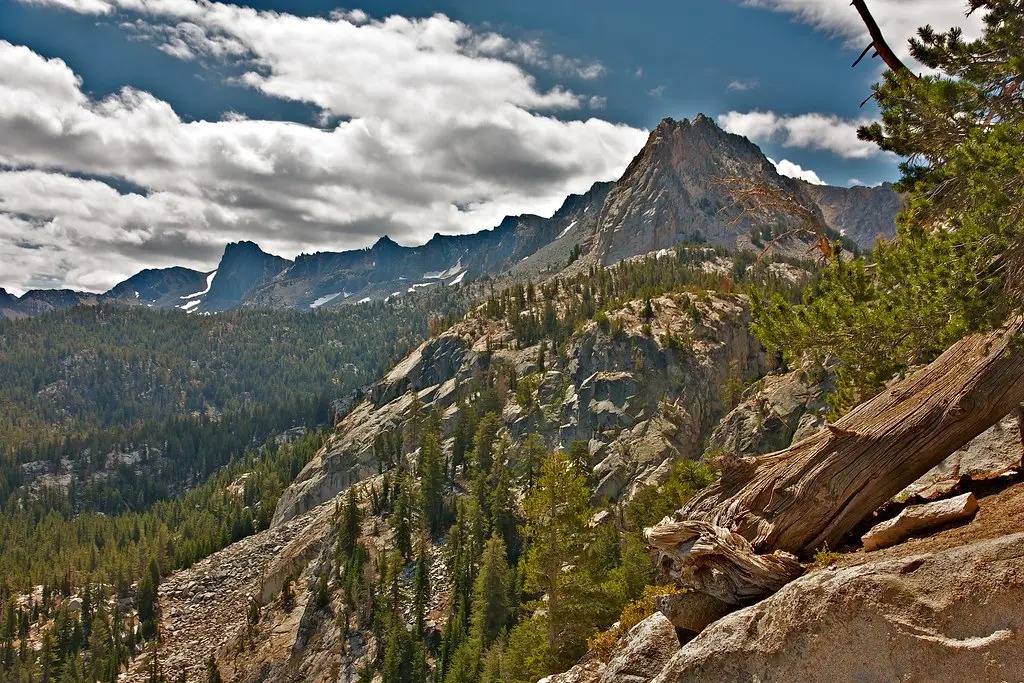
Mammoth Crest starters
Mammoth Crest is where Mammoth starts to feel alpine. You get long, cinematic views across the Sierra, and you start to flirt with the kind of elevation where your lungs notice every enthusiastic decision.
These hikes are incredible, but they demand better weather discipline. If the forecast hints at storms, treat the Crest like an early-morning venue, not an afternoon hang.
5) Crystal Lake from Lake George
Why it works: Crystal Lake is a classic with a clean, satisfying payoff, and you can keep it more sheltered than a full Crest push. It is also a smart reality check for how you feel hiking near 10,000 feet.
- Distance: approx. 3.1 miles round trip to Crystal Lake from the Lake George trailhead (varies slightly by mapping source)
- Elevation: moderate, can feel strenuous at altitude
- Best for: day 2 or day 3, once you know how you feel above town elevation
How to do it: Start at Lake George and hike to Crystal Lake. The key geography note: you reach the Crystal Lake junction before the steeper climb up to the actual Mammoth Crest ridgeline. If you feel great and the sky is stable, you can continue higher. If not, Crystal Lake is a worthy destination all by itself.
Thunderstorm bail plan: If clouds build early, treat Crystal Lake as your turnaround. Skip the ridge. Once you commit to the Crest, you are more exposed, and lightning does not care how close you are to the “best view.”
Parking strategy: Lake George trailhead access is popular. Start early and consider weekdays if you want less stress.
6) Panorama Dome
Why it works: a quick hit of skyline that feels like a cheat code. Perfect when you want a summit snack and a photo, not a whole expedition.
- Distance: approx. 0.6 miles round trip from the standard trailhead (varies by where you park)
- Elevation: short and moderately steep in spots
- Best for: a “half day” adventure that still feels special
How to do it: Keep it simple: hike up, linger briefly, then hike down before wind and weather get theatrical. Bring a wind layer. The Dome can feel chilly even on sunny days.
Thunderstorm bail plan: If you see fast-building clouds, skip the top. Exposed domes are lightning magnets. Descend early and trade summit snacks for town coffee instead.
7) Crest taste-test (out-and-back to a viewpoint)
Why it works: sometimes the best first Crest hike is not a named destination. It is simply walking until the views pop, then turning around before altitude or weather makes the decision for you.
- Distance: approx. 2 to 6 miles round trip
- Elevation: moderate, with short steeper bits
- Best for: travelers acclimating, or anyone hiking with mixed-ability friends
Where to start: Use the Lake George area as your launch point and hike toward the Mammoth Crest direction, turning around at the first big “this is the one” viewpoint. This keeps logistics simple while still letting you sample the Crest experience.
Thunderstorm bail plan: Set a conservative time cap. If the sky looks unstable, keep the hike in the forest approach zone and avoid prolonged ridge time.
Sample 2-day plan
Day 1: Lakes Basin and an early dinner
- Pick a Lake Mary to Twin Lakes sampler or McLeod Lake from Horseshoe
- Aim to finish by early afternoon to avoid peak storm hours
- Refuel in town and keep the evening mellow for sleep
Day 2: Crest area in the morning
- Start early for Crystal Lake or Panorama Dome
- Pack a warmer layer and extra water
- Plan to be descending by late morning if thunder is in the forecast
If you want the “best of both worlds” Mammoth day, do your hike early, then reward yourself with a slow afternoon in town. Galleries, gear shops, and coffee all hit differently when you are not sprinting a storm.
What to pack
- Water: more than you think you need at altitude
- Electrolytes and salty snacks: altitude insurance
- Layers: sun shirt plus a light insulating layer and a shell if storms are possible
- Sun protection: hat, sunglasses, sunscreen. High elevation sun is intense.
- Navigation: offline map downloaded ahead of time
- Water treatment: filter or purification tablets if you might drink from streams or lakes. Treat all natural water.
- Thunderstorm essentials: a fully charged phone, and the willingness to turn around early
Quick notes
- Conditions change: check current trail status, smoke, and shuttle operations before you go. Summer logistics here can shift fast with fire activity and road work.
- Seasonal reality: early summer can mean lingering snowfields and peak mosquitoes. Shoulder season mornings can be icy. Adjust plans and consider traction if conditions call for it.
- Permits: day hiking is typically permit-free, but wilderness rules still apply. Overnight trips are a different story. Verify current Inyo National Forest requirements if you are extending your plans.
- Dogs: many trails allow dogs on leash, but rules vary by area and agency. Devils Postpile has its own pet restrictions and seasonal rules, so check before you bring your pup.
- Leave no trace: in the Basin especially. High-use lake shores recover slowly.
- Wildlife etiquette: keep food secure and never feed animals, no matter how cute the chipmunk looks while begging.
Pick your first hike
If you are fresh to altitude, start in Lakes Basin and keep your day flexible. If you slept well and feel strong, take a morning swing toward the Mammoth Crest area, then get off exposed terrain before the sky gets ideas.
Either way, Mammoth rewards the traveler who plans like a mountain person and relaxes like a town person. Early start, smart bailout, good coffee afterward. That is the rhythm.