Four Mile Trail to Glacier Point

Maya Lin
Maya Lin is a travel journalist and outdoor enthusiast who believes the best trips combine rugged adventures with urban comforts. After spending six years backpacking across four continents, she founded Trail & Town Guide to help fellow travelers navigate both hidden mountain passes and bustling city neighborhoods with confidence.
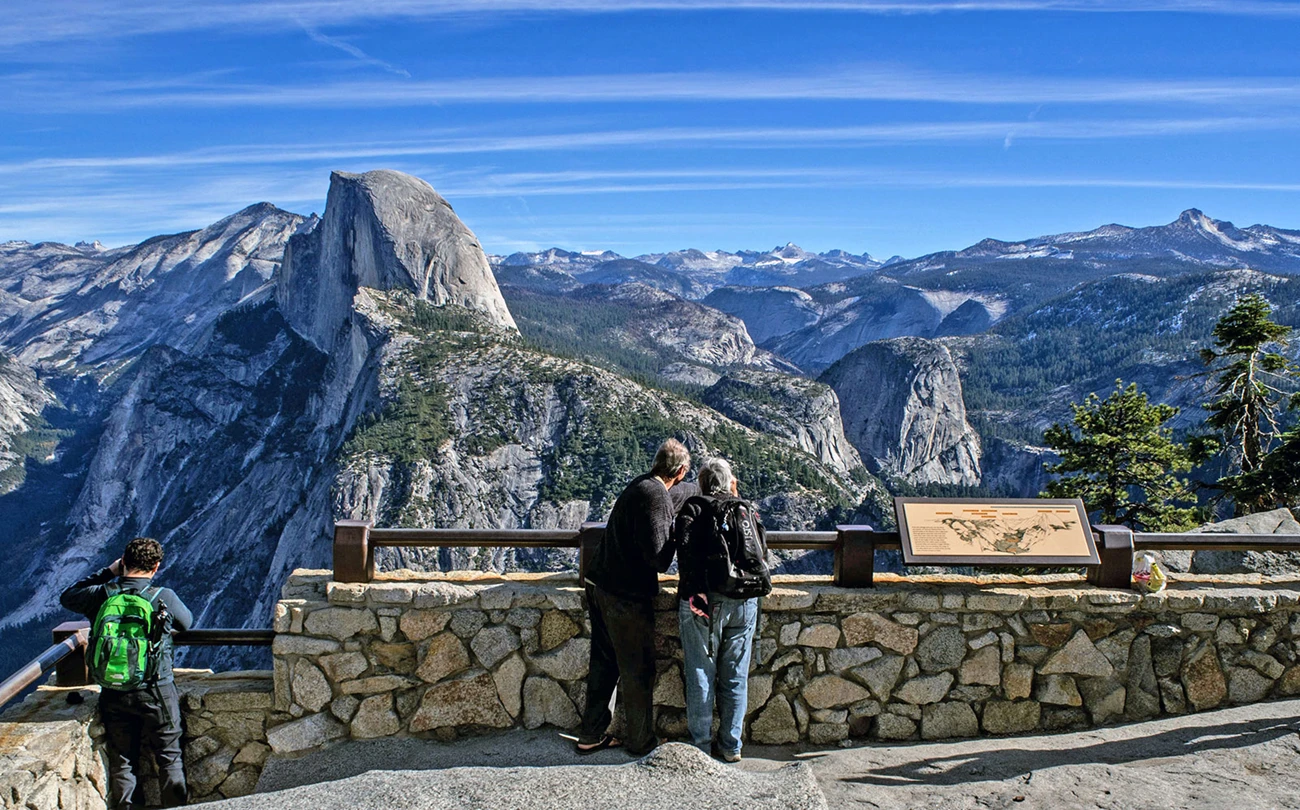
Yosemite has a way of making you underestimate a map. The Four Mile Trail is a perfect example: the name sounds breezy, almost casual, until you start climbing and realize you are gaining thousands of feet with Half Dome and Yosemite Falls just casually hanging in the background like it is no big deal. This is one of my favorite Yosemite hikes because it delivers a serious, sweat-earned viewpoint and still ends with an extremely civilized reward: Glacier Point’s wide-open terrace views and, when services are operating, bathrooms and sometimes water.
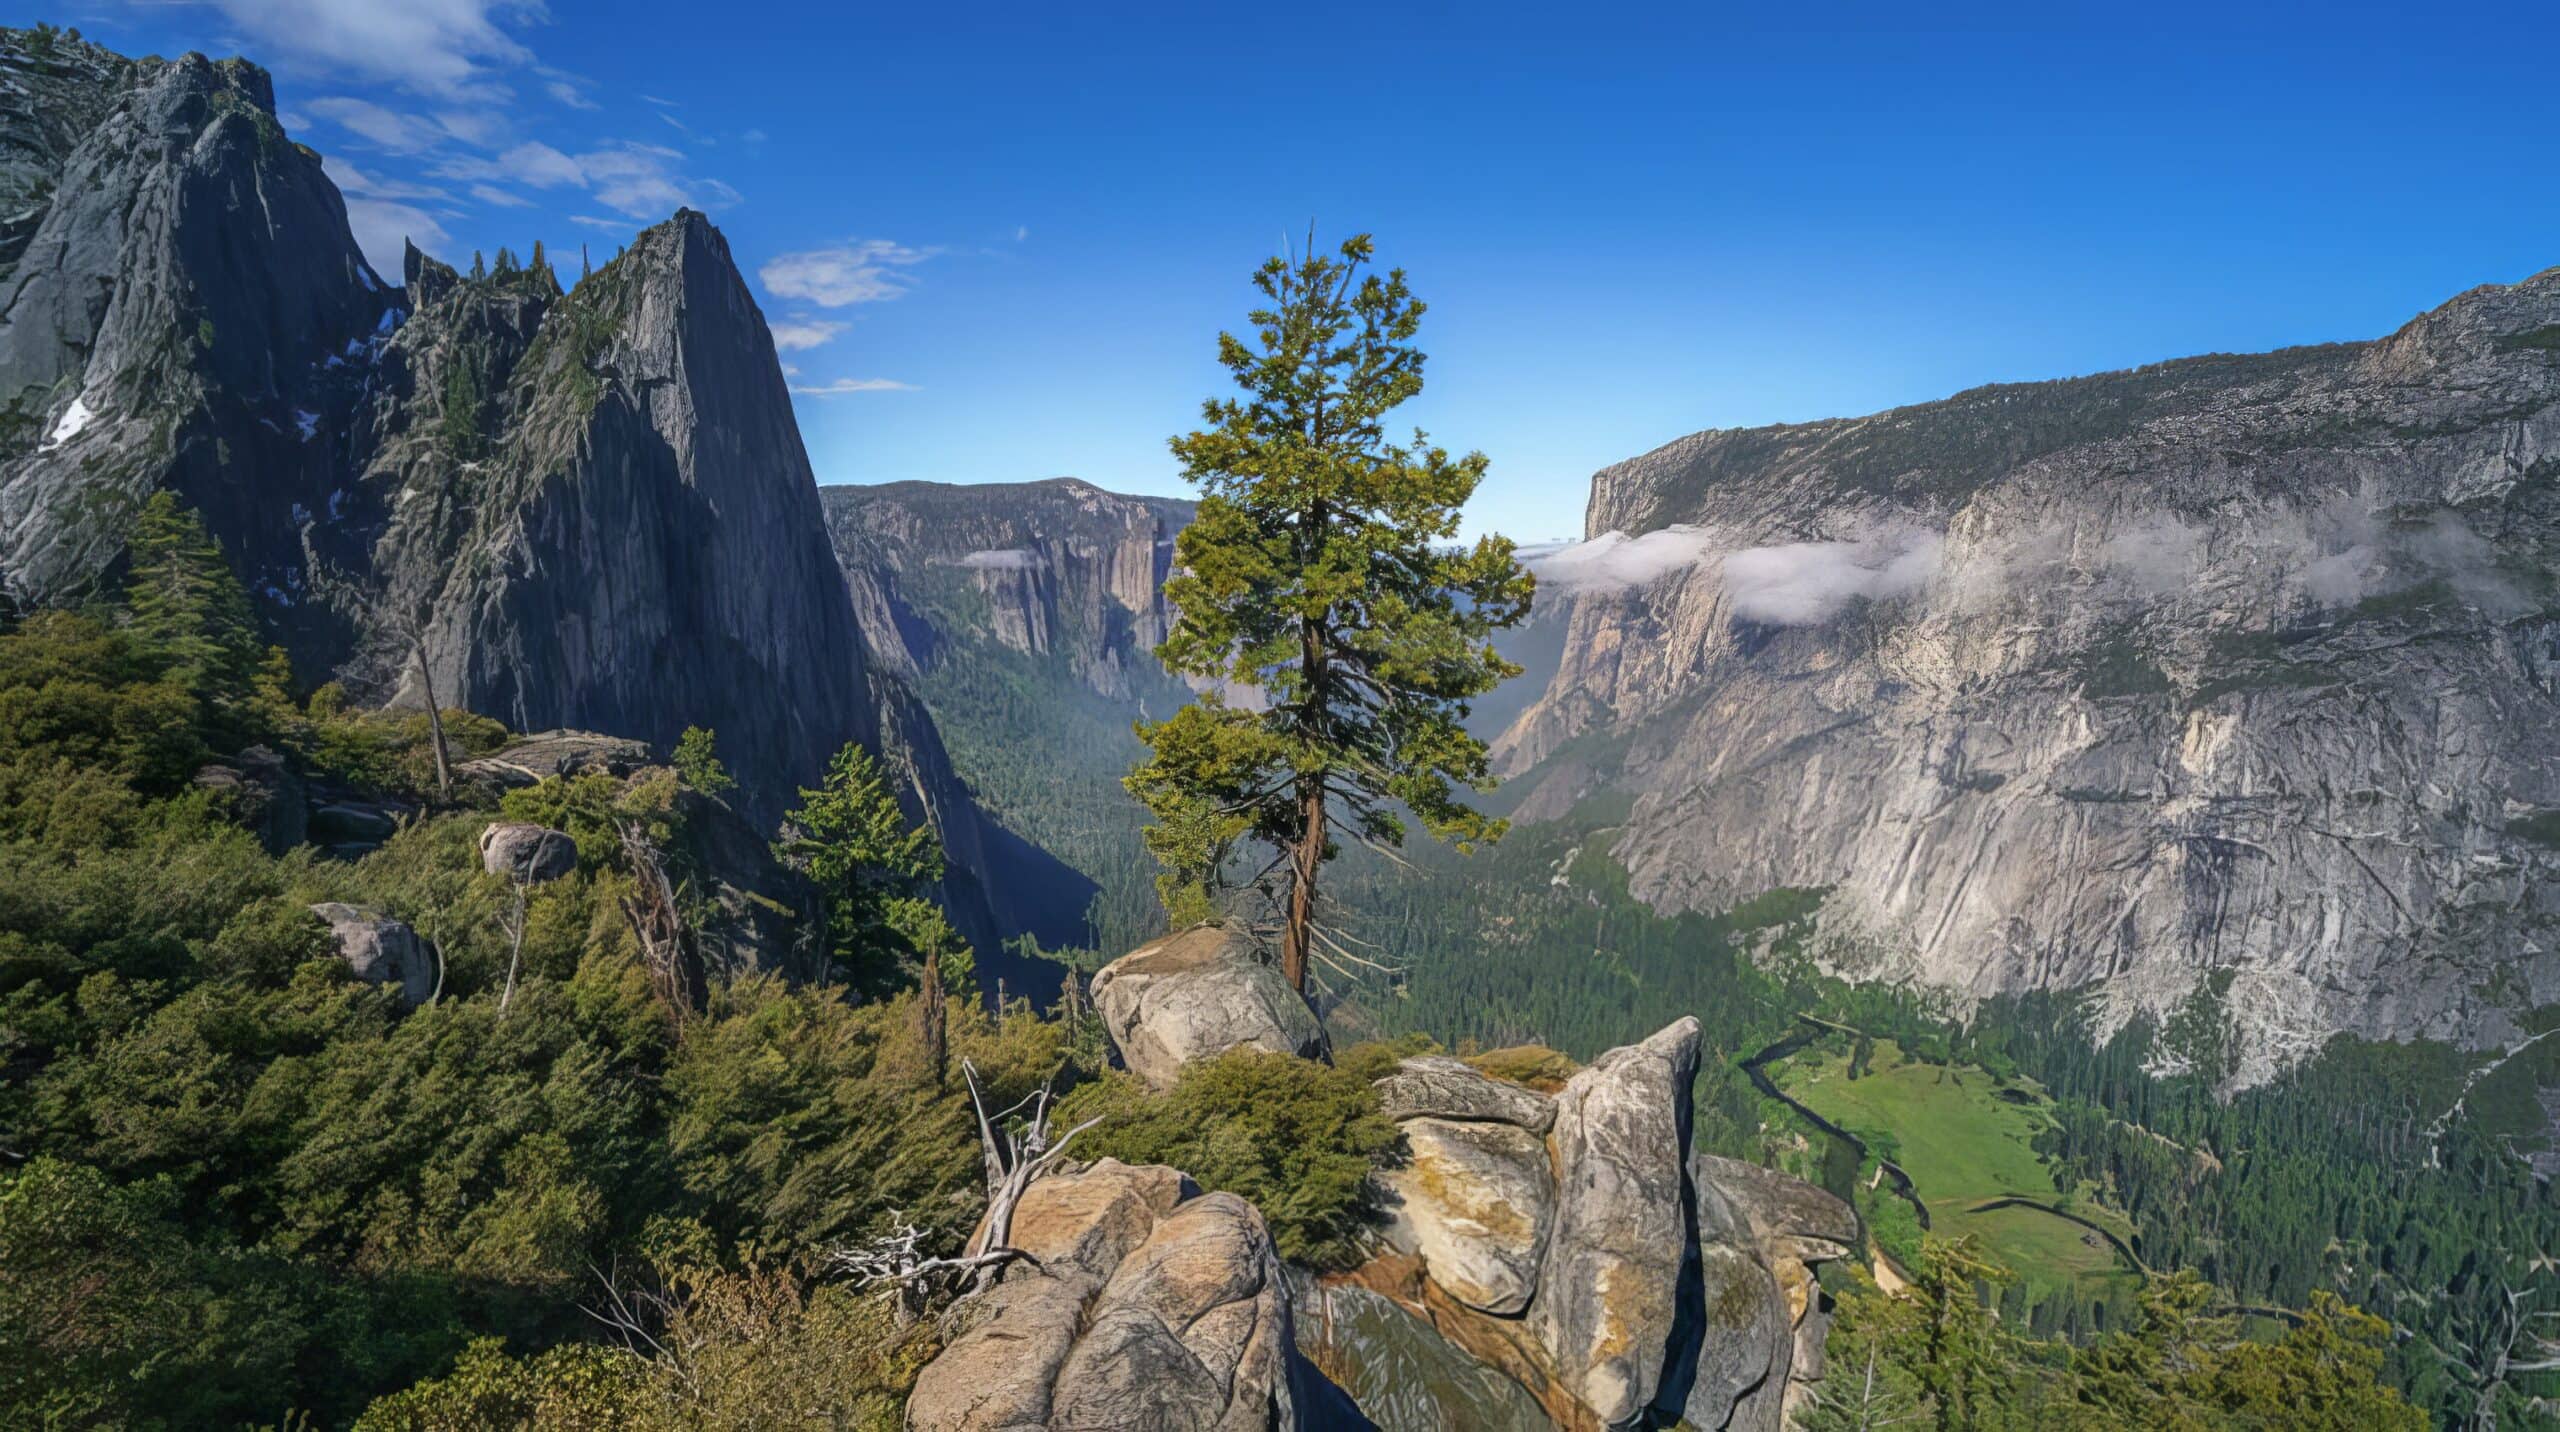
If you want a Valley-to-rim hike that feels iconic from the first switchback and does not require technical skills, this is it. The tradeoff is simple: it is steep, it is exposed, and you need a plan for getting back down, especially in years when Glacier Point Road access or transportation is limited.
At a glance
- Route: Four Mile Trailhead (Yosemite Valley) to Glacier Point
- Distance: about 4.6 to 4.8 miles one way (roughly 9.2 to 9.6 miles round trip, depending on the source and the exact endpoint)
- Elevation gain: about 3,200 to 3,600 feet one way (varies by measurement and endpoint)
- Typical hiking time: 3 to 5 hours up, 2 to 3.5 hours down (varies wildly by heat and fitness)
- Difficulty: Strenuous because of sustained climbing and sun exposure
- Best for: Big views, classic Yosemite granite, strong hikers who want a challenge without a full day in the backcountry
Quick reality check: It is called the Four Mile Trail, but it is not a tidy four miles. That extra distance is not a rounding error when you are climbing.
Water note: Do not count on potable water at the top. Sometimes it is available when services are operating, sometimes it is not.
Where the trail starts
The Four Mile Trailhead is on Southside Drive in Yosemite Valley, at the signed Four Mile Trailhead parking pullout. It is on the south side of the Valley, roughly in the Sentinel Beach and Swinging Bridge area, but I would not navigate by vibes here. Use an official park map and current road and shuttle info to dial in the exact spot.
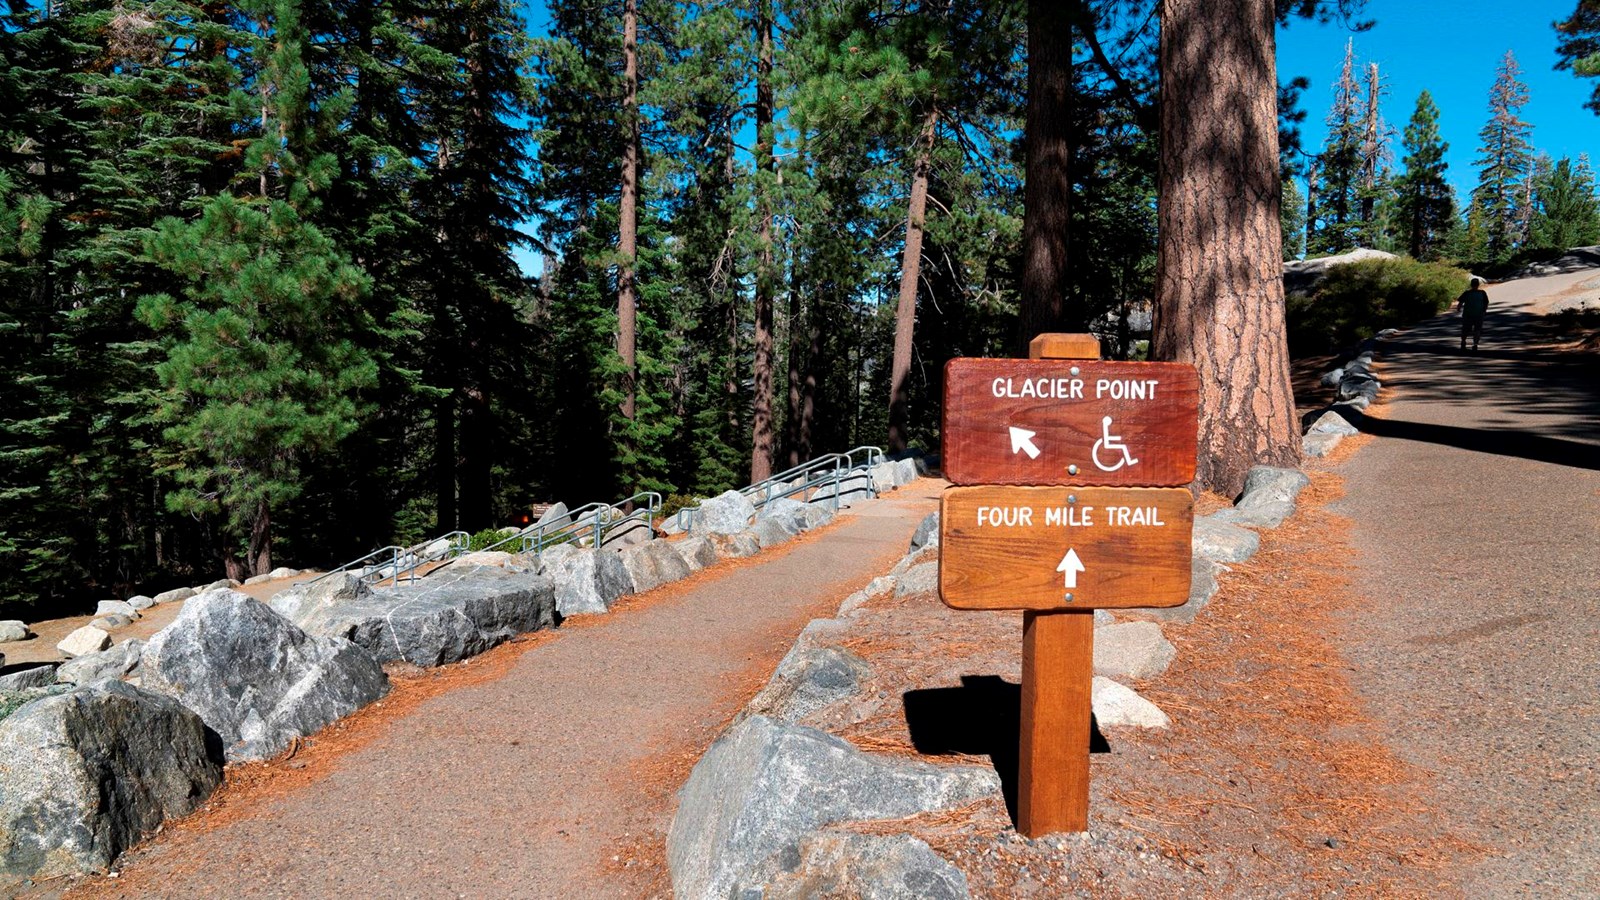
My practical approach: If I am staying in the Valley, I assume I will need to walk to the trailhead and treat the shuttle as a bonus if it lines up. If I am driving in for the day, I treat sunrise as my friend and the only reliable parking strategy.
Shuttle note: Shuttle routes and stops can change season to season. If you are counting on one, check the current Yosemite National Park shuttle page before you build your whole morning around it.
What the climb is like
The first thing you notice is the grade. Four Mile is essentially a masterclass in switchbacks. The trail is well-built and easy to follow, but it wastes no time gaining elevation. You rise above the Valley floor fast, and the views start paying you back early.
Simple checkpoints
- Early switchbacks: You gain height quickly and start getting those “I cannot believe I am already up here” looks back into the Valley.
- Mid-climb: The views widen and the trail rhythm settles in: switchback, breathe, repeat.
- Upper trail: Conditions can feel cooler and windier as you near Glacier Point, even if the Valley is baking.
Views you will earn
- Yosemite Valley unfolding behind you as the Merced River corridor shrinks into a ribbon
- Yosemite Falls across the Valley, often the star of the show in spring
- El Capitan’s profile and the feeling of being level with the walls instead of looking up at them
Shade and heat reality
This trail has long, exposed stretches. In summer, it can feel like hiking inside a warm stone bowl as the sun bounces off granite. If you are not used to heat, start early, carry more water than you think you need, and do not treat the mileage like it is the main challenge. Elevation gain and sun are the main challenge.
Footing and safety
Under normal summer conditions the footing is straightforward: dirt tread, some rock, and drop-offs that are generally well-managed by the trail alignment. Still, you are high above the Valley in places, so if you have vertigo or do not like exposure, expect a few sections that make you slow down and focus.
Season and closures
The Four Mile Trail is typically a seasonal trail due to snow and ice hazards at higher elevations. In most years, it opens in late spring and closes in late fall, but exact dates change annually depending on snowpack, storm cycles, and trail conditions.
Important: Early season and shoulder season can mean ice, lingering snowfields, and wet, slippery tread, especially in shaded corners and higher sections near Glacier Point. Even if the Valley feels like summer, the rim can still behave like spring.
- Best time for most hikers: late spring through early fall, when the trail is snow-free and days are long
- Hottest, most exposed period: mid-summer afternoons
- Check conditions before you go: Yosemite National Park’s official trail conditions and alerts are worth looking at the morning you hike
If the trail is closed, respect it. A “closed” sign here is not a suggestion. It is the park telling you that steep terrain plus ice equals preventable accidents.
Weather and smoke
Because this is a hot, exposed climb, I also treat the day’s thunderstorm forecast, heat advisories, and wildfire smoke as part of the route planning. Lightning and granite are a bad combination, and smoke can turn a strenuous hike into a headache fast. If the air quality is poor, this is one of the first hikes I swap for something shorter, shadier, or higher with less baking heat.
Permits and rules
You do not need a wilderness permit to day hike the Four Mile Trail. Wilderness permits come into play if you are camping overnight in the backcountry.
Water, bathrooms, and what to carry
Think of Four Mile as a bring-what-you-need climb. There are not reliable water sources along the way that you should plan on using. At the top, Glacier Point area services vary by season and operations, so do not bet your entire hydration plan on a fountain being on.
What I pack for this hike
- Water: more than you normally carry for the mileage (heat and elevation gain increase need)
- Electrolytes: especially in summer
- Sun protection: hat, sunglasses, sunscreen
- Traction: in early season, consider microspikes if conditions call for it
- Layers: the rim can be cooler and windier than the Valley
- Snacks: this is not the hike to under-fuel
Coffee note, because I am me: If you like starting the day with a good cup, do it before you begin. Four Mile is the kind of climb where you want your caffeine sorted before the first switchback, not halfway up while you are negotiating a cramped pack pocket.
How to get back down
This is the planning piece that makes or breaks your day. Hiking up is only half the logistics. Getting down depends on whether Glacier Point Road is open and whether seasonal transportation is operating.
Option 1: Out and back on Four Mile
If you want the simplest plan that does not rely on road access or schedules, do a round trip: hike up Four Mile, enjoy Glacier Point, then return the same way.
- Pros: no transportation needed, always works when the trail is open
- Cons: steep descent pounds knees and quads, and afternoon heat can be intense on the way down
Option 2: One-way with a road pickup
When Glacier Point Road is open, some hikers plan a one-way ascent and get picked up by a friend or family member at Glacier Point parking areas.
- Pros: saves your knees, turns it into a point-to-point adventure
- Cons: requires coordinating vehicles and timing, and traffic and parking at Glacier Point can be slow in peak season
Option 3: Glacier Point Tour or bus service
In some years, Yosemite offers a Glacier Point Tour or other Valley-based bus options that get you between Yosemite Valley and Glacier Point. When it is running, it can be a great way to avoid arranging a second vehicle. Treat this as a check-before-you-go option, because there are also years when it is not offered at all.
If Glacier Point Road is closed
If the road is closed to public vehicle traffic, public pickup at Glacier Point typically is not possible. In that case, the most straightforward and reliable strategy is:
- Hike up and hike back down the Four Mile Trail.
It is not the flashiest answer, but it is the one that does not collapse if a gate is closed, a shuttle is not running, or parking is a mess. If you are tempted to force a point-to-point day anyway, make sure you are not accidentally turning your hike into a much bigger route than you trained for.
My rule for Yosemite logistics: If your return plan depends on a road being open, a service running, or a friend finding parking on a holiday weekend, have a backup that involves your own two feet.
Other routes from Glacier Point: If you are looking to turn this into a longer point-to-point, the Panorama Trail and parts of the Pohono Trail (Taft Point and Sentinel Dome area) come up a lot. They are excellent, but they are longer, more committing, and have their own seasonal and transportation quirks. Plan them as their own routes, not as an improvised add-on when you are already tired.
Pacing tips
Start earlier than you think
Four Mile feels dramatically different at 8:00 am versus 2:00 pm. Early starts mean cooler temps and a calmer Glacier Point experience.
Use switchbacks to your advantage
On steep trails, I like “landmark pacing.” Pick a switchback or viewpoint ahead, hike to it without stopping, then take a short break. It keeps the climb mentally bite-sized.
Eat before you are hungry
It is easy to forget to snack when the trail is steep and your breathing is loud. A quick bite every 45 to 60 minutes keeps energy steadier and helps prevent the bonk.
Downhill is not free
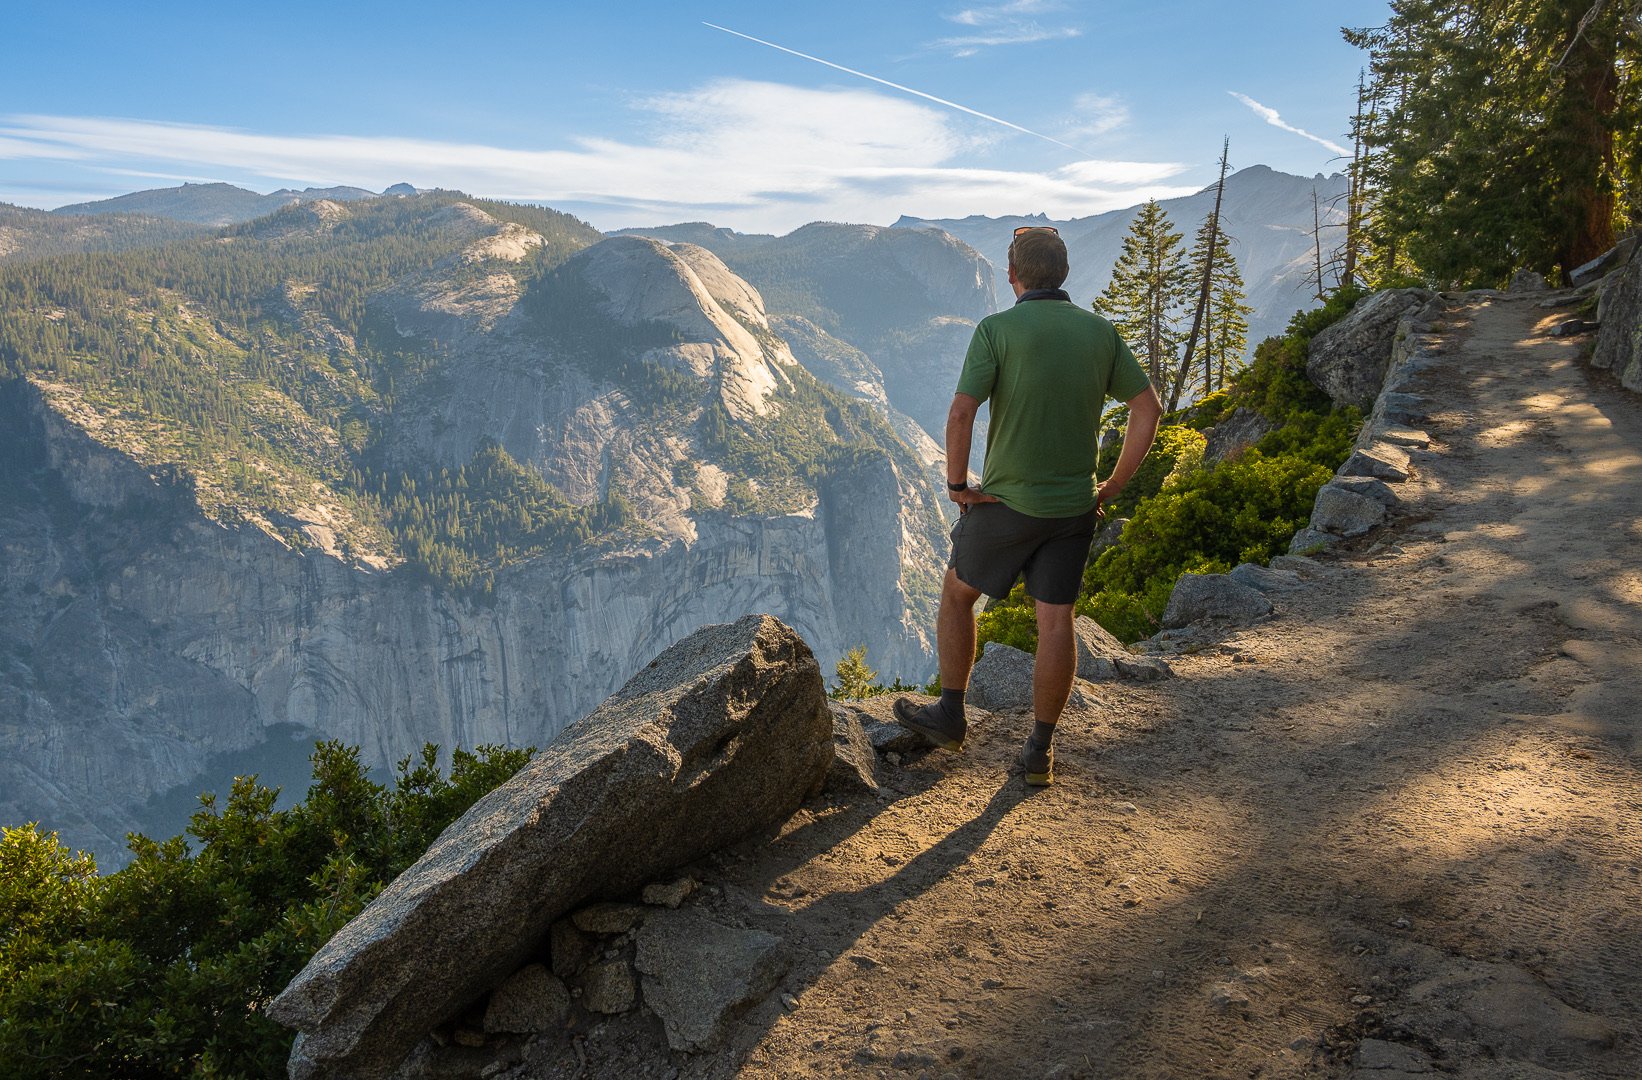
The descent is where I see strong hikers get sloppy. Keep your steps short, watch for sandy patches, and protect your knees. Trekking poles can be a huge quality-of-life upgrade on the way down.
Leave No Trace
- Stay on trail: Yosemite’s vegetation can be fragile, especially near viewpoints and switchbacks
- Pack out everything: including food scraps
- Wildlife: give animals space and store food properly when you are not actively eating
- Restrooms: use facilities where available and plan ahead
Yosemite is one of those places where the small choices add up fast. The more popular the trail, the more your “tiny” impact matters.
Quick FAQ
Is the Four Mile Trail actually four miles?
No. Depending on the source and how the endpoint is measured, it is usually listed around 4.6 to 4.8 miles one way. Historically, it used to be closer to four miles, but reroutes and modern measurements mean the current mileage is longer.
How hard is the Four Mile Trail?
It is strenuous due to the sustained climb and significant elevation gain. If you are comfortable hiking uphill for hours and you start early with enough water, it is very doable, but it is not a casual stroll.
Can you hike it as a day hike?
Yes. Most people hike it as a day hike, either out-and-back or one-way with transportation when the road is open.
What is the best direction?
Most hikers agree that up Four Mile is the most satisfying way to do it: you earn Glacier Point step by step, and the views open behind you all day. If you have the option to avoid a full steep descent, your knees may thank you, but logistics decide this more than preference.
What if Glacier Point Road is closed?
Plan to return via the Four Mile Trail. When the road is closed to public vehicle traffic, pickup at Glacier Point typically is not an option, and relying on it can create a much longer day than expected.