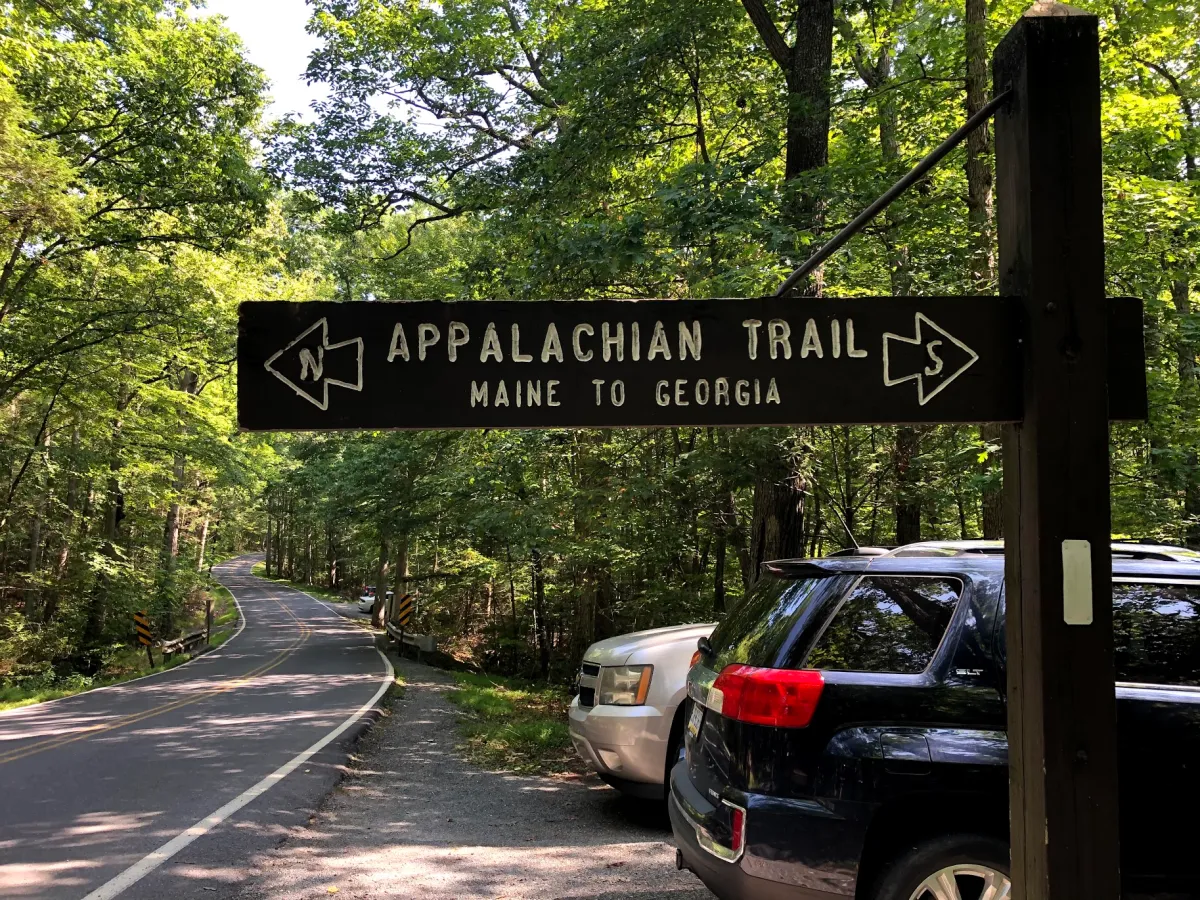
Hike a Day on the Appalachian Trail

The Appalachian Trail is famous for big, life-resetting thru-hikes, but the A.T. is also one of the most accessible iconic long trails for “show up and hike” day adventures in the U.S. The trick is that day hiking the A.T. is not like picking a random loop in a state park. You are dealing with a long-distance trail culture, multiple land managers, trailheads that do not always pair up neatly for loops or one-ways, and logistics that can turn a fun 10 miles into a headlamp march.
This guide is built for day-use only: how to choose an out-and-back, build a loop using side trails, or pull off a one-way point-to-point with a shuttle or car spot. We will also cover realistic mileage targets and where special rules kick in, especially in places like Great Smoky Mountains and Shenandoah.

First, pick your day-hike style
Before you open a map app, decide which of these three formats you are building. Your choice determines everything else: parking, shuttle needs, turnaround times, and how complicated your mileage math becomes.
Option 1: Out-and-back
An out-and-back is the easiest way to hike a section of the A.T. in one day. You park once, hike out, then return the same way. It is also the most flexible because you can turn around early if the weather shifts or the trail is slower than expected.
- Best for: first-time A.T. day hikers, solo hikers, shoulder seasons, unpredictable weather
- Watch-outs: the mental grind of returning the same way, and double-checking that your turnaround point is not a misleading map pin (aim for a named landmark like a gap, shelter area, viewpoint, or road crossing)
Option 2: Loop
The A.T. itself is not designed as a loop trail. Loops happen when the A.T. intersects with other maintained trails: side trails to waterfalls, ridgeline connectors, old roadbeds, horse trails, or blue-blazed alternates. When it works, it is ideal: one car, fresh scenery the whole day.
- Best for: hikers who want variety, photographers, groups who do not want shuttle coordination
- Watch-outs: side trails may be steeper, rockier, wetter, or less maintained than the A.T. and they can dramatically change your pace
Option 3: Point-to-point
This is the classic “walk from Trailhead A to Trailhead B” day. It is satisfying, but logistics-heavy. You will either car spot (leave a vehicle at each end) or use a shuttle (pay someone to move you or your car).
- Best for: strong planners, groups with two cars, hikers who want a clean mileage goal
- Watch-outs: late finishes, locked gates, no cell service at trailheads, and the very real possibility that one-way 12 miles feels like 16 if you misjudge speed or elevation
How to choose a route segment
If you want your first A.T. day hike to feel clean and confidence-building, use a simple selection method instead of hunting for a “perfect” view photo on social media.
Quick method
- Start with an official source: use the Appalachian Trail Conservancy (ATC) site to find local maintaining clubs and area pages, then cross-check with a modern map app. FarOut (Guthook), Gaia GPS, AllTrails, and Caltopo can all work if you download maps for offline use.
- Identify trailheads that are real: look for signed trailhead parking lots, popular gaps, visitor areas, or established road crossings with legal parking (not just where a line crosses a road).
- Read recent intel: check recent comments or trip reports for blowdowns, washed-out side trails, seasonal water issues, and parking congestion.
- Match the route to your bailout options: pick a segment with at least one easy exit or shortcut if the day goes sideways.
This takes ten extra minutes of planning and saves you from the classic day-hike mistake: committing to a route that only works on a perfect day with perfect legs.
How to build a loop
If you want a loop, start by searching for A.T. segments where the trail intersects a cluster of other routes. Some of the easiest loop-building zones are places with established trail networks: national parks, national forests, and popular recreation areas near gaps and passes.
Practical loop method
- Pick a reliable start: a signed A.T. trailhead with legal parking and clear access. Road crossings and established visitor-use trailheads are easiest.
- Find a connector: look for a side trail that leaves the A.T. and heads toward a landmark (falls, lake, bald, fire tower) or a road.
- Close the loop: use another trail, forest road, or park trail to return to your start without re-hiking the entire A.T. segment.
- Confirm maintenance: a dashed line on an app is not a promise. Check a current land-manager map and recent trip reports if possible.
What makes a good loop
- Two solid trailheads: obvious starts, clear signage, and parking you feel good about leaving a car all day
- One bailout option: a road crossing or short-cut trail in case storms or fatigue hit
- Water reality: a “blue line” on a map is not always drinkable. Seasonal springs can be dry.
My rule: if a loop relies on one questionable connector trail, it stops being a loop and starts being a rescue plan. Choose loops that work even when conditions are average, not perfect.
Shuttles and car spots
Point-to-point A.T. day hikes are about time management and transportation reliability. If either fails, you are walking pavement or asking strangers for help. Here is the clean approach.
Car spotting
Car spotting means placing one car at your finish trailhead, then driving the group to the start trailhead in the second car. After the hike, you retrieve the start car.
- Best practice: spot the finish car first. That way if a gate is locked or parking is full, you learn before you commit.
- Key detail: leave a paper note in each vehicle with your contact info and plan. If a ranger or local sees a car after hours, it can reduce confusion.
- Safety note: do not leave valuables in plain sight. Trailhead break-ins happen in some corridors, especially at easy-access road crossings.
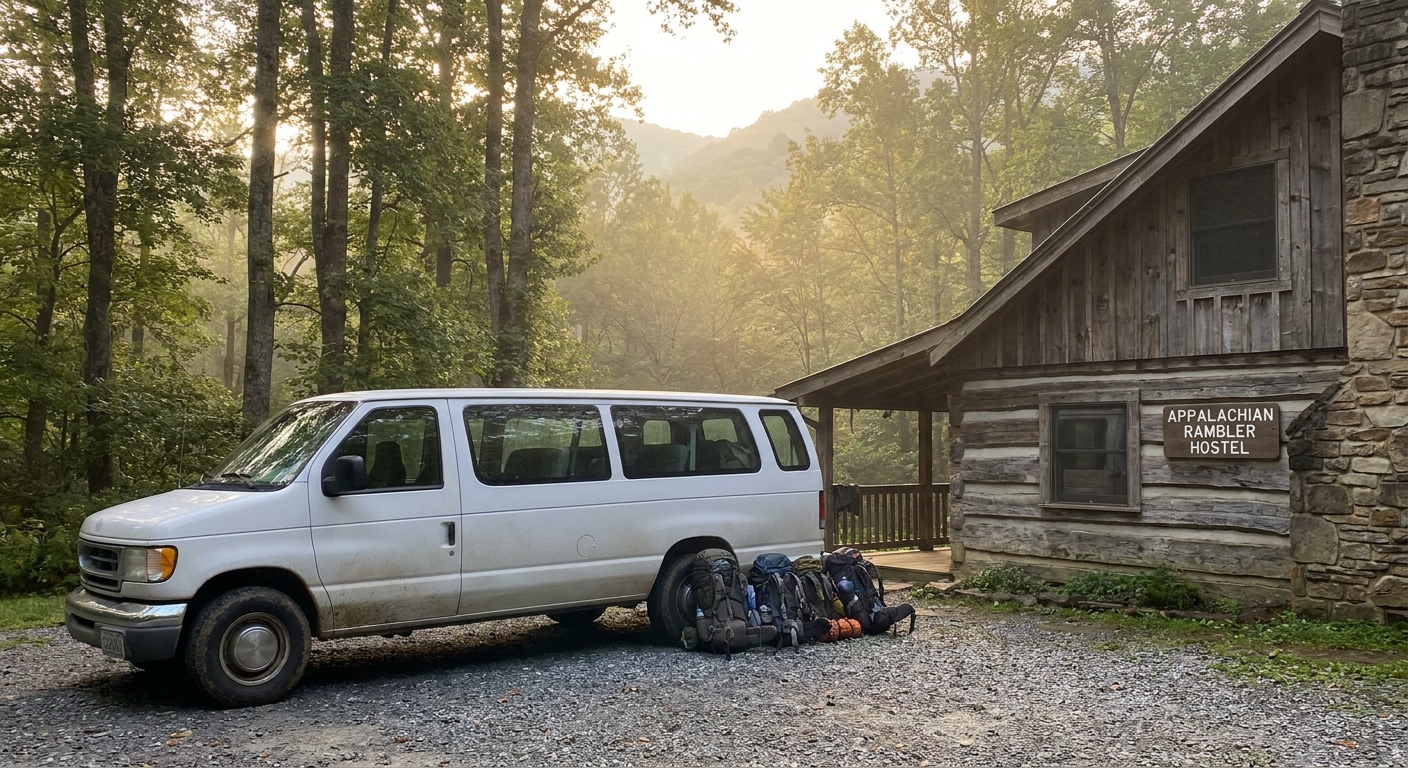
Using a shuttle
Shuttles are common along the A.T., often run by hostel owners, outfitters, and local drivers who know trailheads intimately. A shuttle typically drives you from your car to the start (or picks you up at the end). For day hikes, you usually want to park at the finish and shuttle to the start, so you end the hike at your car.
- Book ahead when possible: weekends and peak leaf season fill up.
- Share specifics: exact trailhead names, road numbers, planned start time, and a latest pickup time if they are meeting you.
- No-signal fallback: agree on what happens if you have no cell service at the endpoint. Many hikers plan a hard “if we are not out by X, assume we are still hiking” window.
Where to find reputable shuttles
- Nearby A.T. hostels and outfitters
- Local tourism pages for A.T. gateway towns
- Regional A.T. Facebook groups and hiking forums (verify recent reviews)
- The Appalachian Trail Conservancy (ATC) for local maintaining club info and regional contacts
- Sometimes, local maintaining club websites list shuttle contacts
Mileage math that works
Most day-hike planning mistakes happen because people pick a distance first and reality later. The A.T. can be smooth and cruisy or it can be rooty, rocky, steep, and slow. Build your plan around time, not just miles.
Step 1: Start with daylight
For day-use hiking, you want a buffer. A clean template:
- On-trail time budget: daylight minus 2 hours (for driving, parking, snacks, mistakes, and a conservative safety margin)
- Target finish: aim to be back at the car at least 60 to 90 minutes before dark
Step 2: Pick a realistic pace
Use these as planning ranges for mixed-terrain A.T. hiking. Terrain varies wildly by region (the Whites are not the same as a smoother mid-Atlantic stretch), and many hikers average closer to about 2 mph once breaks, photos, and rough footing are included.
- 2.5 to 3.0 mph: smoother tread, modest grades, light pack, experienced hiker
- 2.0 to 2.5 mph: typical moving pace for many day hikers on average A.T. terrain
- 1.5 to 2.0 mph: rocky sections, big climbs, summer heat, frequent stops, or new hikers
Step 3: Add elevation
Two hikers can both “do 10 miles,” and one finishes smiling while the other is miserable. Elevation is often the difference. A simple heuristic that helps planning: add about 30 minutes for every 1,000 feet of ascent, then add your normal break time. If you are new to mountain hiking, plan shorter miles when ascent is high, especially in the Smokies, parts of the Whites, and rugged mid-Atlantic rock gardens.
Quick mile targets
- Beginner to casual day hiker: 4 to 8 miles total (especially as an out-and-back)
- Regular hiker: 8 to 12 miles total
- Strong hiker moving steadily: 12 to 16 miles total
- Very fit and efficient (good conditions): 16 to 20 miles total
If you are building a one-way hike, be extra conservative because you cannot shorten the day without major backtracking.
If your plan requires “we will just hike faster” to make the shuttle, it is not a plan. It is a stress test.
Permits and day-use rules
One reason A.T. planning feels confusing is that the Appalachian Trail is a corridor crossing many jurisdictions: national parks, national forests, state parks, wildlife management areas, and private land. The A.T. itself is a National Scenic Trail, but day-use rules come from the land manager you are on.
Most day hikes need no special permit
In many places, you can day hike the A.T. with no permit as long as you follow standard rules for that land unit: parking regulations, pets, group size, fires, and closures.
When special rules are common
- National parks with heavy visitation: may have stricter rules for parking, pets, food storage, and closures
- Fee areas: some trailheads require entrance fees, day-use fees, or passes
- Seasonal closures: weather, wildlife management, or trail work can reroute day hikers
Great Smoky Mountains National Park
For day-use A.T. hiking in Great Smoky Mountains National Park, you generally do not need a backcountry permit as long as you are not camping. Permits primarily apply to overnight backcountry use. That said, the park can have temporary trail, shelter, and area closures (including around bear activity or maintenance), and shelters are intended for permitted overnight users. If your day route passes a shelter area or you might finish late, check current park alerts before you go.
Also note: parking at popular gaps can fill early, and weather at elevation can differ dramatically from the valley forecast.
Shenandoah National Park
Shenandoah is often a friendly place to sample the A.T. in a day because Skyline Drive offers many access points. The tradeoff is that you are in a national park: an entrance fee or pass is required to access Skyline Drive and many trailheads inside the park, and you will need to follow park rules around pets, parking, and closures. Expect busy trailheads on weekends and during fall color.
Other land managers
Outside major national parks, the best approach is simple: identify who manages the land where you are parking and hiking. It might be the U.S. Forest Service, a state agency, or a local authority. Then confirm:
- Is there a day-use fee or parking permit?
- Are dogs allowed, and must they be leashed?
- Are there hunting seasons or blaze-orange recommendations?
- Are there active reroutes or closures?

Out-and-back planning
If you want the most reliable one-day A.T. experience, plan an out-and-back with a clear turnaround landmark. Here is a framework I use when I am short on time or hiking with mixed-ability friends.
Pick a turnaround point
- Distance-based: “Turn around at 4 miles no matter what.”
- Time-based (my favorite): “Turn around when we have used 45 percent of our daylight hiking budget.”
- Landmark-based: “Turn around at the shelter area, then eat lunch.”
Use A.T. landmarks
The A.T. is full of small, helpful landmarks that make day hiking feel structured: shelters, gaps, road crossings, balds, overlooks, and water sources. Even if you are not staying overnight, these are useful navigation anchors for a clean day plan.
Point-to-point planning
One-way A.T. day hikes are satisfying, but they punish sloppy planning. These are the issues I see over and over.
Failure point 1: Trailhead time
Trailhead time includes bathroom stops, packing, route double-checks, and the inevitable “wait, is this the right lot?” Build 20 to 40 minutes of slack.
Failure point 2: Sketchy endpoints
Some A.T. road crossings have tiny shoulders, no legal parking, or confusing access. If your endpoint is a road crossing, confirm it is an established trailhead with parking, not just where the line crosses a road on a map.
Failure point 3: Late finishes
If you are shuttling, set a conservative latest finish time. If you are car spotting, confirm gates and hours. Some park roads and facilities have seasonal schedules.
What to pack for a day hike
Even for a day hike, treat the A.T. like real backcountry travel. You are often far from quick exits, and weather changes fast along ridges.
- Navigation: offline map on your phone plus a backup (paper map or downloaded route notes)
- Water: enough for the day, plus a filter if you are relying on sources
- Food: lunch and snacks you will actually eat when tired
- Layers: rain shell, warm layer, and an extra dry layer in shoulder seasons
- Light: headlamp, even if you plan to finish early
- First aid and blister kit: do not overthink it, just have it
- Sun and bug protection: especially on balds and summer ridges
- Trash bag: pack out everything, including food scraps

Quick safety callouts
- Leave an itinerary: tell someone where you parked, which direction you are hiking, and when you plan to be done.
- Tick checks: in tick season, do a full check after the hike and consider treated clothing.
- Hunting season awareness: in multi-use areas, follow local guidance and consider blaze orange even if it is not required.
Planning checklist
- Route type chosen: out-and-back, loop, or point-to-point
- Parking confirmed: legal, open hours checked, fees understood
- Shuttle or car spot confirmed: times, meeting locations, fallback plan
- Mileage math done: pace range, elevation, turnaround time set
- Rules checked: land manager site for closures, alerts, and day-use restrictions
- Weather checked for elevation: not just the nearest town forecast
- Emergency plan: who knows your route and when you expect to be done
If you do those seven things, you will be in the top tier of A.T. day hikers, not because you are faster, but because you are prepared.
Starter day hikes
If you want a few proven ideas, these are popular “first taste” options. Always confirm current access, parking, and any seasonal closures before you commit.
- Virginia: McAfee Knob area (near Catawba) for big views and classic A.T. energy.
- North Carolina and Tennessee: Max Patch area for open balds and wide horizons (check current access and parking rules, which have changed in recent years).
- New York: Bear Mountain and the Hudson Highlands for a big payoff close to major population centers.
- Pennsylvania: pick a rocky ridge section on purpose, not by accident. It can be a blast, but it is slower than the mileage suggests.
- New Hampshire: the White Mountains are spectacular, but they are not “casual miles.” Start shorter than you think.
The best part is that you do not need to “save” the A.T. for some future thru-hike fantasy. A single day on the white blazes can be a complete story: morning coffee in a trail town, a few honest miles on a ridge, and a shower and a good meal in the evening. Rugged and comfortable, both in one day, exactly how I like to travel.