How to Read a Topo Map for Day Hiking
Maya Lin
Maya Lin is a travel journalist and outdoor enthusiast who believes the best trips combine rugged adventures with urban comforts. After spending six years backpacking across four continents, she founded Trail & Town Guide to help fellow travelers navigate both hidden mountain passes and bustling city neighborhoods with confidence.
If you have ever opened a topographic map and thought, “Cool, it looks like a plate of spaghetti,” you are not alone. Topo maps can feel like a secret language, especially if you are used to city navigation where the grid does most of the thinking for you.
The good news is you only need a few basics to make a topo map genuinely useful on a day hike: how to read contour lines, how to estimate elevation gain, how to spot steepness, how to estimate distance, and how to line the map up with the real world. Once you have those, you will start “seeing” the landscape before you even lace up your boots.
What a topo map shows
A topo map is a 3D landscape translated into a 2D page. Roads, rivers, and trails are there, but the magic is elevation. Those curving lines tell you whether today’s “easy loop” is gently rolling or secretly a StairMaster session.
Most topo maps (and many good topo app layers) give you three things you will use constantly:
- Contour lines to show shape and elevation
- Scale to estimate distance
- Legend to decode symbols like trails, streams, and vegetation boundaries (some simplified recreation maps skip this and rely on labels)
If you only learn one habit: always check the contour interval first. It is usually printed in the map margin and tells you how much elevation change each contour line represents, like 10 feet, 20 meters, or 40 feet.
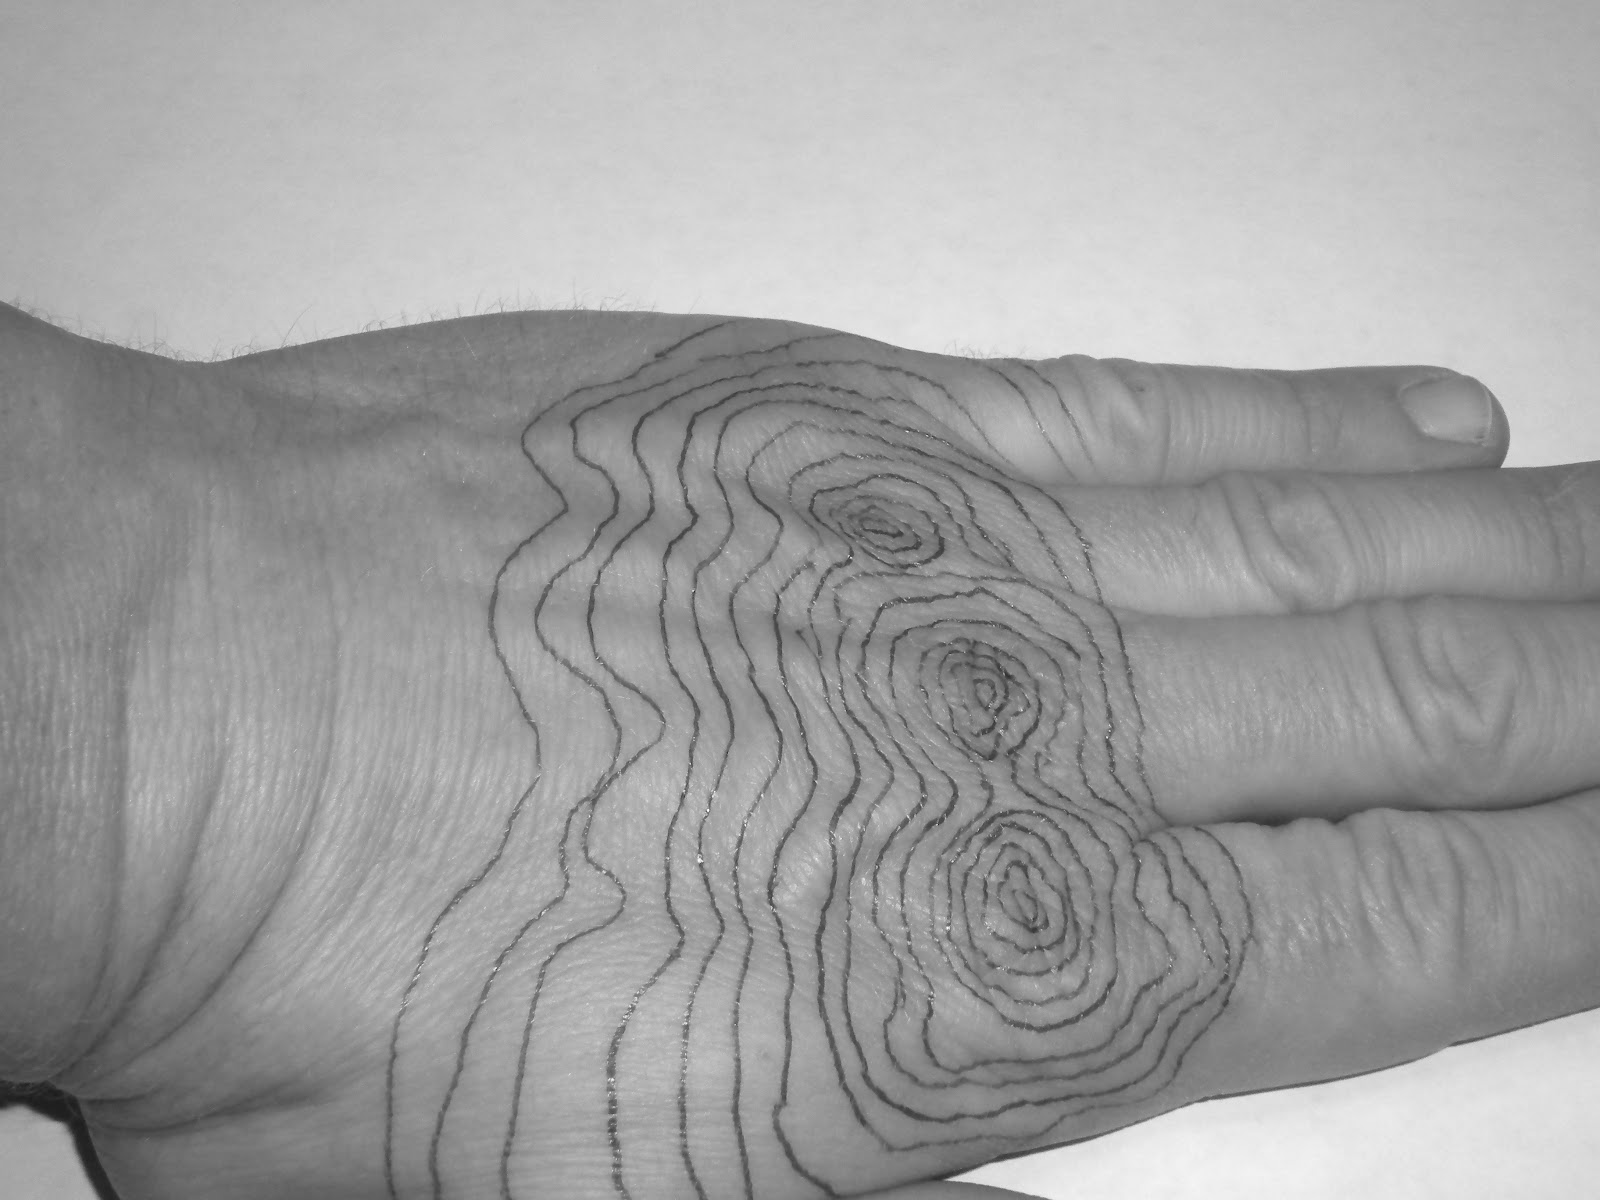
Contour lines
Bathtub rings, but for mountains
Imagine the landscape slowly flooding. Every time the water rises by the contour interval, it leaves a ring on the hills. Those rings are contour lines. Each line connects points of the same elevation.
How to read them fast
- Close lines = steep slope. The “rings” are squeezed together because elevation changes quickly over a short distance.
- Wide lines = gentle slope. Elevation changes slowly, so the rings spread out.
- Closed circles = a hilltop or a depression. If the numbers increase as you go inward, it is a hill. If there are tick marks (hachures) pointing inward, it is a depression. Depressions are less common on many hiking-focused maps, but it is good to recognize them.
Index lines help
On many maps, every fifth contour line is thicker and has an elevation number on it. Those are index contours. Use them like the bold lines on notebook paper. They help you avoid counting a zillion lines and losing your place.
Elevation gain
Elevation gain is the total amount you climb, not the difference between the start and the finish. A route can start and end at the same point and still rack up a surprising amount of climbing.
Beginner method: count lines
- Find your start and your high point (or turnaround point) on the route.
- Note the contour interval on the map.
- Count how many contour lines you cross while going uphill.
- Multiply: (number of lines crossed) × (contour interval).
Example: If the contour interval is 40 feet and you cross 12 lines on the climb, your gain is about 480 feet.
Two reality checks
- Rolling terrain adds up. If the trail goes up and down repeatedly, you need to count each climb, not just the biggest one.
- Trails zigzag. Switchbacks make steep climbs feel easier, but they do not remove elevation gain. They just spread it out.
One more calibration note: phone-recorded elevation gain can be noisy because GPS altitude is not as clean as GPS location. Use your map estimate for planning, then treat your phone’s number as “close enough.”
Steepness
Contour lines can warn you about the sections that will feel slow, slippery, or calf-heavy.
What to look for
- Contour lines nearly touching: expect a steep climb or descent, and potentially loose footing.
- Valleys and streams: contours form a V across a drainage, and the V usually points uphill.
- Ridges: contours can also form a V or U, but those usually point downhill.
- Long, consistent spacing: a steady grade you can settle into, great for pacing.
A quick steepness cue
If the lines are close enough that you cannot comfortably fit your fingertip between them on the page, it will probably feel steep on the ground. It is a quick visual cue, not a measurement, because map scale varies. When in doubt, compare the spacing to other slopes on the same map and keep the contour interval in mind.
Map scale and distance
Distance on a topo map is only useful if you use the scale the map gives you.
Two easy ways
- Use the scale bar: Many maps include a little bar that shows what 0.5 mile or 1 kilometer looks like on the page. You can “walk” that bar along your route with a finger or a scrap of paper and count segments.
- Know the map scale: If your map says 1:24,000, then 1 inch on the map is about 2,000 feet on the ground (a bit under 0.4 miles). Many hiking apps will also give you a distance tool that measures along a trail line.
City tip: in town you can eyeball distance with blocks. On trail, combine mileage and elevation gain before you call something “quick.”
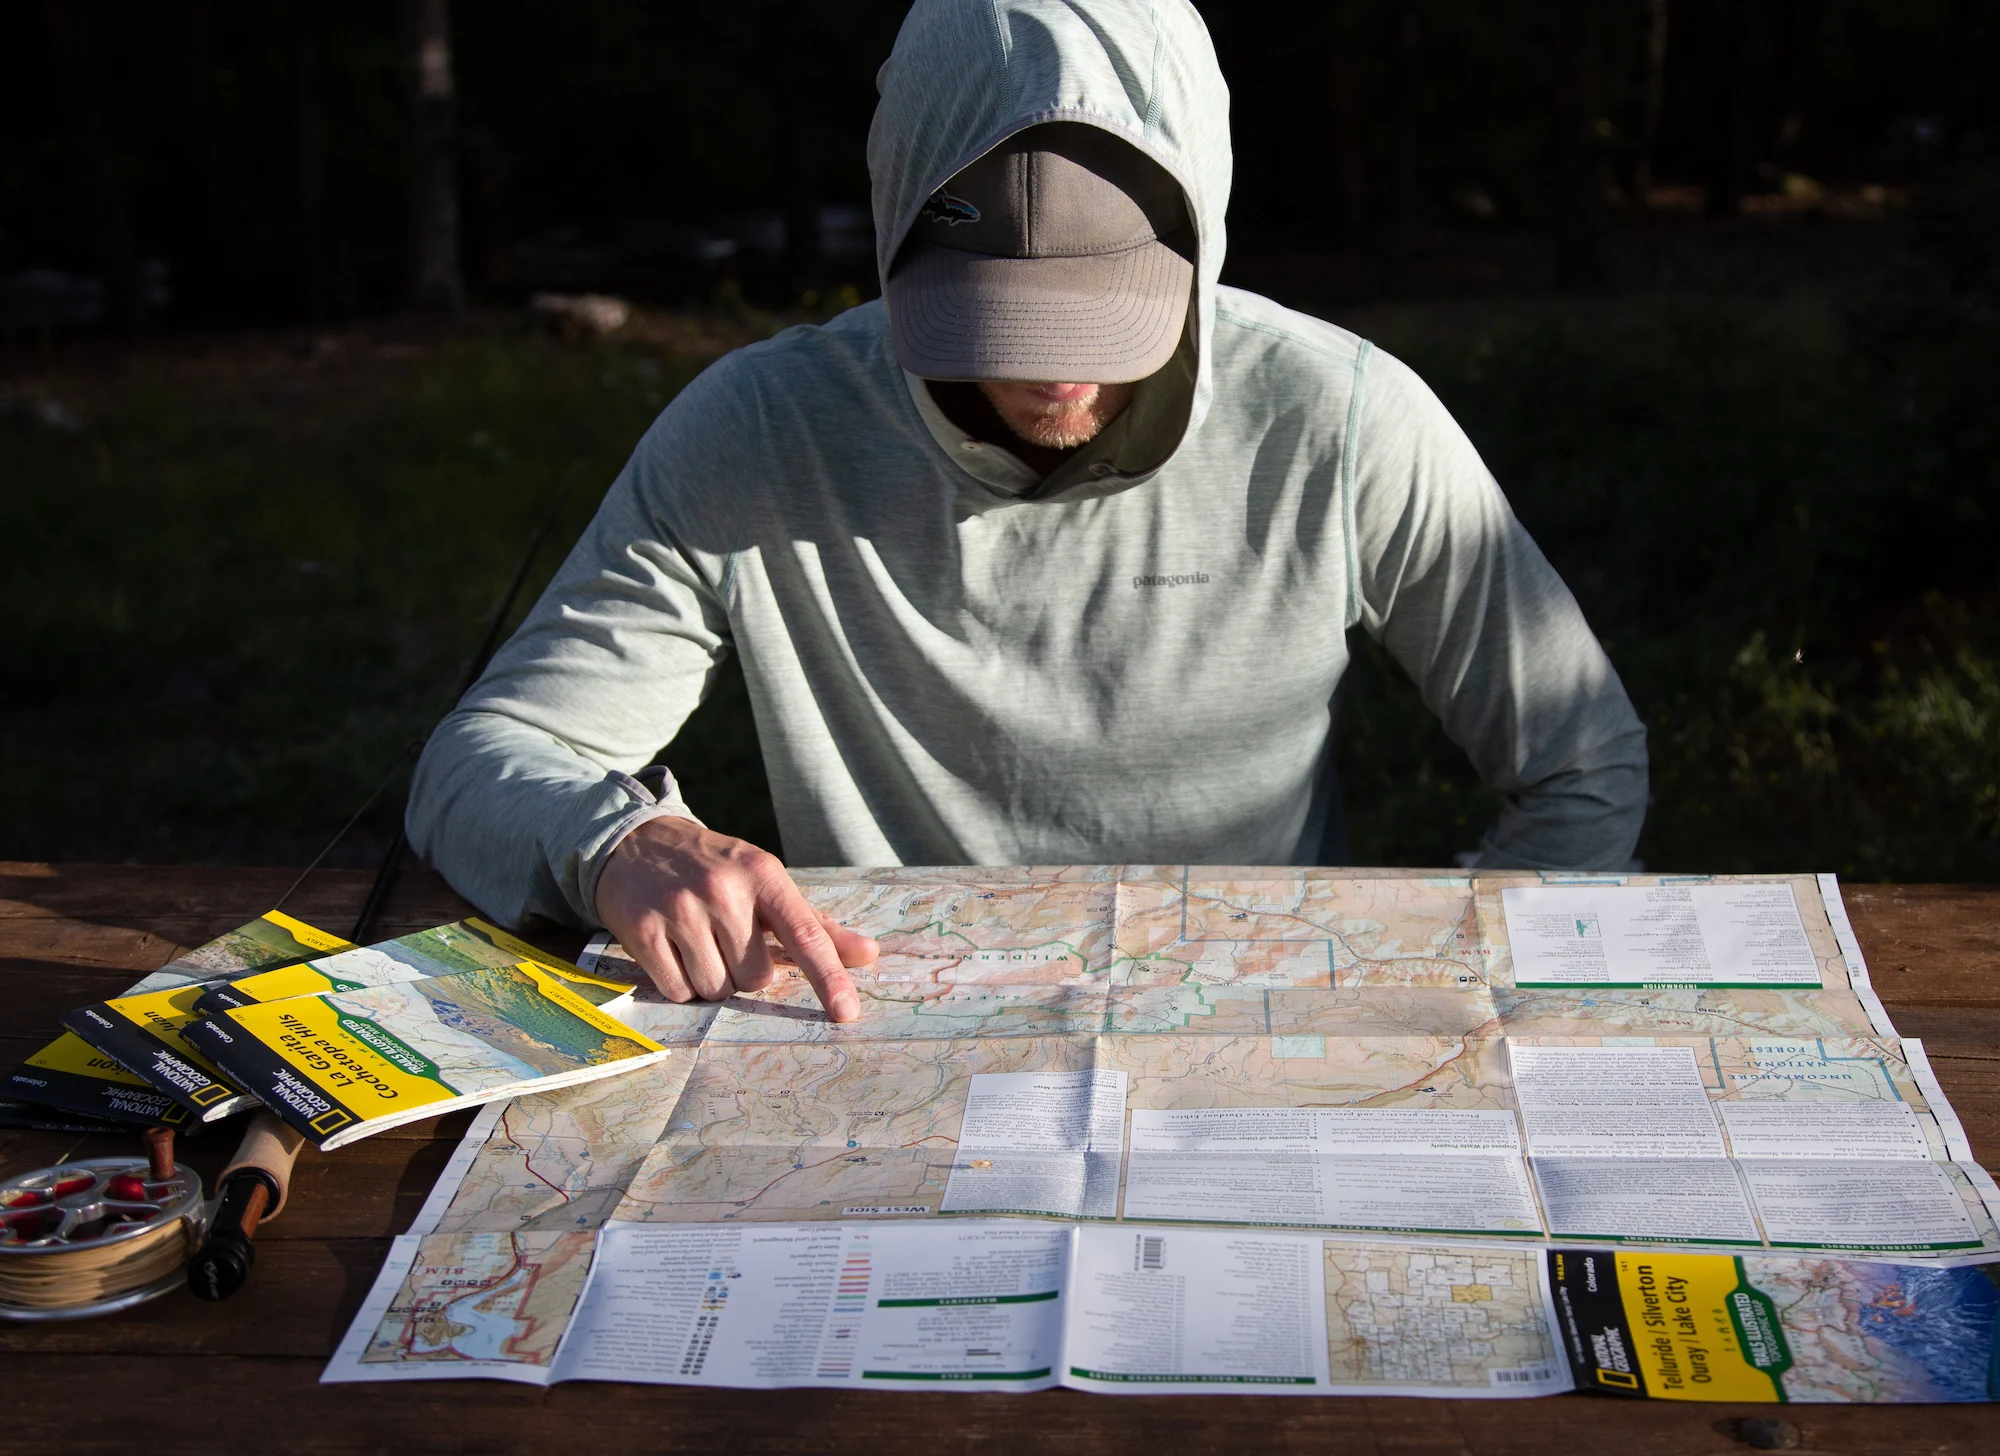
Orienting your map
Orienting a map just means turning it so what is on paper matches what is around you. This is the moment topo maps go from abstract to useful.
Step 1: Use landmarks
Before you reach for a compass, try the easy way:
- Find one or two big, unmistakable features: a lake, a ridge, a road bend, a river junction, a big open meadow.
- Rotate the map until those features line up with what you see in front of you.
This works shockingly well in parks, foothills, and anywhere you can see a skyline or a major trail junction.
Step 2: Use a compass
If visibility is low, or the landscape is repetitive, a compass helps you confirm direction. Keep it simple:
- Hold the map flat.
- Place your compass on the map.
- Rotate the map and compass together until the map’s north matches the direction your compass is showing.
Quick accuracy note (without the jargon spiral): your compass needle points to magnetic north, while topo maps are drawn to true north or grid north. If your area has noticeable declination, set it on your compass (if yours allows) or use the map’s declination diagram in the margin so your “north” lines up correctly.
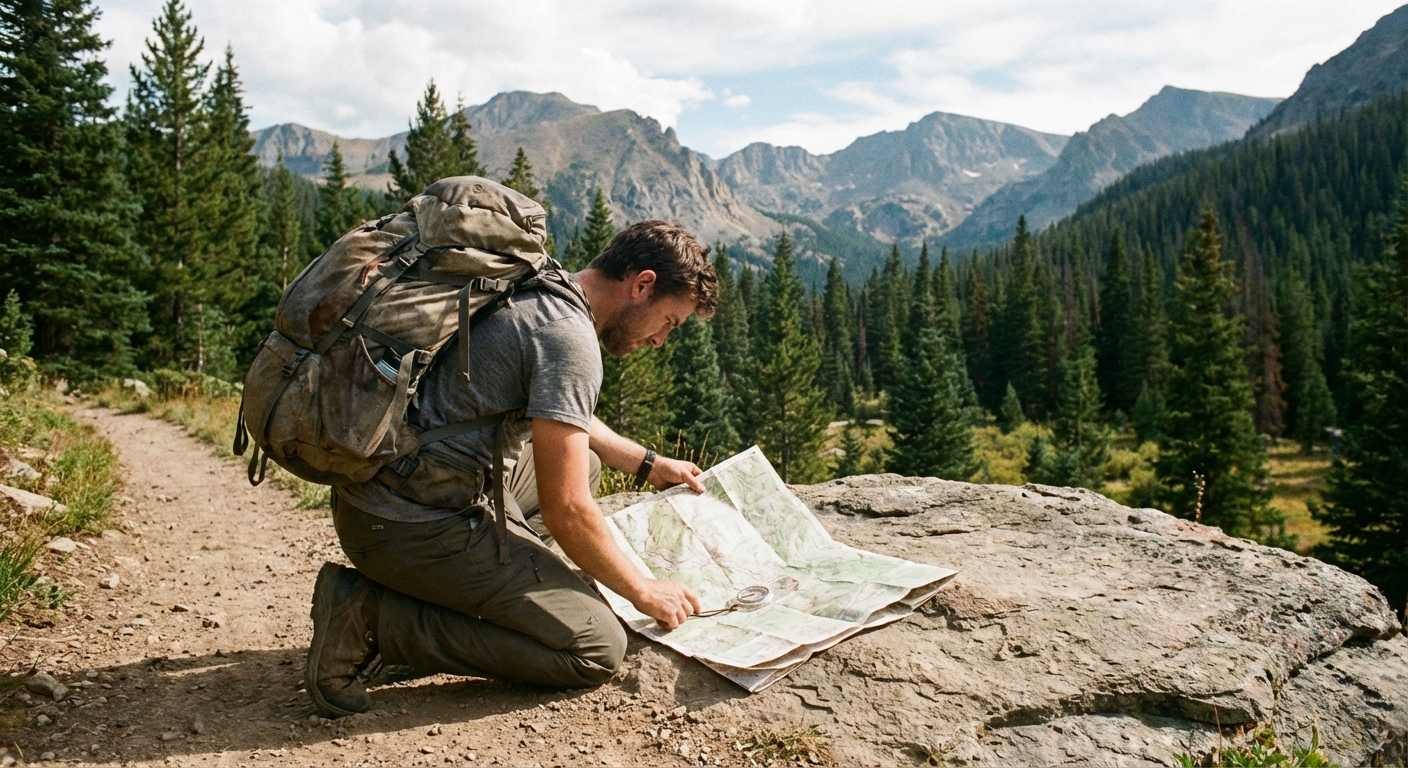
30-minute practice loop
You do not need a wilderness epic to learn this. In fact, practicing near home is ideal because you can focus on the skill, not survival snacks.
What you need
- A topo map of a local park or greenbelt (paper or offline download)
- A pen or pencil
- Your phone with GPS (offline maps turned on)
The routine
- Pick a short loop. Aim for 1 to 3 miles with at least one hill, even a small one.
- Find the contour interval. Say it out loud. Write it in the margin if you have to.
- Circle three features. For example: the highest spot, a creek crossing, and a trail junction.
- Predict the climb. Count contour lines between the low point and high point and estimate elevation gain.
- Predict the tough bits. Find the tightest contour spacing on your route and guess where you will slow down.
- Walk it slowly once. At every junction, stop and point on the map to where you think you are before checking your phone GPS.
- Debrief at a bench. Compare your predicted gain to what your phone recorded. You are not looking for perfection, just getting your brain calibrated.
Do this twice and topo maps start feeling less like spaghetti and more like subtitles for the landscape.
Topo plus phone GPS
This is my favorite city-to-trail workflow. In town, your phone feels invincible. In the mountains, it is just a small computer that gets cold and sometimes loses signal. The trick is planning for that before you leave the coffee shop.
What still works without service
Your phone can usually still show your location via GPS satellites even when you have zero bars. What you lose is the ability to load map tiles on the fly. That is why offline maps matter.
A simple system
- Before the hike: download an offline map of the area (your mapping app of choice) and save the route.
- Bring a topo view: in the app if available, or as a paper backup.
- On trail: use the phone to confirm “the dot on the map,” and use the topo map to understand what is coming next.
- Battery basics: keep your phone in an inner pocket when it is cold, and consider a small power bank for longer days.
Why topo still matters
GPS tells you where you are. A topo map tells you what the terrain is about to do. That difference is huge for pacing and safety, especially when the route gets steep, the weather turns, or you are deciding whether you have time for one more viewpoint before sunset.
Quick cheat sheet
- Contour interval: the elevation change between lines. Find it first.
- Close lines: steep. Wide lines: gentle.
- Index contours: thicker lines with elevation numbers.
- Elevation gain estimate: lines crossed × contour interval.
- Valley V shapes: V points uphill. Ridge V or U shapes: point downhill.
- Scale bar: use it to estimate trail distance on the page.
- Orient the map: rotate it until features match the terrain, then confirm with a compass. Account for declination if it is noticeable where you hike.
Common beginner mistakes
Mixing up elevation and gain
Fix: Elevation is your height above sea level at one spot. Gain is how much you climb total. Count lines on the climbs.
Only checking mileage
Fix: Add elevation gain to your planning. Three miles with 1,500 feet of gain is a different day than three flat miles.
Not stopping at junctions
Fix: Treat every junction like a mini navigation practice. Confirm location, direction, and what is next.
Assuming your phone will save you
Fix: Download offline maps before you go. Carry a paper map on unfamiliar hikes if possible.
Make it feel intuitive
When you are walking around your neighborhood, start casually noticing hills the way you notice coffee shops. “This block climbs.” “That park sits in a low spot.” Once you connect those everyday observations to contour lines, your brain builds a bridge between town and trail.
And that is the whole Town Wander idea, right? A morning museum, an afternoon ridgeline, and the confidence to navigate both.