How to Stay Safe Hiking in Lightning and Thunderstorms
Maya Lin
Maya Lin is a travel journalist and outdoor enthusiast who believes the best trips combine rugged adventures with urban comforts. After spending six years backpacking across four continents, she founded Trail & Town Guide to help fellow travelers navigate both hidden mountain passes and bustling city neighborhoods with confidence.
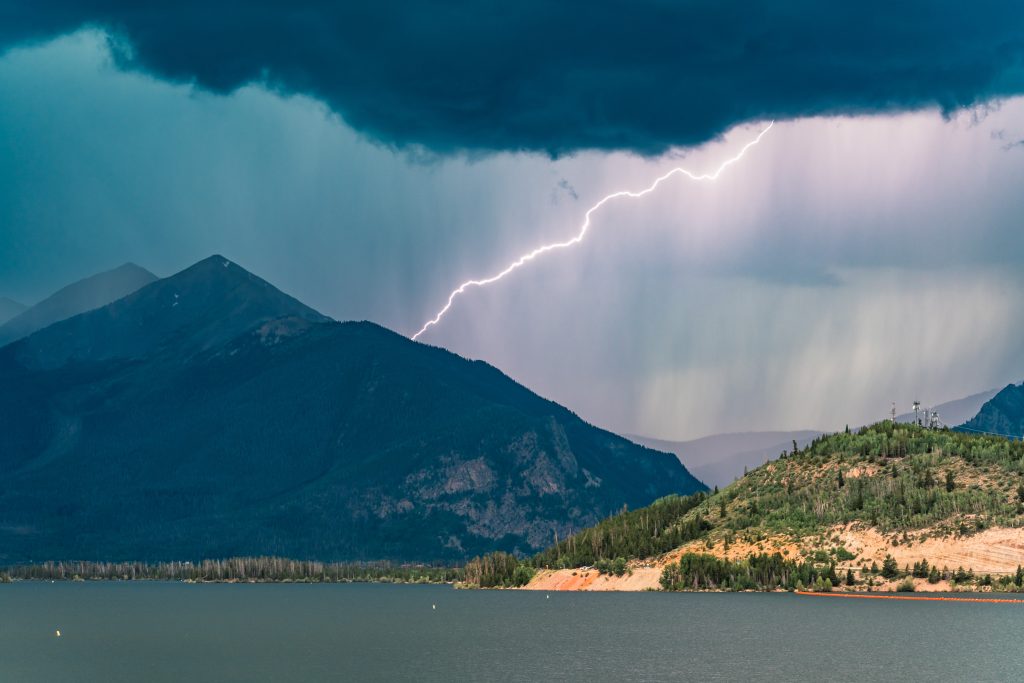
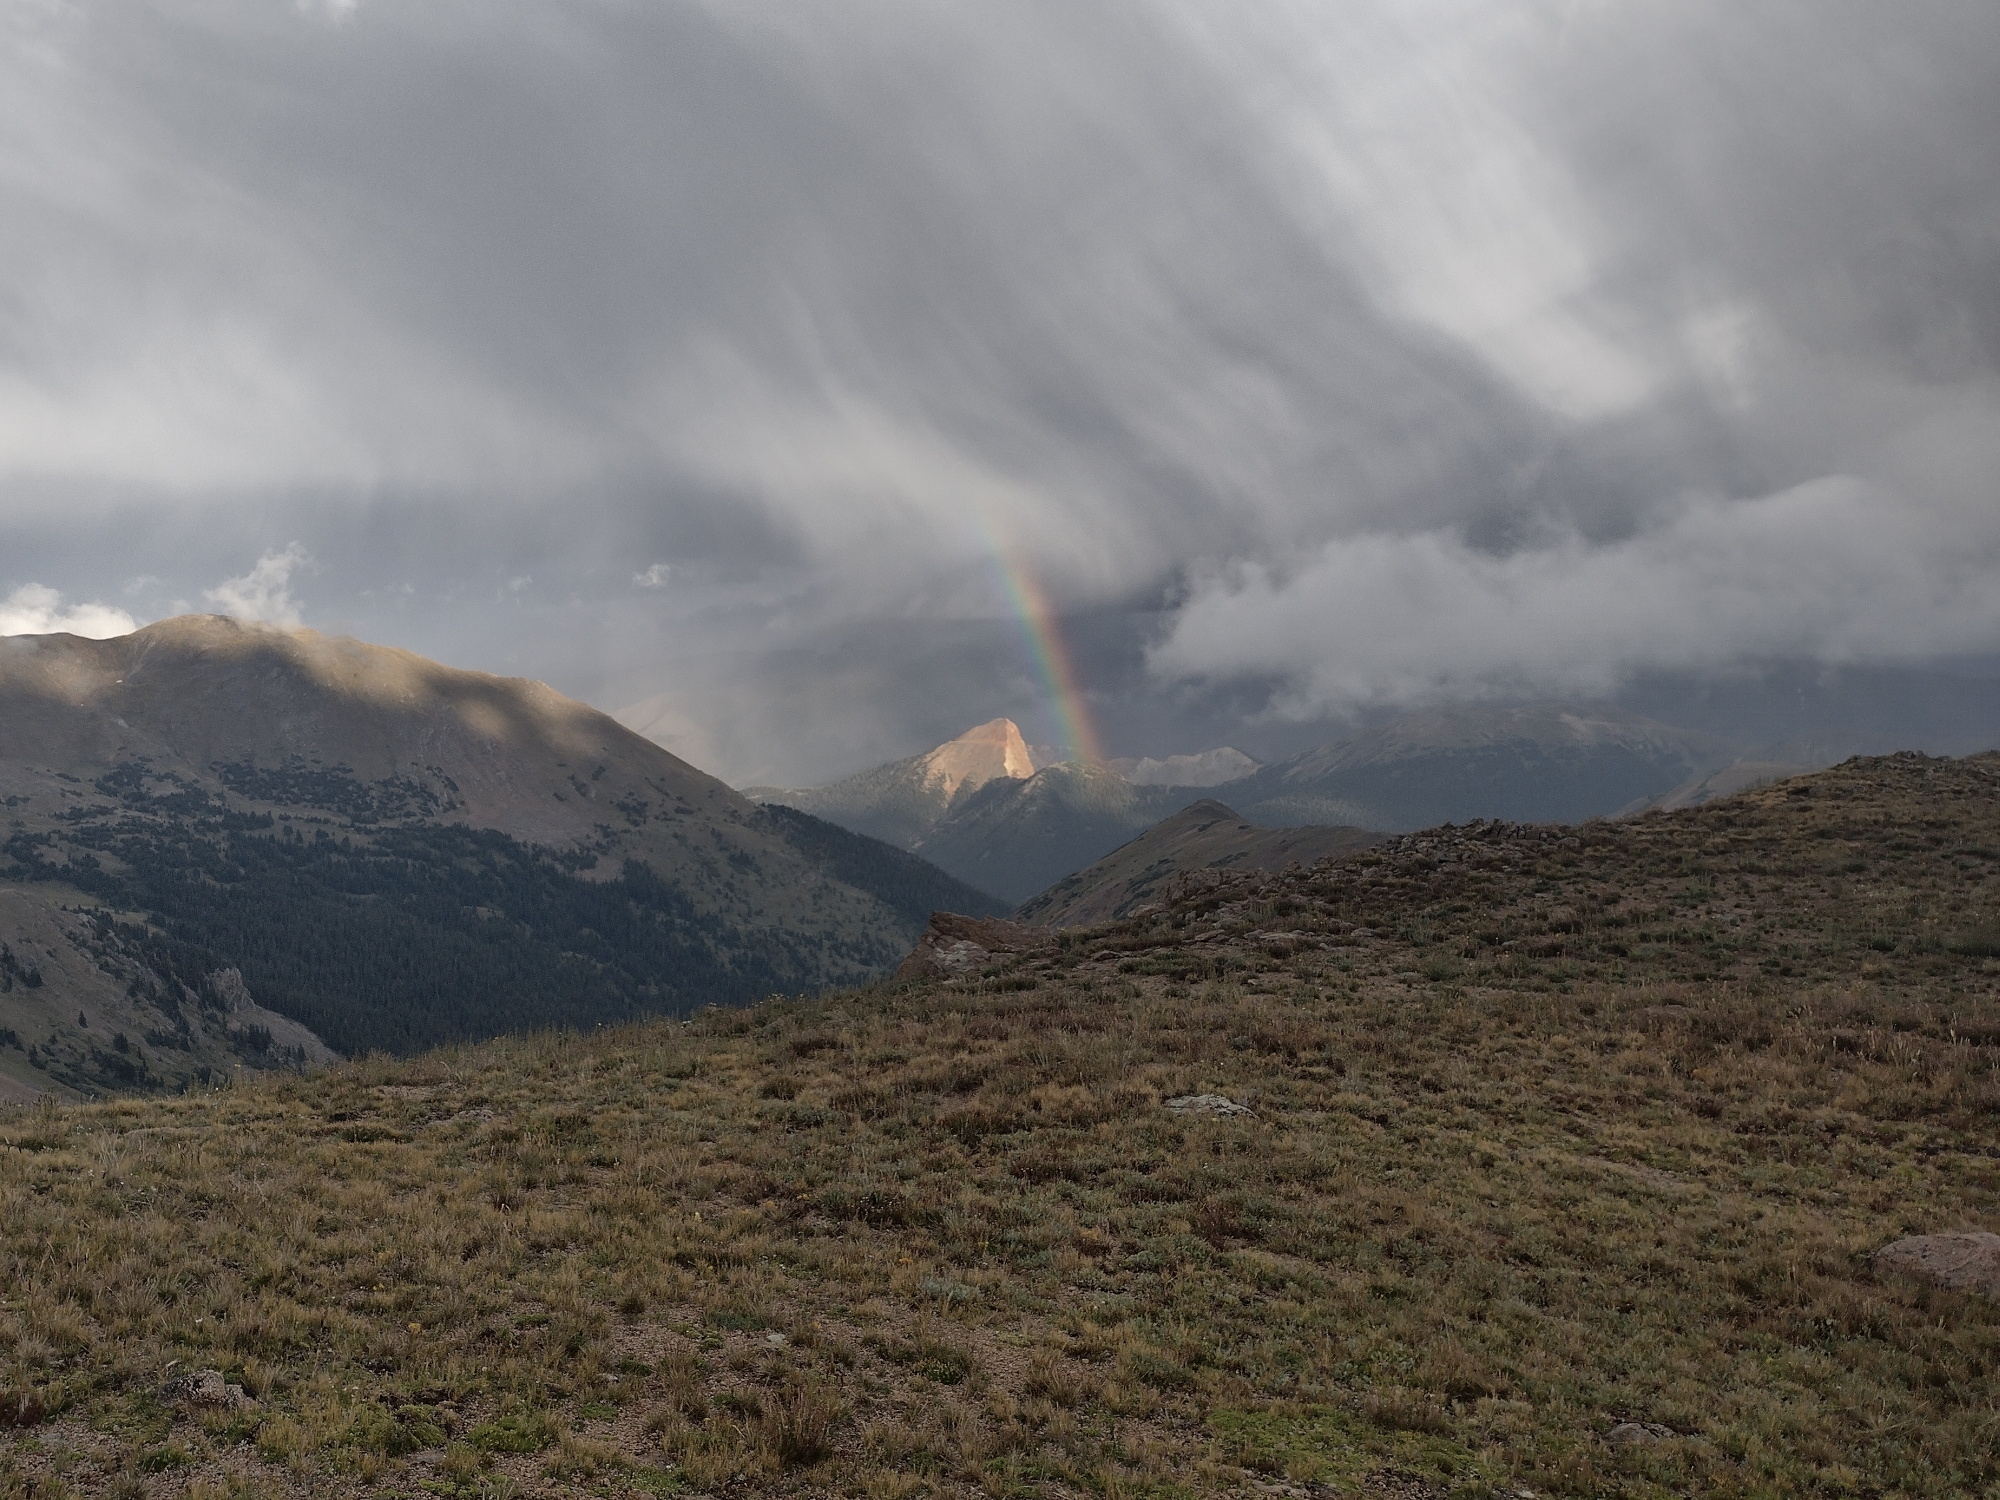
Lightning is one of those backcountry hazards that can feel abstract until it is suddenly, unmistakably loud. In many mountain parks, a bluebird morning can turn into a crackling afternoon storm fast. The good news is that lightning safety is mostly about timing and terrain choices you can control before you ever hear thunder.
This guide covers how to read forecasts and sky conditions, the 30/30 lightning safety rule, what to do if you are caught above treeline, which “shelters” are actually dangerous, what to know about the lightning crouch, and what to do if someone is struck. I will also call out tactics for Rocky Mountain, Glacier, and Grand Canyon, where storm patterns are famously predictable in the most inconvenient way.
One sentence to remember: If you can hear thunder, you are close enough to be struck.
Start with the forecast
If you want one lightning safety “hack,” it is this: plan your summit time around the weather, not around your breakfast.
What to check
- National Weather Service point forecasts: Search for the nearest town, then click the map near your exact hike area to get a forecast tied to that elevation and location. Look for wording like “chance of thunderstorms,” “storms likely,” and especially “gusty winds” or “small hail.”
- Hourly forecast: The key is timing. In many ranges, storm chances jump sharply after late morning.
- Radar and lightning layers: If you have service, radar tells you whether storms are isolated pop-ups or a line moving in. A lightning layer is a strong hint that storms are already electrically active even if you do not see them yet.
- Wind and cloud cover at elevation: Exposed terrain can become unsafe from wind, cold rain, and hail before lightning is even close.
Forecast phrases that should change your plan
- “Scattered thunderstorms”: Treat as a high chance of at least one storm hitting your zone. Start earlier and choose routes with easier bailouts.
- “Isolated thunderstorms”: Lower odds, but still dangerous. One isolated cell over a ridge is enough.
- “Storms may produce frequent lightning”: That is not flavor text. It is your cue to avoid long stretches in exposed terrain.
- “Dry thunderstorms”: Lightning with little rain, common in parts of the West. You can get struck before you even feel drops.
Timing rule that works in most high country: If storms are in the forecast, aim to be below treeline and off the most exposed terrain by late morning to midday. The exact hour varies, but the principle is constant: do your most exposed terrain first.
Read the sky
Forecasts are your plan. The sky is your proof. Thunderstorms often advertise themselves with a few consistent signals.
Signs storms are building
- Towering cumulus clouds: Puffy clouds that grow vertically into tall stacks are the classic “something is cooking” sign.
- Anvil-shaped tops: When a cloud spreads out flat at the top, it is often becoming a mature thunderstorm.
- Virga: Rain streaks that evaporate before reaching the ground can indicate strong downdrafts and an active storm nearby.
- Sudden cool wind or gust front: A noticeable temperature drop and wind shift can arrive minutes before rain and lightning.
- Static hair, buzzing, or crackling: Rare, but urgent. This can indicate strong electrical buildup. Move immediately to safer terrain if possible.
The 30/30 rule
The 30/30 rule is simple, memorable, and imperfect. It is still one of the best field tools hikers have.
How it works
- If the time between lightning and thunder is 30 seconds or less, get to safer shelter immediately. Lightning is close enough to strike your area.
- Wait 30 minutes after the last thunder before you resume hiking in exposed terrain. Many injuries happen when people rush back out too early.
Counting tip
When you see lightning, count “one-one-thousand, two-one-thousand…” until you hear thunder. To estimate distance, use a rough rule of thumb: miles ≈ seconds ÷ 5 (and kilometers ≈ seconds ÷ 3). Example: 25 seconds is roughly 5 miles. Temperature and terrain can bend the sound a little, but the safety message stays the same.
Important nuance
Lightning can strike miles away from the core of a storm. If you see a storm building and you are headed for a ridge or pass, do not wait for the 30-second threshold to turn around. Use the rule as a minimum trigger, not a dare.
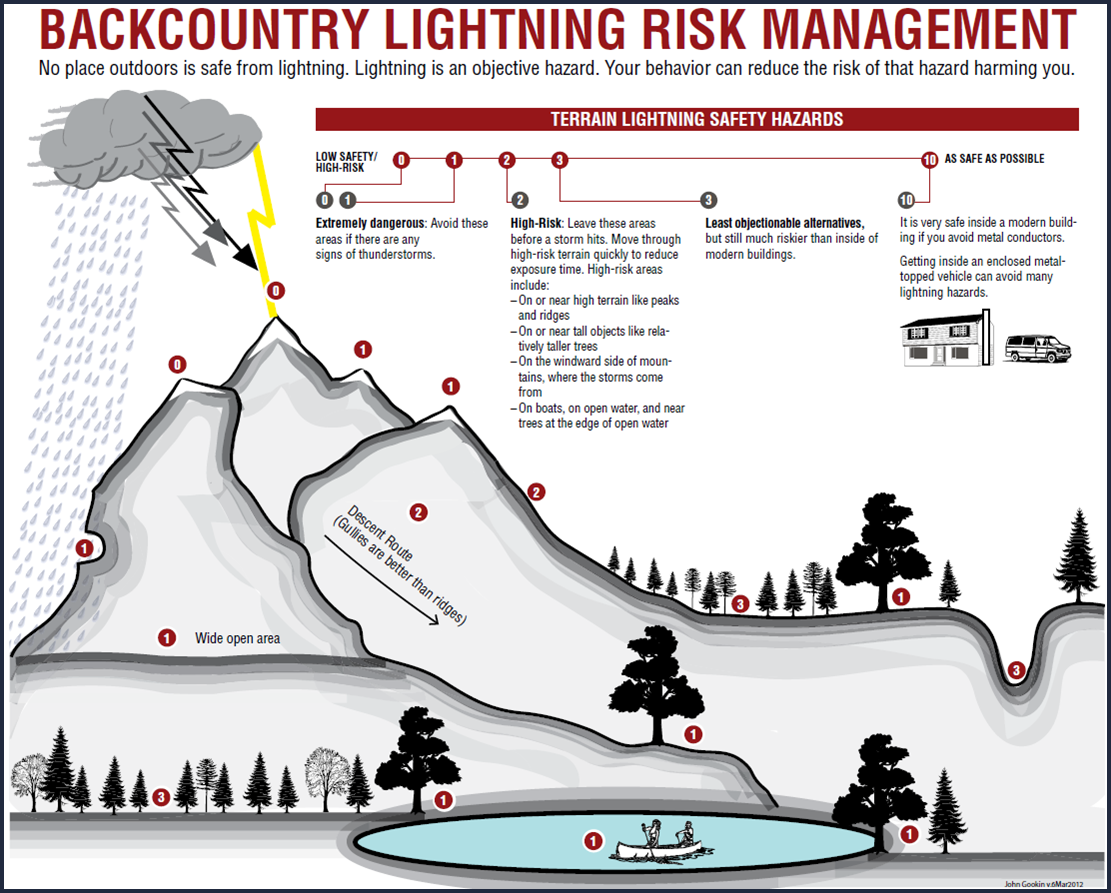
If you are caught exposed
Above treeline is where lightning risk spikes because you have fewer safe options and you are often the tallest “thing” around. If you realize you are late and the storm is arriving, switch from “hike goals” to “terrain triage.”
Your priorities
- Get off the highest point: Descend from summits, ridgelines, and saddles. Do not linger for photos, snacks, or route debates. If your choice is “continue toward a higher pass” versus “lose elevation now,” choose elevation loss.
- Avoid isolated tall features: Lone trees, high points, and solitary outcrops can become common strike points and side-flash hazards. Your goal is to not be near the most obvious target.
- Move toward uniform terrain: A lower area with similar-height vegetation is generally better than a dramatic high point or the edge of a clearing.
- Spread out when practical: If you are in a group, separate by at least 50 to 100 feet when you can do so while still moving toward safer terrain. Do not stop in a bad spot just to measure spacing.
- Drop metal misconceptions: Trekking poles and metal do not “attract” lightning in a magical way, but they can be a conduction hazard and a tripping hazard when you need speed. Put poles down and keep your hands free for balance. Do not waste time obsessing over every zipper.
Where to go when there is nowhere perfect
- Better: A dense, uniform-height forest (below treeline), positioned away from the tallest trees and away from forest edges and clearings; a low area not near water; or any spot that is lower than surrounding terrain.
- Risky: Open areas where you are the tallest thing, broad ridges, saddles, or spots near isolated tall objects.
- High hazard: The crest of a ridge, the top of an exposed knoll, under a lone tree, near the mouth of a cave, or under a shallow rock overhang where a strike can side-flash to the opening or travel along wet surfaces.
Shelter choices
When lightning starts, most people instinctively look for “cover.” In lightning safety, the question is not “Will I stay dry?” It is “Will this place reduce my chance of becoming part of the electrical path?”
Safest shelters
- A substantial building with wiring and plumbing: Visitor centers, ranger stations, lodges.
- A fully enclosed metal vehicle: A car or hard-sided truck with windows up. (A convertible, ATV, or open shuttle is not the same.)
Usually unsafe “shelters”
- Small shelters and pavilions: Picnic shelters, open-sided huts, and many trail shelters do not provide lightning protection.
- Tents: A tent protects from rain, not lightning. It does not make you safe.
- Under a lone tree: This is one of the most common fatal mistakes.
- Near water: Lakeshores, streams, wet meadows, and the base of waterfalls are poor places to wait out a storm.
- Shallow caves and rock overhangs: Lightning can arc to the opening, and current can travel through the ground and along wet rock surfaces and cracks.
Quick do and do not
- Do: Get lower, get into dense uniform forest when possible, and keep moving toward real shelter if it is close.
- Do not: Camp at the highest point, hide under a lone tree, or wait at cave entrances and overhang mouths.
Phone myth
Your phone does not “attract” lightning. The bigger risk is staying in a bad location because you are trying to get a signal. Prioritize terrain and shelter first, then communication.
The lightning crouch
The lightning crouch is not a magic pose that makes you immune. It is a last-resort technique for when lightning is close and you cannot reach safer terrain in time. Some agencies deemphasize it today because evidence of effectiveness is limited, so treat it as a desperation move, not a plan.
When to use it
Use it if you are in immediate danger, meaning lightning is close, you are exposed, and you cannot get to a safer area quickly.
How to do it
- Crouch low on the balls of your feet, heels together if possible.
- Minimize ground contact: Keep as little of your body touching the ground as you can.
- Cover your ears to protect from blast concussion and reduce panic from thunder cracks.
- Do not lie flat. Lying down increases contact area with ground current.
- Stay spaced out from others in your group.
If you have an insulating item like a sleeping pad, you may place it under your feet to reduce contact, but do not waste critical seconds fussing with gear when lightning is already popping nearby.
Park-specific patterns
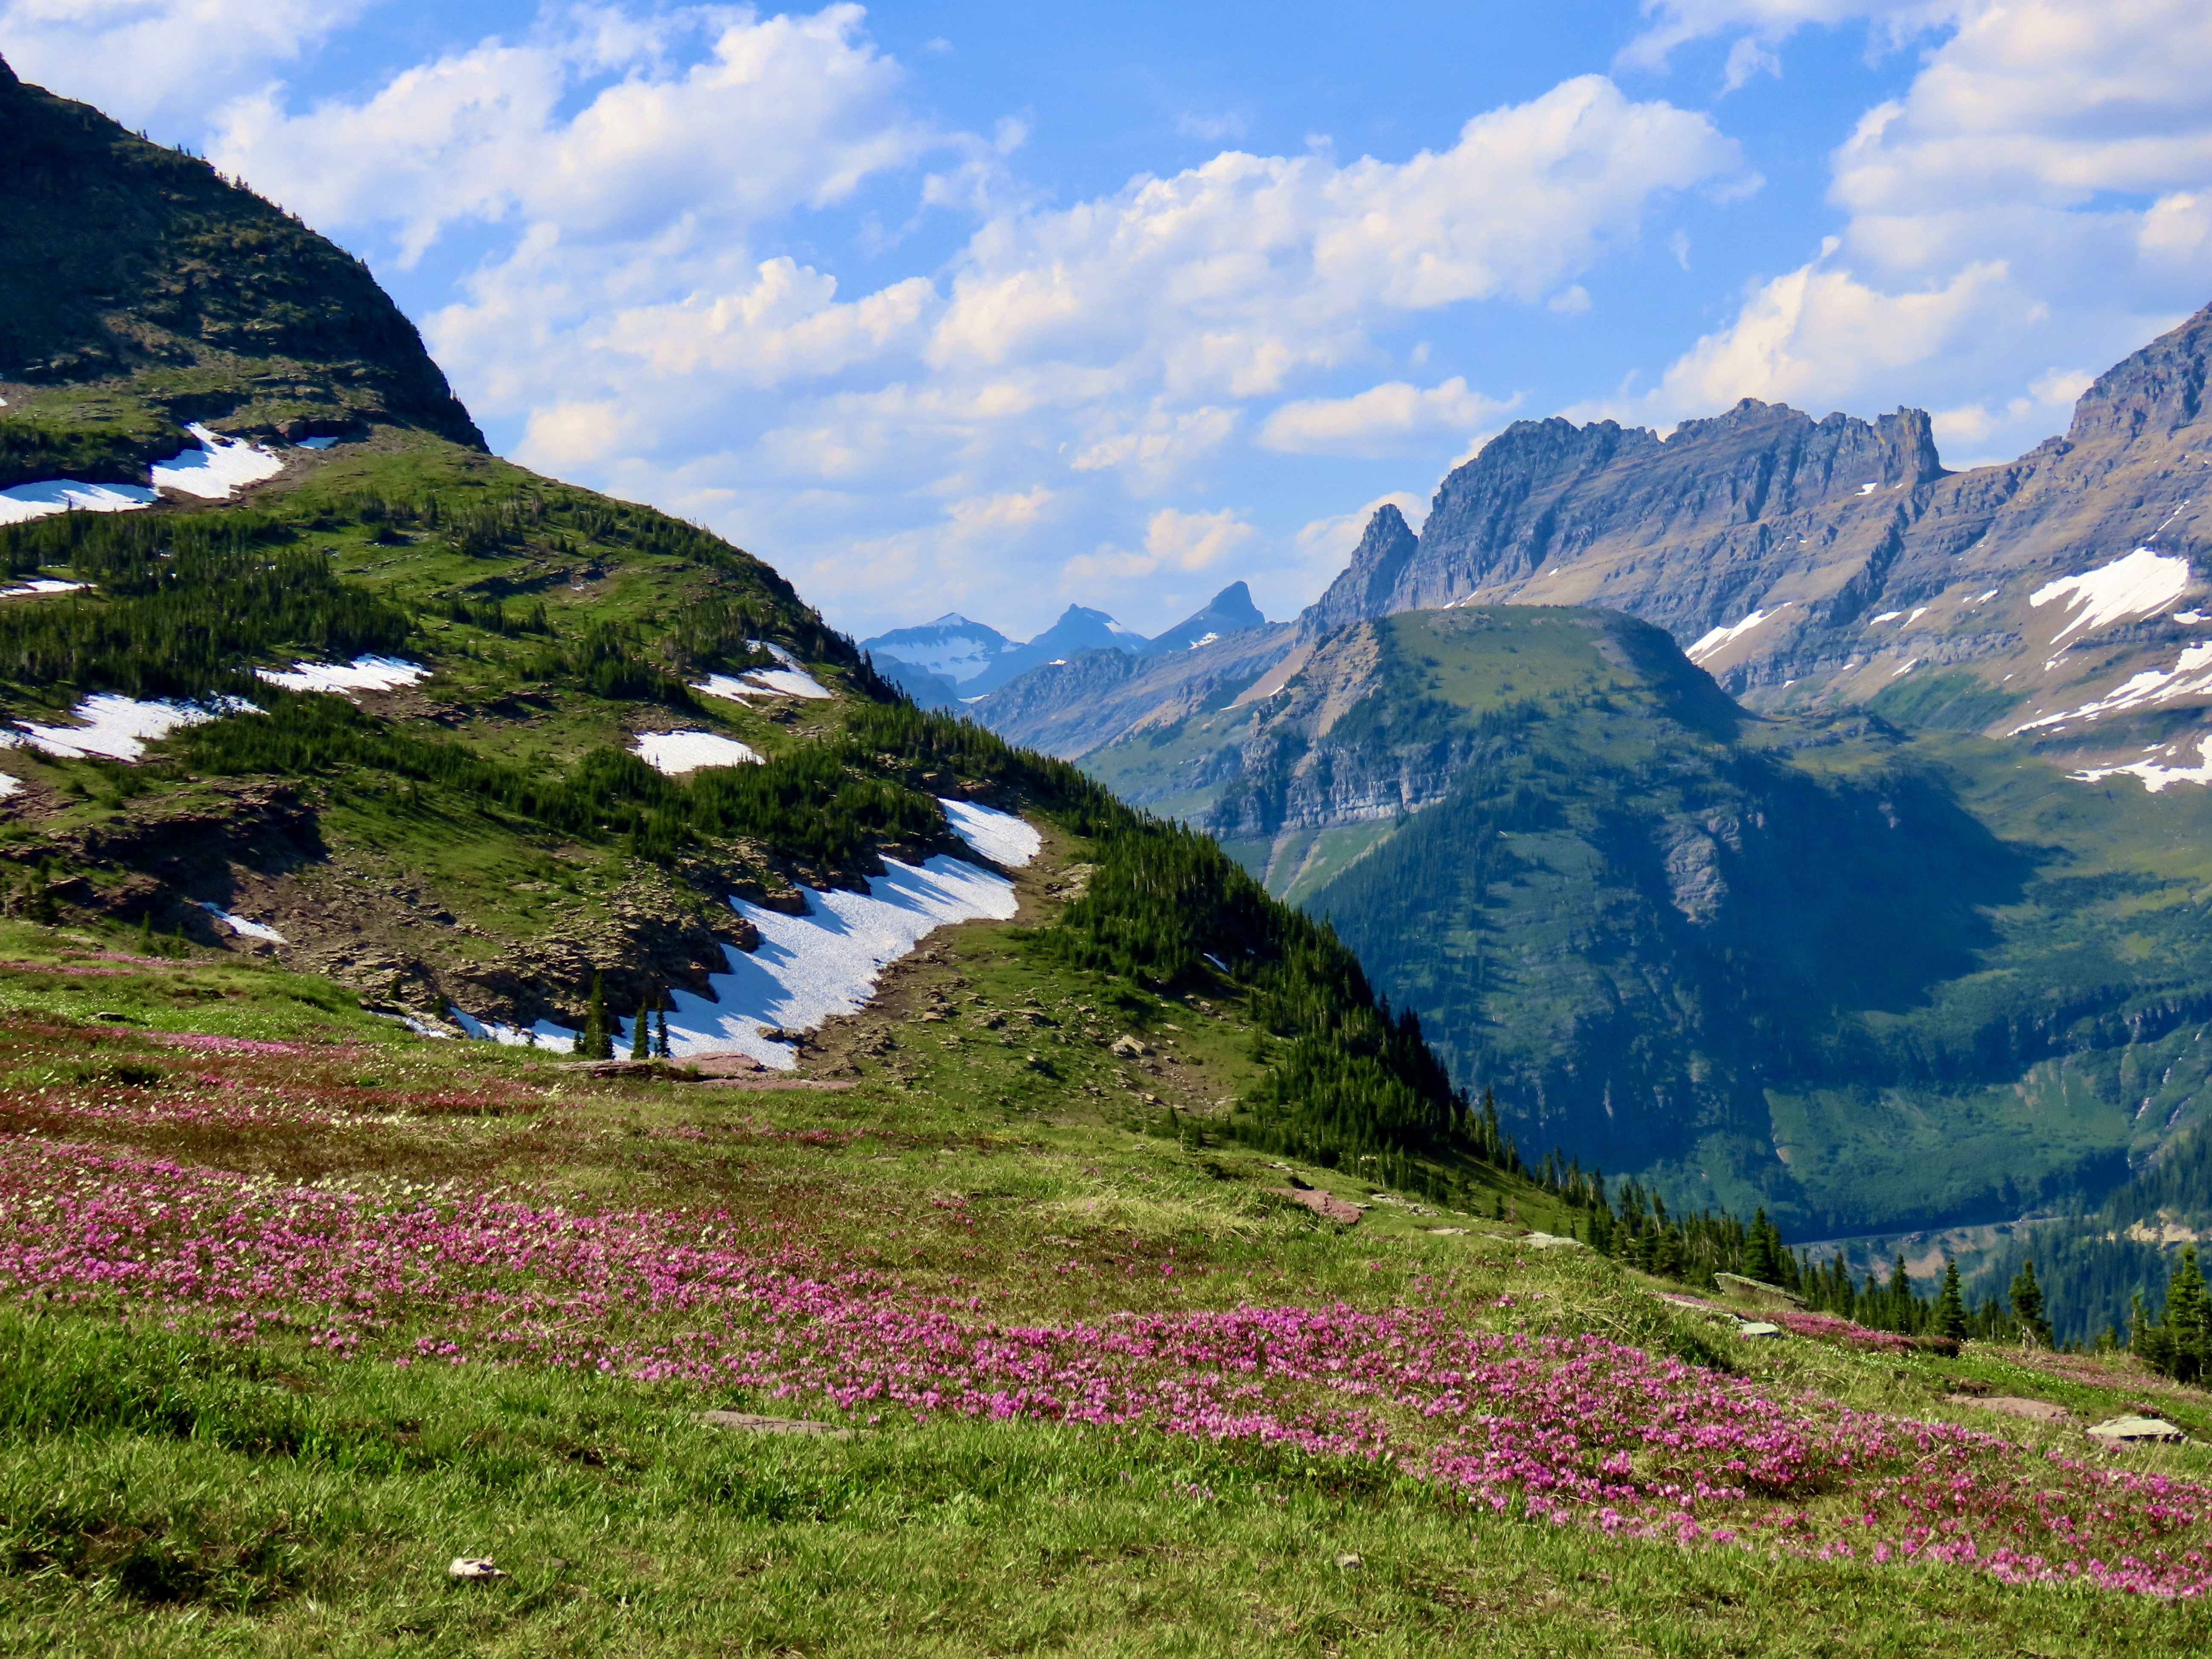
Three iconic parks, three different storm personalities. The safety fundamentals stay the same, but your timing and route choices should match local patterns.
Rocky Mountain National Park
RMNP is the classic “early start or regret it” park. High tundra, long exposed mileage, and frequent afternoon storms are a summer combo that demands discipline.
- Plan to be off the tundra early: On routes that spend hours above treeline, set a hard turnaround time even if the sky is still blue.
- Watch wind shifts: A fast temperature drop on Trail Ridge Road corridors and high passes can signal storm outflow.
- Bailout awareness: Know where your route drops into krummholz and forest. If your trail hugs a ridge for miles, consider a different objective on stormy days.
Glacier National Park
Glacier’s rugged topography can hide building clouds until they crest a ridge, and conditions can change quickly with wind and fast-moving systems.
- Do not assume “cooler weather” means no lightning: You can get electrical storms without oppressive heat.
- Respect exposed passes: Trails that traverse high passes and ledges can turn from scenic to hazardous fast. If clouds are building early, choose lower valley hikes.
- Layer up: Hypothermia risk rises when cold rain and wind hit at elevation, which can slow your descent when time matters.
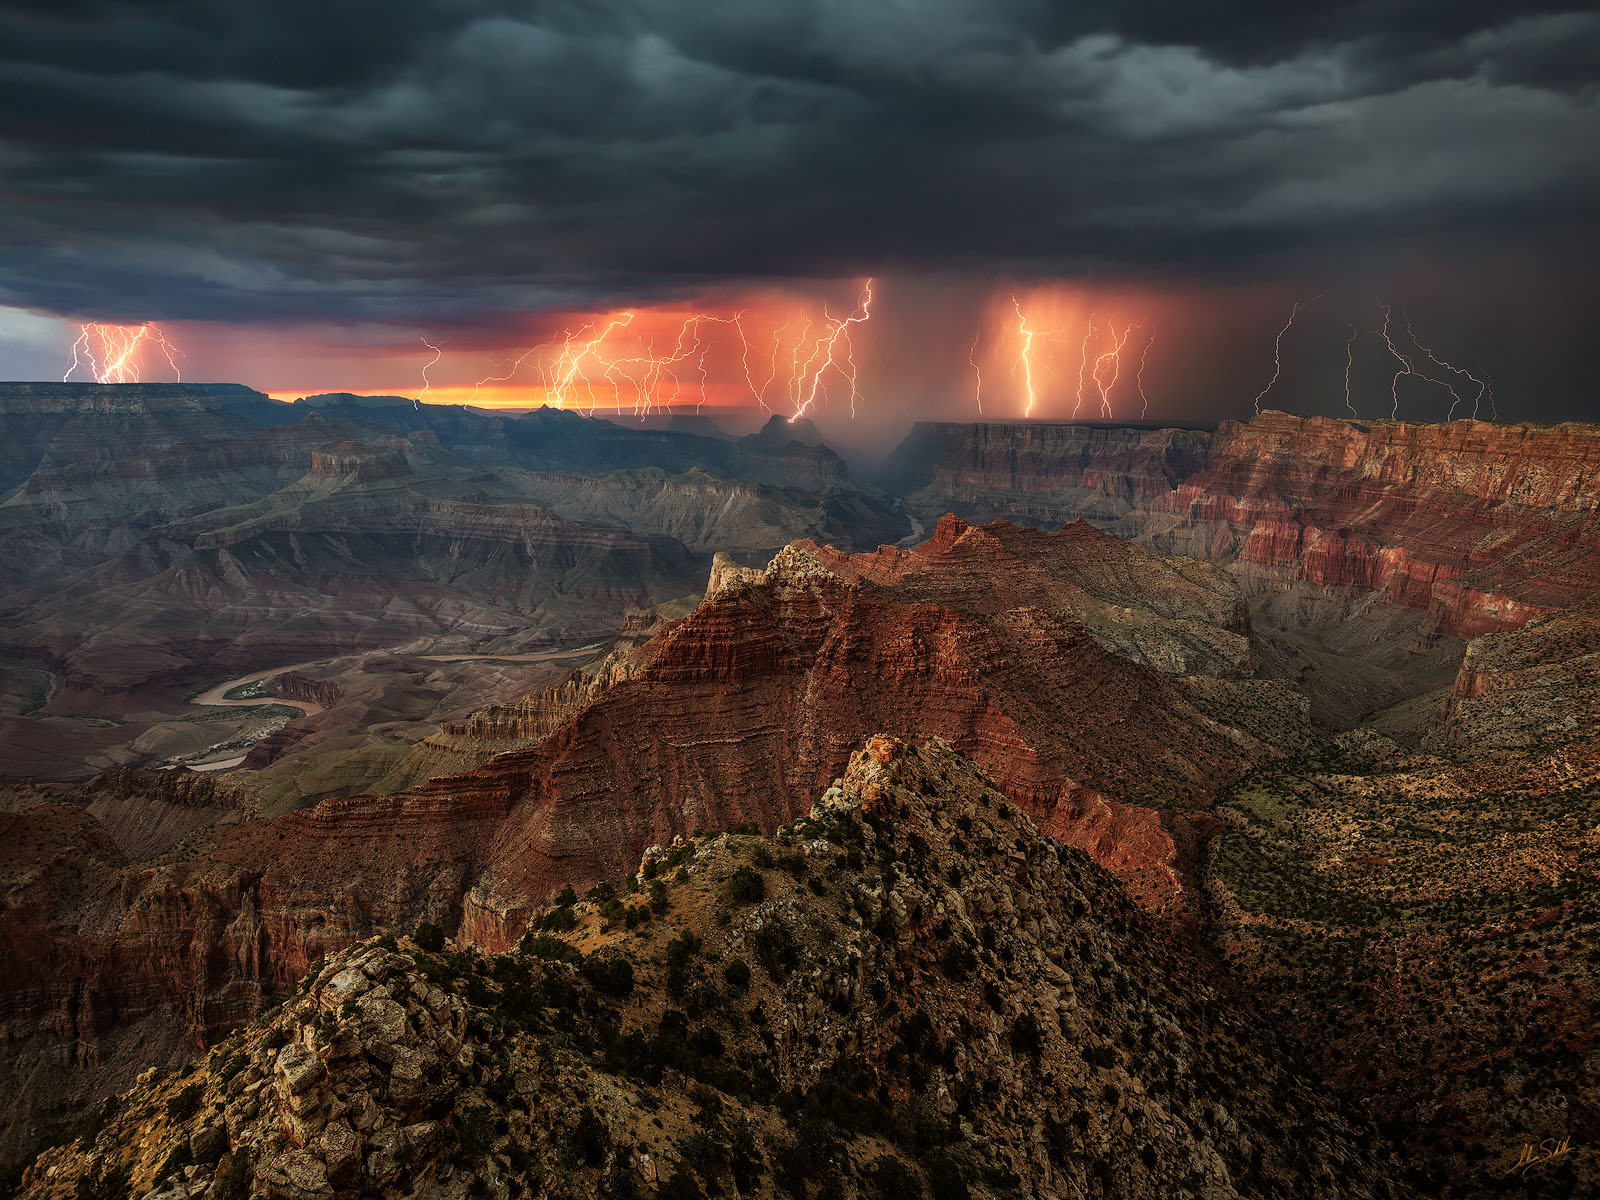
Grand Canyon National Park
The Canyon adds two wrinkles: monsoon storms (often July through September) and terrain that can funnel water into flash floods.
- Lightning plus flash flooding: Avoid narrow drainages and wash crossings when storms are in the area, even if it is not raining where you are.
- Do not shelter in side canyons: Low spots that feel protected from wind can become dangerous if water surges.
- Heat makes decisions sloppy: Start earlier than you think, hydrate, and keep enough energy to move quickly if you need to change plans.
First aid for lightning
If someone is struck by lightning, it is a medical emergency. The most important thing to know is also the most surprising: lightning victims do not carry an electrical charge. It is safe to touch them.
Scene safety first
If lightning is still active, move the victim and rescuers to a safer location if you can do so without creating more victims. Use the 30/30 rule and terrain logic, but do not delay lifesaving care when immediate hazards are manageable.
What to do
- Call for help: Use 911 if you have service. In many parks you can also contact rangers, but start with emergency services if possible. Give location, number of patients, and condition.
- Start CPR if needed: Lightning can cause cardiac arrest. If the person is unresponsive and not breathing normally, begin CPR immediately and use an AED if available.
- Airway and breathing: Check breathing and pulse. Rescue breaths can matter, especially if breathing is irregular.
- If unconscious but breathing: Place them in the recovery position and monitor closely.
- Treat for shock and hypothermia: Keep them warm and dry. Replace wet layers if you can.
- Burns and wounds: Cover burns with a dry, sterile dressing if available. Do not apply ointments in the field.
- Look for secondary injuries: Falls, head injuries, burns, and blunt trauma are common.
Common symptoms
- Confusion, memory gaps, headache
- Burns or singed hair
- Numbness, tingling, weakness
- Hearing or vision changes
- Chest pain, irregular breathing
Even if someone seems “fine” after a strike or near-strike, they need medical evaluation. Some effects are delayed, and evacuation decisions should err on the conservative side.
Triage note for groups: In mass-casualty scenarios, lightning victims who appear lifeless may be salvageable with prompt CPR. Prioritize those who are not breathing.
Build a lightning-smart plan
Lightning safety is not just what you do when thunder cracks. It is how you structure the whole day.
Pre-hike checklist
- Route: How much time will you spend above treeline or on ridges? Where are your fastest bailouts?
- Timing: What is your turnaround time that protects you from the typical storm window?
- Forecast: What is the thunderstorm probability and when does it spike?
- Communication: Who has a charged phone? Do you have a satellite messenger if you are remote?
- Layers: Rain shell and warm layer even in summer. Storms can drop temps fast.
- Group plan: Agree in advance that turning around is not a debate when the sky says “go.”
If you want the best of both worlds, rugged adventure and a comfortable return to town, this is how you earn it. Start early, stay humble, and treat thunder like a schedule, not a soundtrack.