Hydration Packs vs. Bottles for Day Hiking
Maya Lin
Maya Lin is a travel journalist and outdoor enthusiast who believes the best trips combine rugged adventures with urban comforts. After spending six years backpacking across four continents, she founded Trail & Town Guide to help fellow travelers navigate both hidden mountain passes and bustling city neighborhoods with confidence.
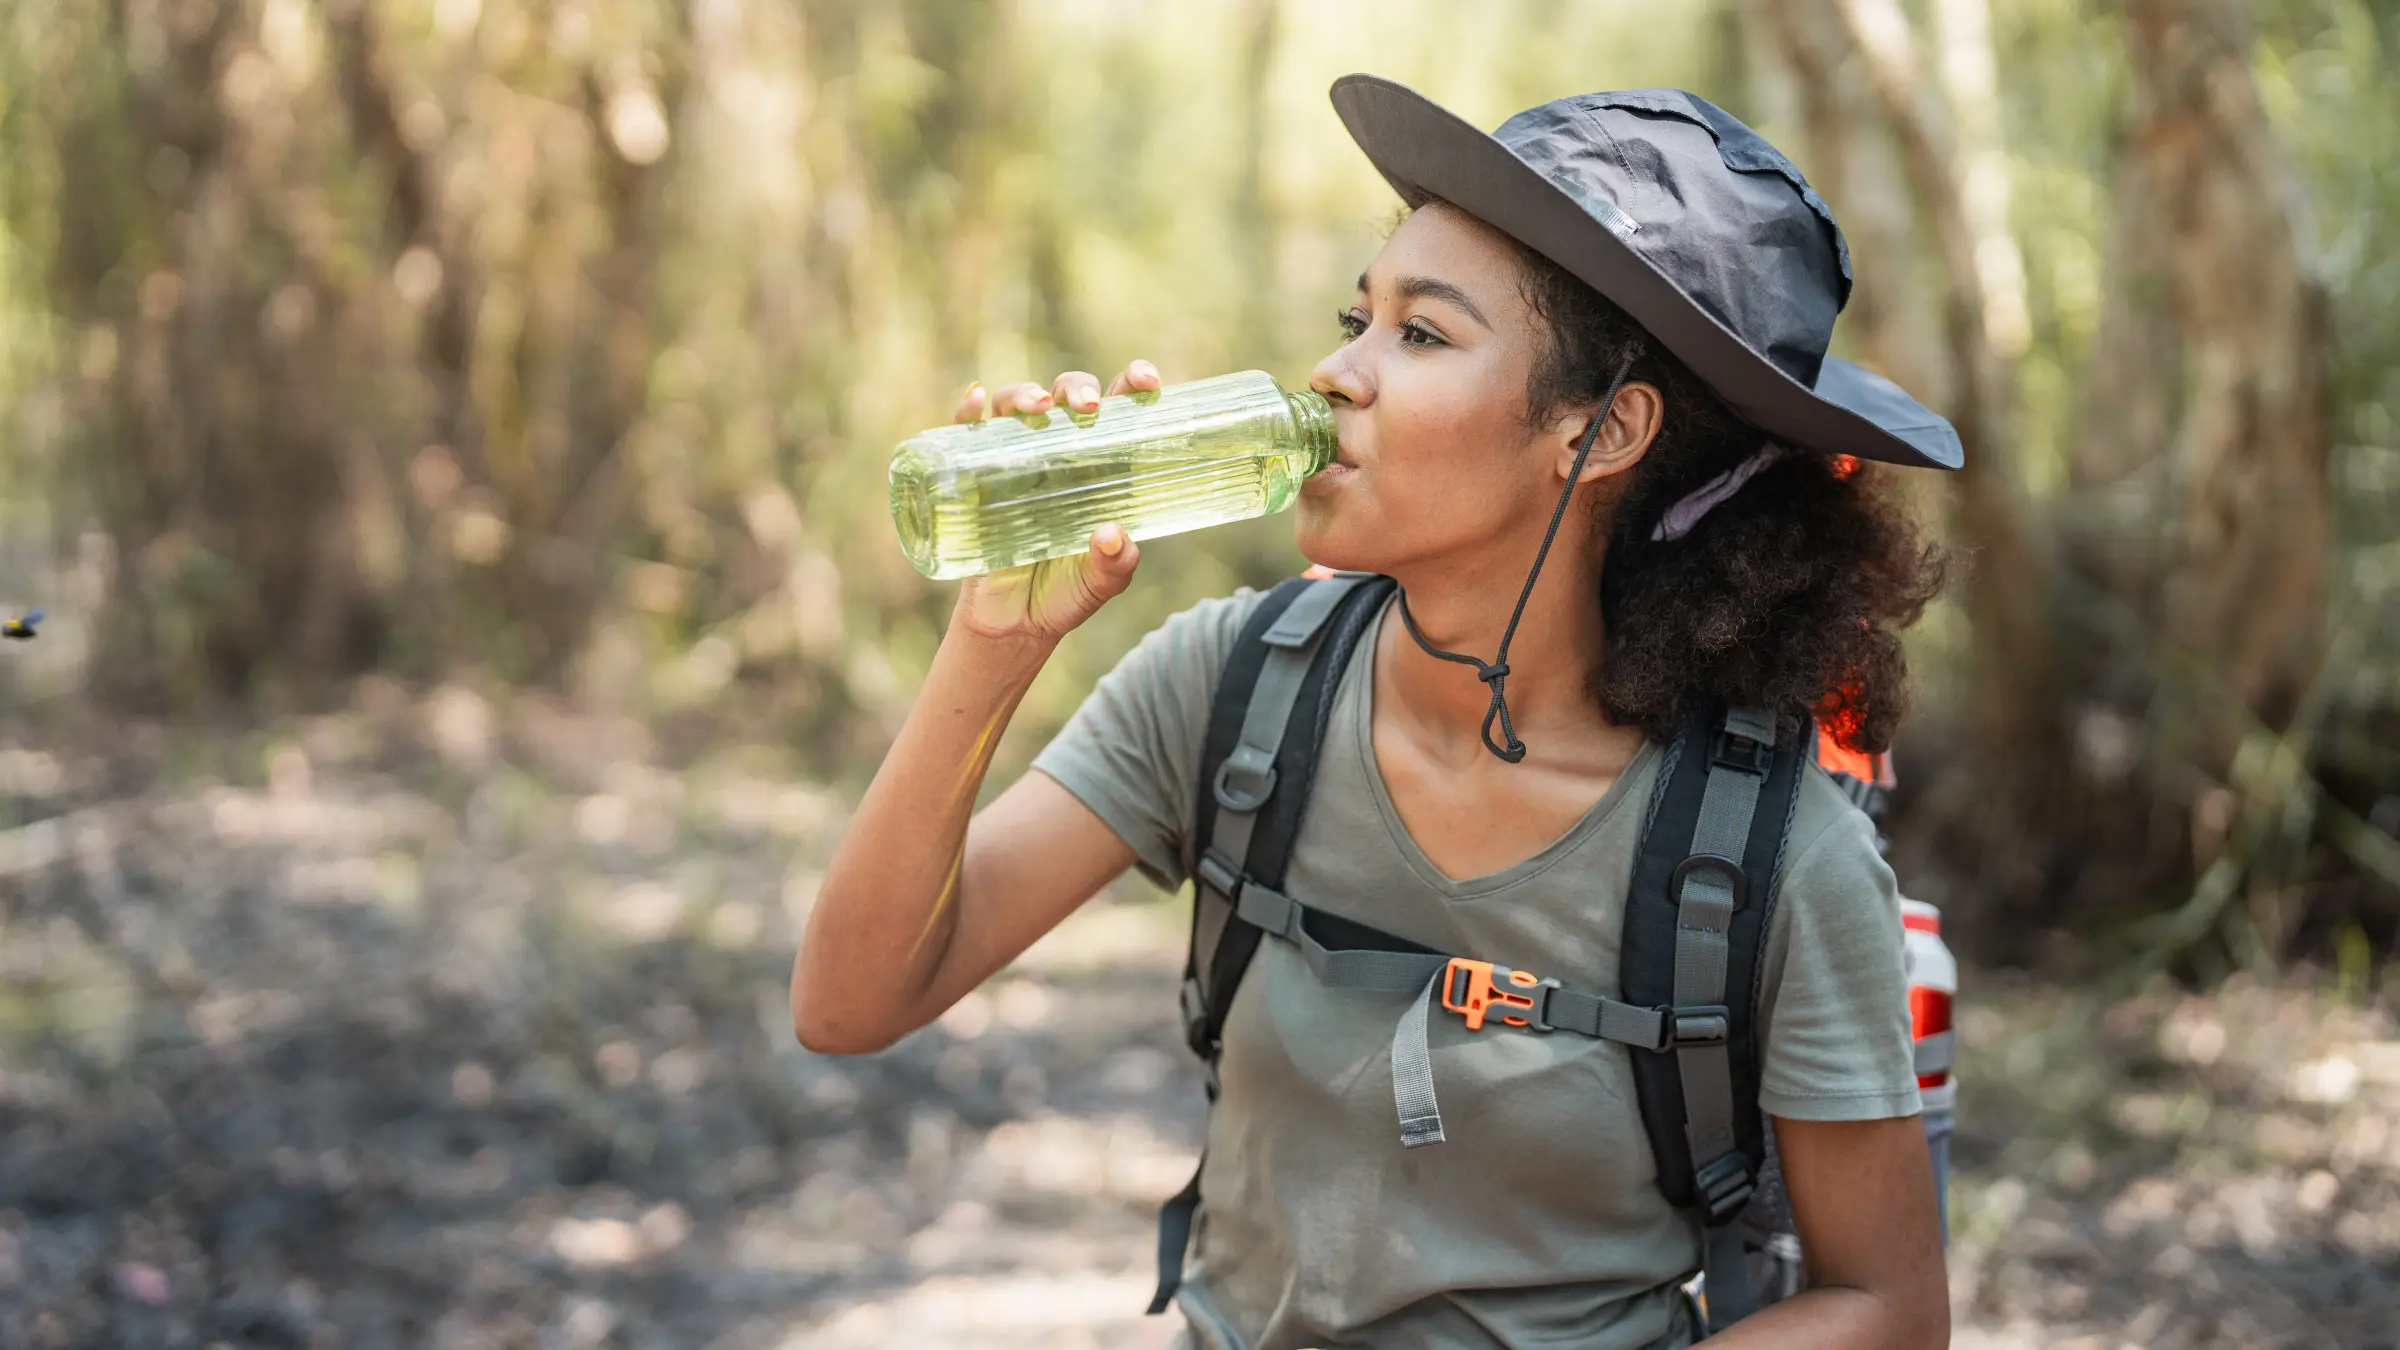
Everyday day-hikers eventually hit the same fork in the trail: do you sip from a hydration reservoir (aka a hydration pack or bladder) or stick with classic water bottles? I’ve used both everywhere from sun-baked desert loops to cool, crowded national park corridors where water access is limited and lines at refill stations can test your patience.
The truth isn’t that one is “better.” It’s that each one shines under different conditions. Below, I’ll compare hydration packs vs. bottles for day hikes, focusing on the factors that change your experience: hygiene, weight and comfort, refill logistics, filtration compatibility, cold-weather performance, and hot-weather routines.
Quick answer
If you want the fastest decision without overthinking it, start here:
- Choose a hydration pack if you want hands-free sipping, you tend to forget to drink, you’re hiking in heat, or you prefer steady “small sips often.”
- Choose bottles if you care most about simple hygiene, easy mixing (electrolytes, flavored drink), quick refills at taps, or you swap between carrying water and carrying other liquids.
- Choose a hybrid if you hike in variable conditions: one reservoir for baseline water plus one bottle for electrolytes or as a backup.
Now let’s earn that choice with the details.
Hygiene and cleaning
Hygiene is where bottles usually win, especially if you drink anything besides plain water.
Hydration reservoirs
- Pros: The bladder itself stays tucked away and is generally more protected from sun and dust than an exposed bottle. The tube makes it so easy to drink that many people naturally hydrate more.
- Cons: More parts, more places for biofilm to hide. The bite valve and tube are still exposed and can brush clothing, pack straps, and trail dust. If you don’t fully dry the bladder and tube between hikes, funky taste or mold can show up faster than you’d expect.
Reservoir hygiene workflow that actually works:
- Use the reservoir for water only. Put electrolytes or drink mix in a bottle.
- After the hike, drain completely, then rinse with warm water.
- Blow air through the tube (or swing it gently) to clear droplets.
- Dry the bladder fully (prop it open), and store it dry.
- If you can’t dry it right away, some hikers store a clean reservoir in the freezer between trips to slow growth. Check your reservoir manufacturer’s guidance first, and don’t treat freezing as a replacement for proper cleaning and drying.
Water bottles
- Pros: Wide openings are easy to scrub, easy to inspect, and easy to dry. Taste issues are usually obvious and fixable fast.
- Cons: The outside gets handled a lot, then you put it near your mouth. On dusty or muddy trails, that can matter.
Bottle hygiene tip: If you’re hiking in gritty conditions, keep one “clean lip” bottle in a side pocket and avoid setting it down in dirt or sand.
Weight and comfort
People love to compare weights on paper, but for day hikes, carry comfort matters as much as grams.
Reservoirs: stable carry, better balance
A reservoir rides close to your back and keeps the load centered. Even if the raw weight is similar to bottles, it can feel better because the water isn’t swinging on one side of your pack. For hikers who like a light, streamlined setup, that “tight to the spine” feel is a big win.
One downside: a full reservoir can make it tempting to carry more water than you need, just because it fits. Sometimes that’s smart, but it’s worth noticing.
Bottles: modular and flexible
Bottles let you distribute water across pockets, share easily, and adjust capacity on the fly. You can carry one bottle for a short shaded hike, two for heat, and add a third if you’re hiking with someone who always underestimates water needs.
Downside: if both bottles end up on the same side pocket, your pack can feel lopsided. Balancing pockets helps.
Refilling in busy parks
In some national parks and other high-traffic trail systems, your refill reality looks like this: trailhead bottle-filling stations, visitor center sinks, campgrounds with spigots, and stretches where natural water sources are seasonal, protected, or simply not available. Your system should match the infrastructure where you actually hike.
Where bottles usually win
- Fast refills: Unscrew, fill, go. Great for crowded stations.
- Easy topping off: Add a little water without unpacking your bag.
- Clear volume tracking: You can instantly see how much you have left.
Where hydration packs win
- Long carries between water: If you know you’ll haul 2 to 3 liters for a hot, exposed loop, a reservoir can be a simple way to carry that comfortably.
- More consistent drinking: The convenience leads to more frequent sipping, which helps in dry climates and during steady climbs.
The annoying part: Refilling a reservoir can mean unpacking your bag, opening the bladder compartment, and hovering at a spigot while the line grows. If you mostly refill at trailheads with impatient crowds, bottles are often the calmer choice.
Filters and compatibility
Day hikers increasingly carry a small filter as a backup, especially on shoulder-season hikes or routes with creeks that may or may not be flowing. This is where your gear ecosystem matters.
Bottles are the easiest to pair
Many squeeze filters and pump filters work smoothly with bottles, but it depends on the bottle neck standard. A lot of popular filters are built around 28mm “Smartwater-style” threads, while wide-mouth bottles may need an adapter or a different coupling.
- Best for: Hikes with occasional stream refills, travel-to-trail days, and anyone who likes a simple, inspectable setup.
- Bonus: If a bottle gets contaminated, you can isolate it and keep drinking from the other.
Reservoirs can work, with the right setup
You can filter into a reservoir, but it’s not always elegant. The wide opening can be easy to fill, but it’s harder to gauge volume and harder to keep “dirty” and “clean” separated if you’re moving fast or sharing a water source.
- Best for: Routes where you collect water once, treat it, then hike for hours without needing to access the bladder again.
- Watch for: Thread compatibility, hose routing, and whether your filter is designed for inline use or for filling containers.
Hot-weather routines
Heat changes everything. The goal isn’t “drink when thirsty.” It’s to make steady hydration automatic, because it’s easy to fall behind without noticing.
Why hydration packs often win in heat
- Micro-sips all day: The tube makes it effortless, especially while climbing.
- Less stopping: Fewer breaks means fewer “I forgot to drink for 45 minutes” moments.
- Better habits: Many hikers find they naturally drink more with a bladder.
Hot-weather pack routine I use: I start sipping within the first 10 minutes, then take a few pulls every time I hit a switchback, viewpoint, or photo stop. Tiny cues beat willpower.
Why bottles still shine when it’s hot
- Electrolytes are easier: Mix powders without turning your tube into a sticky science experiment.
- Cold management: Insulated bottles can stay cooler longer in direct sun, while reservoirs can warm up if your pack is baking.
- More deliberate pacing: Some people find they drink too fast from a tube. Bottles create natural check-ins.
Smart compromise: Reservoir for water, bottle for electrolytes. That setup covers two common hot-weather failure points: forgetting to drink and under-salting.
Cold-weather note
Below freezing, reservoirs have one big weakness: tubes and bite valves can freeze faster than a bottle in a pocket. If you hike in cold shoulder-season mornings or winter conditions, bottles often win for reliability.
- If you still want a reservoir in the cold: Route the tube under a shoulder strap, blow the water back into the bladder after sips, and consider insulating the tube.
- If you want the simplest option: Use bottles and keep one inside your pack or jacket layer so it stays liquid longer.
Reliability and failure modes
Both systems fail, just in different ways.
- Reservoir issues: Bite valves can leak, quick-disconnects can get bumped, and bladders can puncture. It’s rare, but when it happens it can soak your gear. If you go the reservoir route, a quick leak check at the car is a good habit.
- Bottle issues: Caps get lost, bottles crack (especially when dropped in the cold), and a loose lid can dribble water into your side pocket.
Sharing is also different. Bottles are easier to share cleanly, while reservoirs are more personal gear since the bite valve is mouth-contact by design.
Safety and visibility
One under-discussed advantage of bottles is how obvious your remaining water is. You glance down and you know. With a reservoir, it’s easy to lose track, especially if you’re stressed, moving fast, or hiking with kids.
- If you choose a reservoir: Make “water checks” a habit. At major landmarks, estimate what’s left and compare it to time, distance, and temperature.
- If you choose bottles: Put your “emergency water” bottle somewhere slightly annoying to reach so you don’t drink it casually.
And the reminder that belongs on every hiking hydration article: don’t rely on random trail reports for water availability. Conditions change fast. If you’re heading into remote terrain or high heat, cross-check with rangers, official park updates, or recent local advisories and plan a backup.
How much water to carry
This varies a lot by heat, sun exposure, pace, and your own sweat rate, but here are day-hike starting points that work for many people:
- Easy, cooler hikes (2 to 6 miles): about 1 liter, plus a little extra if you’re unsure.
- Moderate hikes (6 to 12 miles) or steady sun: about 2 liters.
- Hot, exposed hikes: 3 liters isn’t unusual, and some routes call for more.
Use these as a baseline, not a rule. If you’re new to a route or conditions are harsh, carrying extra is usually the right kind of “overprepared.”
Which should you buy?
If you’re picking one system for most day hikes, answer these honestly.
Choose a hydration pack if you:
- Often realize you haven’t drunk water in an hour
- Hike in hot, dry, or exposed conditions
- Prefer steady, small sips while moving
- Carry a daypack anyway and like balanced weight
- Are willing to clean and dry gear properly after each trip
Choose bottles if you:
- Want the easiest cleaning and least maintenance
- Regularly use electrolytes, drink mixes, or flavored water
- Refill mainly at trailheads, visitor centers, and taps
- Want an obvious visual of remaining water
- Hike in freezing temps and want fewer failure points
Choose a hybrid if you:
- Hike in heat but also want electrolytes
- Want redundancy for longer day hikes
- Sometimes filter from streams and sometimes rely on taps
My go-to setups
Easy, crowded park trail (2 to 6 miles)
Bottles, usually one to two depending on heat. Fast refills, easy to keep clean, no unpacking at the station.
Exposed ridge or desert loop (6 to 12 miles)
Reservoir + small electrolyte bottle. The tube keeps me sipping, and the bottle keeps salts simple.
Shoulder-season hike with uncertain streams
Two bottles + compact filter. I like having clear “collection” and “drinking” roles when water is flowing.
Cold morning hike below freezing
Bottles. Less fiddling, less freeze risk, and it’s easier to keep a bottle warm inside your pack or jacket layer.
City-to-trail day (coffee, transit, then hike)
Bottles. They transition better from urban comfort stops to trail miles, and I don’t worry about a half-dried tube on tomorrow’s commute.
Bottom line
Hydration packs reward consistency and comfort. Bottles reward simplicity and flexibility. For day hikes, the best choice is the one you’ll actually maintain, refill without drama, and use in a way that keeps you safely ahead of thirst.
If you want to go one layer deeper, pair this decision with your broader hydration safety planning: heat, trail exposure, water availability, and a backup plan when conditions change. Your gear matters, but your workflow matters more.