Hypothermia Signs on the Trail
Maya Lin
Maya Lin is a travel journalist and outdoor enthusiast who believes the best trips combine rugged adventures with urban comforts. After spending six years backpacking across four continents, she founded Trail & Town Guide to help fellow travelers navigate both hidden mountain passes and bustling city neighborhoods with confidence.
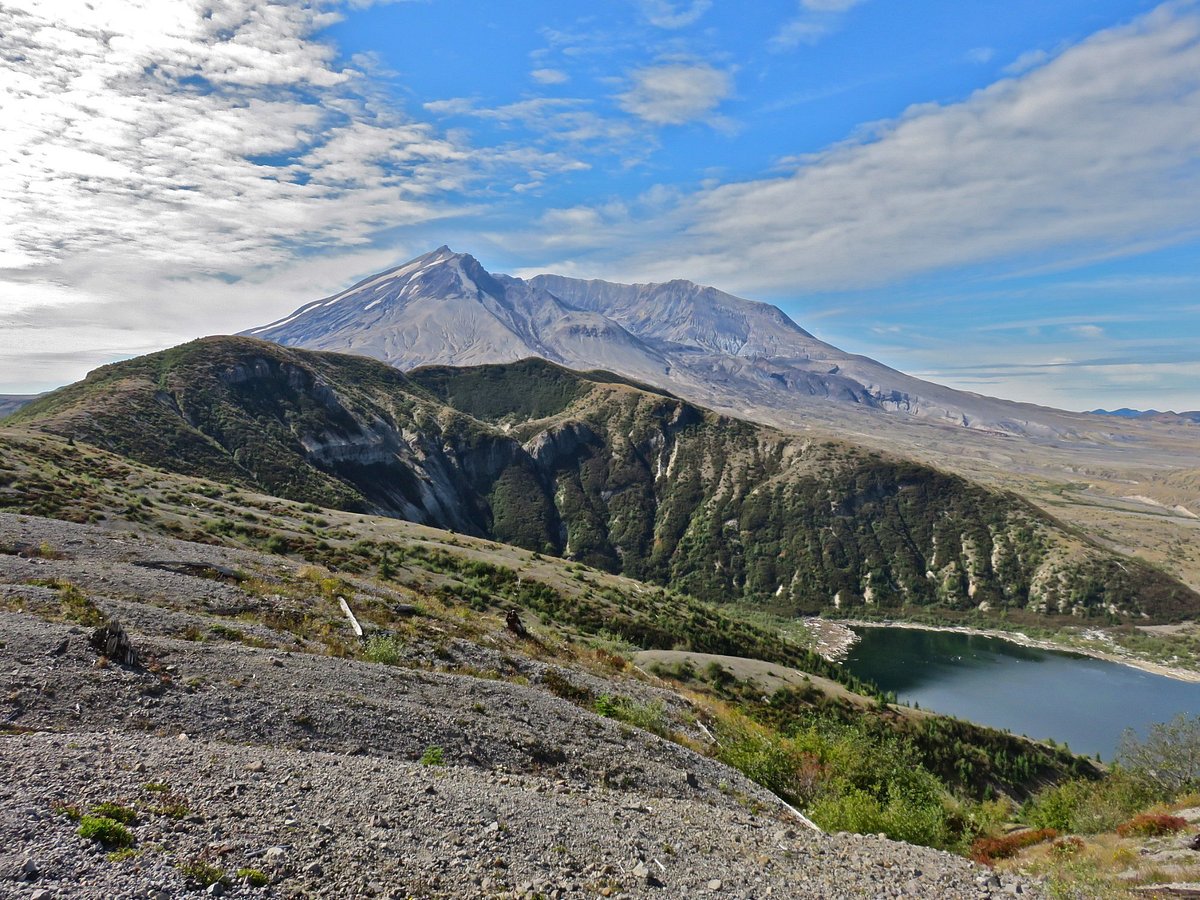
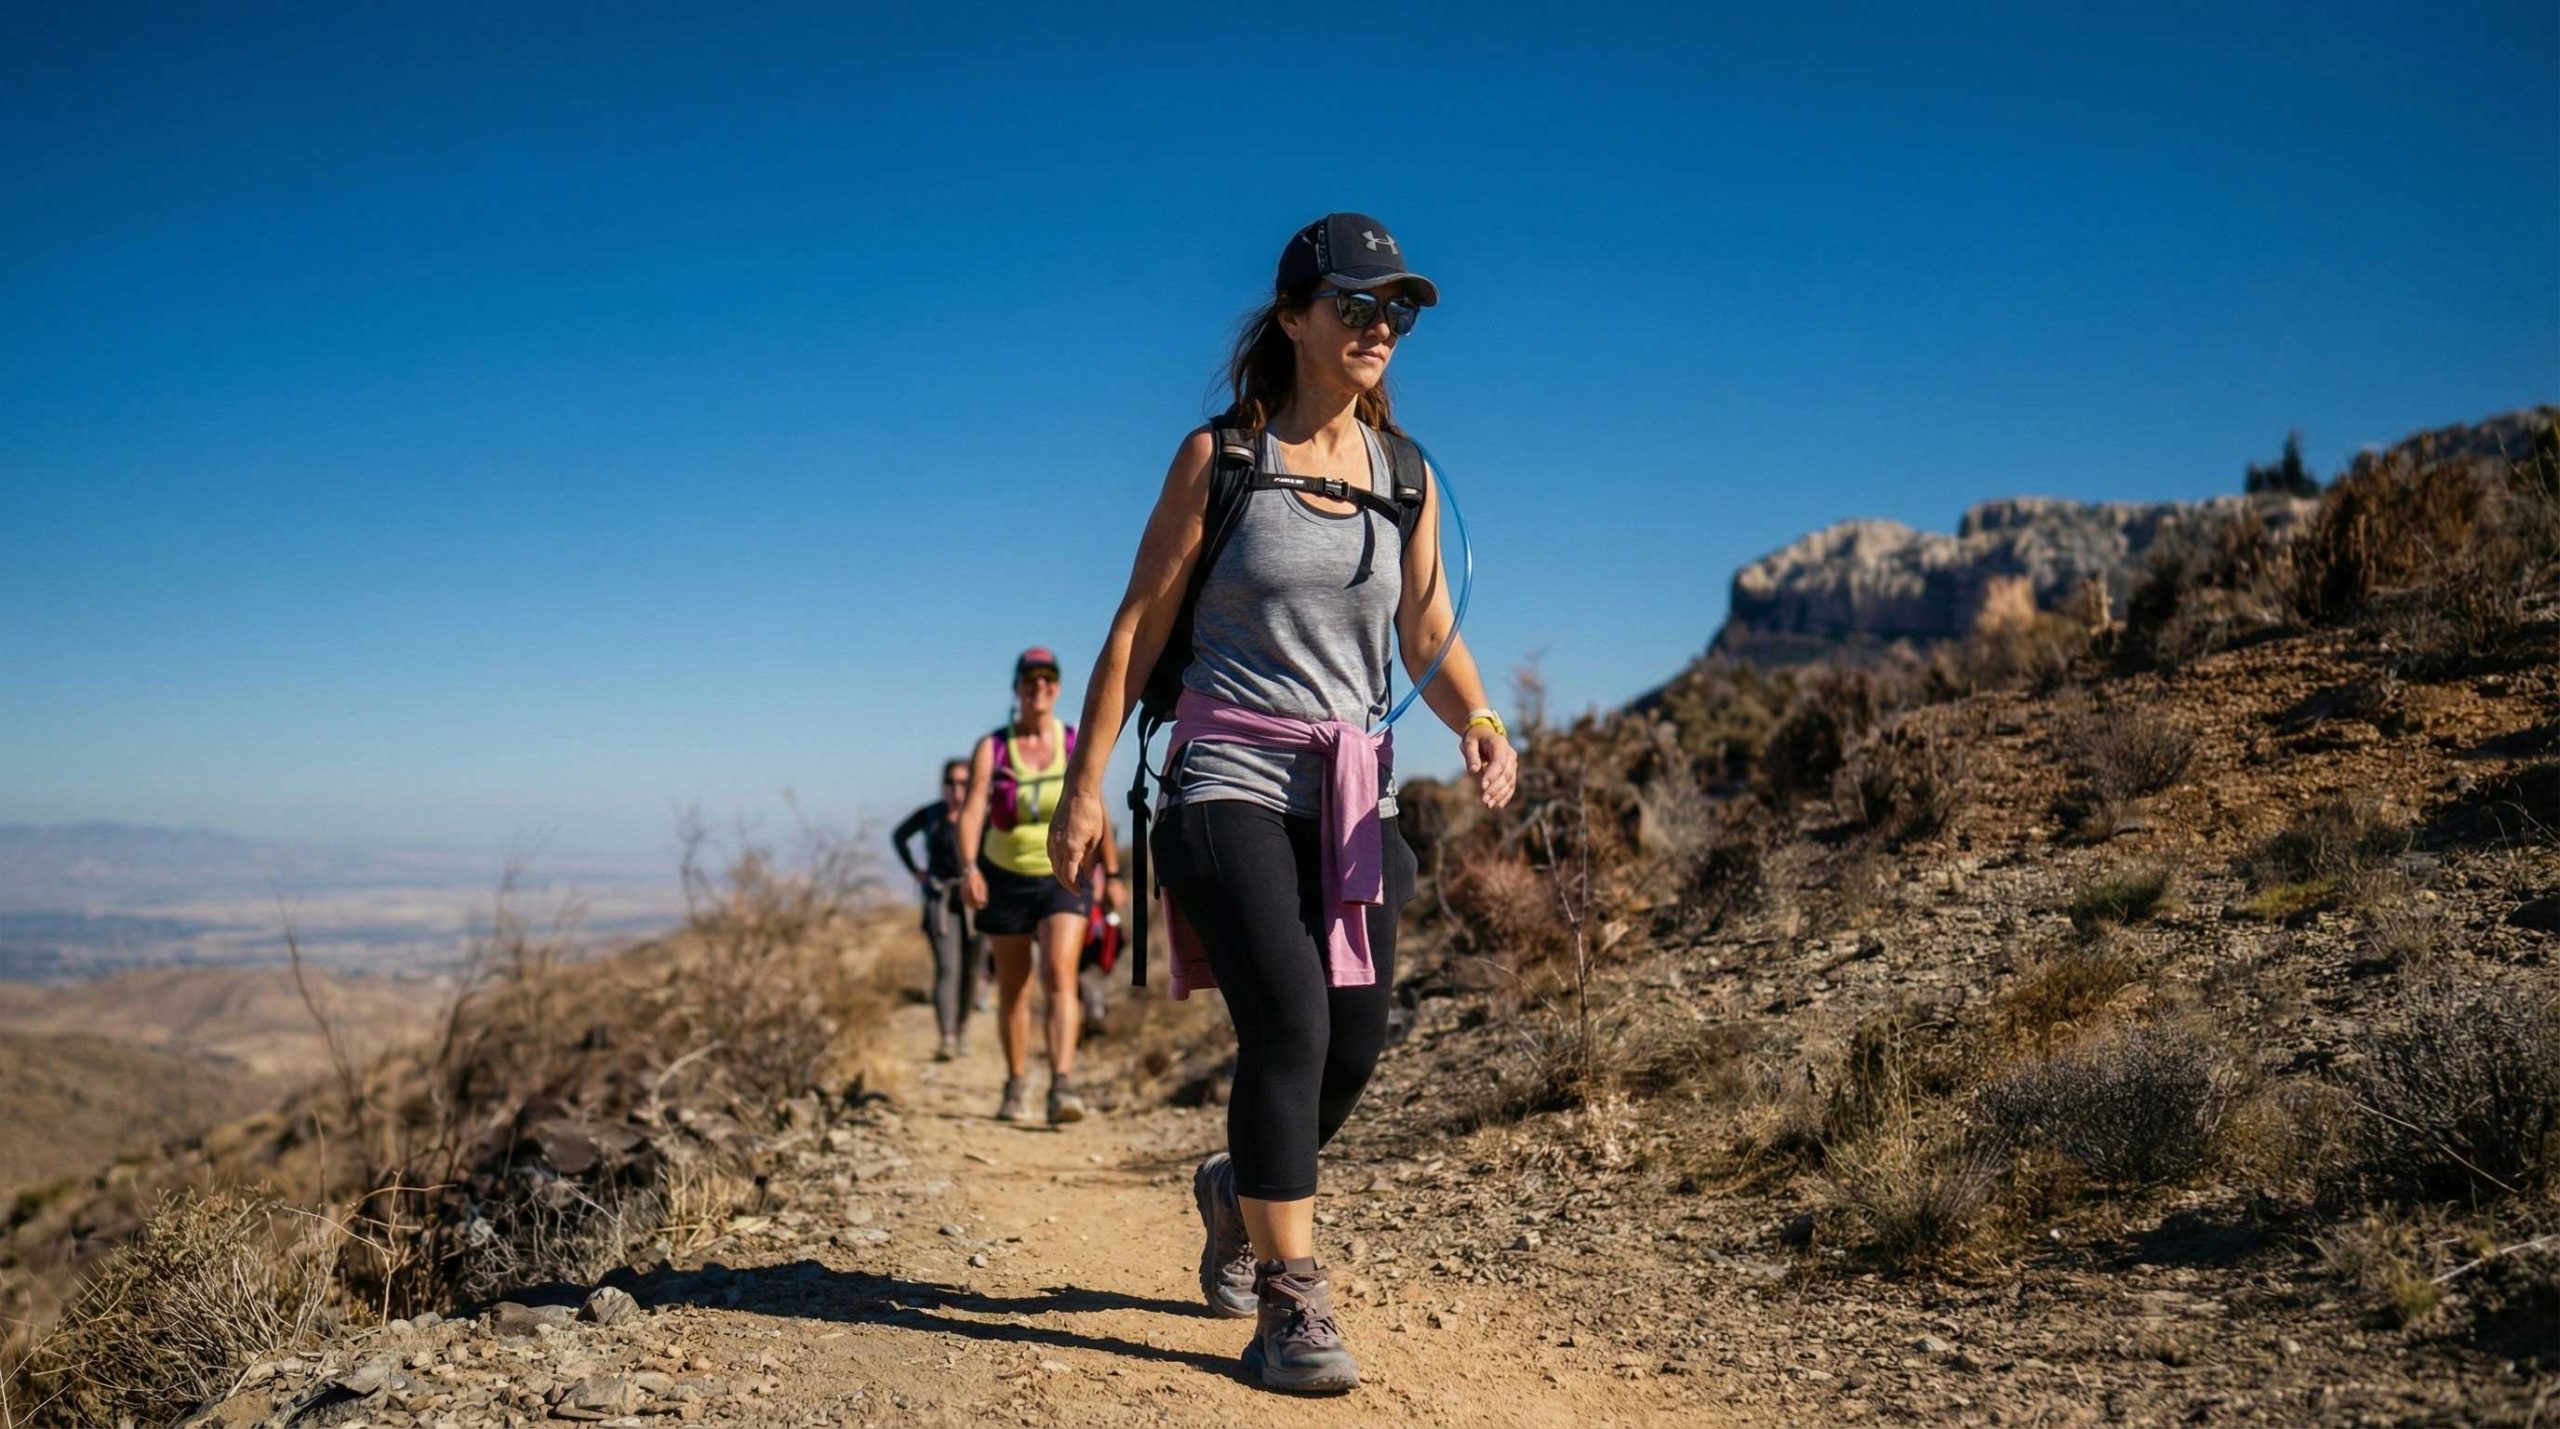
Shoulder season is my favorite hiking season and the one that makes me a little bossier than usual. Bluebird at the trailhead can turn to wind-driven sleet at treeline, and that is where hypothermia sneaks in. Not the movie version with dramatic collapse, but the quiet version that starts with clumsy fingers and bad decisions.
This is a practical, day-hike-focused guide to spotting early vs. late cues, stopping the slide, and knowing when it is time to turn around or call for help.
What hypothermia is (and why it happens fast on day hikes)
Hypothermia happens when your body loses heat faster than it can produce it, dropping your core temperature. You do not need deep winter conditions. A few classic day-hike setups are enough:
- Wet plus wind: rain, sleet, creek crossings, or sweat trapped under the wrong layers.
- Stops after exertion: you sweat on the climb, then cool rapidly when you pause for photos or lunch.
- Surprise delays: wrong turn, slow group pace, injury, or an early sunset.
- Not enough fuel: low calories means less internal heat production.
Wind matters because it cranks up convective heat loss, especially if your layers are wet or not windproof. Wet clothing matters because water conducts heat away from you far faster than air.
High-risk situations
Hypothermia is equal-opportunity, but some people and scenarios get in trouble faster:
- Kids and smaller bodies: they can cool down quickly.
- Injury or exhaustion: you stop moving, or you cannot move well.
- Lost or benighted: you run out of daylight and options.
- Low fuel and dehydration: less energy to make heat, harder to keep moving.
- Alcohol and some meds: can impair judgment and temperature regulation. (Save the celebratory drink for after you are warm and home.)
Early vs late hypothermia signs
Think of hypothermia as a spectrum. The earlier you catch it, the simpler the fix. The problem is that the first thing hypothermia steals is good judgment.
Also, shivering is not required. Some people shiver less than you would expect, and in later stages shivering can decrease or stop. Do not use “they are not shivering” as a free pass.
Early signs (mild)
- Shivering that is persistent or stronger than expected for the conditions
- “Colder than I should be” feeling even while moving
- Clumsy hands, fumbling zippers, dropping items
- Slower pace, frequent stops, quiet or withdrawn behavior
- Numbness or tingling in fingers
- Slurred speech that comes and goes
Trail reality check: If someone cannot easily do simple tasks like open a snack wrapper, operate a phone, or buckle a pack, treat that as an early warning, not a personality quirk.
Worsening signs (moderate)
- Violent shivering that does not improve with added layers
- Stumbling gait, poor coordination, repeated tripping
- Confusion, irritability, or “I’m fine” denial that does not match what you see
- Glassy stare, delayed responses, trouble following directions
- Cold, pale skin and noticeable fatigue
Late signs (severe, life-threatening)
- Shivering stops (this is a red flag, not relief)
- Very slow movement, inability to stand or walk
- Loss of consciousness or near-unresponsiveness
- Weak, slow pulse and slow breathing
- Odd behavior, including confusion that escalates or paradoxical undressing (trying to remove layers even though they are cold)
If you see late signs, think emergency: protect the person from further heat loss and get rescue involved.
Quick self-check
If you are hiking with friends, do quick check-ins whenever weather shifts or whenever you stop long enough to start cooling off.
- Talk test: Ask a simple question. Are answers coherent?
- Hands test: Can they zip a jacket, clip a buckle, or tie a lace?
- Walk test: Do they walk a straight line without wobbling?
- Mood shift: Are they unusually quiet, irritated, or checked out?
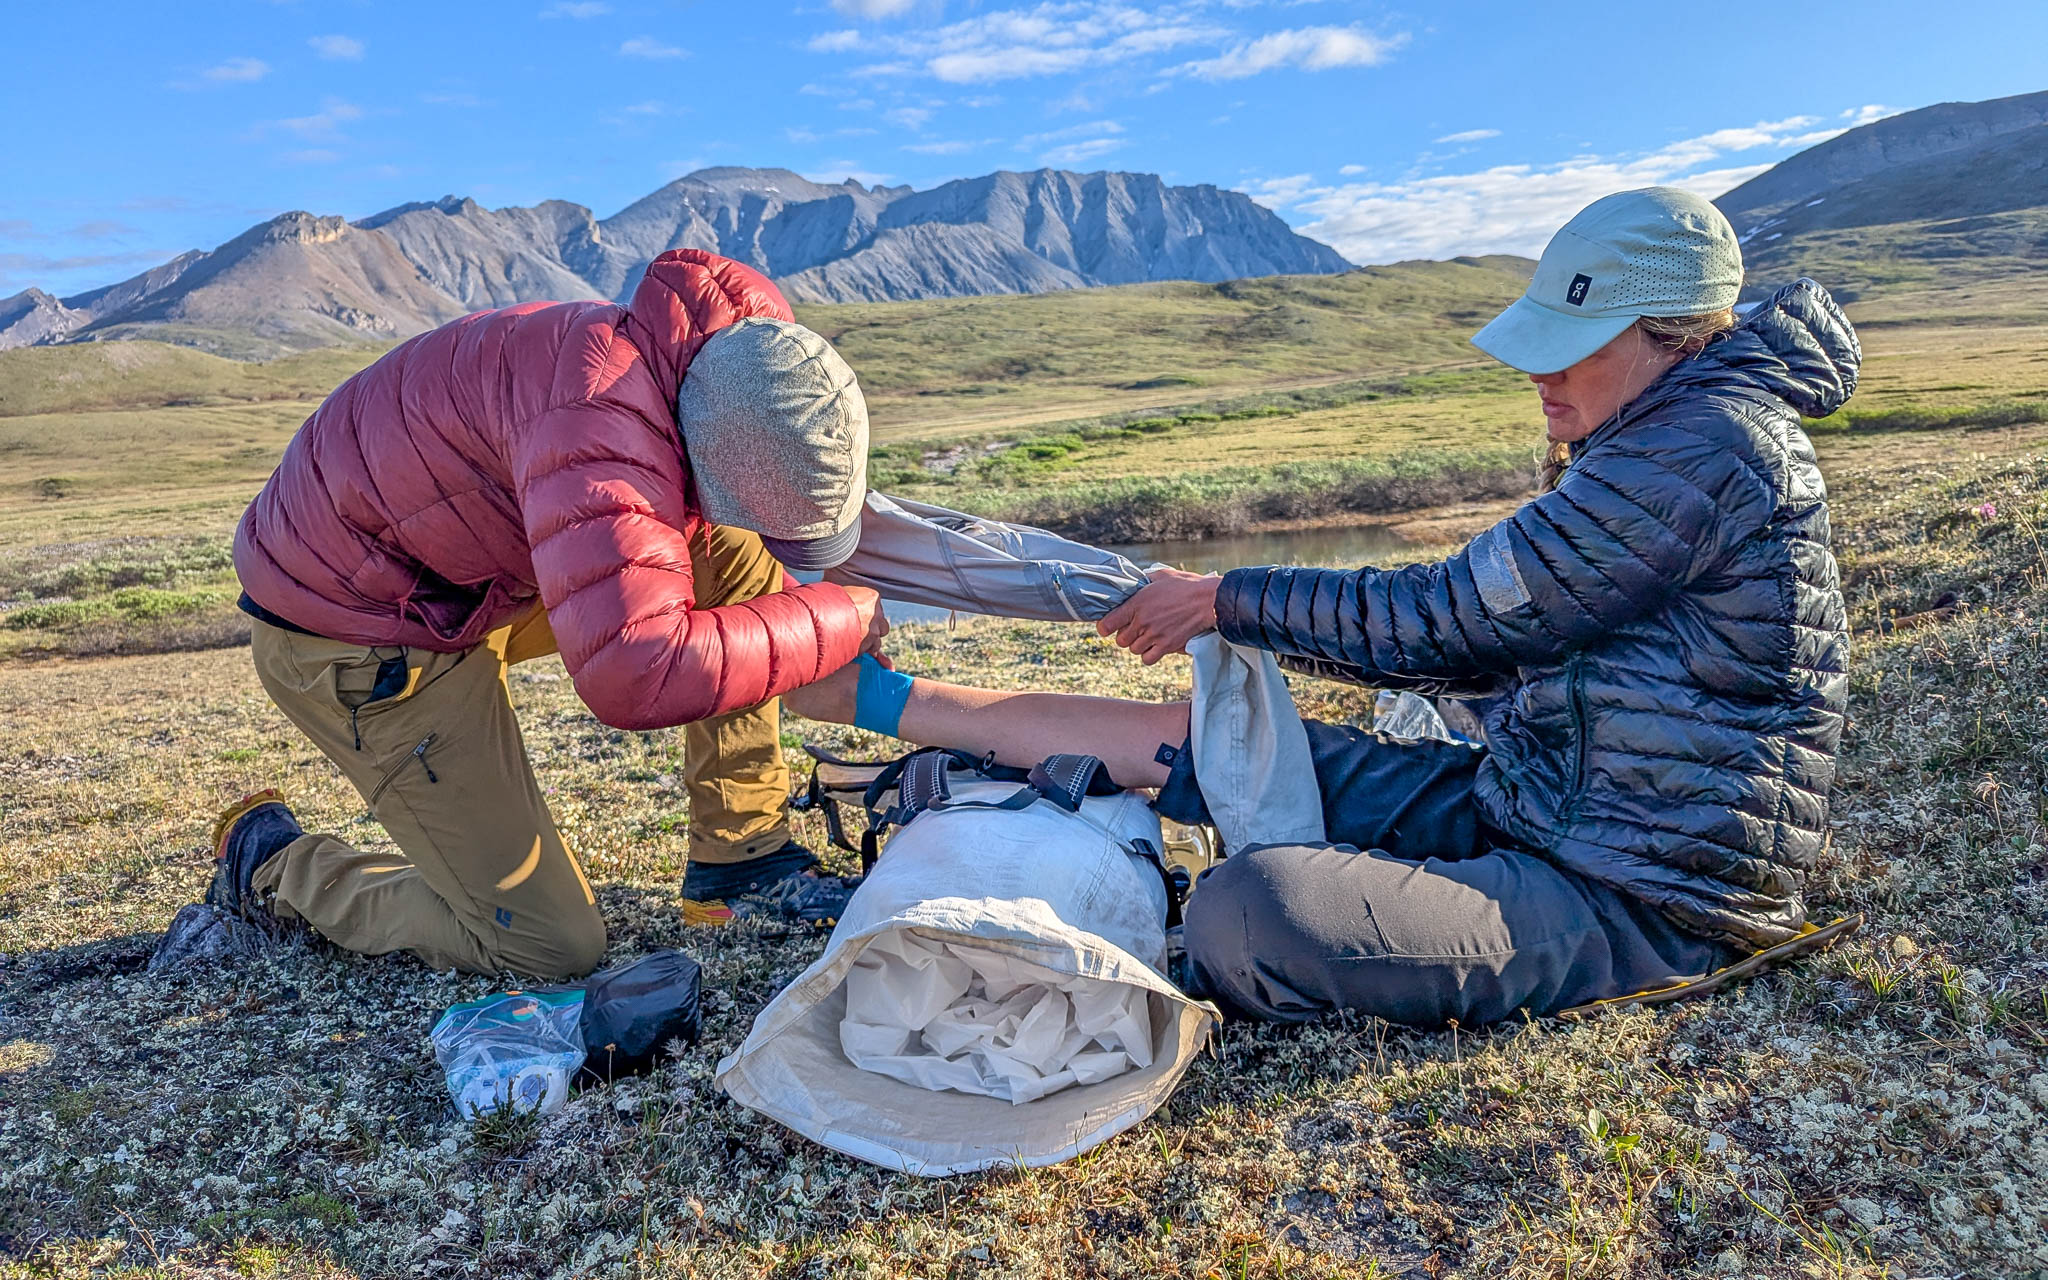
Any fail means you switch from “hike mode” to “rewarm mode.” That means layers on now, get out of wind and wet, eat something, and reassess whether continuing is even on the table.
What to do next
When someone is getting hypothermic, your priorities are simple: get out of wind and wet, add insulation, add calories, and stop heat loss. Here is a practical sequence you can follow.
1) Stop the cooling
- Get shelter fast: step below a ridgeline, tuck behind trees, use a tarp, emergency bivy, or even a rain fly.
- Put on wind and rain protection: a shell over everything can be an instant heat saver.
- Insulate from the ground: sit or stand on a foam pad, spare clothing, pack, or rope. Cold ground drains heat.
2) Get dry and trap warmth
- Swap wet layers: especially base layers and socks. Even a dry shirt under a damp jacket helps.
- Add insulation: puffy jacket, fleece, or extra midlayer. Put a hat or hood on. Add gloves or mittens.
- Cover the neck and head: buff, balaclava, or hood. Heat loss here is real and easy to fix.
3) Add fuel and warm fluids
- Eat quick calories: candy, gels, trail mix, nut butter, jerky, anything easy to chew.
- Drink warm, sweet liquids if available: tea, cocoa, broth. Avoid alcohol.
If the person is nauseated or too confused to swallow safely, do not force food or drink.
4) Use warmth wisely
- Huddle: close contact inside a shared shelter or wrapped in a blanket can help in mild to moderate cases.
- Warm packs to the core: chemical heat packs placed on the chest, armpits, or groin can help. Keep a layer between skin and pack to avoid burns.
Prioritize the core. Avoid very hot water on hands and feet, aggressive rubbing, or any elaborate limb-warming that delays the basics. The “afterdrop” idea is real, but the practical trail takeaway is simple: keep it gentle, keep it core-focused, and do not waste time.
5) Decide: continue, turn back, or call for help
Do not “walk it off” if coordination or judgment is impaired. Hypothermia and poor decisions are best friends.
When to turn back
I love a summit as much as anyone, but a safe hike is the one that ends with you changing into dry socks at the car, not with you improvising a rescue.
- Turn back now if shivering is strong and persistent, the person is fumbling basic tasks, or your group cannot stay dry in the current weather.
- Turn back immediately if there is confusion, repeated stumbling, slurred speech, or the person keeps insisting they are fine while clearly deteriorating.
- End the hike and rewarm fully if symptoms improve after layers, food, and shelter but return quickly when you start moving again.
A key shoulder-season insight: you can be moving and still losing heat if wind and wet are winning.
When to call for help
In the backcountry, calling early is a feature, not a failure. If you suspect moderate to severe hypothermia, assume the situation can worsen during exit.
Call emergency services if:
- Shivering stops, or the person is drowsy, confused, acting oddly, or losing consciousness
- The person cannot walk out safely
- You cannot get them meaningfully warmer and drier within a short window
- Weather or terrain makes self-evacuation risky
How to call: Use 911 in the US or your local emergency number if you have service. If you carry a satellite messenger, use SOS for severe symptoms or inability to move. If it is not yet SOS, message a trusted contact with your location, the person’s condition, and your plan.
While waiting: insulate, shelter from wind, keep the person still, and monitor breathing. Handle gently. Severe hypothermia can make the heart more sensitive to sudden movement.
If you are solo
Solo shoulder-season rule: be conservative, because you are missing the “buddy check” that catches problems early.
- At the first hint of persistent shivering, clumsy hands, or brain fog: stop, add layers, get out of wind, and eat.
- Do not negotiate with yourself about “just one more mile.” Turn around while you are still coordinated.
- If you are stuck: shelter, insulate from the ground, use your emergency bivy, and use your satellite device early if you are deteriorating or cannot travel safely.
Prevention that works
Most hypothermia prevention is boring, which is why it works. Your goal is to stay dry enough, blocked from wind, and fed.
Layering basics
- Base layer: synthetic or wool. Avoid cotton. If you sweat easily, choose lighter weight.
- Midlayer: fleece or active insulation for movement in cold air.
- Shell: a reliable waterproof or highly weather-resistant jacket for wind, drizzle, and wet snow.
- Warm layer for stops: a puffy jacket that goes on the minute you stop moving.
My personal rule: if you are warm at the trailhead, you are probably overdressed. Start slightly cool and adjust early.
Hands, head, and feet
- Bring two hand systems: light gloves for hiking plus warmer gloves or mittens for wind and stops.
- Carry a warm hat and a buff even if the forecast looks mild.
- Pack dry socks in a waterproof bag. Wet feet can quietly tank your whole day.
Food and water
- Eat on a timer: a few bites every 45 to 60 minutes beats a big lunch when you are already cold.
- Bring something warm: a thermos in shoulder season is both morale and temperature control.
- Keep water accessible: cold makes people drink less, and that backfires.
Plan for the surprise hour
Most hypothermia trouble starts when the day takes longer than expected. Pack like you might be out an extra hour or two.
- Headlamp with fresh batteries
- Emergency bivy or lightweight shelter
- Fire starter and matches in a waterproof container, where legal and safe
- Foam sit pad or small insulated pad
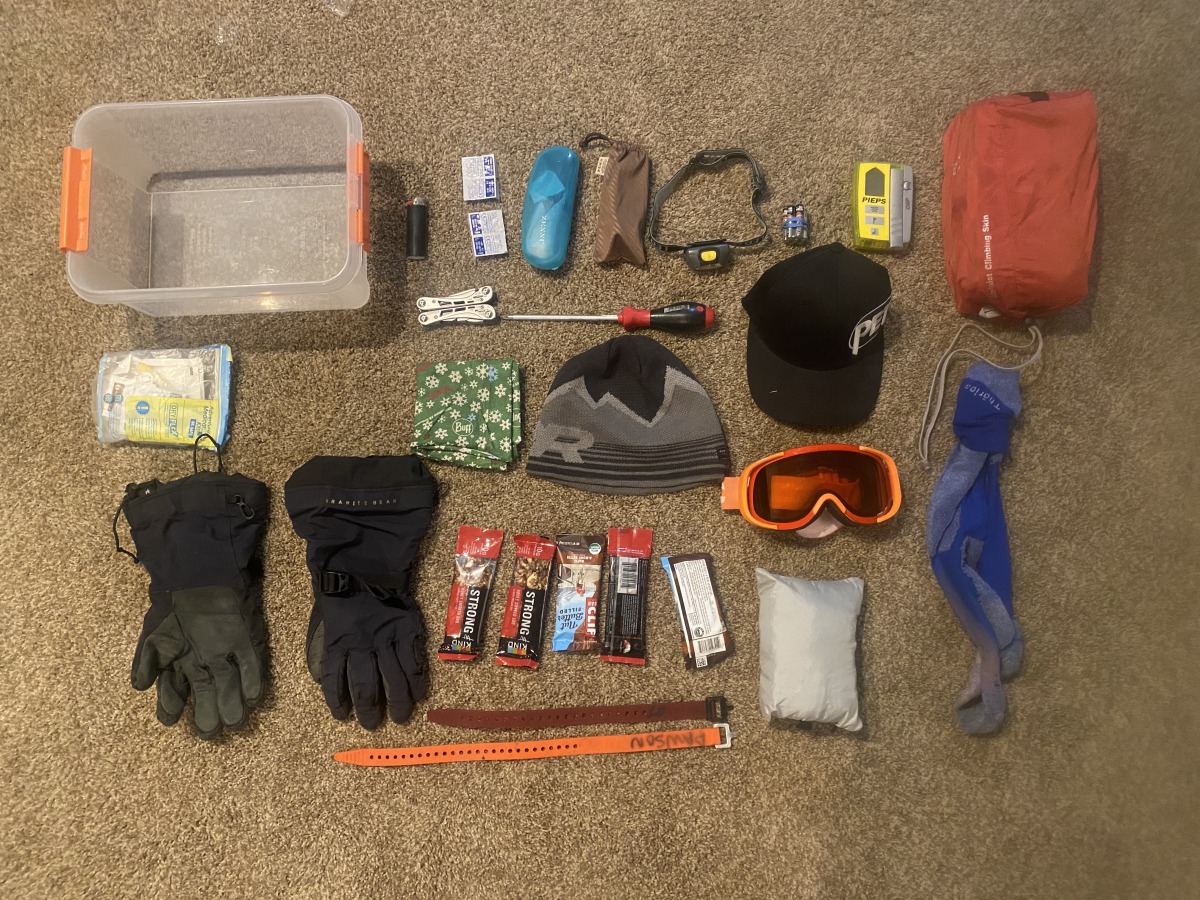
Gear that matters
If you already read winter hiking content, you likely own most of what prevents hypothermia. The trick is using it early.
Day-hike checklist
- Windproof and waterproof shell: jacket, and pants if the forecast is messy
- Packable puffy: for stops, summits, and emergencies
- Dry backup layer: at least an extra base top, plus socks
- Warm hat and spare gloves or mittens: redundancy matters
- Emergency bivy or tarp: creates a warmer microclimate immediately
- Sit pad: tiny, cheap, high impact
- Chemical warmers: treat as core warmers in a pinch
- Thermos: especially on windy routes
All of this fits within a “carry-on only” mindset: small, multipurpose, and worth the grams when weather is indecisive.
Common mistakes
- Waiting until you are cold to add layers: layer up at the first hint of chill or when wind picks up.
- Not venting on climbs: sweating through a base layer is like scheduling hypothermia for later.
- Taking a long break in exposed terrain: move your snack stop into shelter.
- Relying on one “warm” jacket: you need a system: active warmth plus stop warmth plus weather protection.
- Underestimating drizzle: light rain can be worse than dry snow because it soaks and keeps soaking.
Decision checklist
Before you leave the trailhead, and again at the turnaround point, ask:
- Do we have dry layers and a windproof shell for everyone?
- Do we have enough calories for the full day plus extra?
- Do we have headlamps and an emergency shelter?
- Is the weather trend improving, stable, or deteriorating?
- Is anyone already shivering, unusually quiet, or fumbling gear?
If you do not like your answers, your best move is often the simplest: turn around while turning around is still easy.
Important note
This article is for general education and day-hike preparedness, not a substitute for professional medical training. If you suspect moderate or severe hypothermia, seek emergency help as soon as possible.
Shoulder season rewards the hikers who stay humble. Pack like the mountain might change its mind, because it will.