Lembert Dome Hike: Route, Time, and Granite Safety

Maya Lin
Maya Lin is a travel journalist and outdoor enthusiast who believes the best trips combine rugged adventures with urban comforts. After spending six years backpacking across four continents, she founded Trail & Town Guide to help fellow travelers navigate both hidden mountain passes and bustling city neighborhoods with confidence.
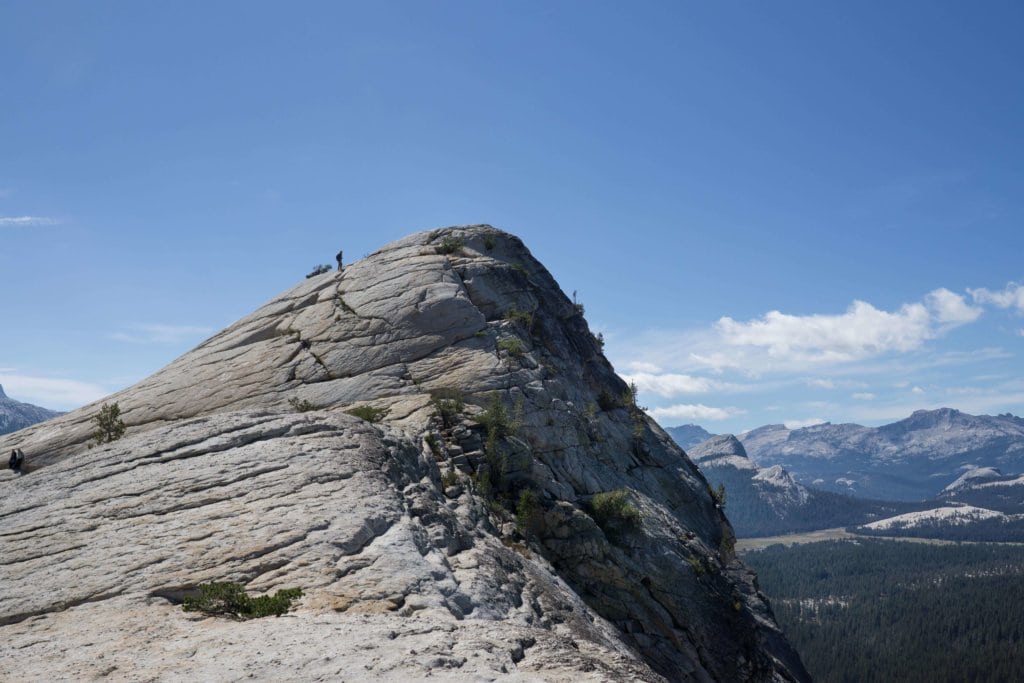
Lembert Dome is one of those Tuolumne Meadows hikes that feels like a secret handshake. It starts with an easy, almost meadow-stroll approach, then suddenly you are on clean granite with a view that makes Half Dome feel like a distant rumor. It is short enough to squeeze in on a Tioga Road day, but the final pitch is real granite slab travel, and conditions matter a lot up here.
This guide covers the two common starting points, route details, realistic time needed, and how to decide whether the granite slab is a go or a no.
Quick facts
- Location: Tuolumne Meadows area, Yosemite National Park, off Tioga Road (CA-120)
- Typical distance: about 2.8 to 3.2 miles round trip (most hikers land near ~3 miles)
- Elevation gain: roughly 900 to 1,000 feet depending on start and micro-detours
- High point: around 9,400+ feet (Tuolumne is high, and you feel it)
- Difficulty: Moderate overall, with a steep, friction-dependent granite finish
- Best for: Big views without an all-day commitment
At this elevation, even strong hikers feel the thin air. If you just drove up from the Valley, build in extra time, drink more water than you think you need, and take the first climb at a conversational pace.
Season and access
Lembert Dome is a Tioga Road hike, which means access is seasonal. Tioga Road typically closes for winter and can stay closed well into spring, and early season conditions up here can include lingering snow, icy mornings, and wet granite from meltwater. Even in summer, Tuolumne weather flips fast, so I treat this as a “pack layers even on a short hike” outing.
Because this is an exposed granite dome, keep an eye on the sky. If thunderstorms are in the forecast or building, pick a meadow walk instead.
Trailheads and starts
1) Dog Lake parking area (most straightforward)
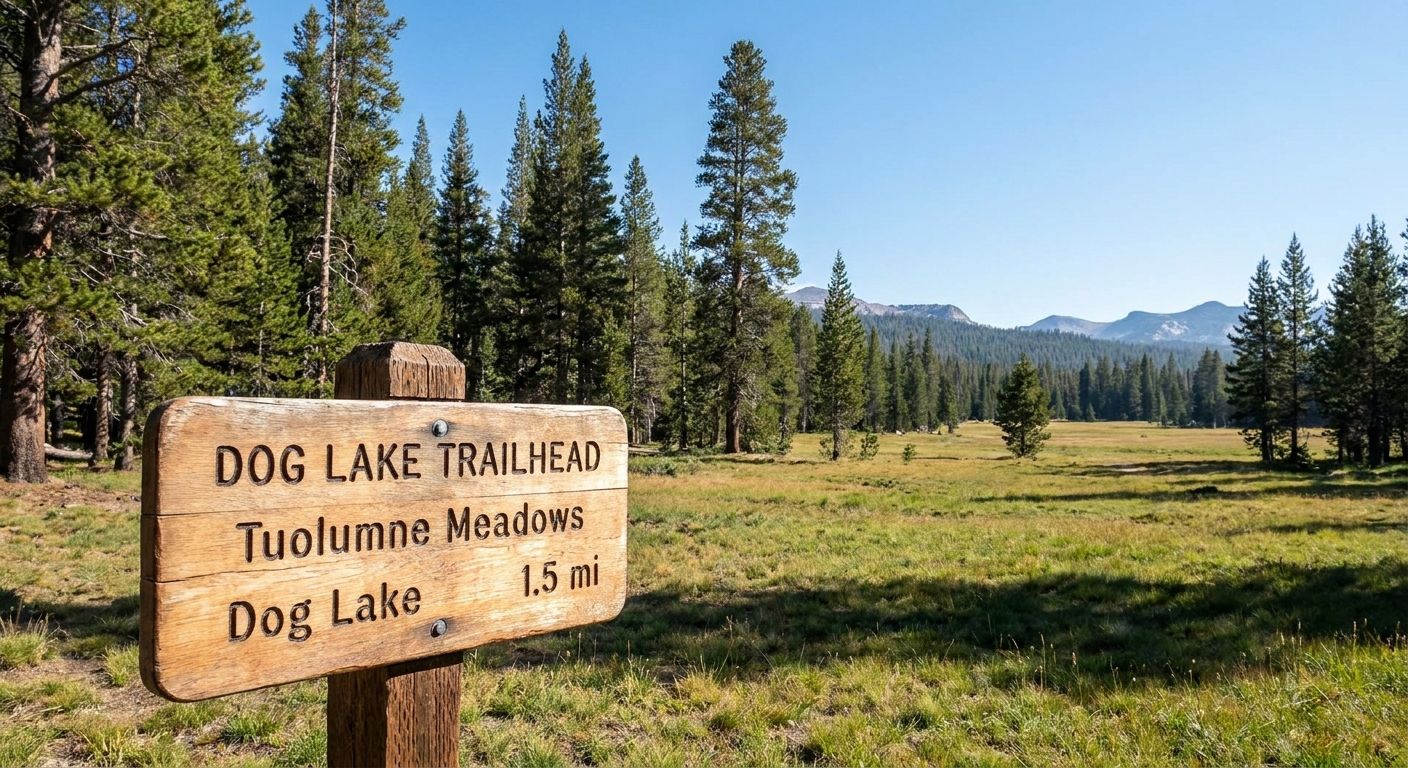
This is my default because it is simple: park at the signed Dog Lake / Lembert Dome area along Tioga Road, then follow the Lembert Dome trail signs. You get a clear start, a well-defined path, and fewer navigation questions.
- Pros: Clearly signed, direct, consistent trail
- Cons: Parking can fill quickly on summer mornings
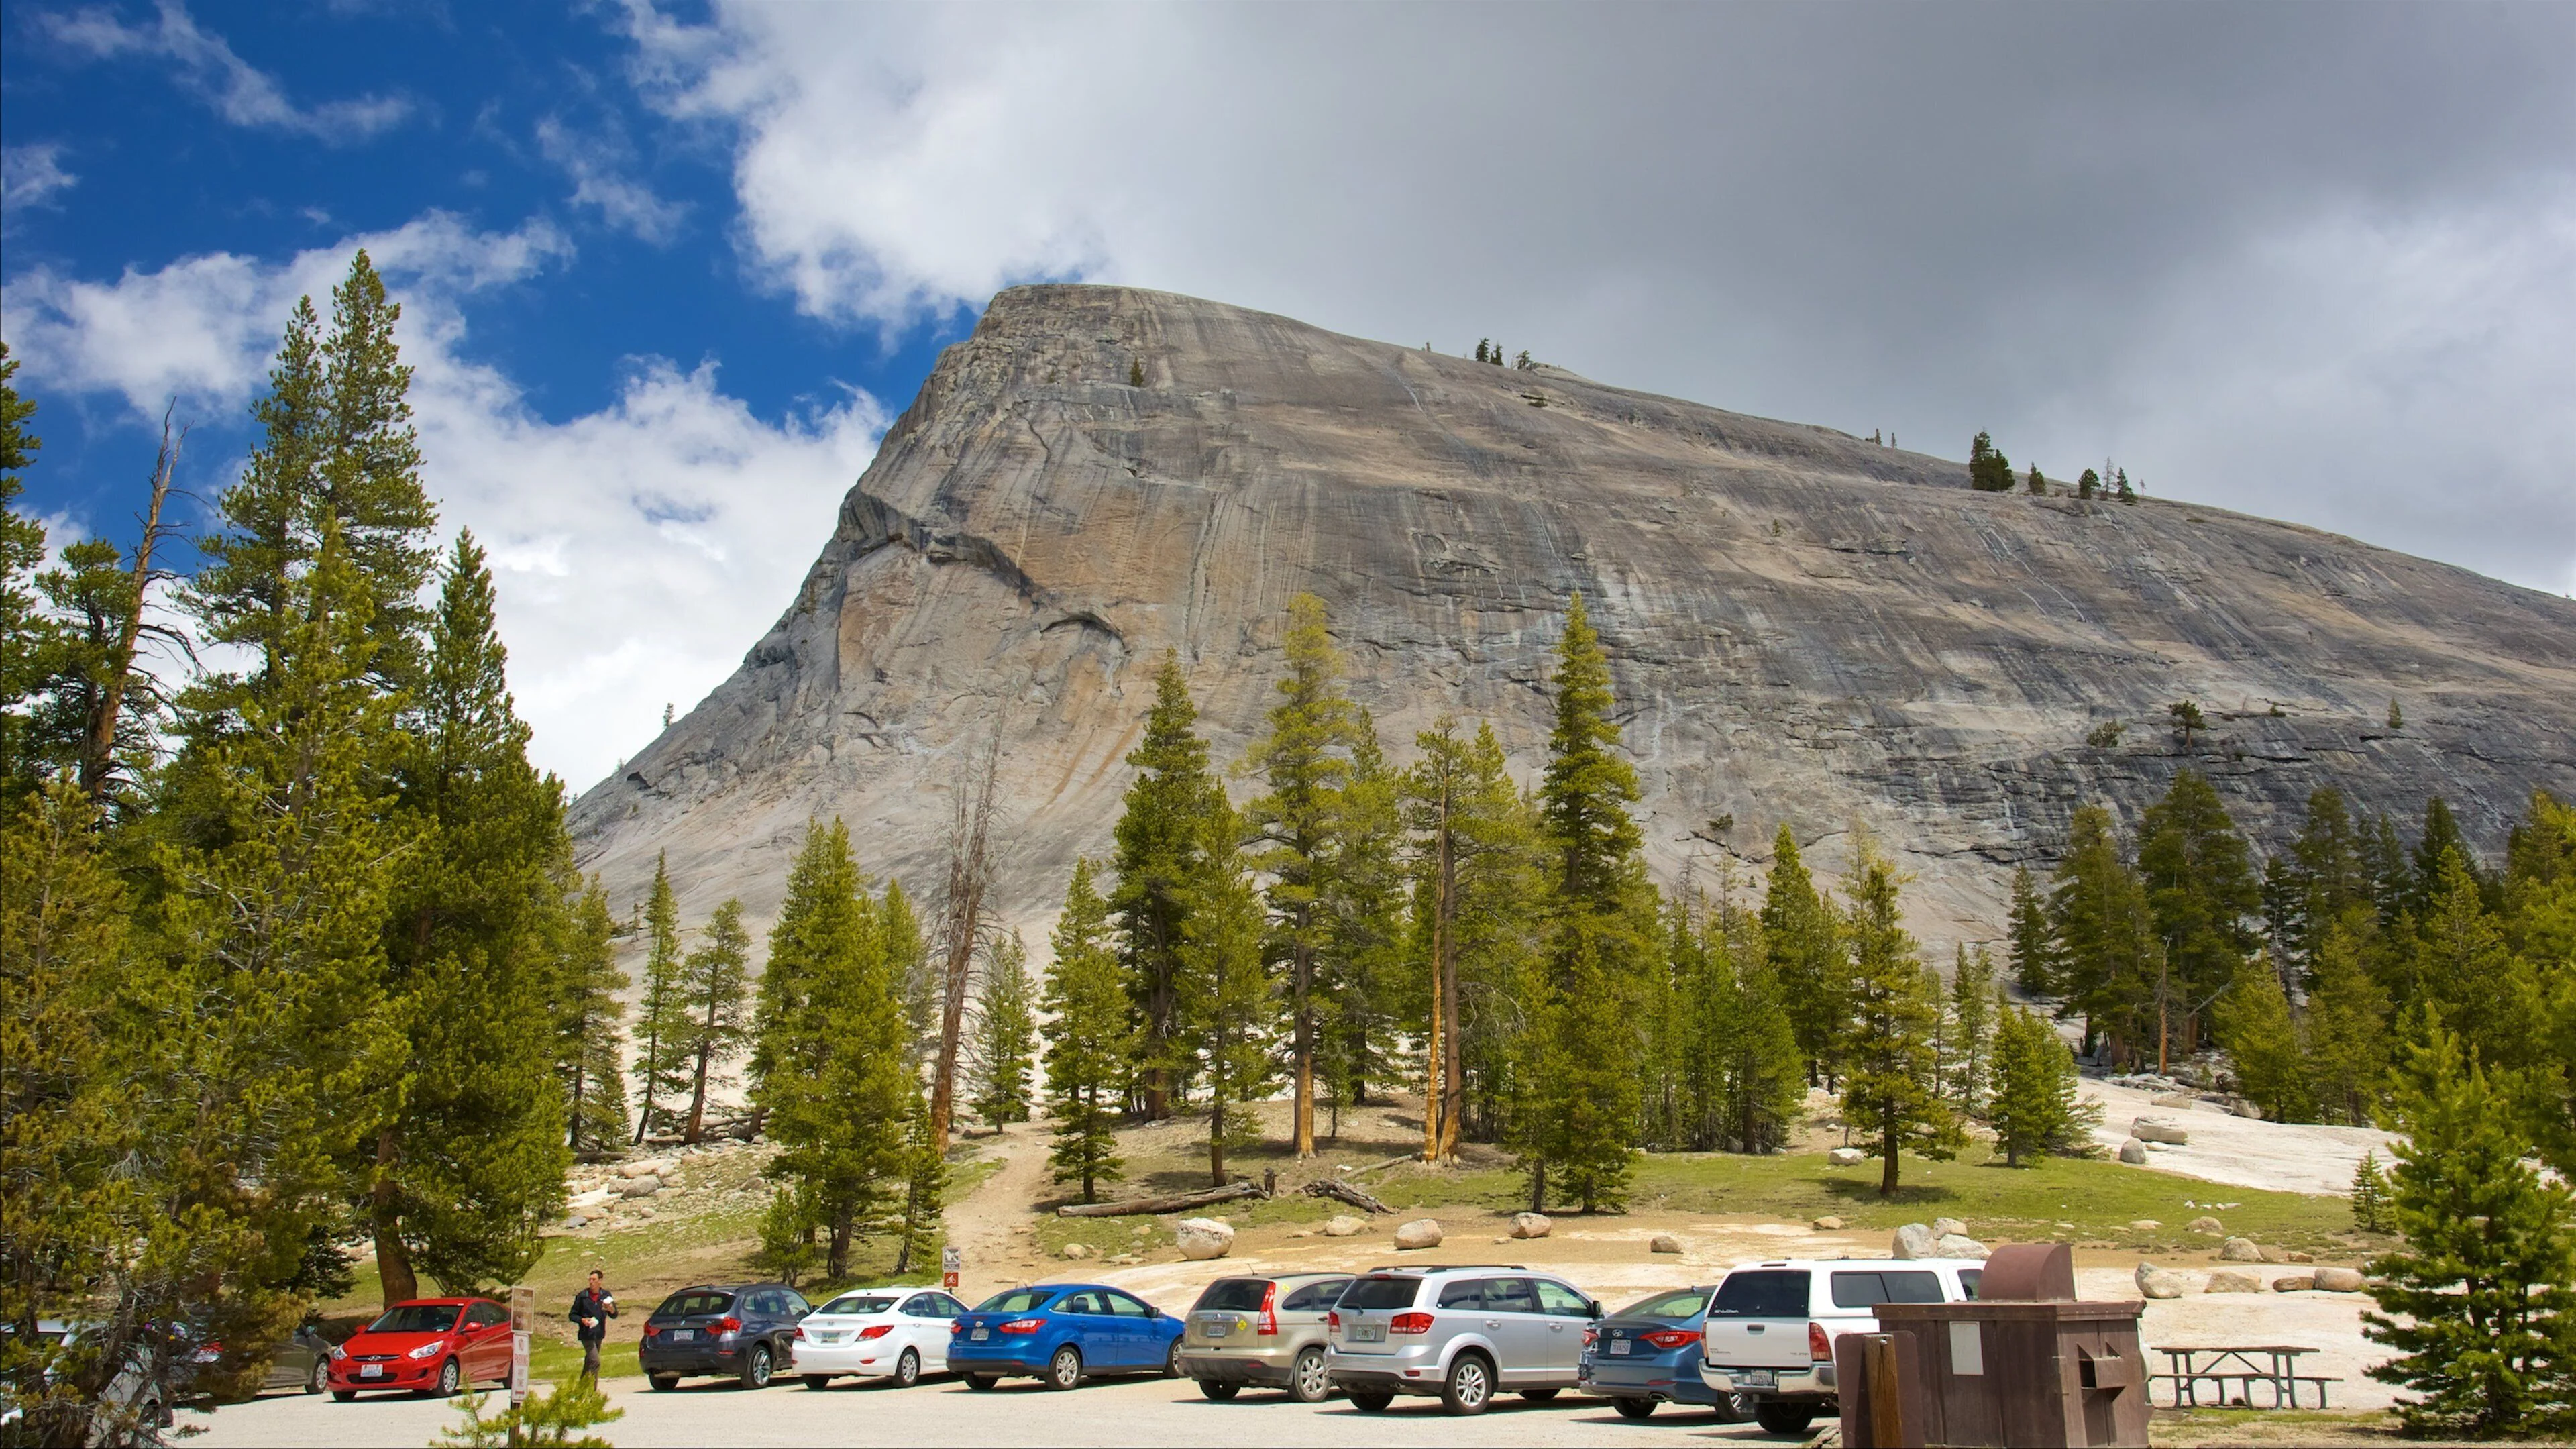
If you want a practical strategy, go earlier than you think. If it is full, be prepared to loop back through and try again later, especially midday.
2) Lembert Dome Picnic Area (works if you are already there)
If you are already pulled into the Lembert Dome Picnic Area, you can start from there and connect into the main route. I think of this as a convenient alternate start, not the classic “follow the sign and go” trailhead. Expect a bit of “finding the start” time in the first minutes, and do not be shy about checking your map if the path feels vague.
- Pros: Convenient if you are already stopping for food or a break
- Cons: The first stretch can feel less obvious than the Dog Lake start
Route description
Approach: forest and open views
The hike begins mellow, threading through lodgepole pine with intermittent openings where you can see the dome’s smooth back rising above the trees. This section is a nice warm-up, and it is where I settle into a steady breathing rhythm because the altitude is sneaky.
The climb: steeper trail, then granite
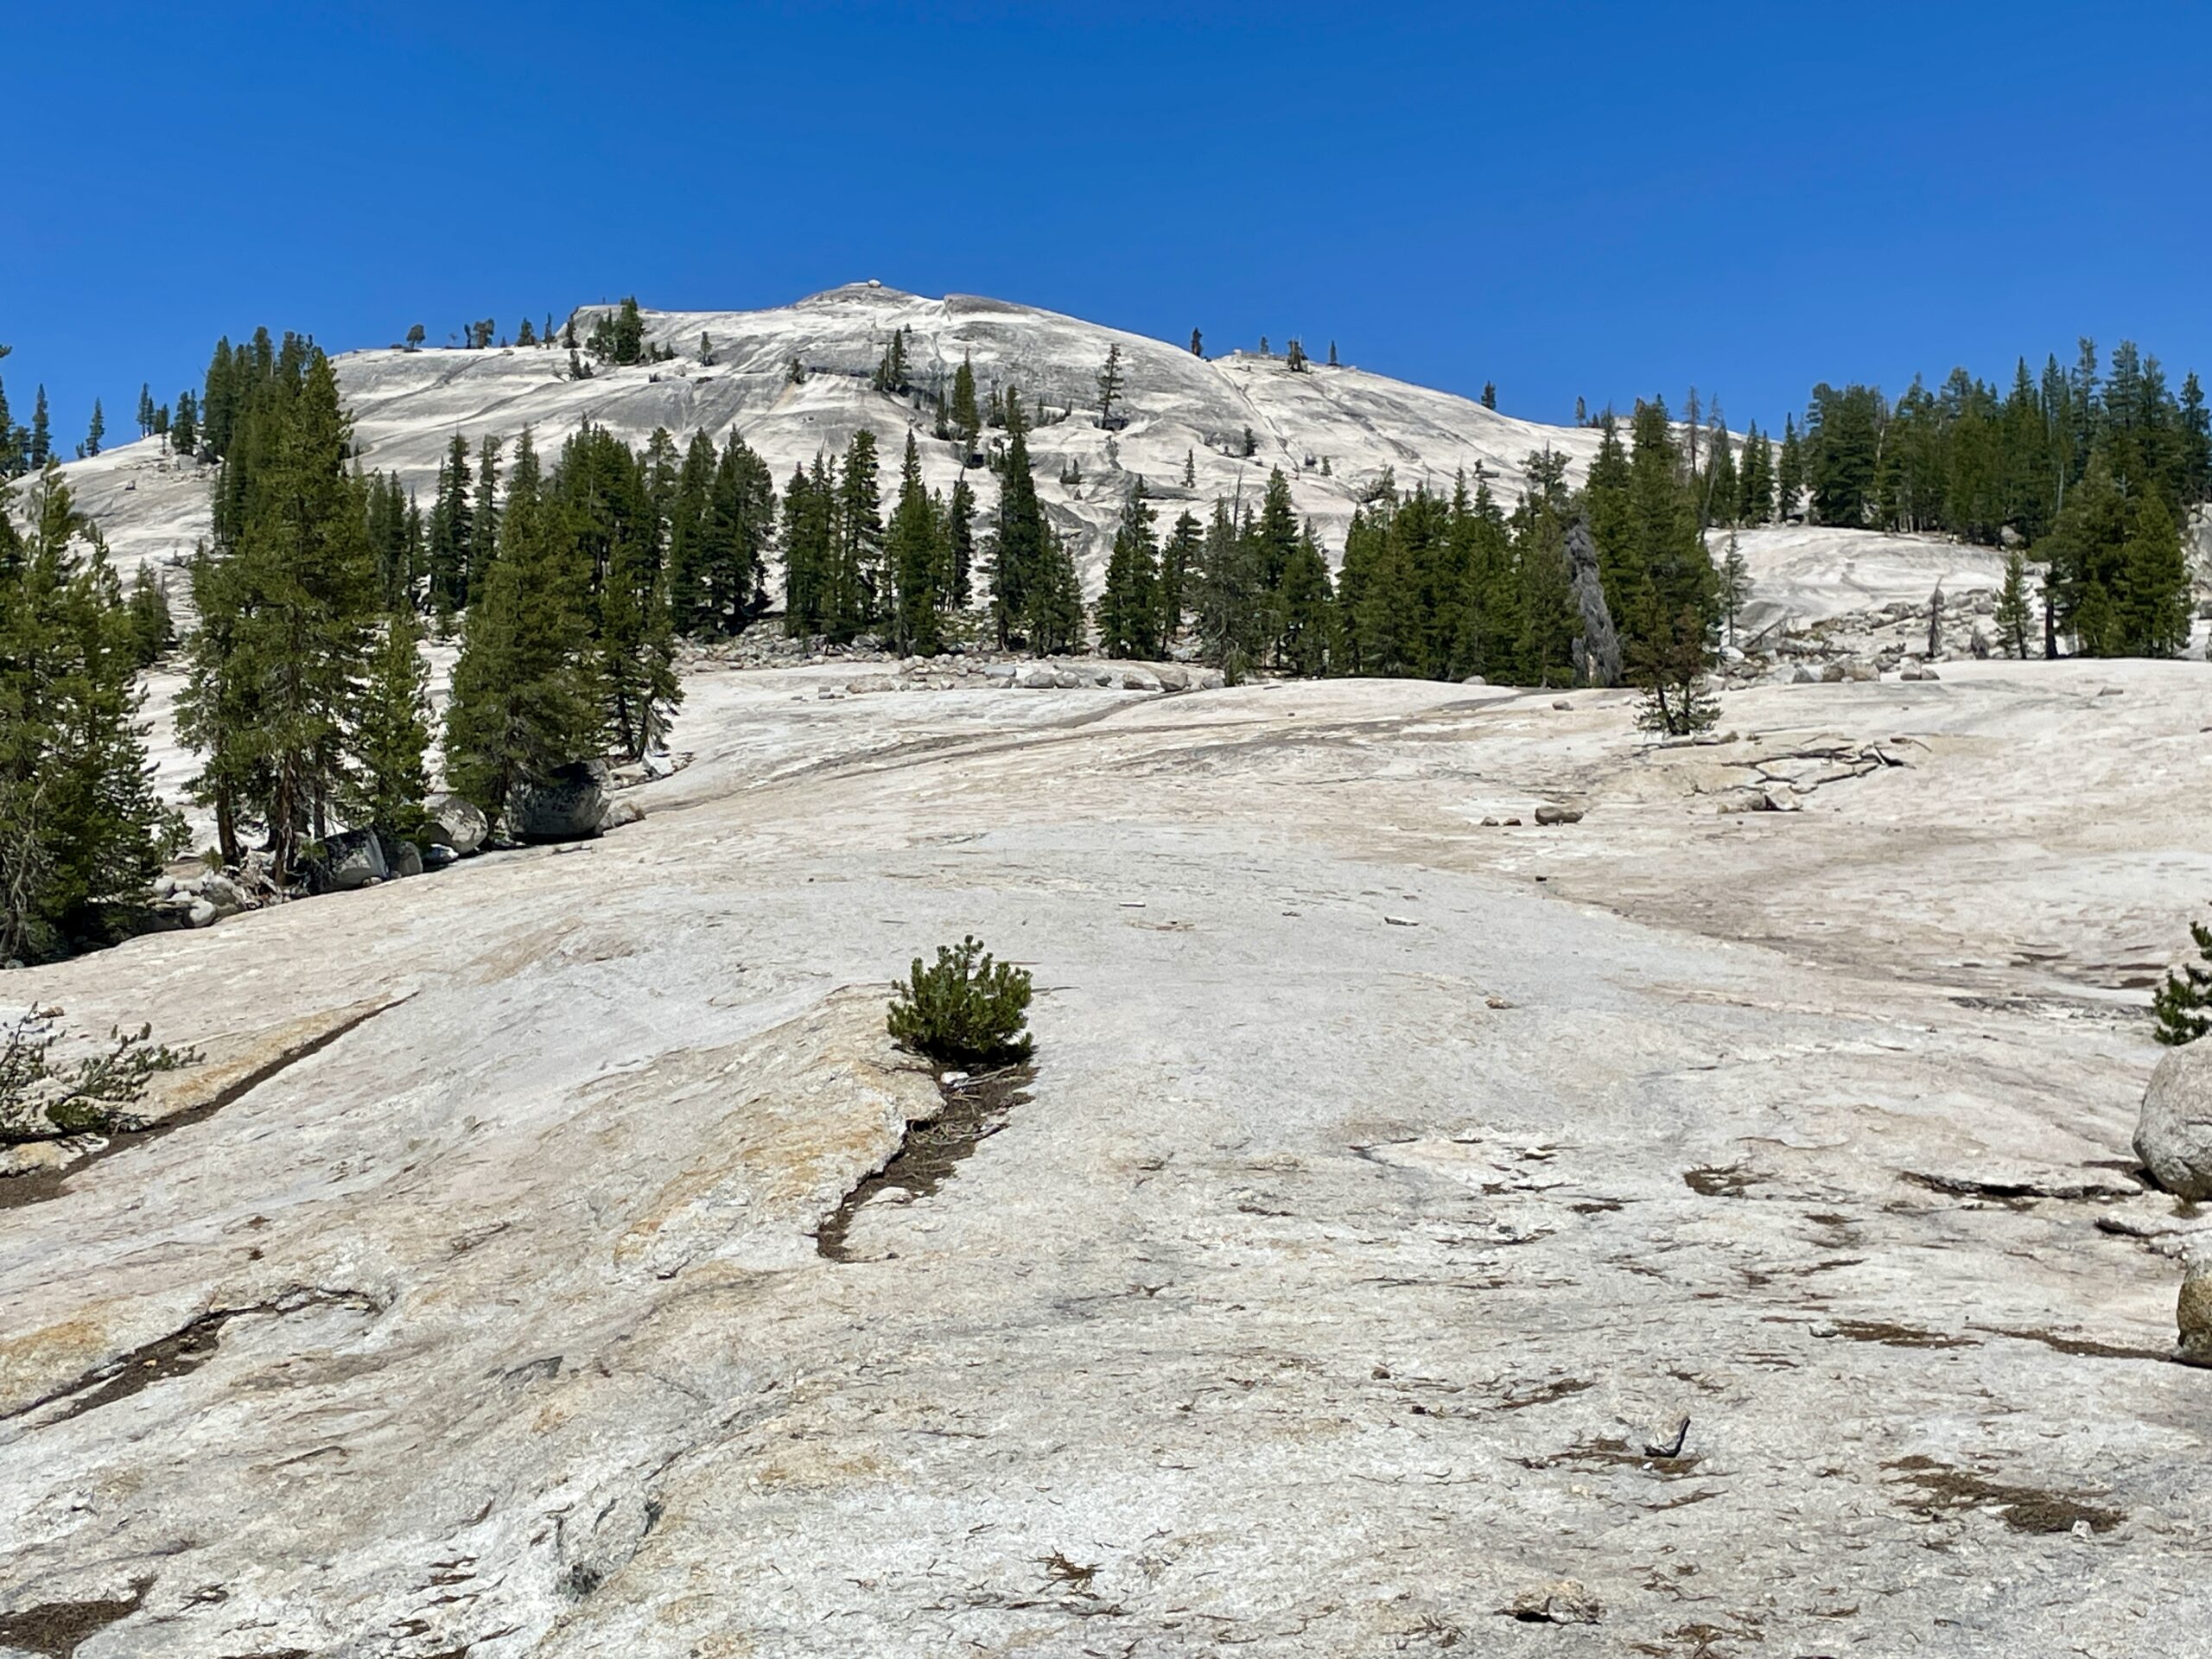
As you gain elevation, the trail steepens and the trees thin out. Eventually, you will reach the point where it is obvious that the dirt trail is giving way to granite travel. Above that transition, the “route” is usually a mix of worn footsteps and the natural tendency to follow the cleanest, most traveled line toward the broad shoulder and summit.
You might see a few cairns come and go over the season, but I would not treat them as navigation. This is a better place to trust terrain logic and an offline map.
The final slab: friction hiking on granite
The finish is the whole personality of this hike. You are walking up a broad granite slope where your shoes rely on friction more than steps. In dry summer conditions, it feels like hiking up sandpaper at an angle. In wet, icy, or sandy conditions, it can feel like a tilted countertop.
If you are new to friction hiking, the sensation can be unnerving even when it is safe. That is normal. What matters is whether you can keep your feet flat, trust the rubber, and maintain three points of contact when you want to.
Distance and elevation
Most hikes to Lembert Dome end up right around three miles round trip, with roughly 900 to 1,000 feet of gain. Your exact number depends on where you start and how directly you connect to the base of the dome.
- Dog Lake signed trailhead: about 2.8 to 3.2 miles round trip, roughly 900 to 1,000 feet of gain
- Picnic area start: often about 2.8 to 3.2 miles round trip as well, depending on your connector and wandering
If you are hiking with kids, new hikers, or anyone adjusting to altitude, plan based on time instead of mileage. The granite finish slows people down in the best way, with lots of pause-and-stare moments.
How long it takes
For most hikers, Lembert Dome is not a “fast” trail even though it is short. The steep sections and the slab tend to create natural breaks.
- Quick but steady: 1.5 to 2 hours round trip
- Typical pace with photos and breathers: 2 to 3 hours round trip
- Slow travel pace with a long summit hang: 3 to 4 hours round trip
I usually budget about three hours so I can linger on top with a snack and still feel unhurried on the descent, which is where traction matters even more.
Navigation basics
Parts of this hike are obvious trail, and parts are “choose your line on granite.” If you are comfortable on slabs, it is straightforward. If you are not, it can feel weirdly trail-less.
- Download an offline map before you lose signal in Tuolumne.
- Pay attention on the way up so the descent line feels familiar.
- If you get pulled into steeper, smoother rock than you expected, back off and find the more worn, lower-angle line.
Granite safety
Granite in the Sierra is famously grippy when it is clean and dry. The problem is that it does not take much to change the equation.
When the slab gets sketchy
- Water: Rain, seepage, or even heavy dew can make the slab slick, especially in the morning or after a storm.
- Ice: In shoulder seasons, shaded patches can hold thin, nearly invisible ice.
- Sand and pine needles: A dusting of grit can turn “sandpaper” into “ball bearings,” particularly on the descent.
- Altitude and fatigue: Not a traction issue, but if you feel lightheaded or off at 9,000 plus feet, your footwork suffers.
Shoes matter more than poles
On the slab, sticky rubber is your friend. Trail runners with good tread can work great in dry conditions. Worn-out soles or hard, smooth hiking shoes make the finish feel dramatically more insecure.
Trekking poles can help on the dirt approach, but on steep granite they can sometimes give a false sense of security. If you use poles, shorten them and be ready to stow them so you can use your hands.
My rules for the slab
- Test friction early: Before you commit to the steepest part, walk on a similar angled patch. If your feet feel like they want to skate, that is your answer.
- Keep your feet flat: Friction works best with maximum sole contact. Tiny tiptoes are a no.
- Move one step at a time: Controlled steps beat big reaches. Especially going down.
- Space out: Slipping into someone is a real hazard on a steep slab.
- Avoid the “wet shortcut” temptation: If you see darker granite that looks damp, do not cross it just because it is direct.
If the slab makes you feel nervous on the way up, listen to that feeling. Coming down is harder, and friction problems only get louder on descent.
When to turn around
The smartest Lembert Dome hike is the one where you keep the margin wide. Turn around if any of these are true:
- The granite is wet and you cannot avoid damp sections on your chosen line.
- You see ice anywhere on the slab, even a thin sheen.
- Your shoes are slipping on test steps, or you feel like you have to crouch to feel stable.
- Thunderstorms are building: A granite dome is extremely exposed in lightning weather.
- Wind is knocking you off balance, especially if you are already feeling the altitude.
- Someone in your group is frozen with fear: That tends to get worse, not better, on the descent.
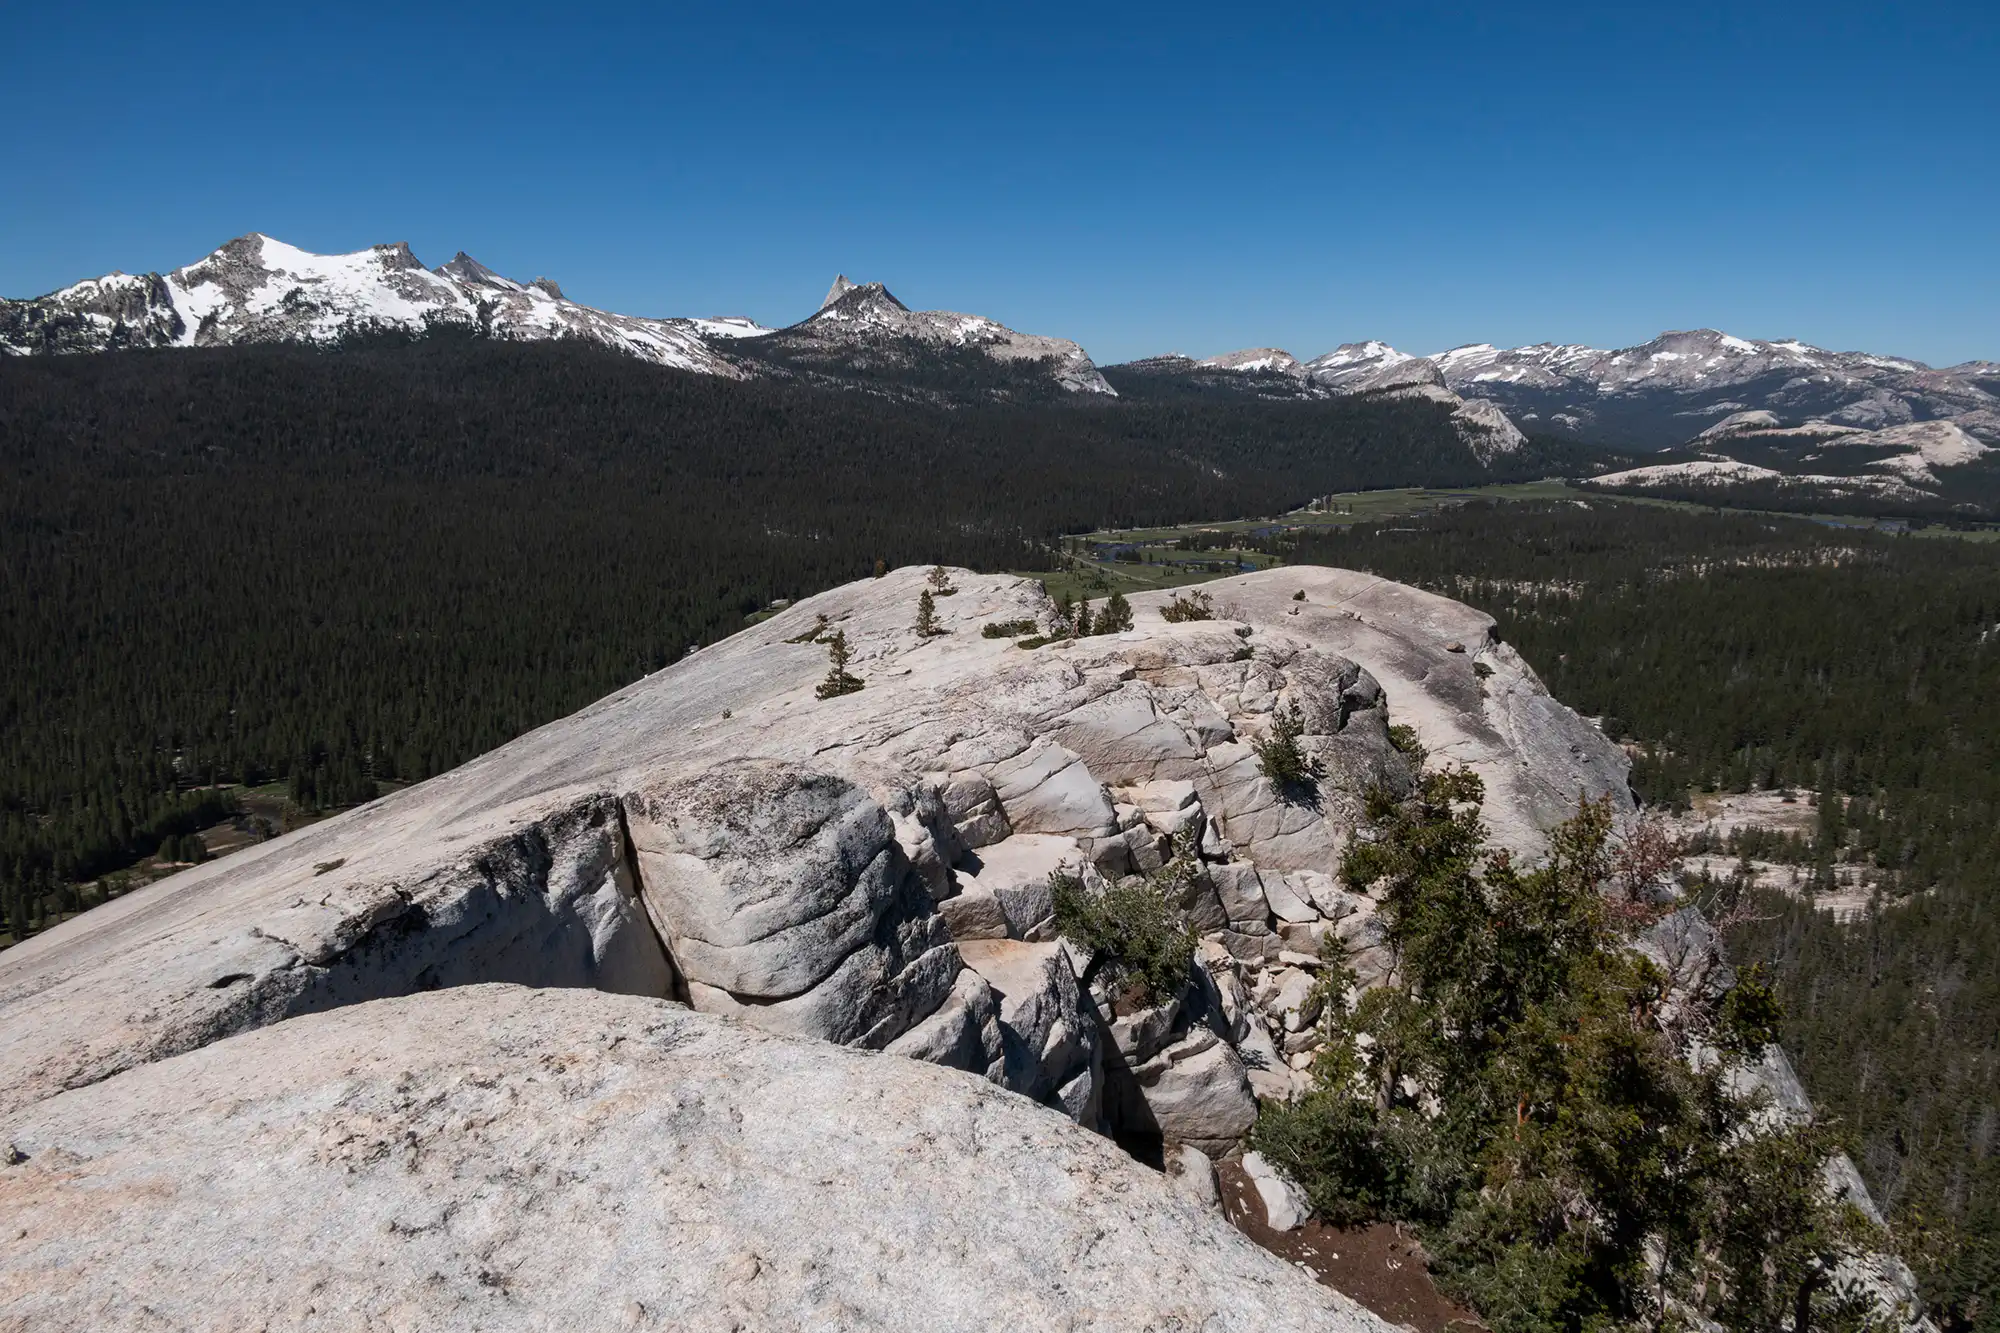
Good news: you do not have to summit to make this hike worth it. The views open up well before the steepest slab, and that mid-slope perch is a gorgeous snack spot with far less consequence.
Tips before you go
- Start early: Cooler temps, better traction, easier parking, and calmer weather.
- Carry a wind layer: Tuolumne weather can flip fast, even on bluebird days.
- Bring more water than a “short hike” suggests: Dry air and altitude dehydrate you quietly.
- Save energy for the descent: Coming down the slab is where people get shaky.
- Be extra careful near meadows: Stay on durable surfaces and established paths, and avoid stepping onto fragile meadow vegetation or restoration areas.
FAQ
Is Lembert Dome good for kids?
Many families do it, but it depends on the kid and conditions. The approach is friendly. The final granite slab is where you need confident footing, good shoes, and a willingness to turn around early if it feels too exposed or slick.
Is it scary?
It can feel exposed near the top, especially if you are not used to friction hiking. In dry conditions, many hikers find it exhilarating rather than frightening. If it is wet or icy, it can become genuinely unsafe.
Do I need special gear?
No technical gear is required in normal summer conditions, but I strongly recommend shoes with solid tread, a wind layer, sun protection, an offline map, and enough water. If there is any chance of ice, treat it as a turn-around day unless you have the skills and equipment for icy slopes.
Can I combine this with other Tuolumne stops?
Yes. Lembert Dome pairs well with scenic Tioga Road pullouts and a relaxed meadow afternoon. Just keep the “gentle meadow walks” and longer lake hikes as their own plans if you want those details.