Lost on a Hike: What to Do Next
Maya Lin
Maya Lin is a travel journalist and outdoor enthusiast who believes the best trips combine rugged adventures with urban comforts. After spending six years backpacking across four continents, she founded Trail & Town Guide to help fellow travelers navigate both hidden mountain passes and bustling city neighborhoods with confidence.
You do not have to be reckless to get lost. A wrong turn at a junction. A “shortcut” around a muddy patch. A snow-covered tread in early season. A trail that fades into granite or sand. In many national parks and popular trail systems, the reality is simple: the map kiosk was great at the trailhead, your phone has one bar at best, and the terrain looks the same in every direction.
This page is your calm, step-by-step playbook for what to do next, built around S.T.O.P., practical orientation without a compass, and clear decision points for when to call for help.
Before you hike: a 60-second setup
This article helps when things go sideways. These quick habits reduce the odds you will need it.
- Download offline maps for the area (and test that they load in Airplane Mode).
- Charge your phone and consider a small power bank.
- Carry the basics: headlamp, whistle, extra layer, water, and something windproof.
- Leave a simple plan: trailhead, route, turnaround time, and when someone should worry.
The first 60 seconds: S.T.O.P.
S.T.O.P. is commonly taught in wilderness safety and navigation courses for a reason. It interrupts panic, stops you from wandering farther, and gives you a repeatable checklist when your brain is spinning.
S: Stop
Freeze where you are. Sit down if you can. Wandering while uncertain is one of the fastest ways to turn “I might be off trail” into “no one can track my last known point.”
- Take 3 slow breaths. Your next choices should be boring and deliberate.
- Do a quick injury check. Ankles, knees, hydration, warmth.
- Keep your group together. If you are with others, no one walks off alone to “just check.”
T: Think
Rewind the last 10 to 20 minutes like you are watching a clip on your phone.
- When did you last see a trail marker, blaze, cairn, or tread you felt confident about?
- Did you cross a creek, a bridge, a road, a powerline cut, or a distinctive rock?
- Did you make an unplanned turn to avoid something, like snow, blowdowns, or a crowd?
O: Observe
Before you move, gather information. Your goal is to build a tiny “case file” about where you are.
- Look behind you. Trails can look totally different in reverse. Note what your return route would look like.
- Scan for man-made clues. Cut logs, sawn branches, trail fencing, footprints, horse tracks, and old signage.
- Listen. Roads, rivers, trains, and even busy trailheads carry sound surprisingly far in certain terrain.
- Check your time and daylight. Your risk profile changes fast in late afternoon.
P: Plan
Make a simple plan with a time limit and a backup plan. Example: “We will spend 10 minutes verifying the trail and orientation here. If we cannot confirm, we will retrace to the last known junction. If we still cannot, we will shelter and call for help.”
Confirm whether you are actually lost
On many maintained park trails, the most common scenario is not deep wilderness disorientation. It is a missed junction or a social path that looks like the real trail.
Clues you are on the correct trail
- The tread is consistent: packed dirt, gravel, or clear footbed with regular width.
- You see official markers: blazes, posts, metal tags, or numbered junction signs.
- Trail maintenance signs: cut branches, drainage dips, steps, or stonework.
Clues you drifted onto a wrong path
- The path narrows suddenly or braids into multiple faint tracks.
- It drops steeply straight down fall line with lots of loose soil, a common sign of an erosion track.
- It heads directly toward water with no bridge or obvious crossing, especially in areas where official crossings are usually built.
- You start seeing “No trail” terrain: thick brush, unstable talus, slick rock, or fragile tundra.
Retracing: the safest way to get un-lost
If you are unsure, backtrack to your last known point. In national parks and high-use trail systems, that usually means the last signed junction, footbridge, trailhead, or obvious landmark.
How to retrace without making it worse
- Go back the way you came, step-for-step. Avoid “parallel paths” that look like shortcuts.
- Mark your position as you move. If you have a phone, drop a pin in your map app when you start retracing. If not, take quick photos looking back at key turns.
- Move slowly and stop at every decision point. Junctions, stream crossings, open rock slabs, and meadows are where people drift.
- Do not descend into unknown drainages. Gullies and creek beds feel like handrails, but they can cliff out or trap you in thick vegetation.
When retracing is not the best option
Retracing can be unsafe if:
- You are dealing with an imminent hazard, like darkness, extreme cold, or worsening weather.
- You cannot safely re-cross a stream that rose since you crossed it.
- A member of your group is injured or exhausted and movement increases risk.
If any of those apply, you shift from “get back on trail” to “stabilize, signal, and get found.”
Compass-free orientation that works
You do not need a compass to make better decisions. What you need is a big-picture sense of terrain and a few habits that prevent you from committing to the wrong direction for too long.
1) Find a safe viewpoint
If you can move a short distance safely, step to a spot where you can see more: an open bend in the trail, the edge of a meadow, a rock outcrop that does not require scrambling. Do not climb steep slabs or ridgelines you cannot reverse.
2) Use “handrails” and “backstops”
This is classic orienteering thinking, adapted for regular hikers.
- Handrail: a feature you can follow without complex navigation, like a maintained trail, a road, a fence line, or a major river (only if following it is safe, legal, and does not require risky crossings).
- Backstop: a feature that tells you you have gone too far, like a highway, a large lake shore, a park boundary road, or a major ridgeline.
In many national parks, the best handrail is the official trail system itself. Your objective becomes: return to a signed junction or a clearly maintained trail, not “head north.”
3) Read contours without taking a bearing
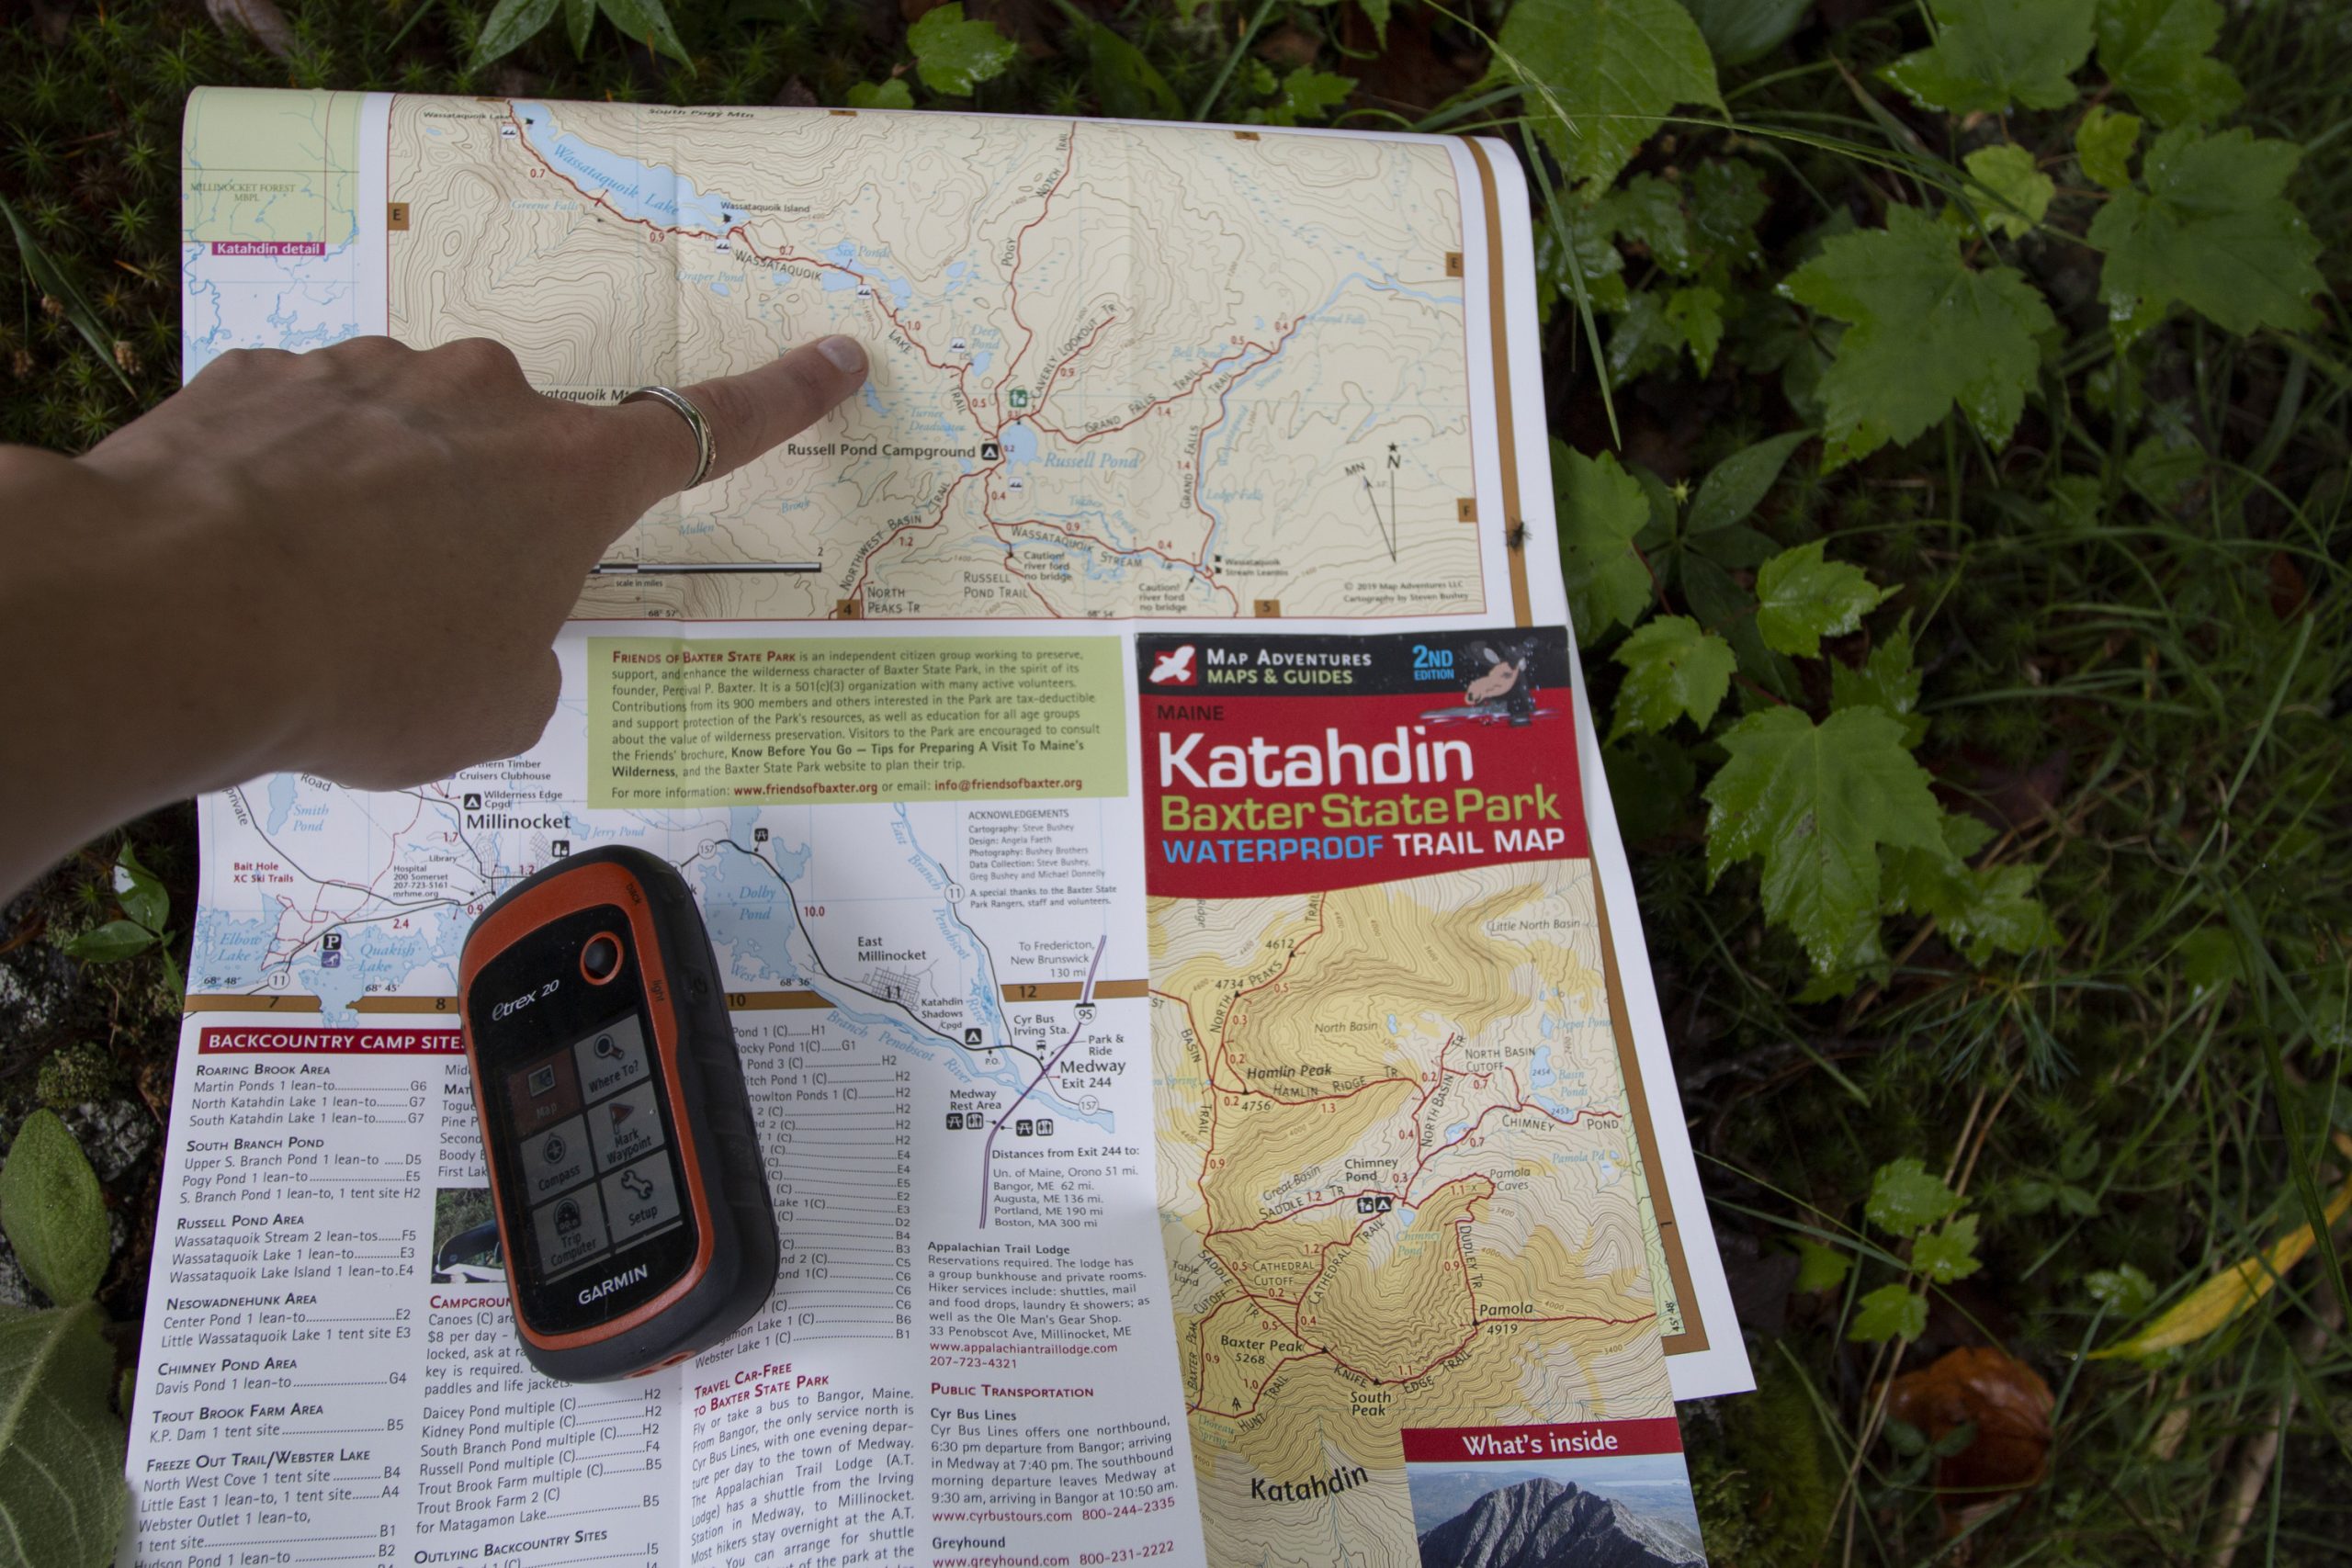
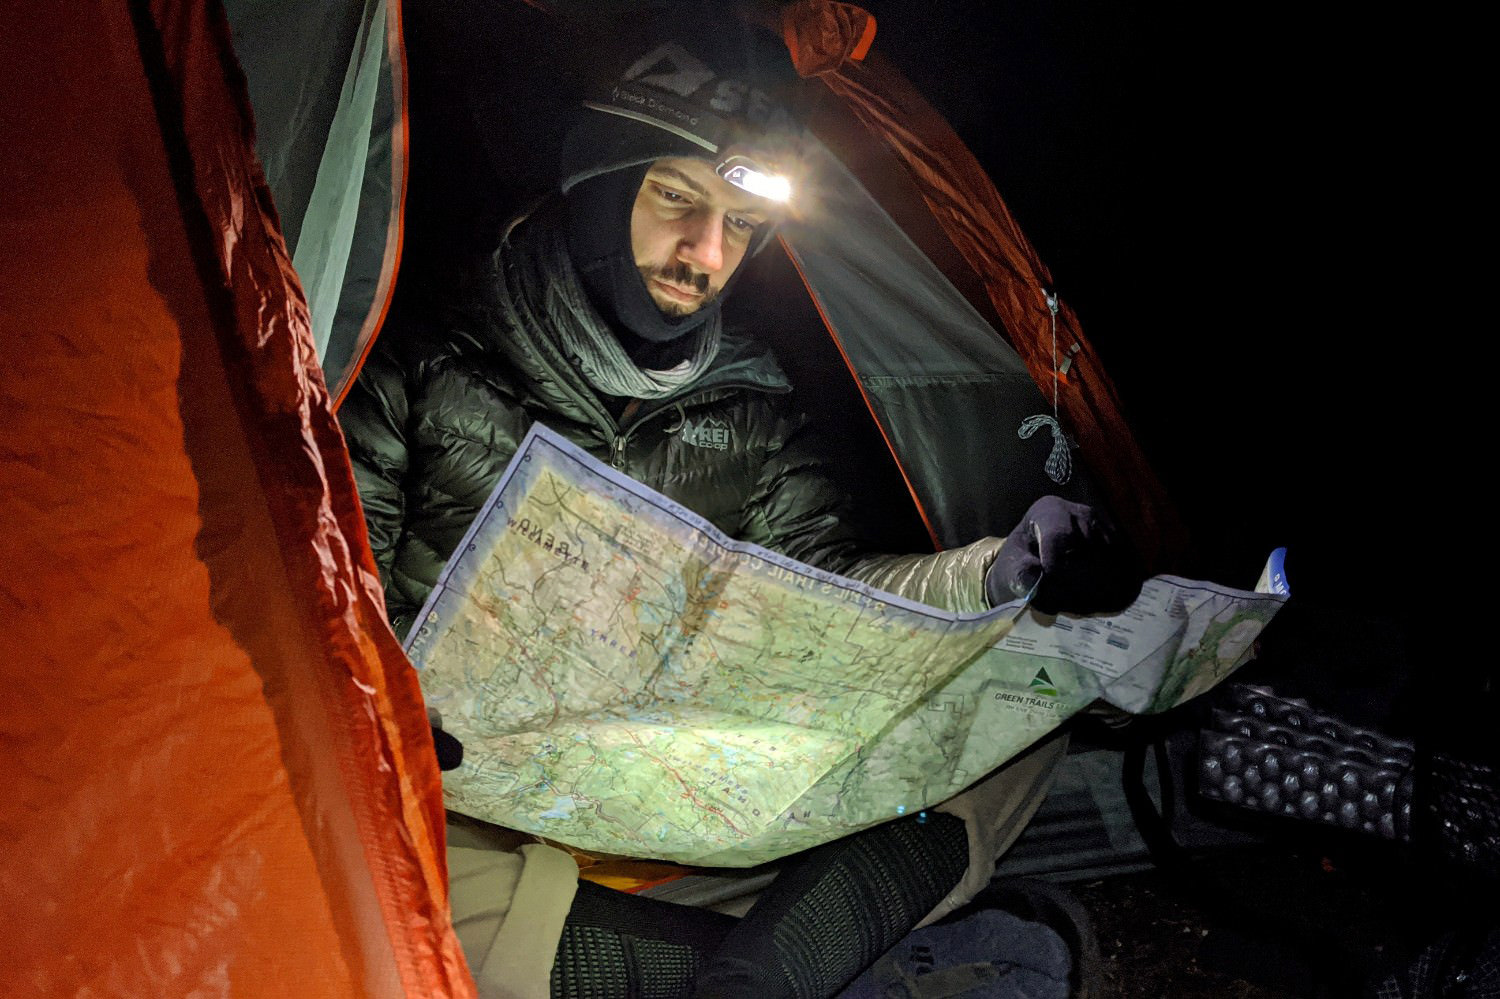
If you have a paper map or an offline topo map on your phone, you can orient using contour logic, even if you do not know your exact location.
- Ridges and valleys are not interchangeable. If you are in a steep V-shaped drainage but your intended trail runs a gentle contour line, something is off.
- Trails often contour, roads often climb gradually. If you are descending hard for 15 minutes and you expected a mostly flat traverse, pause.
- Water flows downhill. Following a creek can lead you away from your trail and into harder terrain. In canyon country, it can also lead to impassable drops.
4) Use the sun as a rough clock
In the Northern Hemisphere, the sun is generally in the southern part of the sky around midday and sets in the west. That is enough to catch major contradictions, like if you planned to hike west toward sunset but the sun is setting in front of you, not behind you. Seasonal changes, deep valleys, heavy forest, and clouds can all mislead you, so treat this as a reality check, not a navigation system.
Phone reality: weak cell, dying battery, and offline maps
Your phone can be a lifesaver or a dead brick. Treat it like a limited resource.
Battery triage: what to do immediately
- Turn on Low Power Mode.
- Switch to Airplane Mode if you do not have service or you are not actively calling or texting. Phones burn battery hunting for signal.
- Dim the screen and lock it between checks.
- Close battery-heavy apps (video, social, anything constantly refreshing).
- Warm the phone if it is cold out. Batteries drain faster when cold. Keep it in an inside pocket.
Texts when calls fail
In fringe service areas, SMS can go through when voice does not, but it is not guaranteed. If you can, send a text to a reliable person with:
- Where you parked or started
- Trail name and intended destination
- What time you started
- What went wrong and when
- Any landmarks you can describe
Text-to-911 (if available)
In many areas, you can text 911 directly. If your call will not connect but you have a flicker of service, sending a short text to 911 may work. Availability varies by location, so do not assume it is supported everywhere. If you do text, start with your location (coordinates if possible), what is happening, and how many people are with you.
Offline maps and your “blue dot”
If you have an offline map app (or cached maps in your phone), your GPS location may work even without cell service. The blue dot can help you confirm whether you are on a trail, near a junction, or drifting into a drainage. Remember: GPS can be inaccurate in narrow canyons, dense forest, or near cliffs. Use it as a clue, not as permission to bushwhack.
When to stay put versus keep moving
There is a reason SAR teams repeat: the easiest person to find is often the person who stopped moving. This assumes you are not in an immediate hazard zone.
Stay put if:
- You cannot confidently retrace to a last known point.
- It is late and you risk hiking into darkness.
- Weather is worsening and movement increases risk.
- Someone is injured, overheated, or hypothermic.
- You are off trail in terrain where every step damages fragile ecosystems or increases fall risk.
Consider moving only if:
- You can safely and confidently retrace to a known landmark.
- You are on a clear maintained trail but simply unsure which direction leads to a known junction.
- Staying put would expose you to a serious hazard (for example, you are in a flood-prone wash and storms are building).
If you do move, keep it short, reversible, and time-boxed. Think: “15 minutes back to the junction,” not “we will keep going and hope it works out.”
If you stay: warmth, shelter, and water
You do not need to become a survival expert. You do need to avoid turning “lost” into hypothermia or heat illness.
- Get insulated from the ground. Sit on your pack, a foam pad, or even a spare layer. Cold ground steals heat fast.
- Get out of wind and wet. Use a rain shell, emergency blanket, or a simple windbreak behind a log or boulder.
- Layer up early. Put on warmth before you are shivering.
- Ration effort, not water. Avoid heavy exertion and sweating, but sip water regularly. Do not dehydrate yourself “to save it.”
Make yourself easy to find
Once you decide you might need help, your job shifts to being visible and predictable.
Build a visible “home base”
- Pick a safe spot. Avoid cliff edges, avalanche paths, and dry creek beds that can flood.
- Stay near open visibility if possible. The edge of a meadow is often better than deep timber, as long as you are sheltered from wind.
- Keep gear together. A scattered group looks like multiple false leads.
Signals that work
- Sound: three blasts on a whistle, pause, repeat. Your voice will tire quickly. A whistle carries farther.
- Light: at dusk or night, a headlamp or phone light waved slowly can be seen from far away. Conserve battery by signaling in intervals.
- Color: hang a bright jacket, bandana, or pack cover where it is visible from above. Do not risk climbing to do this.
- Ground-to-air: if you can do so safely, create a large contrasting shape with gear in an open area. Bigger is better.
When to call for help
A lot of people wait too long because they are embarrassed. Rangers and SAR teams would rather assist a tired hiker at 4 p.m. than execute a multi-day search after midnight.
Call emergency services if:
- You are lost and cannot retrace to a known point.
- You are facing nightfall without a clear route out.
- There is an injury or a medical issue.
- Weather is creating immediate danger (extreme cold, heavy rain with flood risk, high winds above treeline).
- You have children or vulnerable hikers in the group and conditions are deteriorating.
911, park dispatch, or local equivalent
In the U.S., 911 is usually correct. Many national parks also publish an emergency dispatch number, sometimes printed on the back of a park map. If you have that number saved, use it. If not, 911 is fine. If you are outside the U.S., use your local emergency number (for example, 112 in many countries, 999 in the UK).
If you have no service
Try these in order:
- Move a very short distance to higher ground or a more open area, only if safe, to attempt a call or text.
- Send an SMS text. It may go through later as you drift in and out of coverage.
- Use Satellite SOS if your phone supports it. Some newer smartphones have built-in emergency satellite messaging (availability depends on model, region, and a clear view of the sky). If you see an Emergency SOS via satellite option, follow the on-screen prompts.
- If you have a satellite communicator, use the SOS feature and follow the prompts.
- If none of the above are possible, stay put and focus on signaling and shelter.
How to tell rescuers where you are
“I am somewhere on the trail” is not actionable. You can give a useful location even without perfect GPS.
Best-to-good location info to share
- GPS coordinates from your phone (lat/long). If your map app offers it, send the coordinates in a text.
- Plus Code or dropped pin link from a maps app, if available.
- Nearest named feature from a park map: trail name, junction name or number, lake name, campground, viewpoint, or bridge.
- Last known point: “Last confirmed at Junction 4 near Pine Creek Bridge at about 2:10 p.m.”
- Terrain description: “On the uphill side of the trail, near a wide switchback, with a large fallen log and a small stream 30 yards below.”
Also share this
- How many people are in your group, and ages if kids are present
- Any injuries or medical conditions
- Clothing colors and gear colors (bright jacket, blue tent, etc.)
- Whether you can hear roads, rivers, or aircraft
- Your best estimate of remaining water, food, and warm layers
If you can text, send short updates rather than one long message. Battery and signal are both limited.
Note: dispatchers and rangers may be able to see an approximate phone location in some situations, but accuracy varies widely. Sharing your own coordinates or a dropped pin is still one of the most helpful things you can do.
Common scenarios on park trails
You missed a signed junction
This is the classic. Stop, confirm the last junction you remember, then retrace until you see signage again. Do not assume the next junction will fix it. In popular parks, a wrong trail can stay easy and convincing for miles.
The trail disappears on rock, sand, or snow
When tread vanishes, people tend to keep drifting in the same general direction. Instead:
- Look for the next marker or cairn from your last confirmed spot.
- If you cannot see a clear continuation, retrace to the last obvious marker.
- Avoid creating new paths. In fragile alpine and desert environments, this causes lasting damage.
You ended up on a social path
Social paths often split near lakes, waterfalls, and overlooks. If you suspect this, stop and backtrack to the main tread. If you keep following faint footpaths, you can end up in a web of lookalike tracks.
The mileage feels wrong
Trail mileage can feel longer when you are tired, but big mismatches are clues. If you expected a 2 mile out-and-back and you have been hiking 90 minutes one way with no sign of the turnaround feature, pause and reassess using the map, your time, and elevation change.
What not to do
- Do not bushwhack downhill hoping to “hit a road.” Drainages can trap you, cliffs can appear suddenly, and brush can shred energy fast.
- Do not split up. One lost party becomes two.
- Do not keep walking to prove you are not lost. Pride is expensive in the backcountry.
- Do not rely on a single clue. A faint track, a hunch, a sun angle. Stack multiple confirmations before committing.
A simple checklist to screenshot
If you want one tight plan to keep on your phone, here it is:
- S.T.O.P.: Stop, Think, Observe, Plan
- Confirm: am I on a maintained trail or a faint path?
- Retrace to last known point if safe
- Battery: low power mode, airplane mode if no service
- Text-to-911 if calls fail and it is supported where you are
- If lost persists: stay put (unless you are in a hazard zone), make a visible base, signal (whistle three blasts)
- Call 911, park dispatch, or local emergency number early if nightfall, injury, or no confident route
- Share: GPS coords or pin, trail name, last known point, group size, clothing colors
Getting lost is scary, but it is also solvable. The hikers who do best are not the toughest. They are the ones who slow down, get systematic, and make it easy for help to find them if it comes to that.