Mason Lake via the Ira Spring Trail

Maya Lin
Maya Lin is a travel journalist and outdoor enthusiast who believes the best trips combine rugged adventures with urban comforts. After spending six years backpacking across four continents, she founded Trail & Town Guide to help fellow travelers navigate both hidden mountain passes and bustling city neighborhoods with confidence.
The Ira Spring Trail to Mason Lake is one of those classic Washington hikes that feels like a cheat code: a real alpine lake, granite-and-scree walls, and a trailhead that is basically “pull off I-90 and go.” It is also a hike where the details matter, especially the correct trailhead, the Bandera Mountain junction, and what season you are walking into.
I love this one for a “town and trail” day. You can start with an early coffee in North Bend, get your boots dusty before lunch, and still be back in Seattle for dinner without feeling like you sprinted through nature.
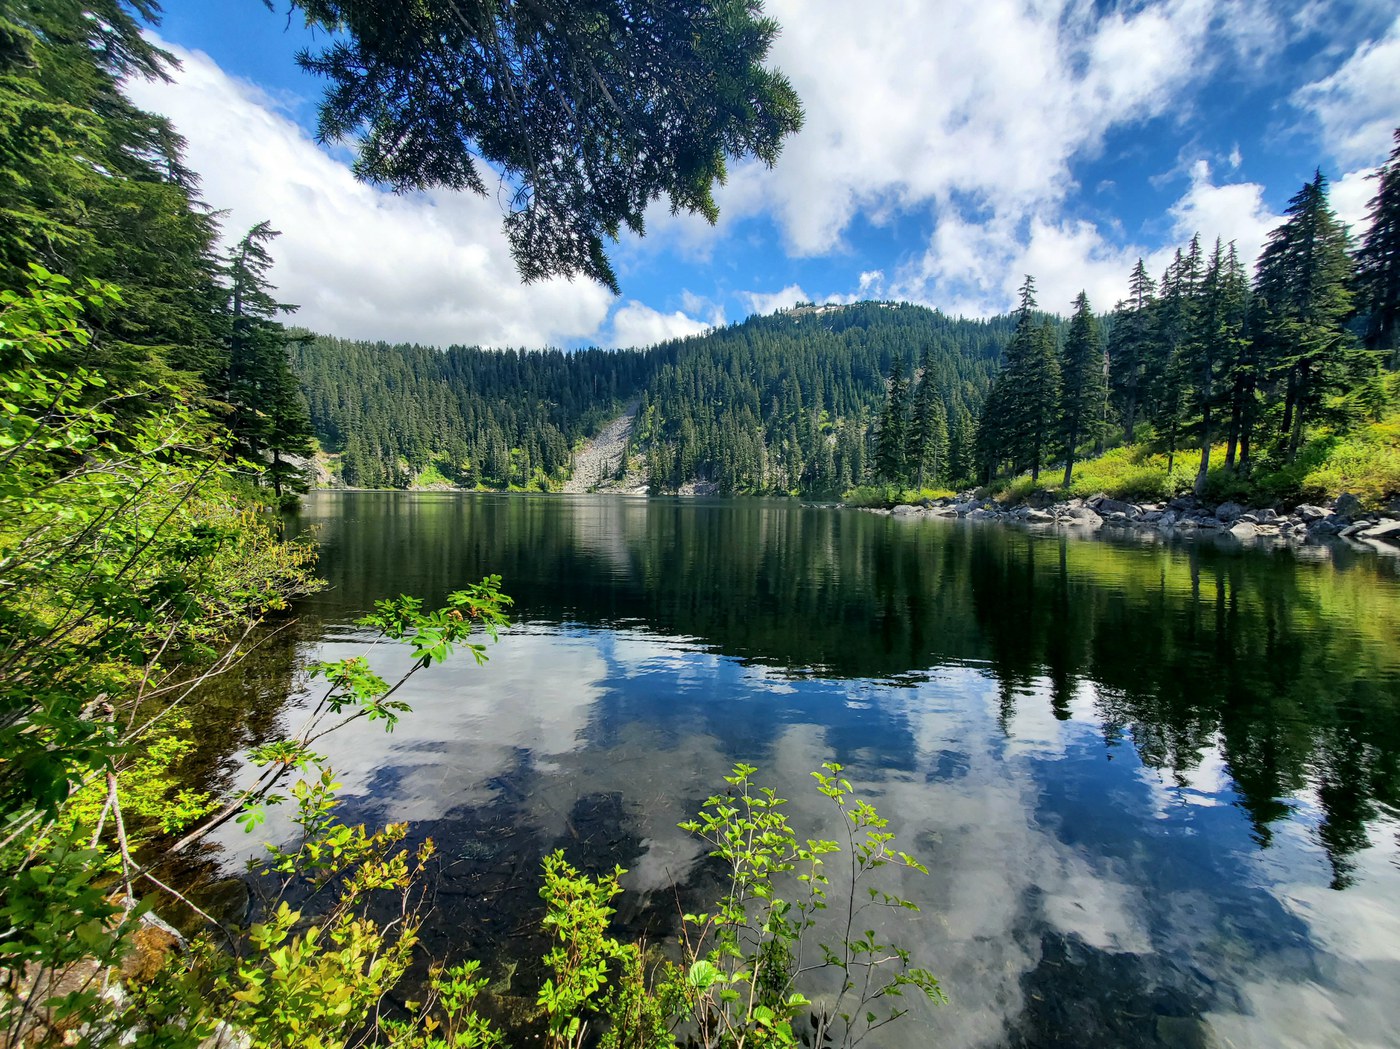
Hike snapshot
- Trail: Ira Spring Trail to Mason Lake
- Round-trip distance: about 6.2 miles (many sources list roughly 6 to 7 miles depending on where you measure and how much you wander at the lake)
- Elevation gain: roughly 2,400 feet
- Time: 3.5 to 6 hours for most hikers, plus lingering time at the lake
- Difficulty: Moderately strenuous (steady grade, a few punchier stretches)
- Best season: Late spring through fall; expect snow lingering into early summer some years
- Pass/fees: This corridor’s parking rules can shift by lot and managing agency. A Northwest Forest Pass is commonly required for many nearby trailheads, but do not assume. Check the posted trailhead signage or current managing agency info for the Ira Spring Trailhead before you go.
Good to know: Mileage and elevation vary by mapping source and the exact point you call “the lake.” The overall character stays the same: a consistent climb to a rewarding alpine basin.
Getting there and parking
Trailhead access: Use the Ira Spring Trailhead (commonly signed for Mason Lake and Bandera). There are several popular trailheads clustered around Snoqualmie Pass, so I recommend double-checking your map app for “Ira Spring Trailhead” before you leave cell service, then matching that to the signage in the parking area.
Not the Granite Mountain trailhead: This is a common point of confusion online because both hikes are close to I-90. Granite Mountain typically starts from the Pratt Lake Trailhead, not the Ira Spring Trailhead. If your goal is Mason Lake, you want Ira Spring.
Timing tip: On weekends, holiday weekends, and peak summer, arrive early. If you roll in late morning, the lot can already be full and the trail will feel busier.
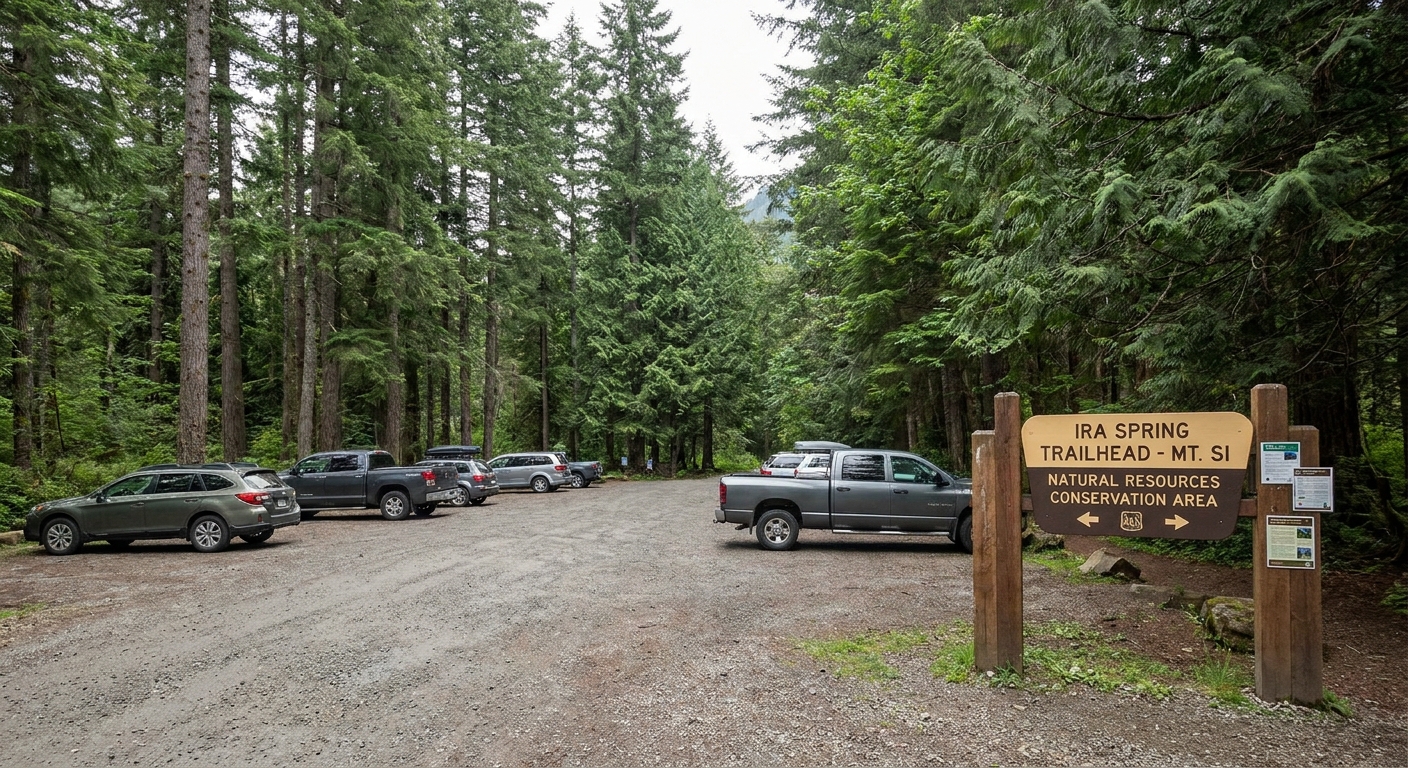
Facilities: Amenities can change, so treat this as a variable. If you need a restroom, plan to use one before you arrive, and consider carrying a small kit for backup. I still do the quick “use what you can at the trailhead” routine when it is available.
What to bring for the car: Your pass (if required) displayed, a small trash bag (I always end up packing out micro trash I did not bring), and a spare layer waiting for you post-hike. Snoqualmie Pass weather can flip quickly.
Trail feel
Start: steady forest switchbacks
The Ira Spring Trail gets to work right away. You will climb through forest on well-traveled tread, with a grade that is consistent enough to find a hiking rhythm. If you hike a lot of “I-90 corridor classics,” this one will feel familiar: solid trail building, switchbacks that actually help, and intermittent openings that hint at what is coming.
I pace this hike like a long stair climb. Slow enough that I could chat, steady enough that I do not take long breaks that make it harder to restart. Snack early, sip water often.
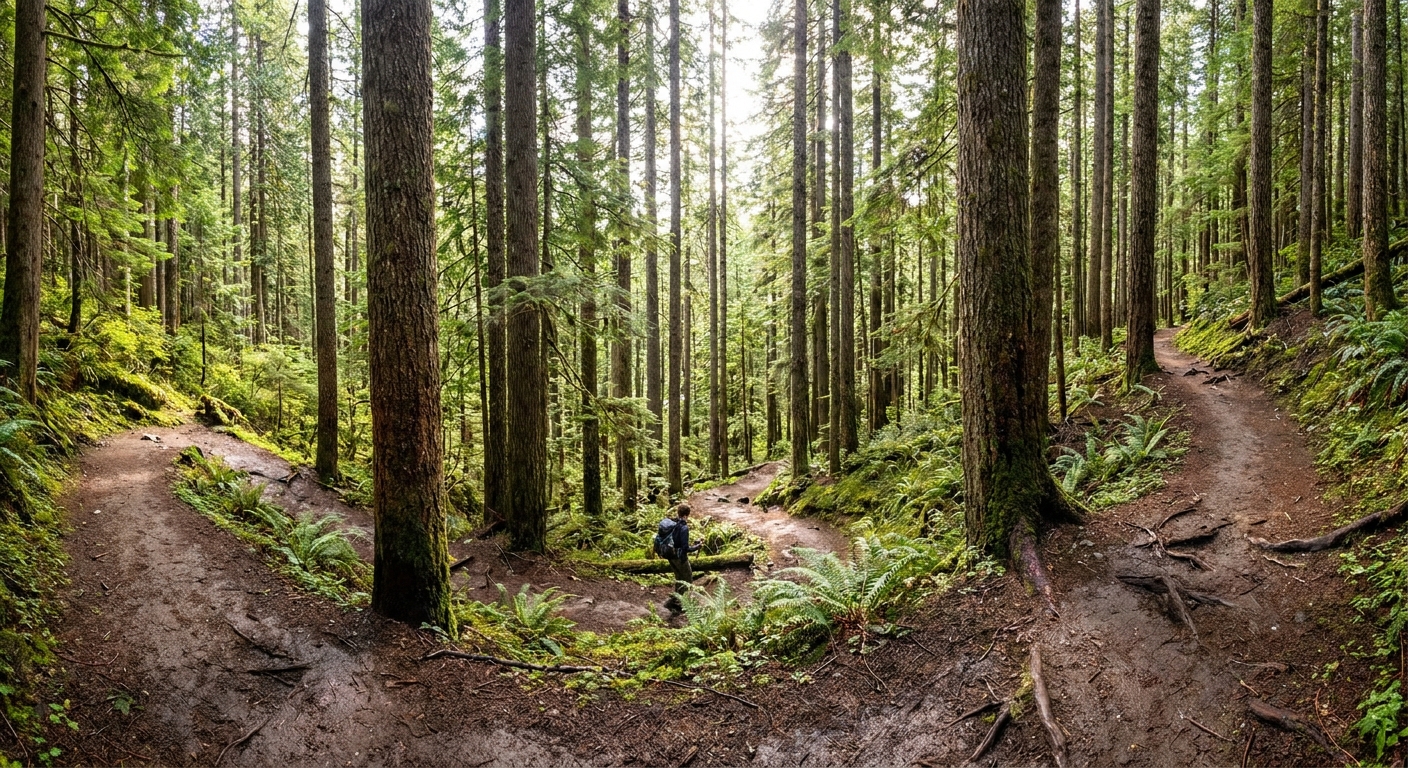
Midway: more light and bigger views
As you gain elevation, the forest thins in places and the scenery starts to expand. On clear days, the “worth it” moments come surprisingly early, especially when the trail breaks into brighter patches and you start feeling the scale of the valley behind you.
Leave No Trace reminder: When trail edges get trampled in popular areas, the tread widens and damages fragile plants. Stay on the main tread even when it is muddy.
Key junction
Bandera junction
The main navigation moment on this hike is the Bandera Mountain junction. You will reach a signed intersection where one direction heads toward Bandera Mountain and the other continues toward Mason Lake.
- To reach Mason Lake: Follow the posted signs for Mason Lake and stay on the main trail.
- If signage is different than expected: Follow the destination names posted on the sign and confirm with your offline map. Signage can change over time, and snow can make tread lines misleading.
- If you are tempted by Bandera: Treat it as a separate objective for a different day unless you came specifically for a longer, more strenuous outing.
If you are hiking with kids, newer hikers, or you are simply managing your energy, I like to frame this junction as a mini milestone. Take a short break, eat something, check water, then continue.
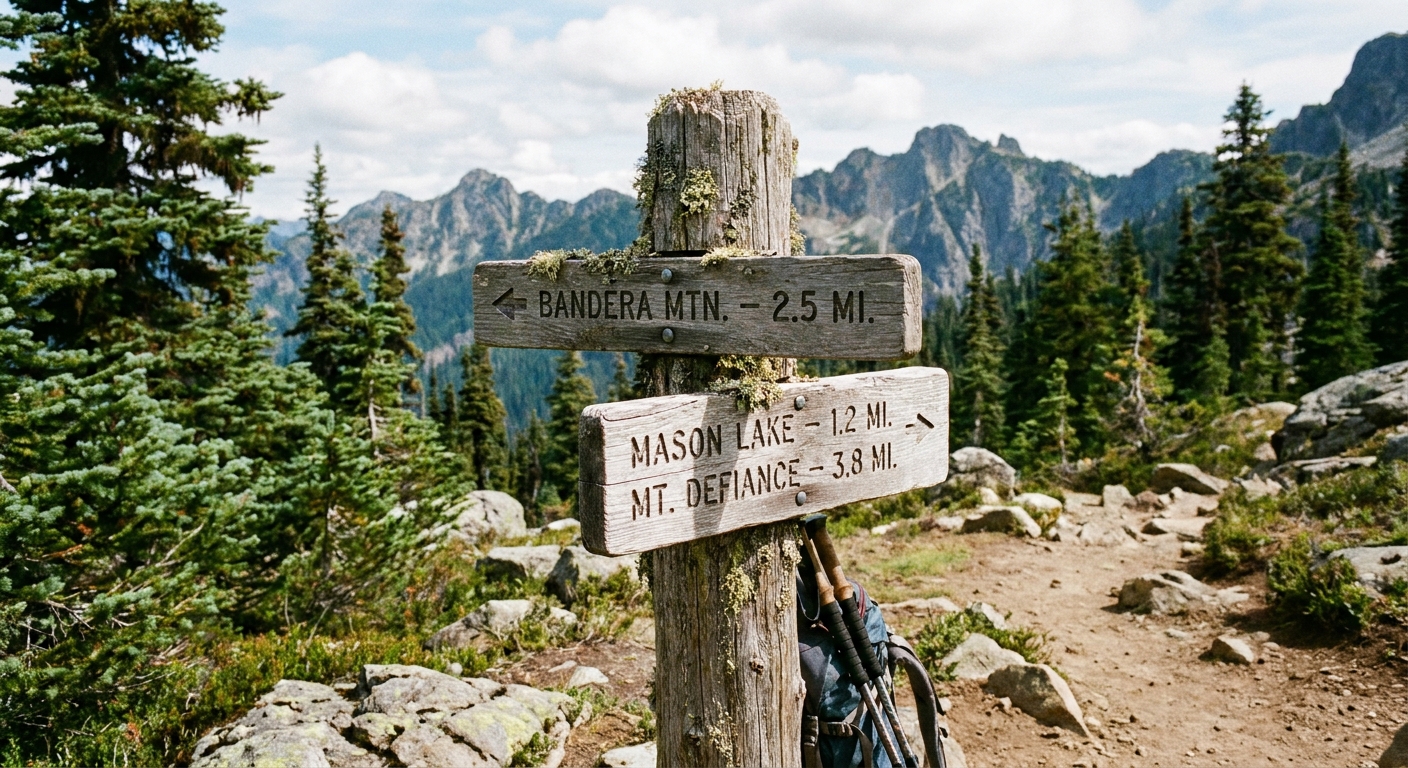
Mason Lake
As you approach the basin, the payoff factor ramps up fast. Mason Lake sits in a dramatic setting, ringed by rocky slopes and mountain walls that make it feel higher and more remote than the trailhead logistics suggest.
Where to stop: There are multiple informal spots where people sit for snacks and photos. Please be thoughtful about where you step and where you set down your pack. Shoreline vegetation takes a beating on busy weekends.
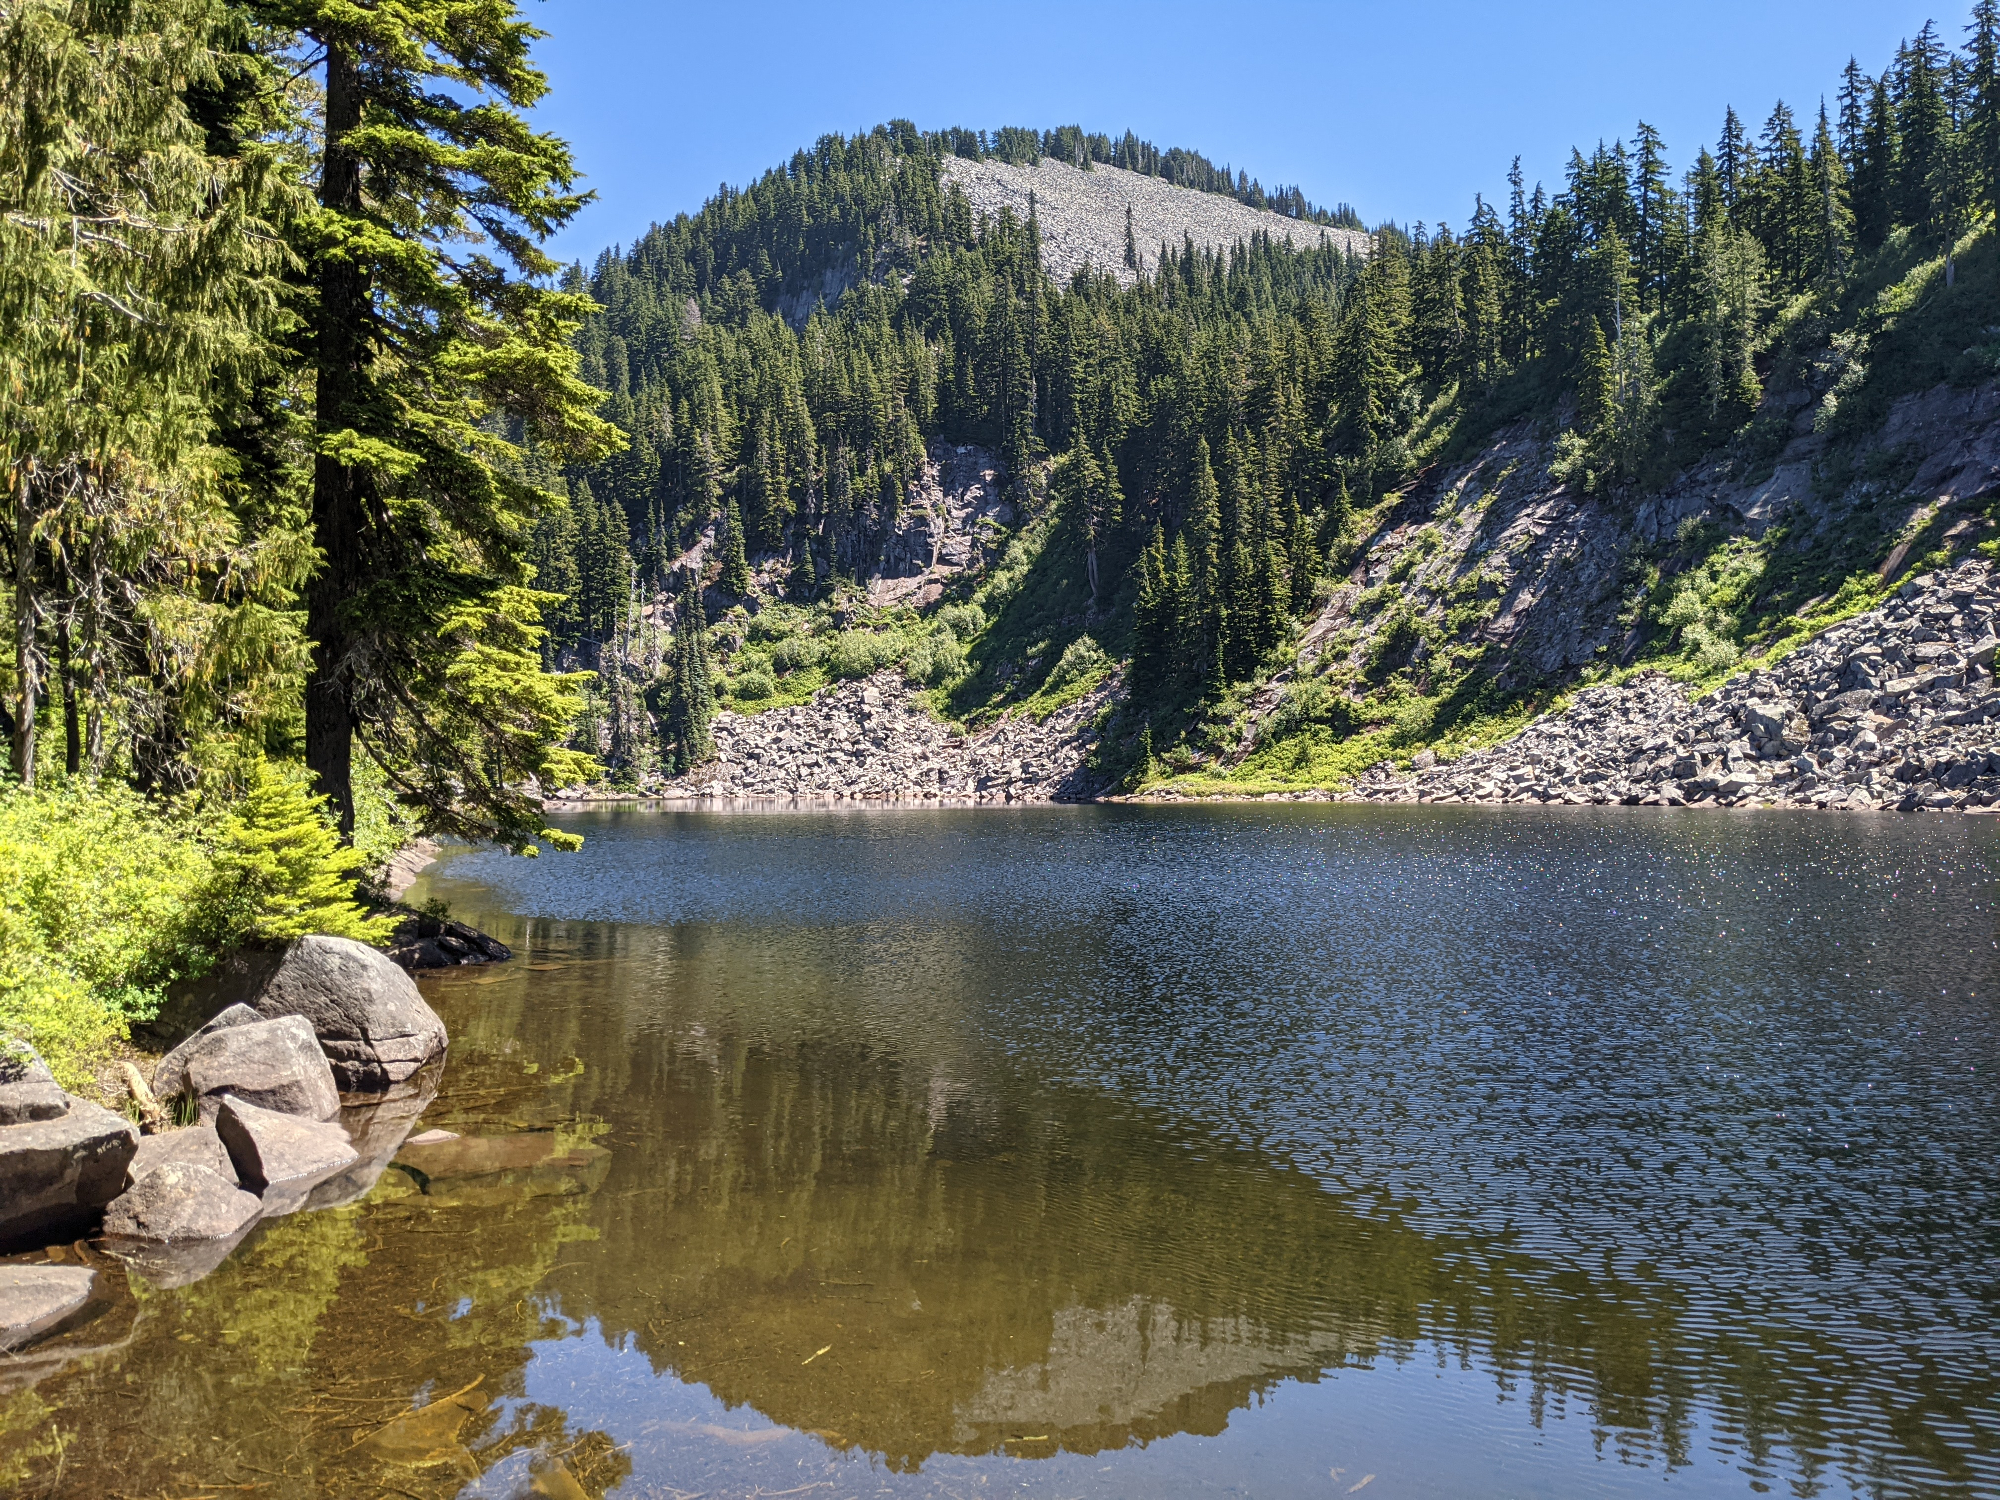
Water: Treat this as a carry-in hike. Conditions vary, but many people consider this trail effectively dry until you reach the lake. Bring what you need for the climb, and do not plan your day around finding reliable water on the way up.
Swimming: On hot days it can be tempting, but alpine lakes stay cold. If you dip in, keep it quick and safe, and never use soap in or near the water.
Turnaround options
Not every day needs to be a summit-or-bust kind of day. One thing I appreciate about this route is how easy it is to tailor to your energy level without feeling like you “failed” the hike.
Option 1: Turn around at Bandera
If you are short on time, weather is moving in, or you are hiking with someone who is not loving the climb, turning around at the Bandera junction still gives you a solid workout and a satisfying outing. As a rough planning idea, many hikers hit this junction after a couple of miles of steady uphill, but treat that as a ballpark and use your map for the most current mileage.
Option 2: Make Mason Lake the goal
This is the classic plan: hike to the lake, take a long break, then head back the way you came. If you want a simple win, this is it.
Option 3: Just past the lake
If you get to the lake and still have energy, you can stroll a little farther on established paths around the basin for different angles and slightly quieter sitting spots, then turn around before the terrain pulls you into bigger ambitions. My personal rule: if I cannot clearly describe what I am doing next, I stop, snack, and turn back.
What to pack
My packing philosophy is the same whether I am hopping cities with a carry-on or hiking out of Seattle for a half day: bring what you will actually use, and make sure every item earns its weight.
- Water: Enough for a sustained climb. Many people carry 1.5 to 2.5 liters depending on temperature. Bring a filter if you plan to treat water, but do not rely on finding it on-trail.
- Food: Lunch plus two snacks. This trail burns calories quickly.
- Layers: Light insulating layer and a rain shell. Snoqualmie Pass weather loves surprises.
- Footwear and traction: Traction matters. In shoulder season and early summer, microspikes can be the difference between “fun” and “why did I do this.”
- Navigation: Download an offline map before you lose service. In fog or low visibility, it is easy to second-guess junctions.
- Sun protection: Sunglasses and sunscreen for open sections.
- Ten essentials basics: First aid, headlamp, and an emergency layer even on a “quick” hike.
Safety notes
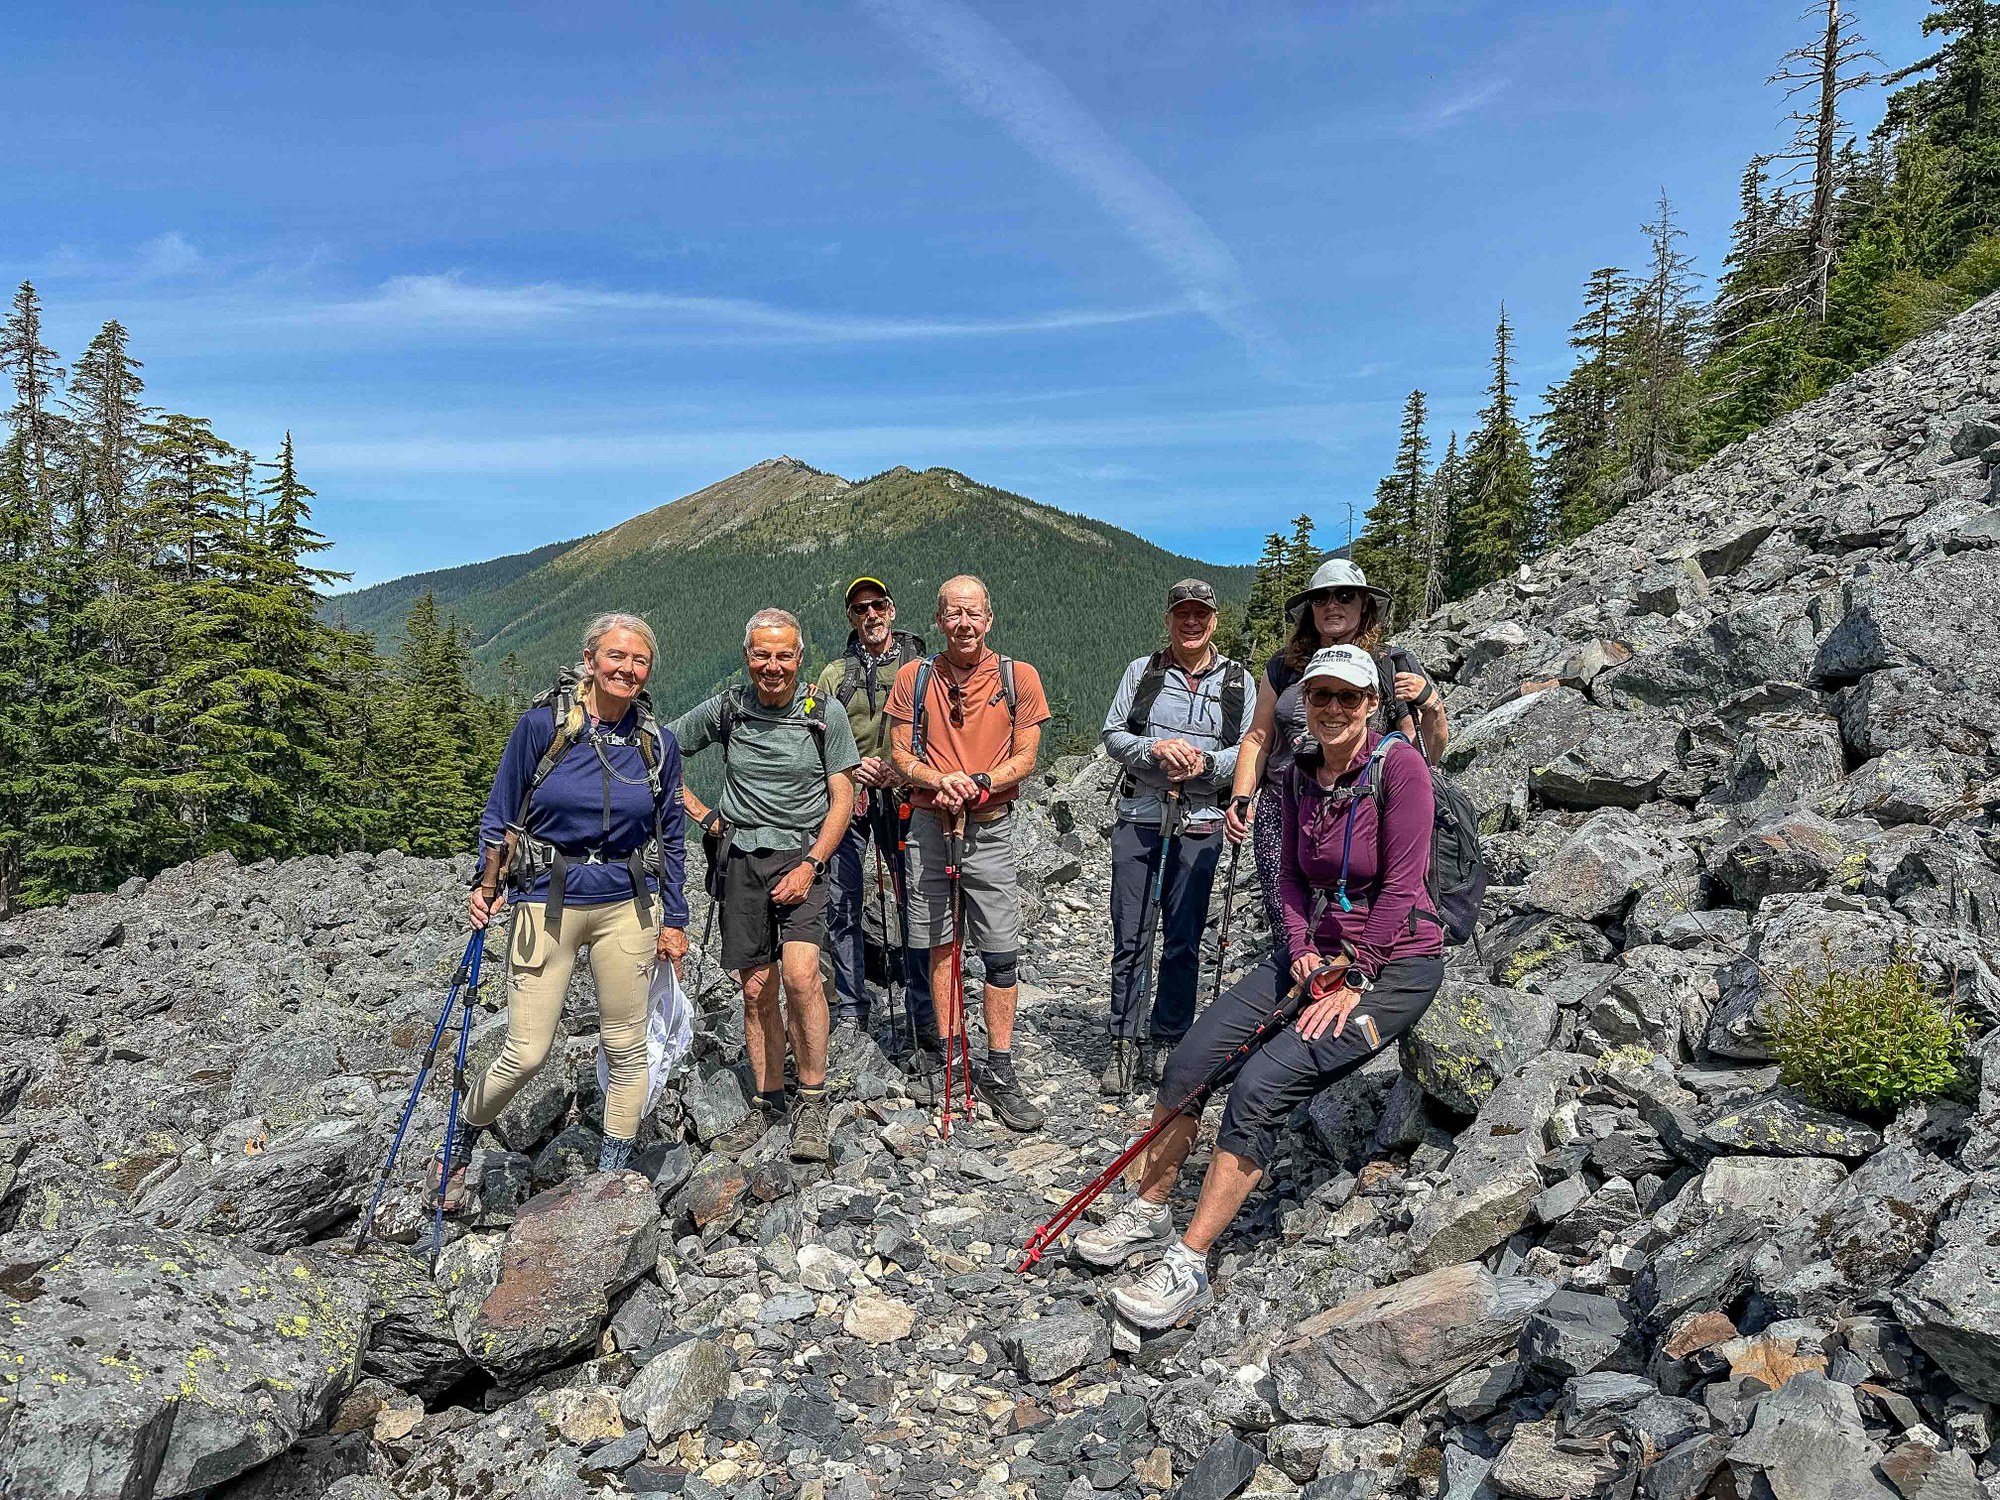
- Snow timing: Snow can linger into early summer some years, especially near the top. If you are going early season, check recent trip reports and be honest about your comfort on firm snow.
- Avalanche awareness: In winter and during unstable snow periods, this area can have avalanche risk. If you are not trained and equipped for winter travel, wait for summer conditions.
- Weather and visibility: Fog and fast-moving clouds happen. Keep your group together near junctions and use your map, not just boot tracks.
Etiquette and sustainability
- Stay on trail: Especially near the lake where social paths multiply.
- Pack out all trash: Including fruit peels and food scraps.
- Give wildlife space: Keep your distance and store snacks securely.
- Dogs: Dogs are common on this trail, but rules can change. Follow posted trailhead regulations, keep your dog under control, leash when required or when crowds are heavy, and pack out waste.
- Restroom planning: Use facilities at the trailhead if available. In the backcountry, follow best practices for waste disposal and keep distance from water.
Slow travel applies here too. The best way to love a place is to leave it looking like you were never there.
After the hike
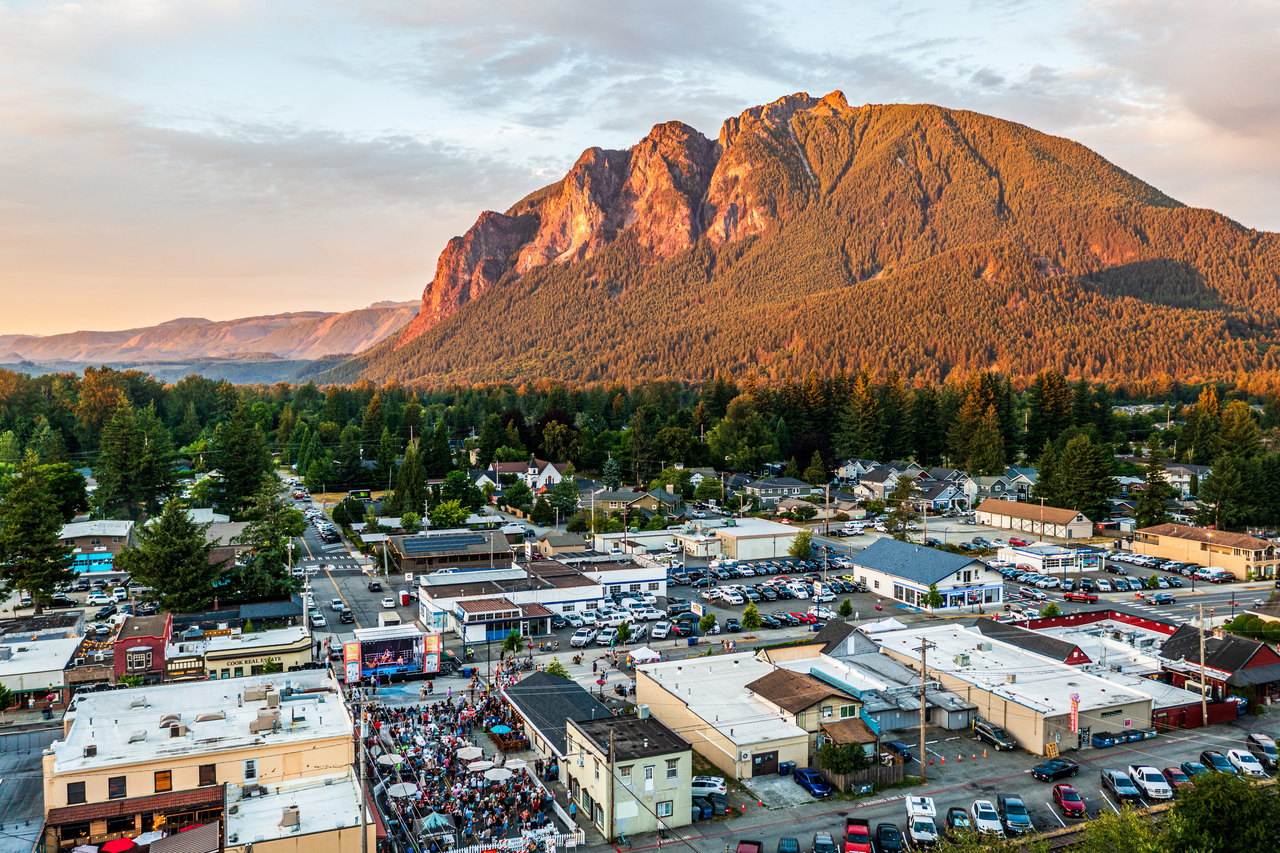
If you are like me, the hike ends when I have warm food and a good coffee in hand. North Bend and the Snoqualmie area make for an easy post-hike reset. Go for something salty, hydrate, and give yourself 20 minutes before you drive if you pushed hard on the uphill.
FAQ
Is Mason Lake the same hike as Granite Mountain?
No. They are both popular hikes off I-90, but they start at different trailheads and do not share a trail. Mason Lake uses the Ira Spring Trailhead. Granite Mountain is typically accessed from the Pratt Lake Trailhead.
How hard is the Ira Spring Trail to Mason Lake?
It is moderately strenuous mainly due to the sustained climb and overall elevation gain. The trail is well established, but you will feel the uphill.
Where is the Bandera junction?
You will reach a signed junction partway up where one direction heads toward Bandera Mountain and the other continues toward Mason Lake. Follow posted signs for Mason Lake to stay on route, and confirm on an offline map if visibility is poor.
Can I turn around early and still have a good hike?
Absolutely. Turning around at the Bandera junction is a solid workout and a smart choice if time, weather, or energy is not lining up.
Do I need a permit or pass?
Possibly. A Northwest Forest Pass is commonly required at many trailheads in this area, but it is not universal and it can change. Check the current posting at the Ira Spring Trailhead so you are not guessing in the parking lot.