Mount St. Helens Viewpoints, Trails, and Permit Windows
Maya Lin
Maya Lin is a travel journalist and outdoor enthusiast who believes the best trips combine rugged adventures with urban comforts. After spending six years backpacking across four continents, she founded Trail & Town Guide to help fellow travelers navigate both hidden mountain passes and bustling city neighborhoods with confidence.
Mount St. Helens is one of those rare places where you can get a world class volcano view without committing to an all-day sufferfest. The catch is that access changes fast here. Roads close for snow, certain routes are behind gates, and some popular areas now use timed entry to protect the landscape and keep traffic from turning into a parking lot with a view.
This page breaks down the easiest viewpoints and short trails, what typically requires a timed permit versus what you can do casually, and how to build a plan that still works when the mountain disappears behind haze or wildfire smoke.
Quick reality check: permits vs. free access
Mount St. Helens has several distinct access zones, and they do not all operate the same way. Before you choose a trail on a map, decide what kind of day you want:
- Easy viewpoint day: paved or mostly smooth surfaces, short walks, big views.
- Easy hike day: 1 to 6 miles round trip, modest elevation, still mostly about scenery not suffering.
- Summit attempt: separate permit system, serious elevation gain, and very different rules. This article focuses on easy viewpoints and partial loops, not the summit climb.
Timed permits in this region most often show up as day-use reservations for high demand corridors or as climbing permits for summit routes. Forest roads, many trailheads, and most pullouts remain first-come, but you still may need a standard parking pass depending on the site.
Because permit programs can change season to season, treat the info below as a planning framework, then confirm the current rules on the managing agency website before you drive out.
Best easy viewpoints (minimal walking)
Johnston Ridge area (classic crater view)
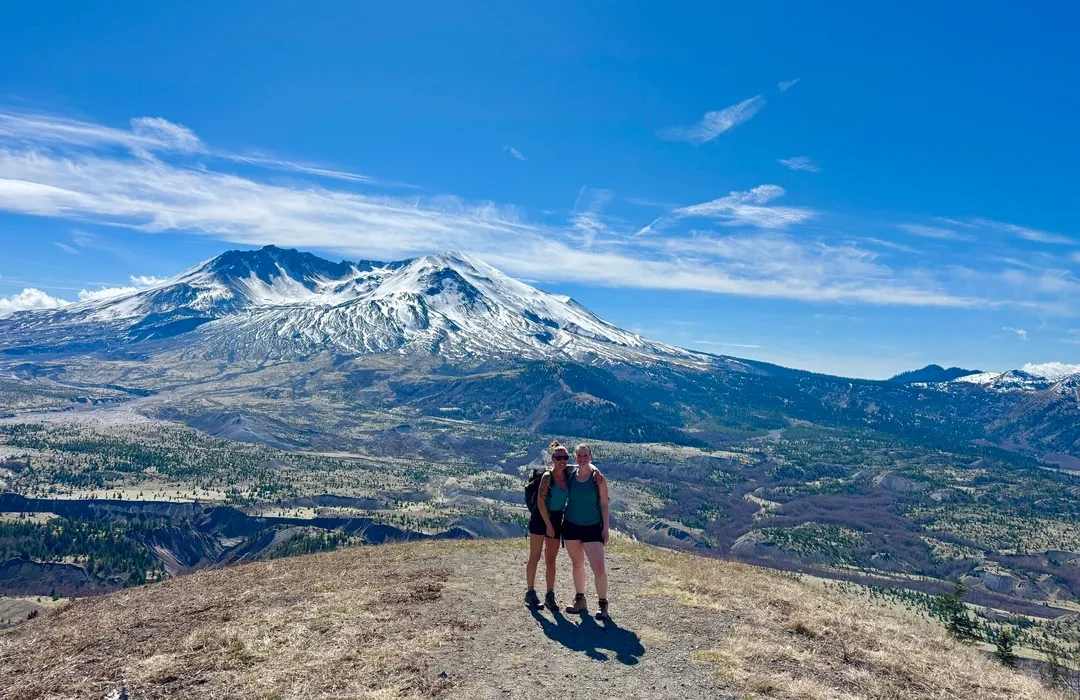
If you have ever seen the iconic “into the crater” view, it is usually from the Johnston Ridge area. On a clear day, you get a front-row look at the breach, the growing lava dome, and the stark blast zone landscape.
Important access update: State Route 504 to the Johnston Ridge Observatory area was heavily damaged by a landslide in May 2023 and the route is closed long-term (expected through at least 2026). In other words, you cannot currently rely on Johnston Ridge as your primary “easy crater view” plan. If you see older guides that treat it as the default stop, double check dates and road status before you commit.
- Effort: short, mostly paved viewpoint walks (when the corridor is open).
- Why go: the most dramatic crater perspective.
- Watch for: SR 504 closure status, plus seasonal road closures, construction, and other storm damage.
Windy Ridge (rugged, high impact views with less crowding)
Windy Ridge feels like a different mountain. You look across Spirit Lake and the floating log raft, with volcanic terrain stretching out like a wrinkled lunar surface. The road out here is slower and more remote, but the payoff is huge if you want drama without the most popular corridor traffic.
- Effort: short walks from pullouts and viewpoint areas.
- Why go: Spirit Lake views and a wilder feel.
- Watch for: road conditions and closures that can linger into early summer.

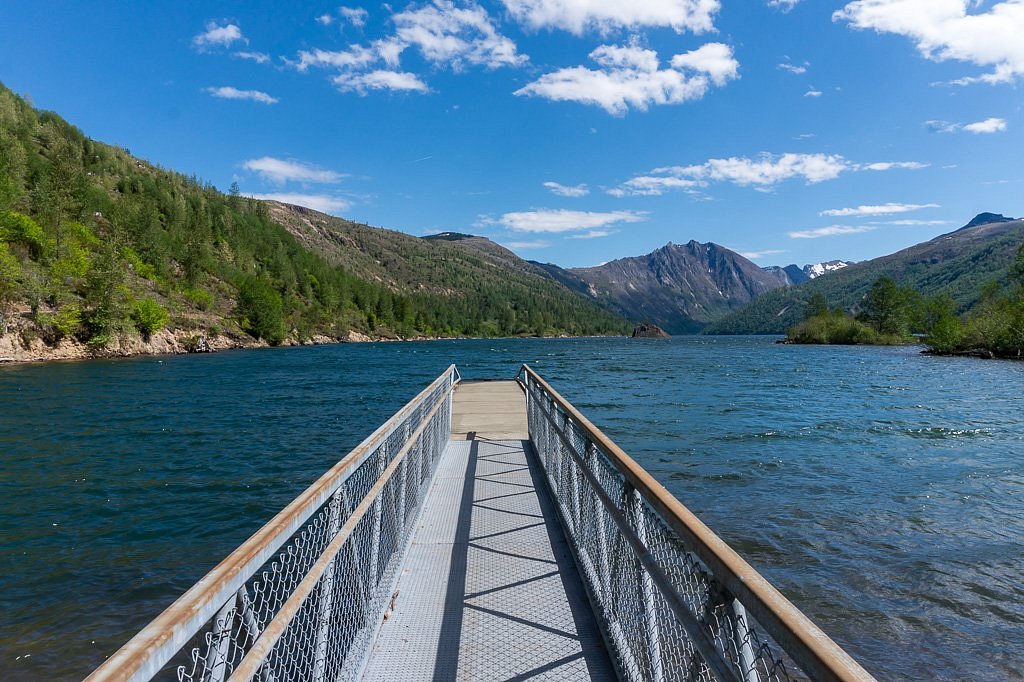
Coldwater Lake and the lakeside viewpoints
Coldwater Lake is my favorite “easy win” if you want to pair volcano scenery with a calmer, greener shoreline. You still get big views of the blast zone ridges, plus a picnic friendly setting that feels less like a mission and more like a day out.
- Effort: lakeside pullouts and short walking paths.
- Why go: relaxed scenery, good for families and mixed ability groups.
- Watch for: busy weekends in peak summer.
Easy trails and partial loops (big views for modest effort)
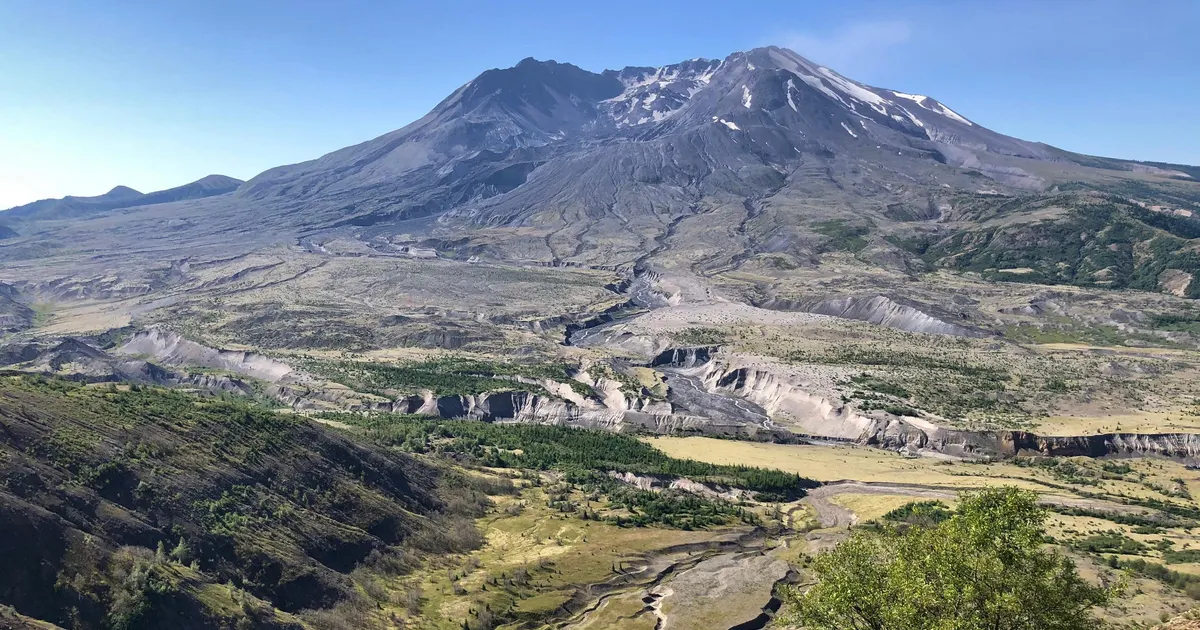
Hummocks Trail (short loop, high payoff)
If you want one short hike that explains the landscape under your feet, choose the Hummocks. The trail winds through mounded terrain formed by the landslide debris, with frequent openings that frame the crater. It is the kind of walk where you keep stopping because the angle changes every five minutes.
- Type: loop trail.
- Best for: first timers who want a “volcano story” hike.
- Tip: go early for softer light on the crater and fewer people on the interpretive sections.
Boundary Trail segments (choose-your-own distance)
The Boundary Trail is useful when you want to tailor your effort. Many hikers do a short out-and-back segment to a viewpoint rather than committing to a longer point-to-point plan. If you are traveling with a group where one person wants a stroll and another wants miles, this trail system makes compromise easier.
- Type: out-and-back segments.
- Best for: flexible day plans, trail runners, and shoulder season hikers when higher roads are still opening.
Lakeside walking at Coldwater Lake
Sometimes the “trail” you need is a shoreline path and a thermos of coffee. Coldwater’s short walks and viewpoints are ideal when you want a low commitment day or you are dealing with hazy conditions and want pleasant scenery even if the volcano plays shy.
So, what actually needs a timed permit?
Here is the practical way to think about it, because the words “permit” get thrown around for everything from parking to wilderness access.
Usually timed or limited: summit climbs and specific high demand access programs
- Summit climbing on the standard routes typically requires a limited entry climbing permit during the main season. This is a different system than day-use parking and is not needed for casual viewpoints.
- Any corridor running a pilot reservation or timed-entry program: occasionally, managers implement timed entry for a road or attraction during peak periods. If you see language like “reservation required” or “timed entry,” treat it as a must-do step, not a suggestion.
Usually not timed: viewpoints, pullouts, and most trailheads
- Forest road pullouts and many trailheads are first-come, first-served, with capacity controlled by parking space.
- Interpretive sites may have hours, but not necessarily timed slots.
Commonly required even without timed entry: standard passes and fees
Even when there is no timed permit, you might need one of the common public lands passes for parking, depending on where you stop. If you are road-tripping across Washington volcano country, a yearly pass can pay for itself quickly.
My rule: if a plan hinges on driving a specific road to a specific viewpoint, confirm road status and reservation requirements the same week you go, then again the night before.
Seasonal closures you should plan around
Snow and gate closures
Mount St. Helens access roads climb quickly into snow country. Even when the lowlands are blooming, upper roads can be gated or still covered in patchy snow. That usually means:
- Late spring: partial openings, intermittent closures after storms.
- Summer: best overall access, but also the busiest.
- Fall: crisp air and great visibility, with closures beginning after early storms.
- Winter: many high viewpoint roads closed, with some snowshoe and backcountry options for experienced travelers.
Storm damage and construction
This region is prone to washouts and repairs, and one damaged stretch can reroute your entire day. The SR 504 landslide closure is the clearest reminder that “should be open” is not a plan.
Build your day with at least one alternative viewpoint so you are not stuck staring at a locked gate and pretending that is part of the charm.
Haze and wildfire smoke: how to salvage your day
The hard truth about late summer in the Pacific Northwest is that the mountain might be there, but you cannot always see it. Volcanic landscapes also flatten visually in heavy haze. Here is how I adapt without wasting the drive.
Choose closer viewpoints when visibility is poor
If the mountain is hazy, prioritize viewpoints that put you closer to the crater or add strong foreground interest like Spirit Lake. The less atmosphere between you and the peak, the more detail you will see.
Go early or go after a wind shift
Morning often has calmer air and better visibility. If smoke is in the forecast, watch for wind direction changes that can clear a corridor for a few hours.
Build a “Plan B” that is still beautiful
- Lake day at Coldwater or another nearby lake: even if the volcano is muted, water and forest still photograph well.
- Waterfalls and lower elevation forests: more shade, less exposure, and often better air quality.
- Town reset: if the air is truly unhealthy, pivot to a café and a museum in a nearby town and save the volcano for a clearer day. Slow travel is also knowing when to call it.
If the Air Quality Index is in the unhealthy range, do not try to “tough it out” on exposed ridgelines. Mount St. Helens trails offer very little shade, and smoke plus sun can drain you fast.
Sample itineraries (easy, realistic, and flexible)
Option 1: Two big viewpoints, minimal hiking
- Morning: drive to your primary high viewpoint corridor if open.
- Late morning: short interpretive walk and crater viewing.
- Lunch: picnic at a lake or viewpoint area.
- Afternoon: second viewpoint zone (Windy Ridge style scenery or lakeside options).
Option 2: One easy loop hike plus a lake
- Morning: Hummocks Trail loop.
- Lunch: lakeside picnic.
- Afternoon: short shoreline walk, photography, and a slow drive between pullouts.
Option 3: Haze day salvage plan
- Morning: closest accessible viewpoint for the best odds of detail.
- Midday: lake and forest walks at lower elevation.
- Afternoon: coffee shop and local bite in a nearby town, then reassess conditions for sunset.
What to pack for easy Mount St. Helens days
- Layers: viewpoints can be windy even when the parking lot feels warm.
- Sun protection: hat and sunscreen are non-negotiable in the blast zone.
- Water: there is less shade and fewer reliable water sources than people expect.
- Offline maps: cell service is inconsistent on the back roads.
- Simple food: think picnic, not “we will find something up there.”
- Binoculars: huge payoff for spotting crater details in moderate haze.
Before you go: the 5 minute checklist
- Confirm road status for your chosen corridor and any gates.
- Check if your destination has timed entry or day-use reservations this season.
- Verify parking pass or fee requirements.
- Look up visibility and smoke conditions and have a Plan B.
- Start early if you want quiet viewpoints and the best photo light.
Mount St. Helens rewards travelers who plan lightly but smartly. Give yourself a couple of backup options, pack for sun and wind, and you can get a crater-level experience without turning it into an expedition.