Navaho Pass via Stafford Creek

Maya Lin
Maya Lin is a travel journalist and outdoor enthusiast who believes the best trips combine rugged adventures with urban comforts. After spending six years backpacking across four continents, she founded Trail & Town Guide to help fellow travelers navigate both hidden mountain passes and bustling city neighborhoods with confidence.
Navaho Pass is one of those Teanaway hikes that feels like it was designed for my exact personality: a steady forest climb, a big open ridge payoff, and just enough “choose your own adventure” at the top to keep it interesting. It is also a solid shoulder-season pick when I want crisp air and golden light without committing to anything technical.
This guide covers the Stafford Creek route to Navaho Pass (also commonly spelled Navajo Pass on newer maps and trip reports): mileage and elevation, what to expect from Teanaway road conditions, when the larches usually pop on this pass, and an optional Earl Peak viewpoint if your legs still have opinions after the pass. I will also be blunt about what should make you turn around before the pass, because this route crosses terrain that can go from pleasant to sketchy fast once snow and ice show up.
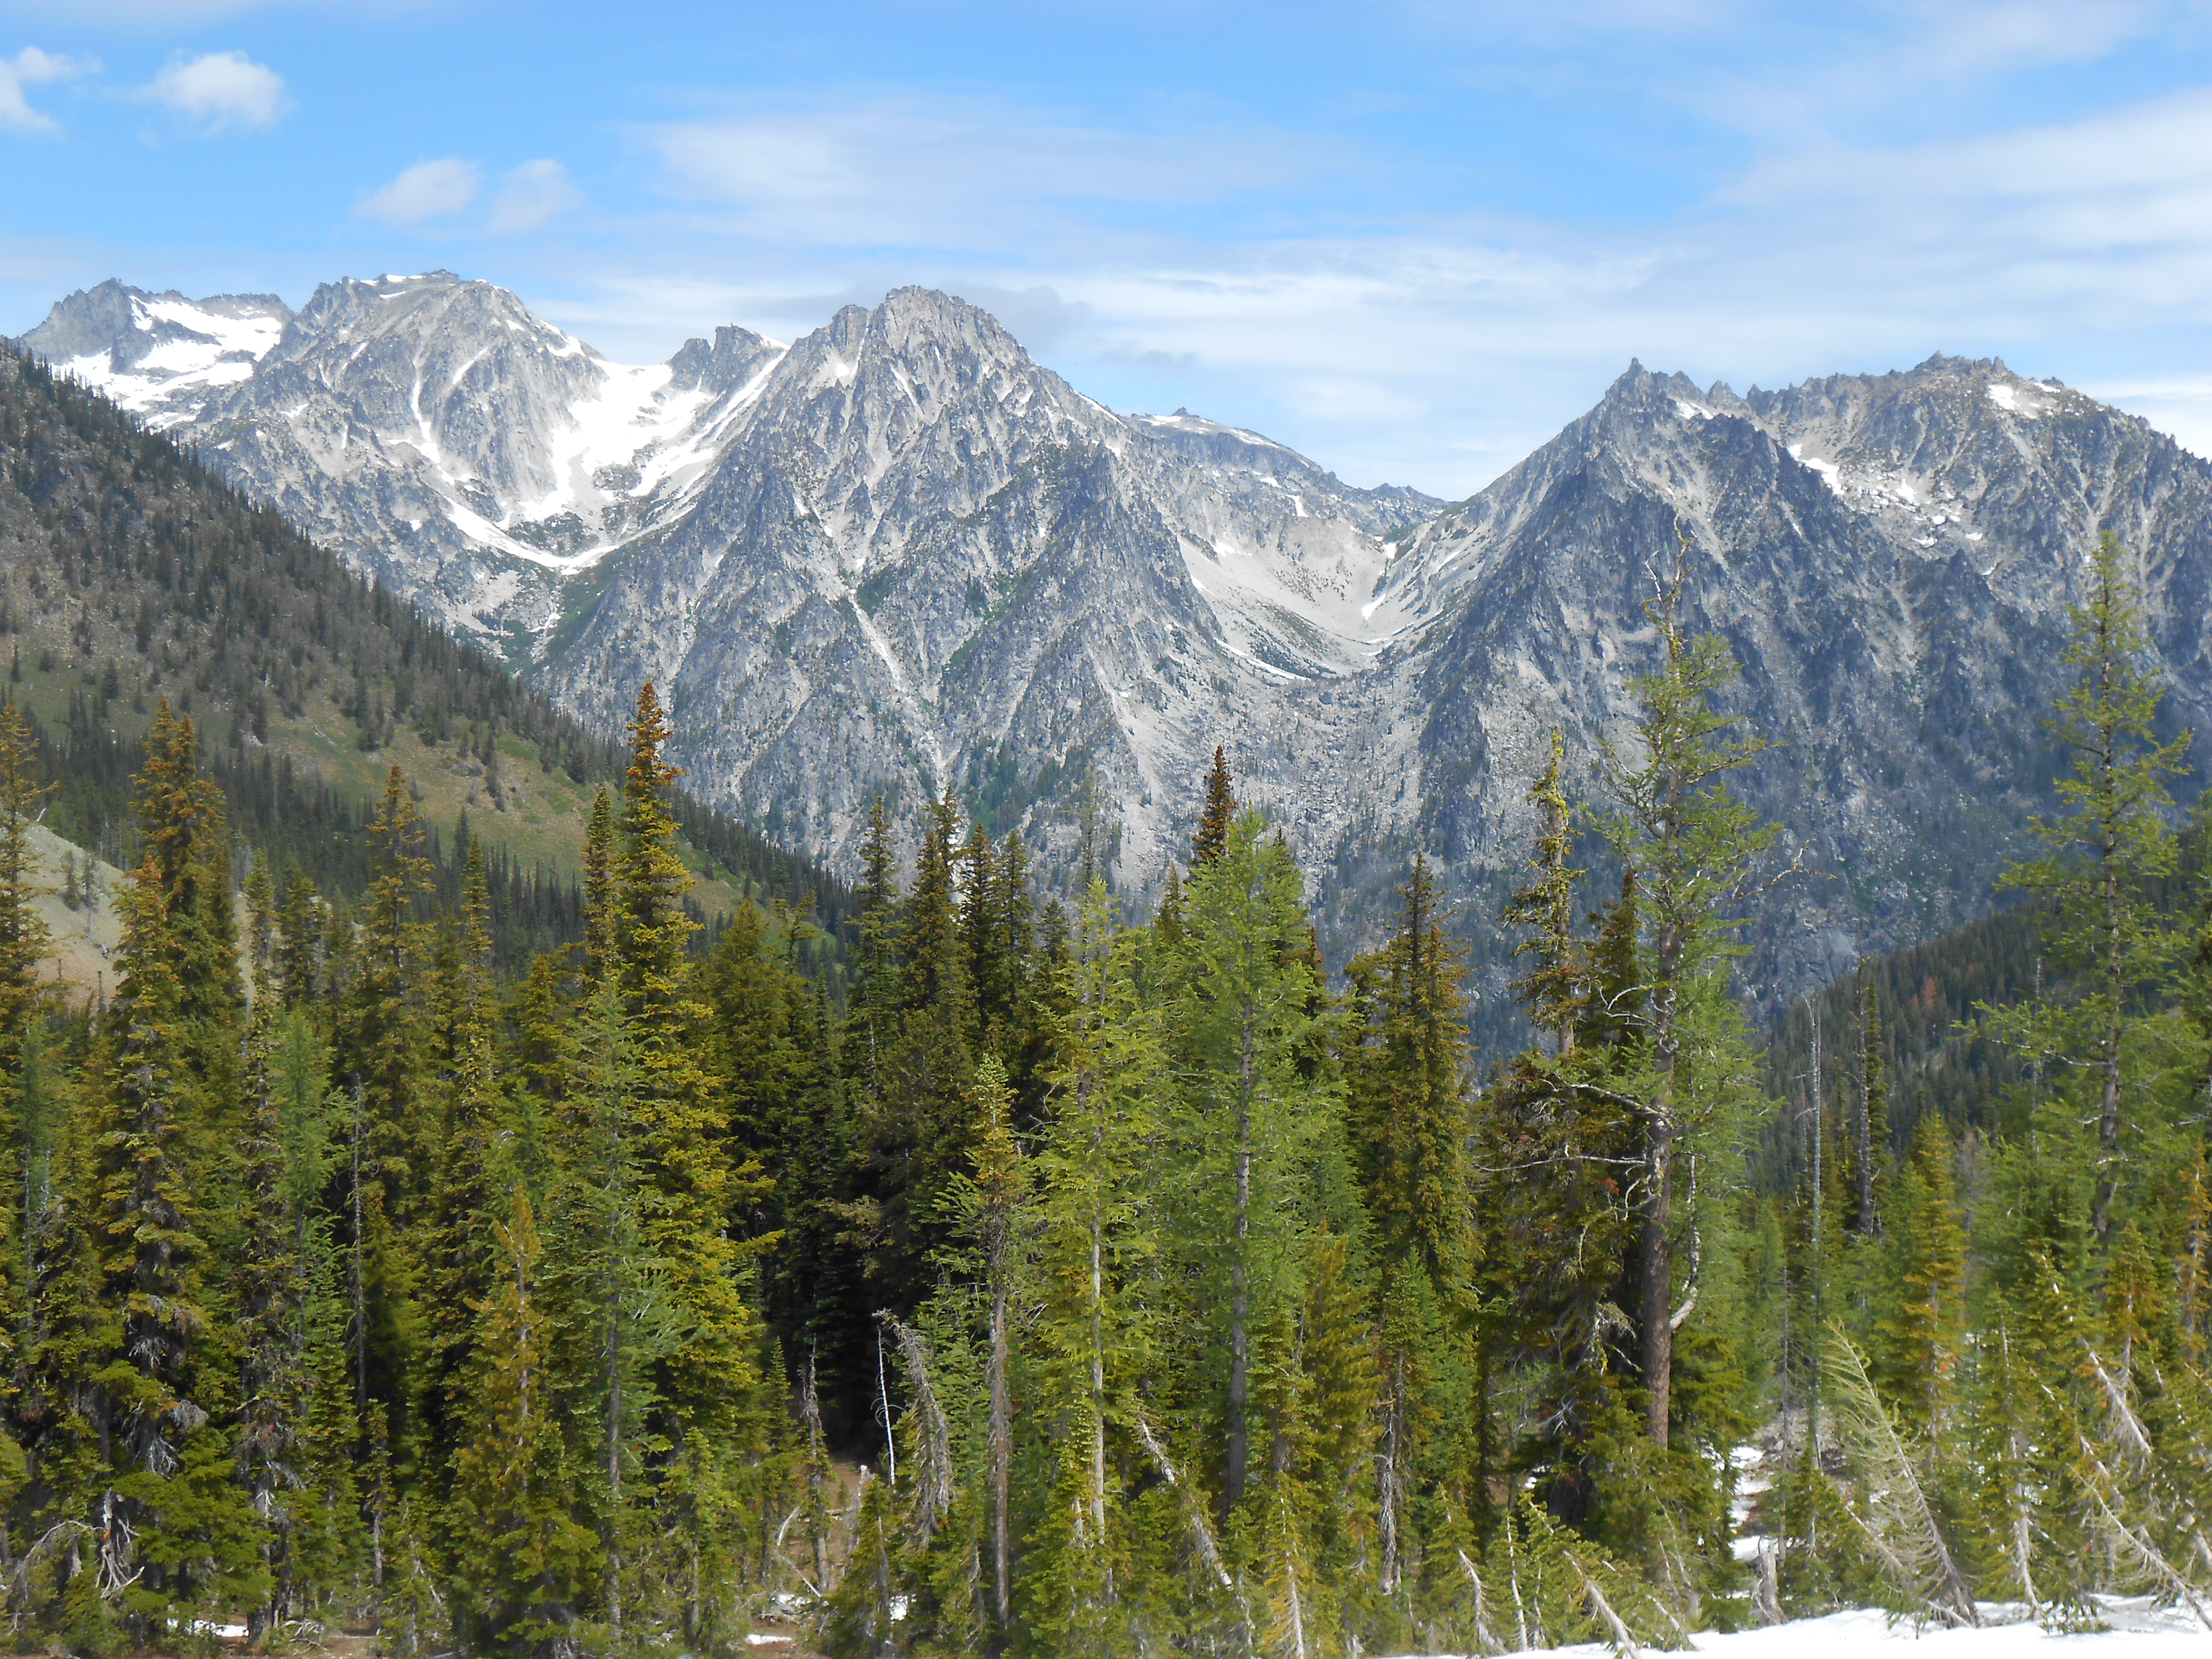
At a glance
- Trailhead: Stafford Creek Trailhead (Teanaway area, near Cle Elum)
- Destination: Navaho Pass (often labeled Navajo Pass)
- Distance: Personal GPS tracks often read about 9 to 10 miles round trip to the pass, but Washington Trails Association lists about 11 miles round trip. Plan for the longer number if you want a low-stress day.
- Elevation gain: WTA lists about 3,000 feet. Depending on your track and little wanderings near the top, you may see something more like 2,600 to 3,000 feet recorded.
- Time: 5 to 7 hours for most parties; longer if you add ridge wandering or Earl Peak views
- Difficulty: Moderate to strenuous (steady climb, and the final stretch can feel steep and exposed in shoulder season)
- Best season: Summer through fall; larch season is the star
- Key highlights: Long forest approach, big ridgeline feel at the pass, larches near the top, and a bonus Earl Peak viewpoint option
Getting there
The Stafford Creek Trailhead sits in the Teanaway, a popular recreation zone outside Cle Elum that can feel surprisingly remote for how close it is to Seattle. Roads here are not “technical,” but they are very much “read the room.” A sunny October weekend can mean dusty washboard and a packed parking area. A wet week can mean ruts, potholes, and traction issues.
Road conditions
- Forest road numbers: Road designations in the Teanaway are commonly shared as NF road numbers in trip reports. They can also change or be signed differently over time. Before you go, confirm your exact driving route using the current USFS Motor Vehicle Use Map (MVUM) for the Cle Elum Ranger District and the trailhead signage. (You will often see North Fork Teanaway Road referenced as NF-9737, with access spurs such as NF-9703 mentioned in some directions, but treat the MVUM and current signs as the final word.)
- Surface: Expect a mix of paved approach and gravel Forest Service roads closer in. Gravel sections are commonly washboarded and potholed.
- Vehicle: In typical summer conditions, most passenger cars can make it if you go slow and pick good lines. In early spring or after heavy rain, higher clearance helps.
- After storms: Downed branches, standing water, and fresh potholes are common. If your car cannot comfortably straddle deeper ruts, do not force it.
- Snow season: Once snow sticks, access becomes unpredictable. Even if the valley looks clear, shaded road sections can hold ice.
- Status checks: Check Okanogan-Wenatchee National Forest alerts and any current road notes for the Teanaway. Fire closures, storm damage, and maintenance can all happen.
Parking
On fall weekends, arrive early if you want a stress-free start. Teanaway trailheads fill up fast during larch season. If the lot is crowded, park only in clearly legal areas and do not block turnarounds or gates.
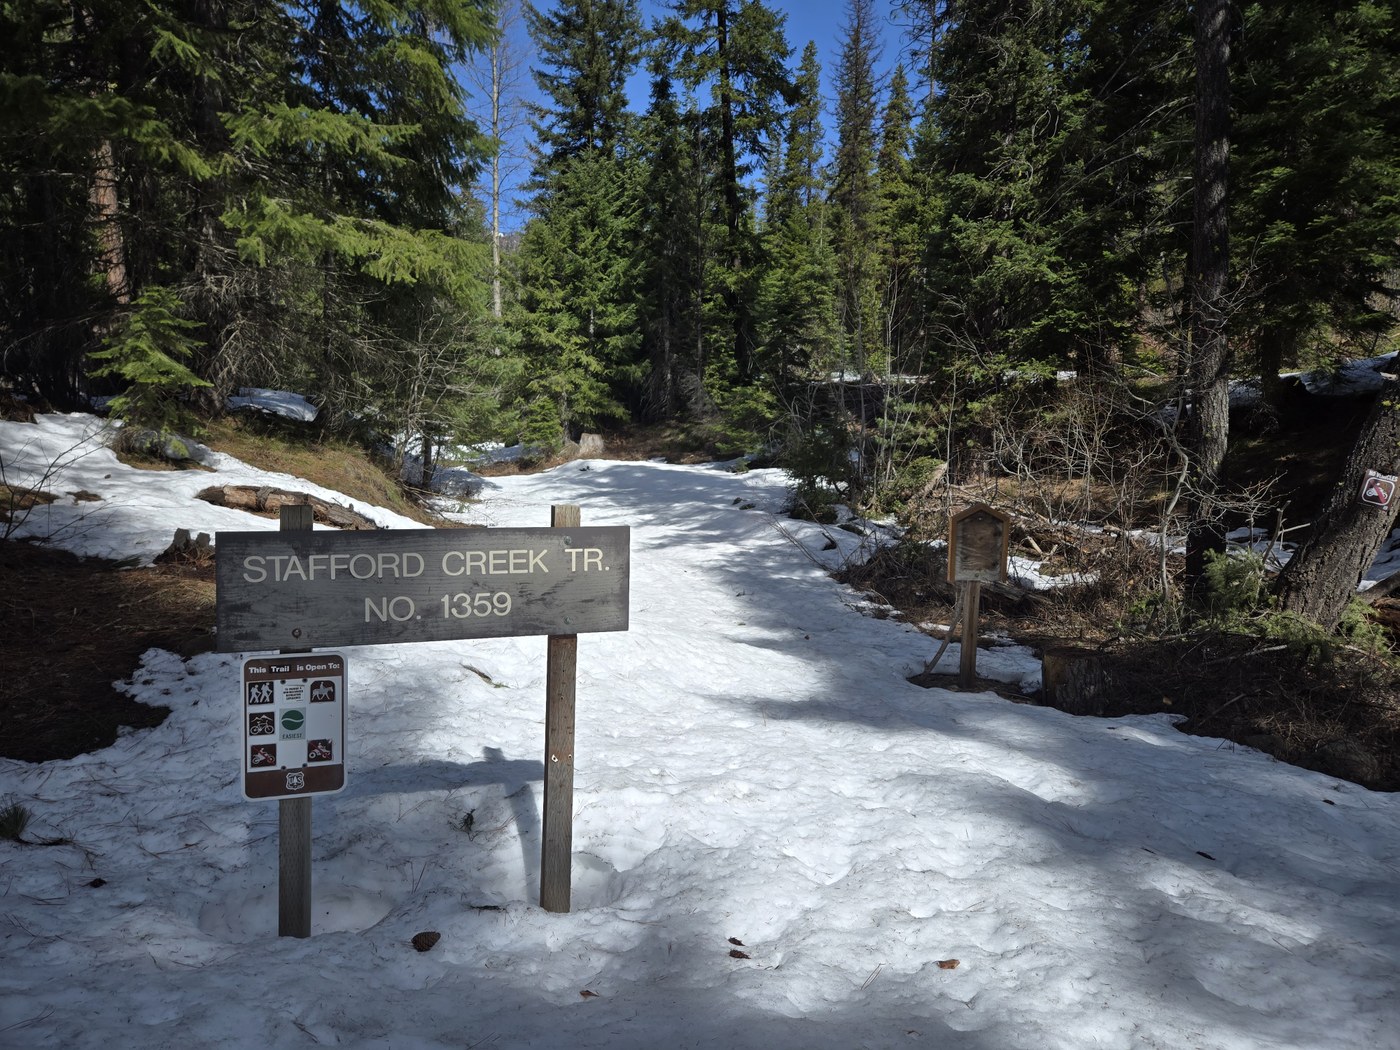
Trail breakdown
This is a classic “earn it gradually” hike. The early miles settle you into a rhythm, the middle miles keep you honest, and the final climb to the pass delivers the wide-open views that make people fall in love with the Teanaway.
Start: forest miles
From the Stafford Creek Trailhead, you will be on the Stafford Creek Trail climbing at a moderate grade through forest. (It is commonly referenced as Trail #1359, but as with road numbers, confirm trail numbers on current USFS or WTA info because signage and listings can vary.) In summer, this can feel pleasantly shaded. In fall, it is the kind of cool, piney air that makes me walk faster than I mean to.
- Water: You will be near the creek drainage for portions of the approach, but do not count on easy water late season. If you plan to filter, bring a filter and a backup method.
- Footing: Mostly dirt trail with roots, some rocks, and occasional muddy patches after rain.
- Cell service: Plan for spotty or nonexistent service. Download your map before you leave home.
The junction
The most important navigation moment is the junction where the Stafford Creek Trail meets the County Line Trail. (County Line is commonly referenced as Trail #1220, but again, verify trail numbers with current USFS or WTA sources.) This is the decision point that determines whether your day stays mellow up the drainage or turns into a real climb toward Navaho Pass.
For Navaho Pass, you want the signed direction for Navaho Pass and the ridge zone. Sign text can vary, and weather can knock signs around, so I do not hike past this junction on autopilot. I stop, confirm the direction on my offline map, and then commit.
My simplest behavioral cue: if you feel like you are still cruising comfortably up a wooded valley with no real elevation commitment, you are probably still on the Stafford Creek drainage. Once you take the County Line direction toward the pass, the trail starts to feel more intentional about gaining elevation.
Middle miles: thinner trees
As you gain elevation, the forest thins and the character shifts. This is where you start to get those teasing glimpses of surrounding ridges. If you are here for larches, your anticipation usually spikes right about now because you begin to notice single trees turning at the edges first.
Final climb: to the pass
The upper portion to Navaho Pass is where conditions matter most. In late summer it is simply a steeper finish. In October and beyond, it can be windy and cold at the top, with early snow or ice lingering on shaded slopes. The pass area is exposed enough that weather changes feel immediate.
Terrain-wise, this is the zone where you are more likely to encounter steep open slope, loose rock, and trail that gets vague when snow fills in the tread. If you are thinking, “This would be annoying to downclimb if I slip,” that is your clue to reassess.
Stats and effort
Exact numbers vary depending on GPS track, small wanderings near the top, and where you start recording. Also, apps and guide sites do not always measure the same way. Treat any published mileage as a planning tool, not a courtroom exhibit. If you want the best current baseline, check the latest WTA listing right before you go because pages sometimes update.
- Round trip: Many hikers record about 9 to 10 miles, but WTA lists about 11 miles round trip. I plan for 11 so I am not negotiating with daylight on the way down.
- Total gain: WTA lists about 3,000 feet. Your device may show less or more depending on smoothing and GPS noise.
How it feels: the grade is steady enough that it is never a single brutal wall, but it is persistent. I consider it a “two-coffee hike” if you are coming from sea level and you have not been hiking much. The steepest-feeling effort is usually in the final stretch approaching the pass, especially if wind kicks up or the ground is slick.
Larch timing
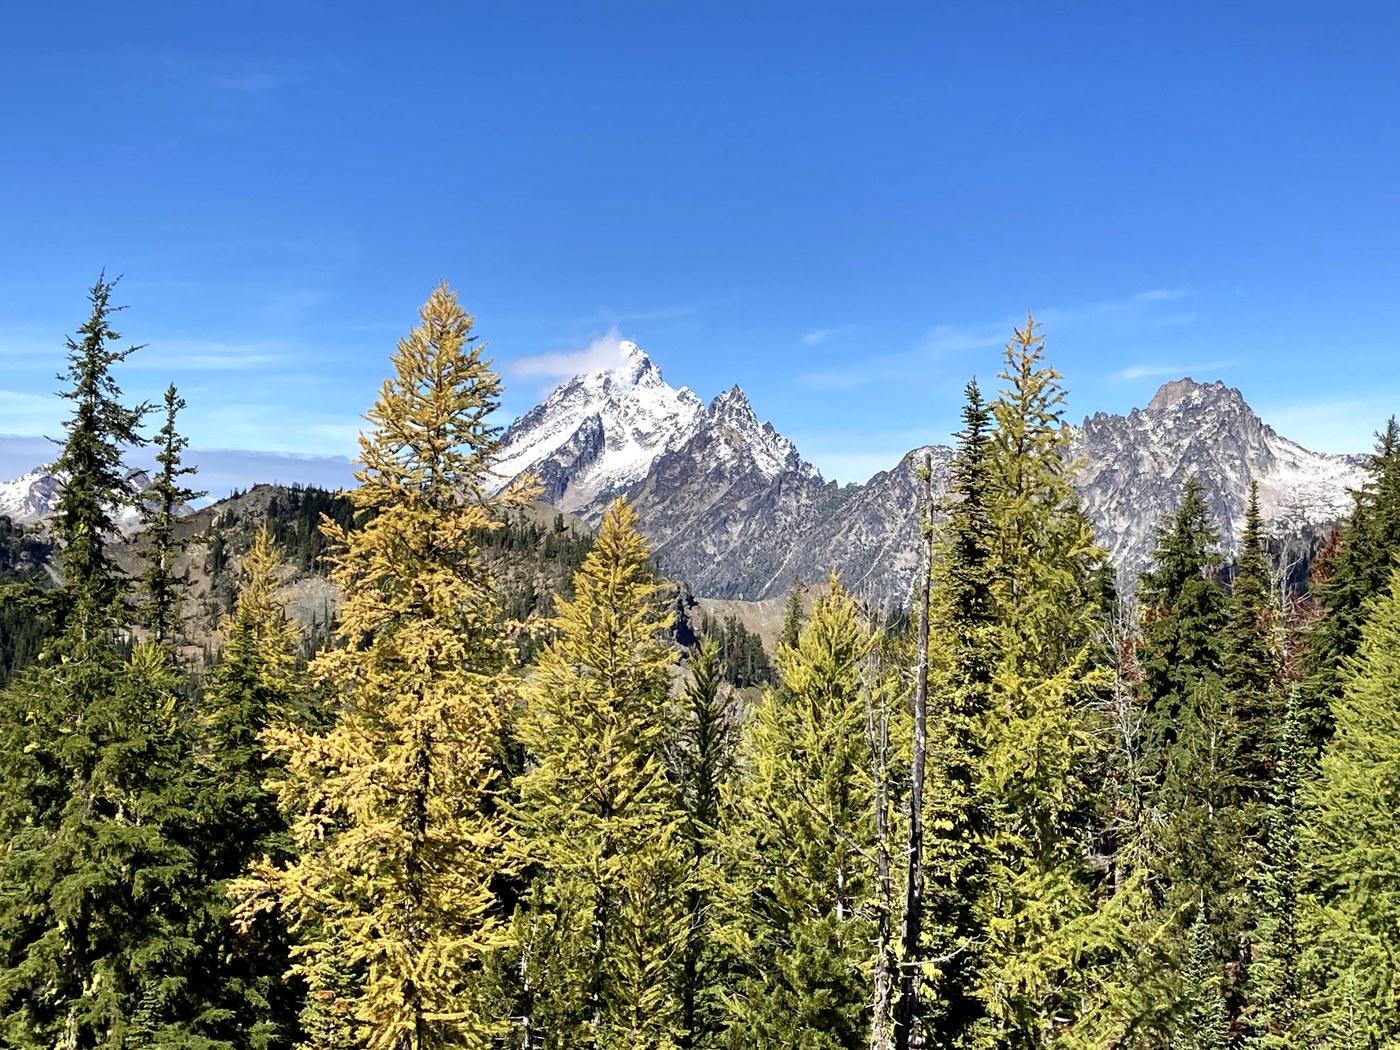
If you are chasing larch gold, Navaho Pass is a strong bet because you can often catch color without needing to commit to longer, more complex routes. That said, larch timing is fickle. Temperature swings, early frost, and storms can shift the peak window.
Typical window
- Most years: mid-September through mid-October
- Peak color: often late September into early October
My personal strategy is simple: if nights are consistently cold and the forecast stays dry for a few days, odds improve. If a heavy windstorm rolls through, expect needles to drop faster, especially on exposed slopes.
Where to see them
Expect most of the larch payoff near the upper elevations and around the pass zone, not in the lower forest miles. That makes this hike feel like a slow build to a bright, golden finale.
Earl Peak option
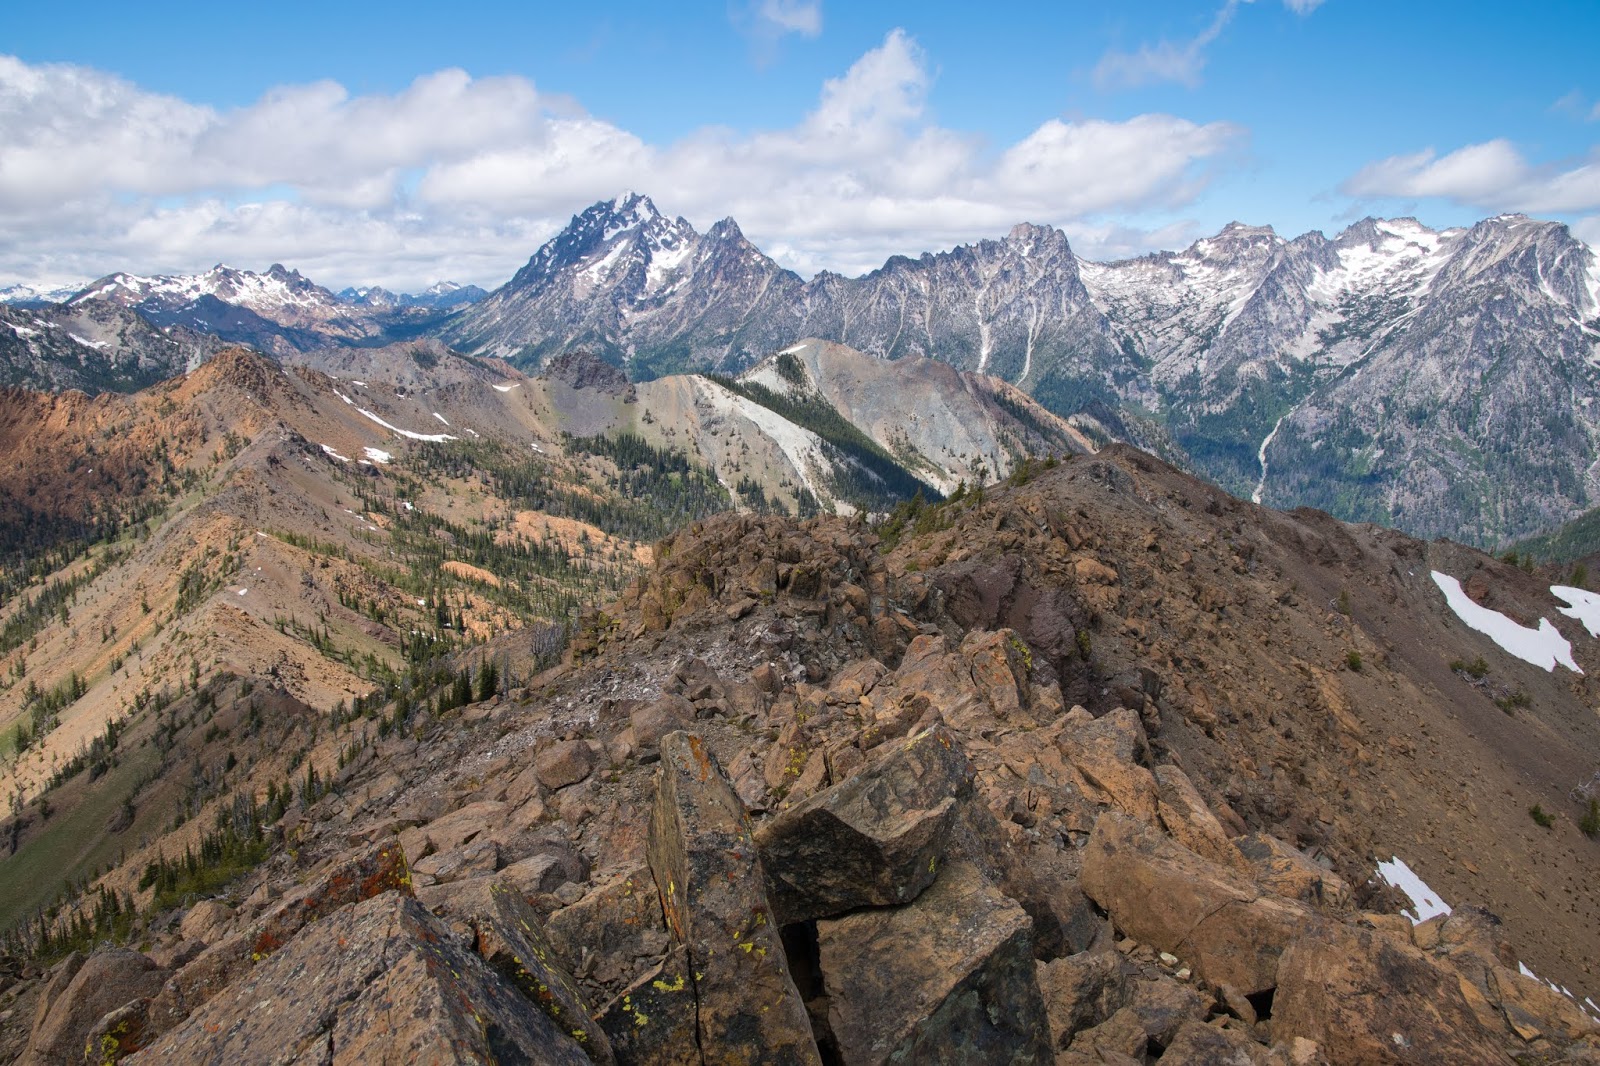
Navaho Pass is a satisfying turnaround point on its own. But if you get to the pass with time, weather, and energy, you can extend your day by wandering the ridge toward Earl Peak for a higher viewpoint.
What it is like
- Vibe: more open terrain, bigger wind exposure, and more route-finding decisions than the main trail
- Effort: even a partial out-and-back can add 1 to 3 miles and 500 to 1,500 feet depending on how far you go
- Footing: expect loose rock and narrow ridge walking in spots, with exposure that feels more real when it is icy or windy
- Terrain reality: this commonly shifts from obvious trail to boot path and open ridge travel. It is not technical climbing, but it can feel committing because the easiest line is not always the most obvious line, especially once snow fills in the tread.
- Payoff: broader views into the surrounding ridges and a more “on top of the map” feeling
I like this option as a “taste” rather than a full summit mission. Most days, I push a short distance along the ridge from the pass until I get a clear expanded view into the Teanaway, then I eat a snack out of the wind and call it. The Teanaway has a way of convincing you to keep going, and that is great until it is not.
Navigation basics
This is not a complicated route in summer, but it is also not the hike where I rely on vibes alone.
- Use an offline map: I like having a USFS topo layer, Green Trails, or a Gaia GPS or CalTopo base map downloaded before I leave home.
- Know your key waypoint: the junction where you leave the Stafford Creek drainage for the County Line direction toward Navaho Pass.
- Do not assume a boot path is the trail: in larch season especially, side paths multiply near viewpoints and photo spots.
- Earl Peak is more route-finding: once you leave the pass area and start ridge wandering, expect less obvious tread and more decision-making.
When to turn around
This is the section I wish more hikers wrote plainly. Navaho Pass is not a technical mountaineering objective, but the upper approach can become hazardous in the wrong conditions. Turning around is not a failure. It is the decision that gets you back to town for tacos.
Turn-around conditions
- Hard snow or ice on the steep upper trail: If you are sliding, kicking steps feels insecure, or you cannot confidently arrest a fall, turn around. Microspikes can help on firm snow, but they are not magic if the slope is steep and you are not comfortable on snow travel.
- Whiteout or low visibility near treeline: If clouds sock in and you lose visual landmarks, the ridge and pass area can become disorienting fast.
- High winds: Strong gusts near the pass can knock you off balance, especially if the ground is slick or dusty. If you are bracing with every step, call it.
- Thunderstorms: The pass and ridge terrain is exposed. If storms are building, descend before you are the highest moving object.
- Rapidly dropping temperatures and wet clothing: Cold rain plus wind is hypothermia weather. If you cannot stay warm while moving, you will not magically warm up while stopped.
- Creek crossings becoming pushy: In shoulder season thaws or after heavy rain, any crossing that feels unstable is not worth gambling on.
- Late start: If you are not on track to be down well before dark, especially in fall, turn around. Navigation errors and ankle injuries love headlamps.
My 30-minute rule
If I cannot name a clear, safe plan for the next 30 minutes of trail based on what I see ahead, I turn around. “We will figure it out up there” is how people end up committed to a slope they cannot reverse.
Snow and avalanche note
Once consistent snow arrives, treat this as a winter travel objective, not a spicy fall hike. Even “non-technical” passes can sit near slopes that load with wind-drifted snow, and the ridge zone can put you on or under steeper open terrain where avalanches are possible. If your plan involves traveling on or beneath steep snow slopes, check the avalanche forecast, and bring the training and gear to match. If that sentence sounds like too much work, that is your sign to pick a lower-elevation walk and save this one for melt-out.
What to pack
I am not a heavy packer in cities or mountains, but this is not the hike to go ultralight on safety. Here is what I consider non-negotiable for Navaho Pass, especially in fall:
- Layers: warm midlayer and a true wind shell. The pass can be dramatically colder than the trailhead.
- Rain protection: jacket plus pack cover or liner.
- Traction (shoulder season): microspikes if snow is possible. Trekking poles help with stability.
- Navigation: offline map on your phone and a backup power source.
- Water and treatment: carry enough for the climb, plus a filter if you plan to top up.
- Food: more than you think. This is a steady burn kind of day.
- Headlamp: always, even on a “quick” hike.
Trail etiquette
The Teanaway gets loved hard in peak season. A few small choices make a big difference here.
- Stay on trail as much as possible, especially on fragile alpine slopes near the pass.
- Pack out everything, including fruit peels and tissues.
- Keep groups tight in narrow sections to reduce trail widening.
- Stock and horses: This area sees equestrian use. Step to the downhill side of the trail when asked, keep dogs close, and do not crowd animals.
- Wildlife: Give animals space. Deer and marmots are common. Mountain goats are possible in the broader Cascades, but not something I count on seeing here.
After the hike
One reason I love Teanaway day hikes is how easy it is to pair them with a warm drink and an actual chair afterward. Cle Elum and Roslyn are close enough that you can go from trail dust to a cozy cafe without making it a whole production. If you are hiking during larch season, plan for extra traffic and slower service in town. Everyone has the same excellent idea that you do.
Quick FAQ
Is Navaho Pass doable for strong beginners?
Yes, if you are comfortable with a steady climb and can manage a half-day effort. The biggest limiter is often not fitness, but shoulder-season conditions. If snow or ice is present and you do not have traction and experience, pick a lower-elevation objective.
Are dogs a good idea?
In summer and early fall, many dogs do fine with plenty of water and paw awareness. In late season, icy sections near the top can be risky for dogs, especially on hard snow. If your dog cannot safely move on slick surfaces, turn around early. Also, be prepared for stock on trail and keep your dog under control.
Do you need a permit or pass?
Many U.S. Forest Service trailheads in this area typically require a Northwest Forest Pass or an Interagency Annual Pass (America the Beautiful) for day-use parking. Requirements can vary by exact lot and can change, so treat the trailhead sign as the final word. If you are wondering about the Discover Pass, that is a Washington state pass and is not the standard pass for most federal USFS trailheads.
Is there a bathroom at the trailhead?
Trailhead facilities in the Teanaway can be minimal and they do change. I plan as if there is no restroom, and I confirm current conditions by checking recent WTA reports and what is actually at the trailhead when I arrive.
What is the best time of day to hike it?
For larch season, morning starts get you better parking and softer light through the trees. Afternoon can be gorgeous too, but you will want to budget daylight for a relaxed descent.