Panorama Trail: Glacier Point to Yosemite Valley

Maya Lin
Maya Lin is a travel journalist and outdoor enthusiast who believes the best trips combine rugged adventures with urban comforts. After spending six years backpacking across four continents, she founded Trail & Town Guide to help fellow travelers navigate both hidden mountain passes and bustling city neighborhoods with confidence.
There are hikes in Yosemite that feel like a highlight reel from the first step, and the Panorama Trail from Glacier Point to Yosemite Valley is exactly that. You start high, with Half Dome and the Clark Range on your horizon, then spend the day gradually trading airy viewpoints for riverside granite and waterfall mist as you work your way into the Valley.
This page is built for a one-way, point-to-point day that begins at Glacier Point and finishes in Yosemite Valley. I am keeping the Glacier Point scenic drive details and the uphill Mist Trail route separate, so we can focus on the point-to-point logistics, the Illilouette section, and where you connect into Valley trails.
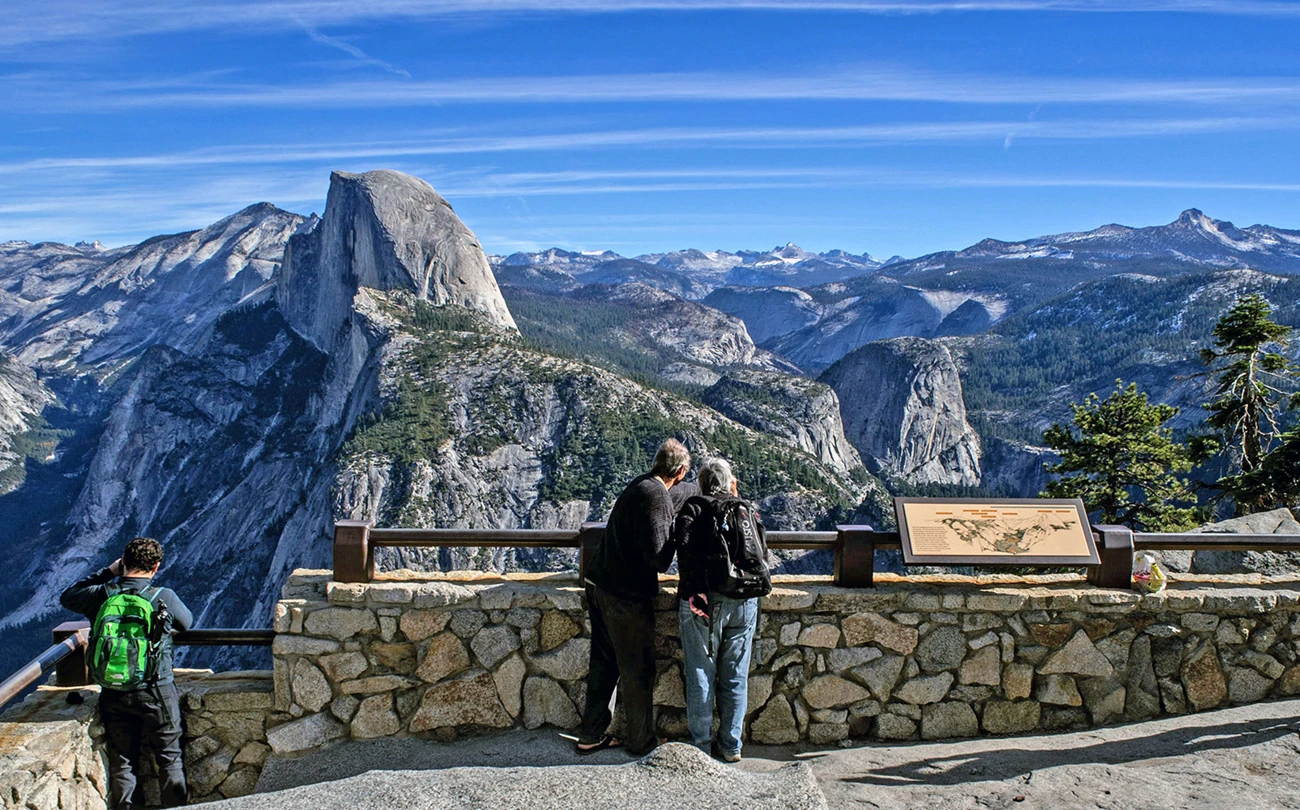
At a glance
- Route: Glacier Point to Yosemite Valley via Panorama Trail
- Distance: roughly 8.5 to 9 miles to Happy Isles (your total can be a bit longer if you walk farther on Valley paths to reach specific parking or lodging)
- Elevation: downhill overall with a notable mid-hike climb. Expect around 3,000+ feet of descent into the Valley, plus roughly 700 to 800 feet of gain climbing out of the Illilouette Creek drainage
- Typical time: about 6 to 10 hours for most prepared day hikers, longer with big photo stops or crowded waterfall corridors
- Common finish options: Happy Isles via Mist Trail or John Muir Trail (or continue on Valley floor paths to your exact endpoint)
- Effort level: Moderate to strenuous due to distance, long descents, heat exposure, and that post-Illilouette climb
- Best for: Big views, a true one-way traverse, and hikers who want variety beyond a straight descent
- Season: Best when Glacier Point Road is open and trails are snow-free at elevation
Reality check on “downhill is easy”: this route trends downhill overall, but it is not a free ride. Your knees will notice the sustained descents, and many hikers are surprised by the climb after Illilouette Creek. Trekking poles and a steady pace make this hike dramatically more pleasant.
Permits and closures: as a day hike, you generally do not need a wilderness permit for Panorama Trail itself, but trail closures and restrictions (especially around the Mist Trail and Nevada Fall area) can absolutely change your endgame. Check Yosemite National Park trail conditions before you go.
Getting to Glacier Point
The make-or-break detail for this hike is transportation. Because it is a one-way trek into Yosemite Valley, the cleanest plan is to get a ride to Glacier Point first, then hike down and use Valley transportation or your own parked car at the end.
Option 1: Shuttle or bus (when operating)
In seasons when service runs between Yosemite Valley and Glacier Point, it is the simplest solution. You leave your car in the Valley, ride up, and hike down. Before you commit, confirm the current year’s operating schedule, seat reservation requirements, and the last departure times, since these details can change. I always check the official Yosemite NPS site and authorized operators for the most current info.
Option 2: Arrange a private ride
If you are traveling with a buddy, the classic move is a two-car shuttle. If you are not, your practical choices are to arrange a ride with someone in your group, coordinate with another party at your lodging, or use a commercial ride service where allowed. Cell service is inconsistent, so do not plan on hailing anything last-minute from Glacier Point.
Option 3: The “reverse it” temptation
Yes, you can hike from the Valley up to Glacier Point. It is a great challenge day, but it is a different page and a different mindset. This guide assumes you are starting at Glacier Point and heading to the Valley.
Route overview
I like thinking of this hike in three distinct chapters:
- Chapter 1: Glacier Point to the Illilouette Creek area, with sweeping open views and a feeling of walking along the edge of the world.
- Chapter 2: The Illilouette crossing and the Illilouette Fall viewpoint area, where the terrain shifts, the canyon pulls you inward, and you mentally prepare for the next part.
- Chapter 3: The climb after Illilouette Creek, followed by the long descent toward Nevada Fall and the Valley trail network, where your finishing choice matters.
Even though the trail is well-established, Yosemite junctions can feel like a choose-your-own-adventure book. The key is knowing where you want to end, so you are making choices that match your shuttle stop, trailhead, or lodge.
Step by step
Start: Glacier Point
From Glacier Point, you start with immediate payoff: granite, sky, and that clean, high-elevation light that makes everything look sharper. If you are an early starter, this section can feel almost quiet, even in a busy season, because most people cluster near the overlook rather than commit to the full point-to-point hike.
Carry-on-only style tip: Even on a day hike, I treat this like a long travel day. Snacks you will actually eat, electrolytes, and a small layer for shade-to-sun temperature swings make the difference between “iconic hike” and “why am I cranky at 11 a.m.”
Glacier Point to Illilouette
This is the section that earns the trail’s name. You will see changing angles on Half Dome, broad views across the Valley, and big open granite scenes that feel almost coastal in their expansiveness. The tread is generally straightforward, but watch for sandy or polished granite sections where traction matters.
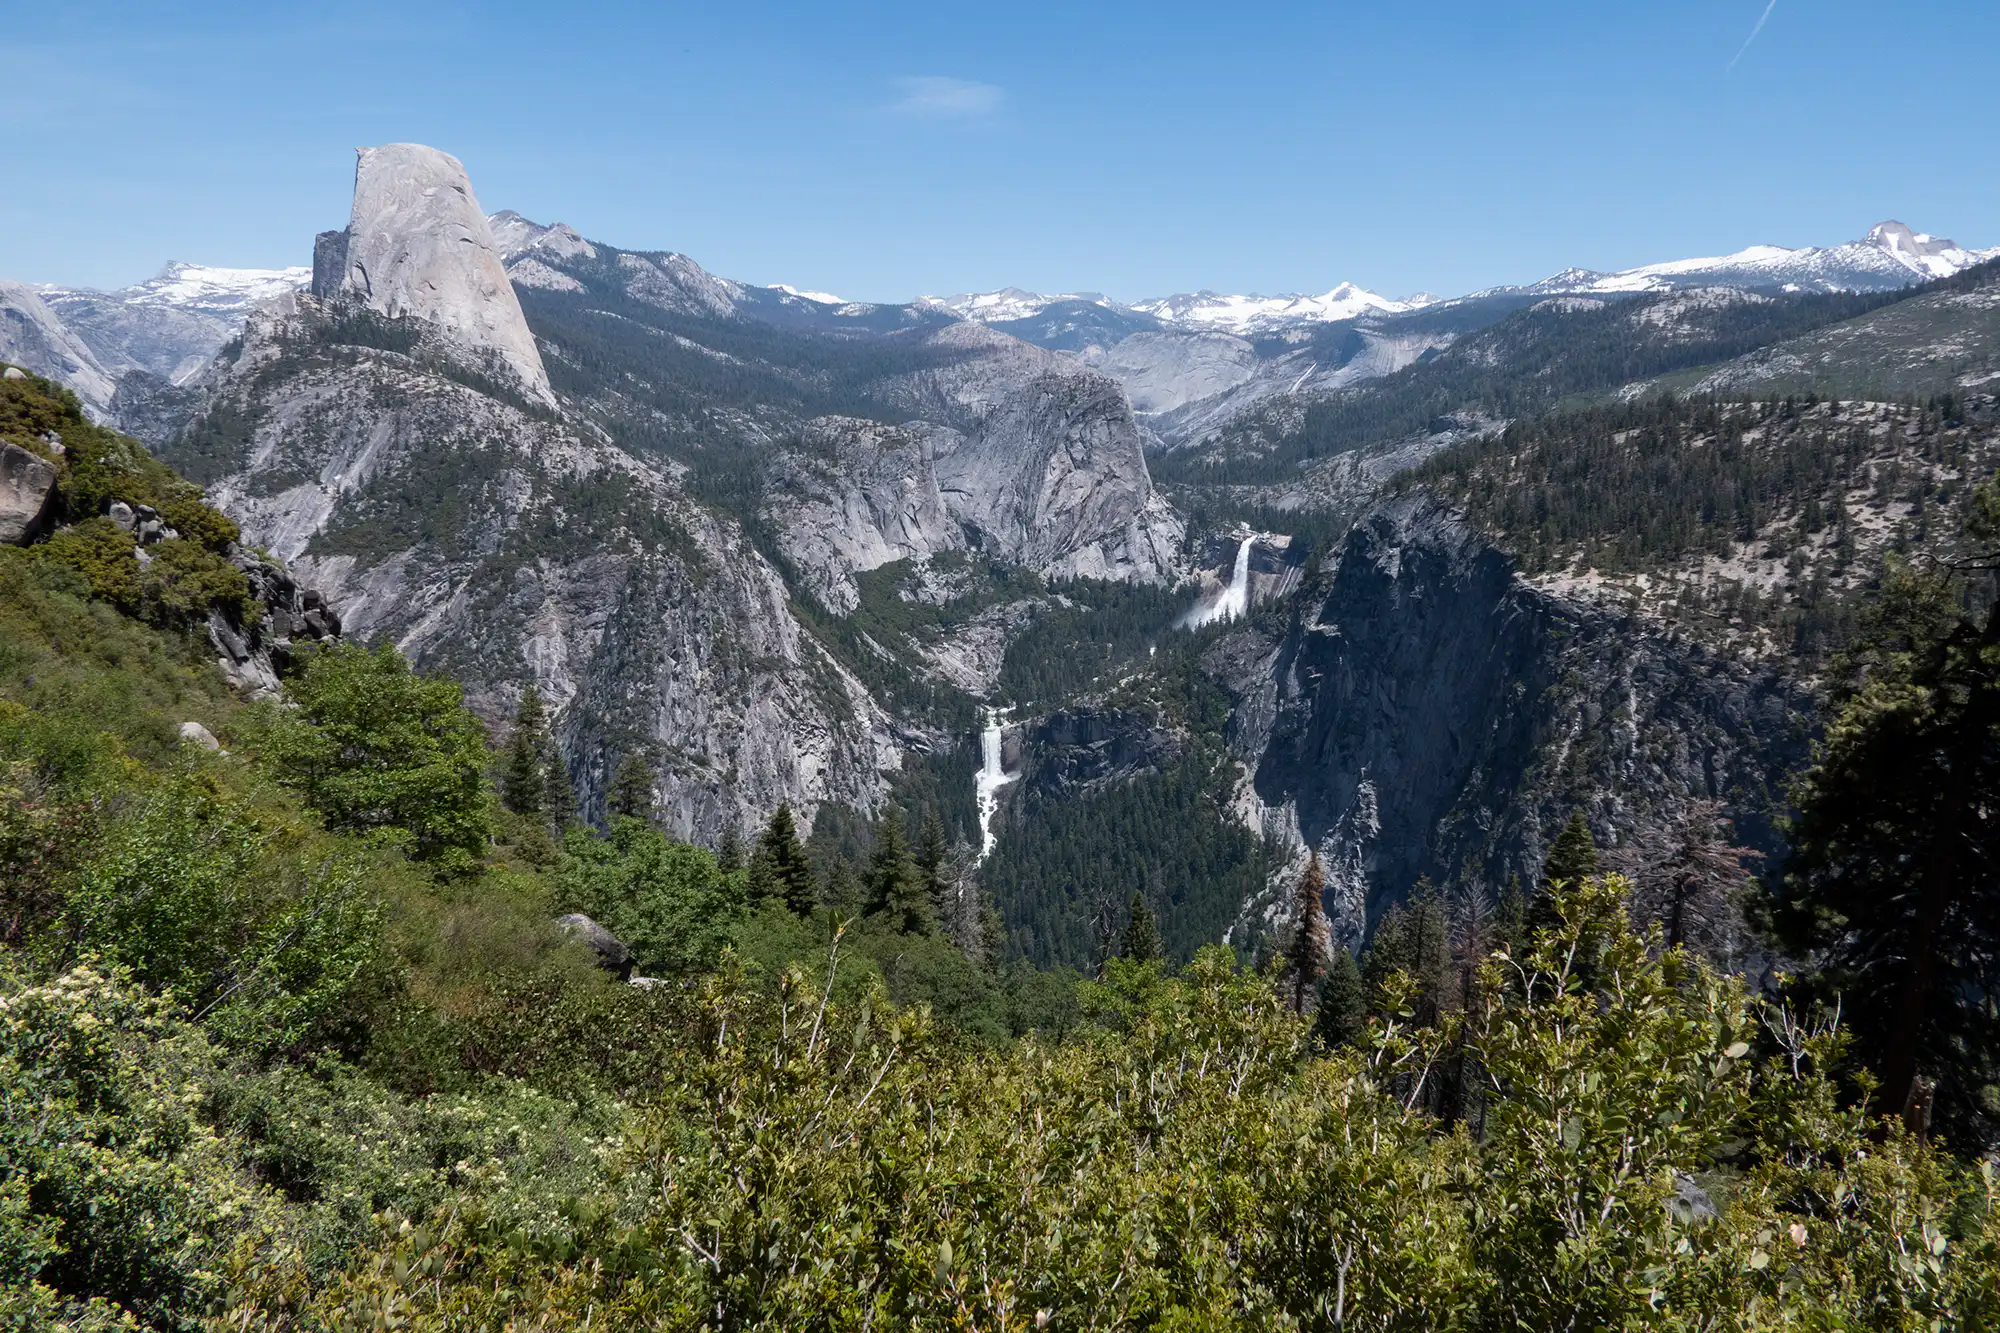
Illilouette Creek and Illilouette Fall
As you reach Illilouette Creek, the hike pivots from big views to a more enclosed canyon feel. Depending on the time of year, the creek can range from calm to loud and pushy. Crossing setup can vary by season and maintenance, so treat this as a place to slow down, look for the intended crossing, and adjust to current conditions.
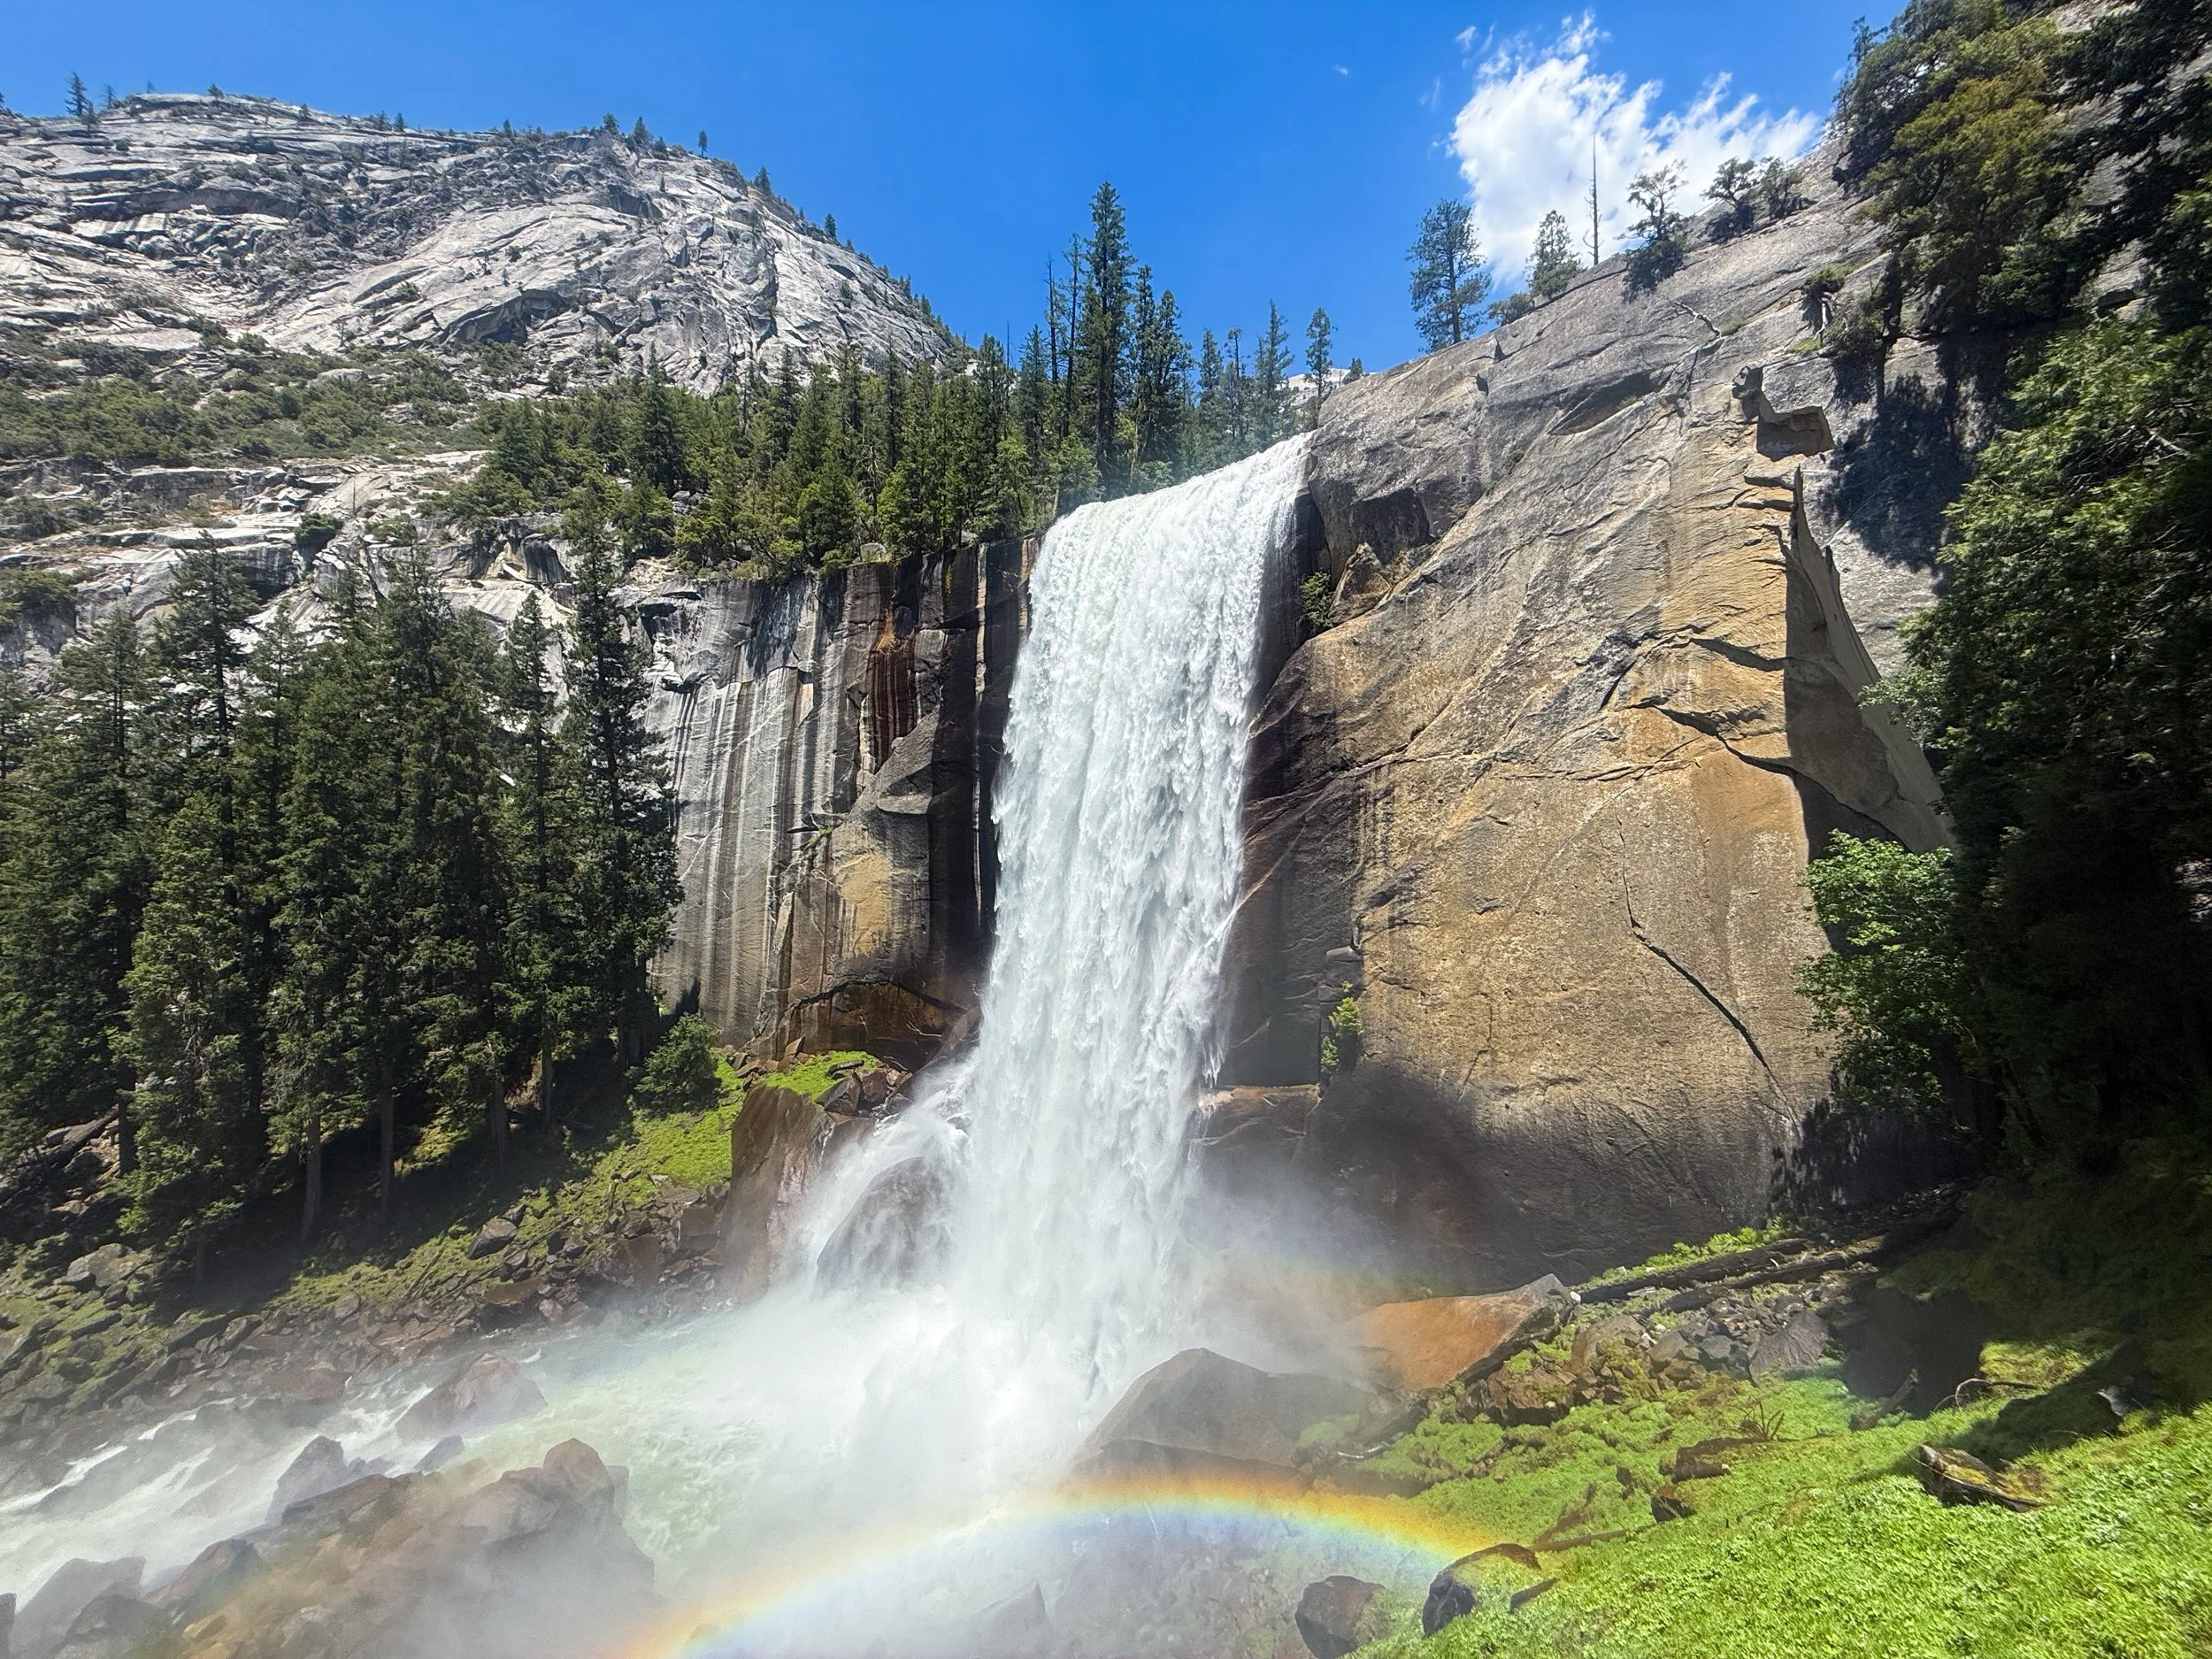
Finding Illilouette Fall: You do not hike to the base of Illilouette Fall on this route the way you might with other Yosemite waterfalls. Instead, you get views toward the fall as the trail traverses the drainage. In strong flow periods, you will hear it before you clearly see it. Take your time around viewpoints and keep your footing on exposed edges.
My coffee-shop brain in the backcountry: This is the point where I usually stop for my “cafe break,” which is really just a snack and a long sip of something that makes me feel civilized. Find a stable rock, sit down, and let the sound of water reset your pace.
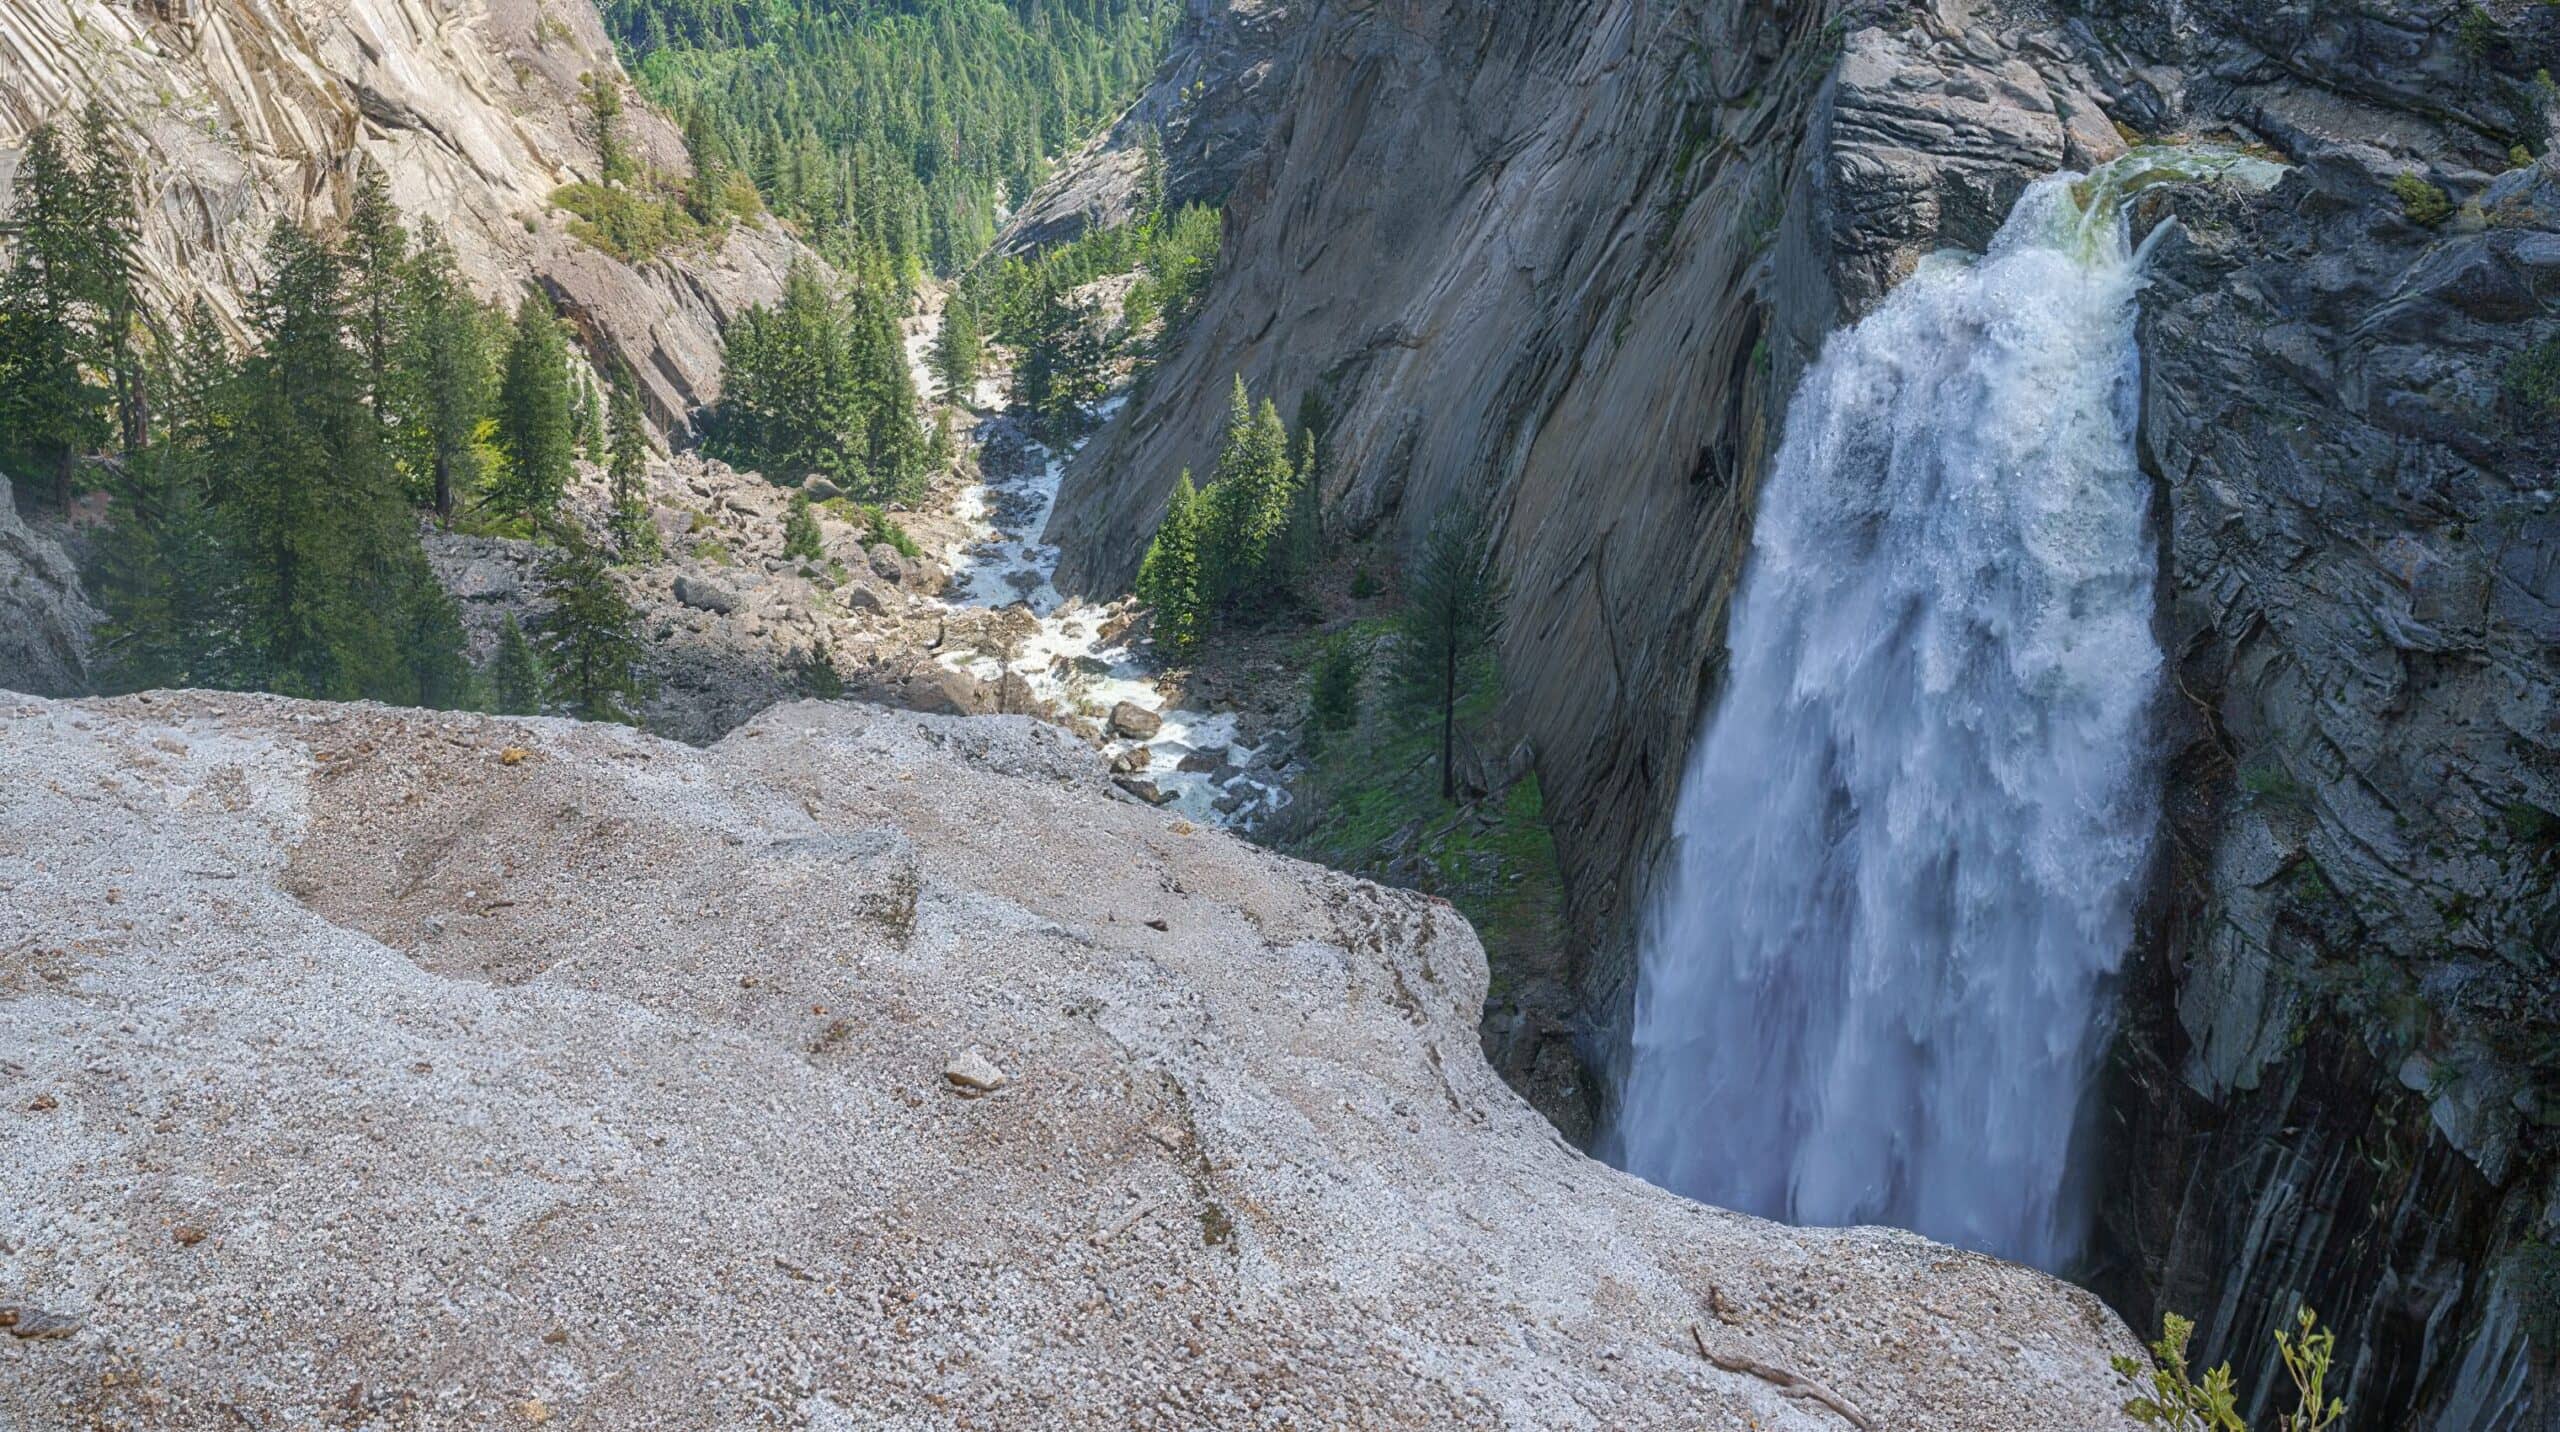
After Illilouette: the climb
This is the part I want you to know about before you are standing there, sweaty and negotiating with your own optimism. After you cross Illilouette Creek, the Panorama Trail does not simply keep dropping to Nevada Fall. It climbs, and it is a real climb, the kind that can feel rude if you budgeted your energy for “downhill all day.”
Plan for a sustained uphill push in the neighborhood of 700 to 800 feet of elevation gain as you work back up toward the ridge above the Nevada Fall area. It is not technical, but it can be hot and leggy, and it is the section where I see people suddenly go quiet and start rationing snacks like they are on a long-haul flight.
Pacing tip: If you feel yourself pressing, slow down. Shorter steps and steady breathing are faster, in the long run, than sprinting between tiny patches of shade.
Down to Nevada Fall
Once you top out from the Illilouette side and begin trending down toward the Nevada Fall vicinity, the downhill wear-and-tear returns. This is where knees tend to complain, especially if you attacked the climb too aggressively. Shorten your stride and use poles if you have them.
As you approach the Nevada Fall area, you will connect into the main corridor where decisions start to matter. Your finish is usually some version of: Mist Trail corridor (often busier and wetter) or John Muir Trail corridor (often less congested). Seasonal restrictions can also route everyone one way for safety, so stay flexible.
Finish choices
Here is the simple decision tree I use, because “we will decide later” is how people end up taking the longest possible way back to the car.
- Want the classic finish and do not mind crowds or steps: aim for the Mist Trail corridor toward Happy Isles when it is open. Expect spray near waterfalls in high flow, slick stone, and heavy foot traffic mid-day.
- Want a calmer descent and fewer bottlenecks: choose the John Muir Trail corridor where it makes sense. It is often less jammed than the Mist Trail, and it tends to feel more “hike” than “parade.”
- Need to end at a specific Valley location: once you hit the Valley floor paths, it becomes a logistics walk. Pick your endpoint based on the closest shuttle stop, parking area, or lodging, not on vibes.
In the Valley, it is easy to underestimate walking time between trailheads, shuttle stops, and lodges. I treat the last mile like airport time: you are not done until you are actually where you meant to be.
Planning your day
Start early
Starting early does three things: it gives you cooler temperatures for the exposed upper sections, more space on the trail, and a buffer for the slower-than-expected middle section. Even when you are not gaining much elevation overall, photo stops add up fast, and that post-Illilouette climb can stretch timelines.
Crowds
The upper Panorama Trail can feel surprisingly spacious. The crowd density usually increases as you approach the Nevada Fall and Happy Isles corridors, especially mid-day. If solitude is part of your goal, the earlier start and a calmer finish choice are your best tools.
Water
Carry enough water for long dry stretches. Seasonal creeks exist, but they are not something I rely on as guaranteed sources. If you filter, treat everything.
Practical planning note: assume you are self-sufficient until you are near the Merced River corridor and the high-use waterfall area, and even then, do not count on anything being convenient. Heat and sun exposure make dehydration sneakier on this trail than people expect.
What to pack
- Footwear with real traction: Downhill miles punish slippery soles.
- Trekking poles: Optional but extremely helpful for knees on long descents, and for keeping a steady rhythm on the climb after Illilouette.
- Layers: A light insulating layer and a shell, even on a warm forecast.
- Sun protection: Hat, sunglasses, and sunscreen. The granite reflects light.
- Food you will actually eat: Salty snacks plus something substantial. This is not the day for only “healthy” nibbles if that is not how you function.
- Navigation basics: A downloaded offline map and a charging backup, because service can be limited.
Trail etiquette
This route is popular for a reason, and it only stays magical if we treat it like a shared space.
- Stay on trail: Shortcuts widen trails and damage fragile groundcover.
- Pack out everything: Food scraps included.
- Give wildlife distance: Especially near water and shaded areas where animals linger.
- Be predictable: When passing, communicate clearly and keep groups tight on narrower sections.
FAQ
Where does the Panorama Trail connect to Valley trails?
The Panorama Trail delivers you into the busy trail network near the Nevada Fall area, where you can continue down toward Yosemite Valley using the Mist Trail corridor, the John Muir Trail corridor, or whatever routing is in place for the day’s conditions. Check current Yosemite trail info so you know what is open and what is restricted.
Can I do this hike if I am not advanced?
If you are comfortable with a long day on your feet and you pace yourself, many fit, prepared hikers do this as a day hike. The challenge is less technical difficulty and more the combination of distance, sustained downhill, sun exposure, the uphill climb after Illilouette Creek, and junction decisions near the waterfall corridors.
Is Illilouette Fall worth it?
Yes, especially in stronger flow seasons. You are not typically hiking to the base on this route, but the views across the canyon and the shift in scenery around Illilouette Creek are a highlight that makes the trail feel more layered than “just a descent.”
What is the biggest mistake on this route?
Underestimating the day because it starts high and trends down overall. The descent is long, and the climb after Illilouette Creek catches people off guard. Start earlier than you think you need to, and bring more water and food than you would for a short out-and-back.