Plan a Trail and Town Road Trip
Maya Lin
Maya Lin is a travel journalist and outdoor enthusiast who believes the best trips combine rugged adventures with urban comforts. After spending six years backpacking across four continents, she founded Trail & Town Guide to help fellow travelers navigate both hidden mountain passes and bustling city neighborhoods with confidence.
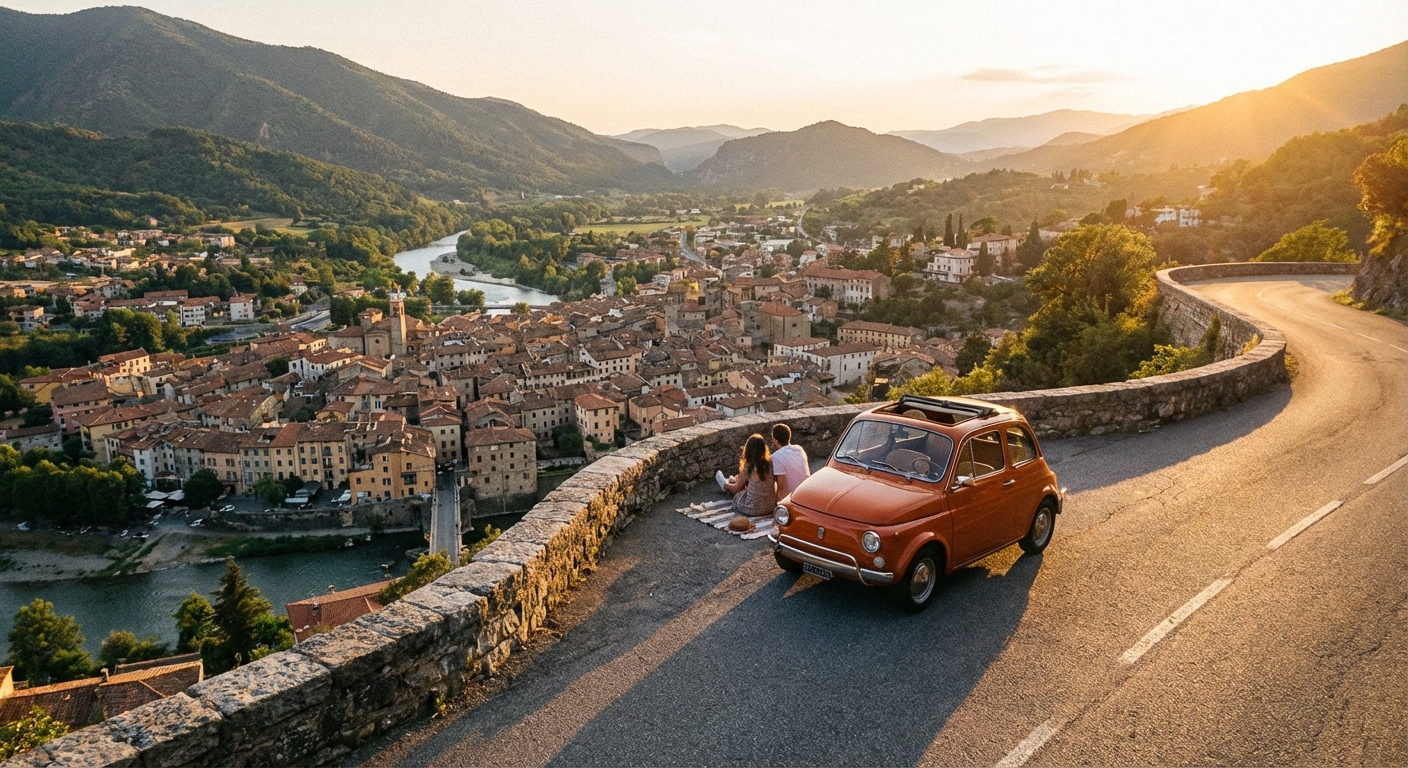
I love a day that starts with dirt under my nails and ends with a shower, a good meal, and a neighborhood worth wandering. That is the whole Trail + Town philosophy in one sentence. The trick is making the transition feel seamless instead of chaotic. This step-by-step plan will help you build a road trip that hits the highlight hikes and the best city blocks, without overstuffing your days or your trunk.
Step 1: Pick your trip style
Before you choose destinations, decide what kind of Trail + Town rhythm you want. This sets everything else, including how far you can realistically drive and how much recovery time you need.
Choose a ratio
- 60/40 Trail/Town: For hikers who want cafes and museums as recovery, not the main event.
- 50/50: My favorite for most travelers. One big hike, one great neighborhood, repeat.
- 40/60: For city-break people who want a few signature trails without living in trailhead parking lots.
Choose your hiking difficulty band
- Easy-moderate: 2 to 6 miles, modest elevation, still have energy for dinner.
- Moderate: 6 to 10 miles, you will want a shower and carbs afterward.
- Hard: Big vert, early starts, and a serious recovery plan.
Planning rule: If you are mixing hard hikes with city nightlife, schedule the hard hike early in the trip or give it a buffer day after.
Step 2: Build a smart route (the Trail + Town chain)
The best Trail + Town road trips look like a chain of paired stops: a trail hub near a town hub. You are not bouncing randomly between wilderness and city, you are flowing between them.
How to choose hubs
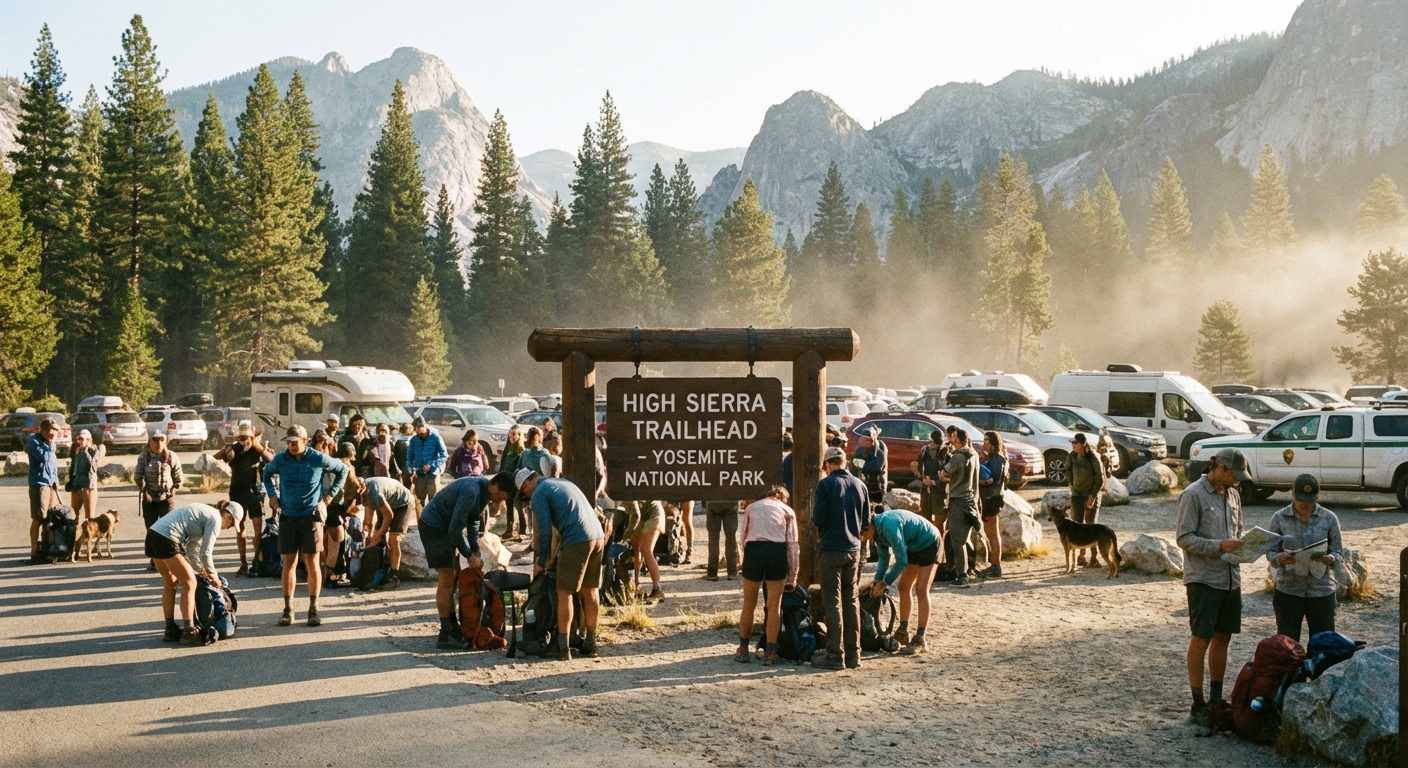
- Trail hub: A national park gateway, mountain valley, coastal headland, or forest district with multiple hikes, not just one.
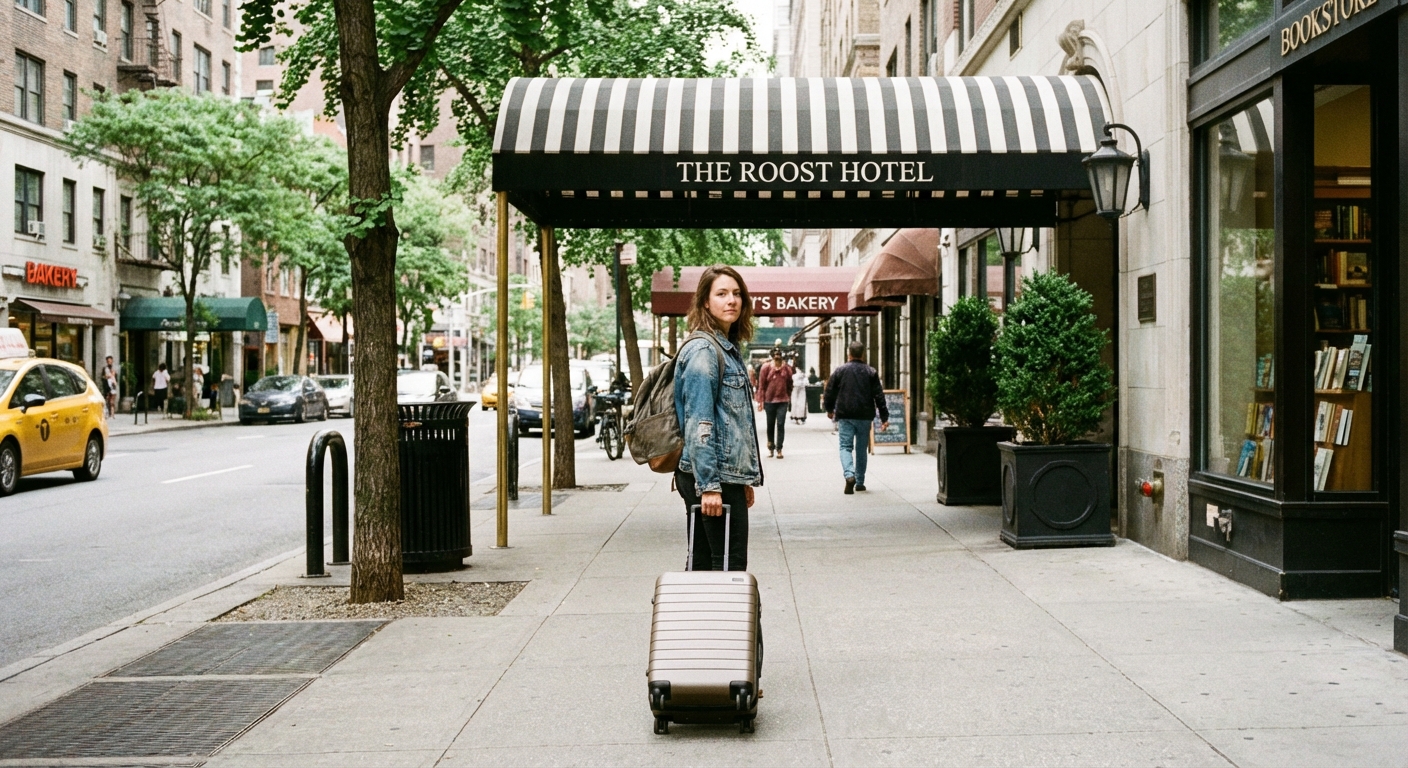
- Town hub: A walkable downtown with at least one strong neighborhood for food, coffee, and evening strolling.
- Connection: Aim for a 30 to 90 minute drive between the two. Two hours can work, but it eats your day fast.
Drive-time guardrails
- Sweet spot: 2 to 4 hours of driving on travel days.
- Max for sanity: 5 hours, and only if you have a strong reason (epic scenery, ferry, once-in-a-trip leap).
- Early start bonus: If you drive before 10 a.m., your day still feels like a day.
Tip from too many long hauls: When mapping, add 15 to 30 percent time for viewpoint stops, roadwork, and the inevitable “wait, what is that?” pullout.
Step 3: Lock in the season, then plan around it
Trail conditions and city vibes both change dramatically by season. A perfect Trail + Town trip respects the realities of snowpack, heat, fire season, and festival calendars.
Trail-first considerations
- Snow and mud: Shoulder season can be gorgeous, but you may need traction, gaiters, or a backup hike list at lower elevation.
- Heat: In desert and many mountain regions, start at sunrise and plan town activities for the afternoon.
- Wildfire smoke: Build flexibility. Choose regions with multiple microclimates so you can pivot.
- Permits and shuttles: Some of the most popular trails require permits or timed entry. Put these deadlines on your calendar first.
Town-first considerations
- Big events: Concert weekends and sports games can double hotel prices.
- Restaurant schedules: Some smaller towns shut down early midweek. Plan dinner accordingly.
- Transit and parking: If you are road-tripping into a major city, pick a hotel where you can park once and walk or use transit.
Step 4: Pace your days like a human
If you want rugged hikes and downtown dinners, you need a pacing strategy. The most common mistake I see is planning every day like it is Day 3 energy, then hitting Day 6 reality.
A simple weekly rhythm that works
- Day 1: Travel day + easy town evening.
- Day 2: Big hike + low-key dinner.
- Day 3: Town day (museums, neighborhoods, laundry, long coffee).
- Day 4: Moderate hike + town sunset viewpoint.
- Day 5: Travel day + food market or brewery.
- Day 6: Big hike (or a second town day if weather turns).
- Day 7: Buffer day for whatever you loved most.
Daily time blocks (my go-to structure)
- Morning: Trail (best light, best temps, fewer people).
- Afternoon: Reset (shower, laundry, nap, scenic drive).
- Evening: Town (walkable neighborhood, dinner, a local show).
If your itinerary does not include at least one intentionally boring hour, it is not a sustainable itinerary. That hour is where the magic sneaks in.
Step 5: Choose lodging that supports the transition
Where you sleep is what makes Trail + Town feel smooth. The goal is to minimize check-in friction and maximize recovery.
Trail nights: optimize for early starts
- Distance: 10 to 30 minutes from the trailhead beats a “charming” place an hour away.
- Basics that matter: Hot shower, solid breakfast or kitchen, quiet hours.
- Parking: If you are carrying gear, you want an easy load and unload.
Town nights: optimize for walking
- Park once: Pay for a garage if it means you can walk everywhere after.
- Neighborhood feel: Stay where locals actually eat, not just where tour buses stop.
- Noise reality: If you are hiking tomorrow, avoid being directly above nightlife streets unless you love 1 a.m. karaoke.
Step 6: Pack for both dirt and dinner (carry-on mindset)
You do not need two separate wardrobes. You need a system. I am a carry-on-only person because it forces smart choices, but this works even if you have a trunk the size of a small apartment.
The core idea: one outfit does double duty
- Trail base: Moisture-wicking tee or long sleeve in a neutral color.
- Town upgrade: Add a clean overshirt, light sweater, or simple jacket.
- Bottoms: One hike pant that does not scream “summit photo only.”
- Shoes: Trail runners or light hikers + one city shoe (sneaker or simple boot).
My Trail + Town essentials
- Small daypack, reusable water bottle, headlamp
- Light insulation layer and rain shell (even in “good forecast” season)
- Sun protection: hat, sunglasses, sunscreen
- Blister kit: tape, hydrocolloid bandages, tiny scissors
- One compact “town kit”: minimal toiletries, deodorant wipes, and a fresh shirt for dinner
Food strategy that saves money and mood
- Trail breakfast: Something you can eat fast: yogurt, oatmeal, bananas, or breakfast burritos.
- Hike snacks: Salty + sweet + real food (nuts, jerky, fruit, bars).
- Town splurge: Spend your money on a local dinner and a great coffee, not gas station meals that make you sad.
Step 7: Make a two-layer itinerary (fixed anchors + flexible options)
This is the method that keeps you from either overplanning or winging it into disappointment.
Layer 1: Anchor plans (book these)
- Any required trail permits, timed entry, or parking reservations
- Two or three key lodging nights (especially weekends)
- One special town experience: a show, a reservation-worthy restaurant, or a guided food tour
- Rental car and any ferry crossings
Layer 2: Flex plans (choose on the day)
- 2 to 4 alternate hikes at different elevations and aspects (north-facing trails can hold snow longer)
- Town neighborhood list: coffee shops, bookstores, markets, museums, sunset spots
- One “bad weather” plan per hub (sauna, art museum, hot springs, cooking class)
A simple planning worksheet (copy this)
- Hub: ________
- Stay: ________ nights
- Must-do trail: ________ (start time: ________)
- Backup trail: ________
- Town neighborhood: ________
- One reserved experience: ________
- Recovery: laundry or rest block on ________
Step 8: Dial in logistics that people forget
These are the unsexy details that make a trip feel effortless.
Car strategy
- Pick the right vehicle: You do not need 4WD for most paved-road trips, but you do need enough clearance for rough trailhead roads.
- Keep it clean-ish: A cheap tarp or seat cover saves your upholstery after muddy hikes.
- Gas and charging: In rural areas, top off when you hit half a tank. Do not assume the next town has a station.
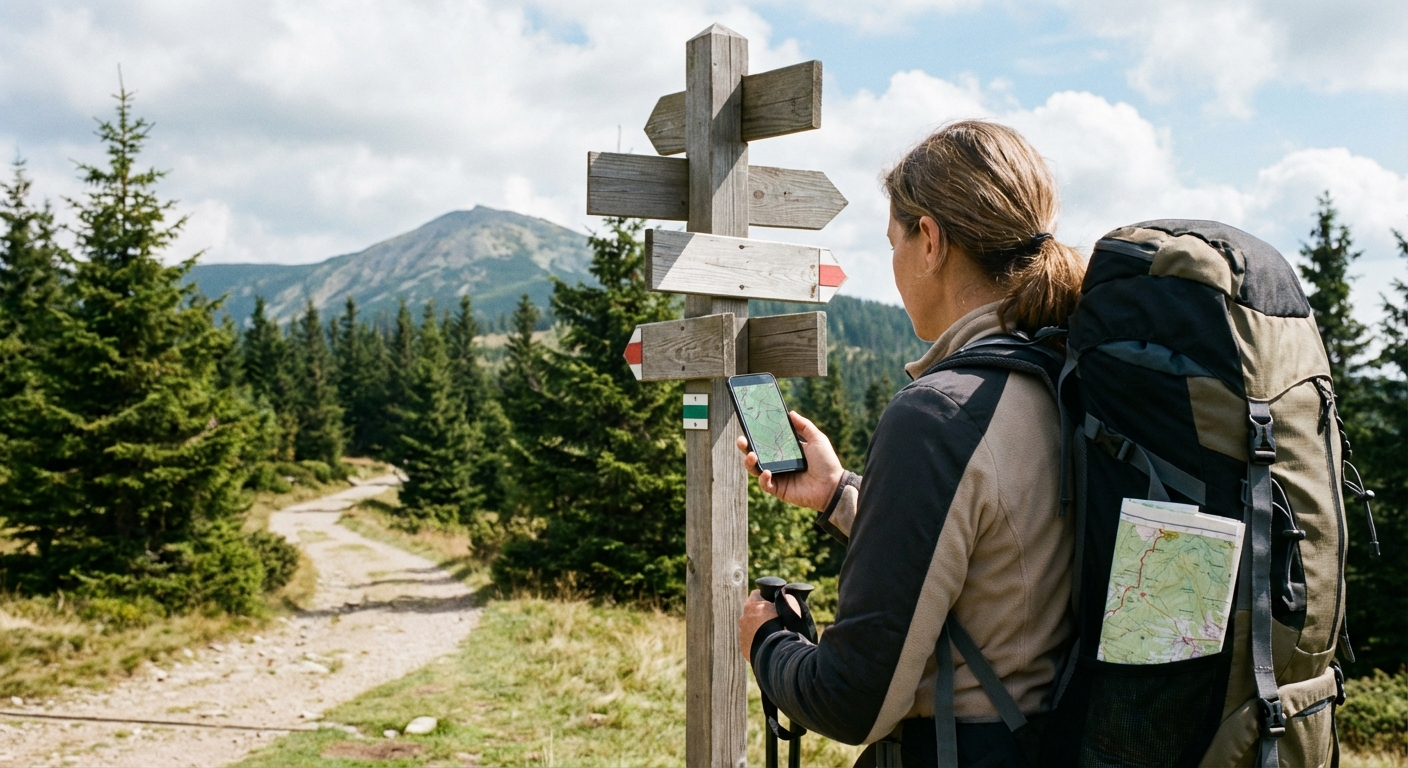
Navigation and signal
- Download offline maps for both your trail app and your main navigation app.
- Screenshot permit confirmations, reservation QR codes, and key addresses.
- Share your itinerary with one person, especially if hiking solo.
Trail safety basics (non-negotiable)
- Check weather and trail conditions the night before and the morning of.
- Know turnaround times and stick to them.
- Carry more water than you think you need.
Step 9: Travel sustainably without making it complicated
Sustainable travel is mostly about doing fewer things better. Trail + Town trips are perfect for this because you can slow down in each hub instead of racing across an entire region.
- Stay longer in fewer places: Two or three hubs beat six one-night stops.
- Shop local: Buy picnic supplies at a neighborhood market, not just highway chains.
- Respect trails: Stay on trail, pack out trash, and follow local guidance on closures and wildlife.
- Choose walkable lodging: In towns, parking once reduces driving and stress.
Two sample Trail + Town frameworks
These are templates you can adapt to almost any region.
Framework A: Weekend (3 days)
- Day 1 (arrival): Drive in, check in, neighborhood walk, early dinner.
- Day 2 (trail): Sunrise hike, afternoon nap or spa, evening food crawl.
- Day 3 (town + exit): Coffee, museum or market, short easy trail or scenic overlook, drive home.
Framework B: One week (7 to 8 days)
- Hub 1 (2 to 3 nights): One big hike, one town day, one flex day.
- Transition day: Scenic drive with two short stops, arrive before dinner.
- Hub 2 (3 to 4 nights): Two hikes at different intensities, one full city day, one buffer day.
My final checklist (the night before you leave)
- Permits and reservations downloaded and screenshotted
- Offline maps saved
- Trailhead start times set with realistic drive time
- One “smoke or storm” backup plan per hub
- Blister kit packed where you can reach it
- One clean town outfit accessible without unpacking the whole bag
- Reusable bottle and snacks ready for Day 1
If you take nothing else from this: plan the anchors, keep the rest flexible, and build your days around how you want to feel, not just what you want to see. Trails will humble you, cities will revive you, and the in-between drives will be where you realize you are doing the trip exactly right.