Plan Your First Multi-Day Backpacking Trip
Maya Lin
Maya Lin is a travel journalist and outdoor enthusiast who believes the best trips combine rugged adventures with urban comforts. After spending six years backpacking across four continents, she founded Trail & Town Guide to help fellow travelers navigate both hidden mountain passes and bustling city neighborhoods with confidence.
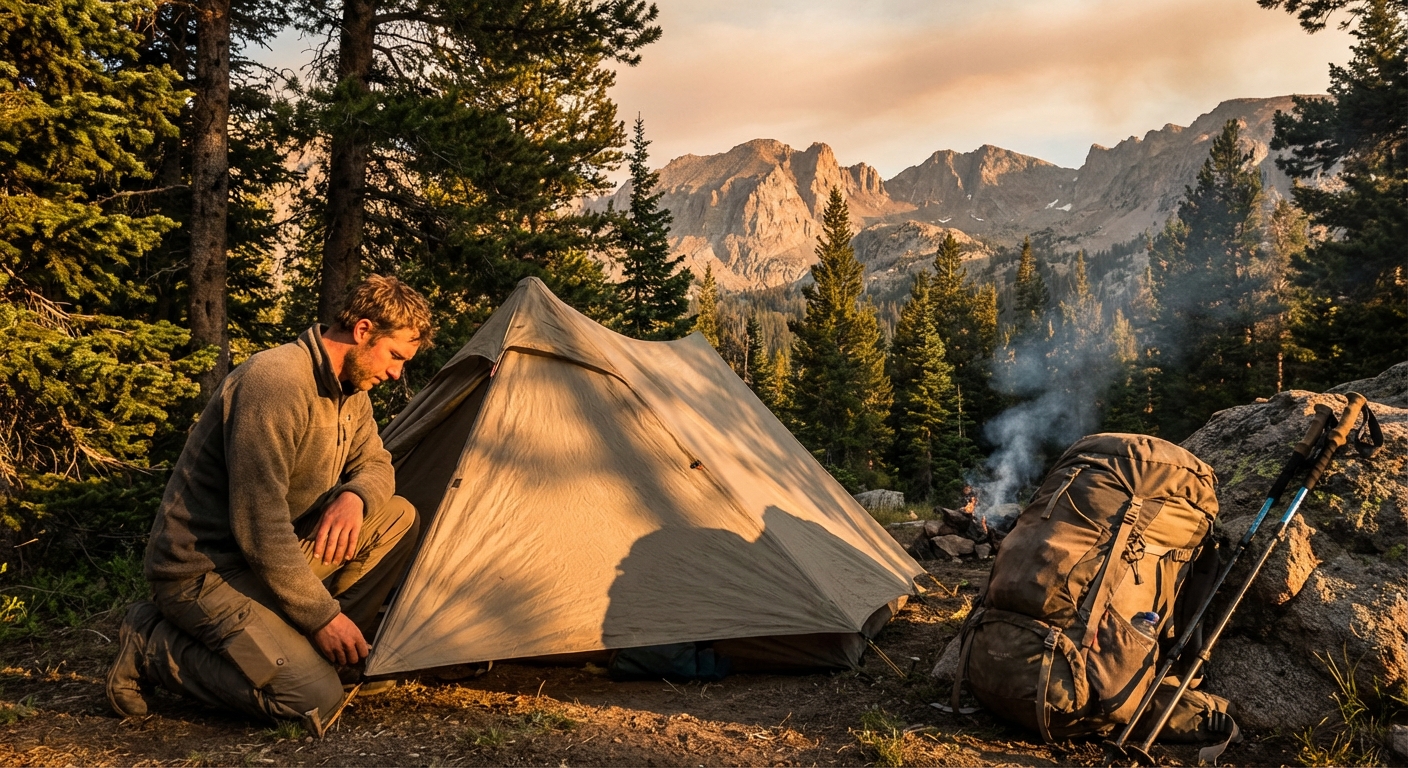
Your first multi-day backpacking trip is a little like your first international layover. The map looks tidy, your optimism is loud, and then reality shows up in the form of a steep climb, a missed turn, or a dinner that tastes like salted cardboard.
The good news: you do not need to be an ultra-runner or a gear wizard to pull off an overnight or a three-day trek. You just need a plan that matches your current fitness, your comfort level, and the on-the-ground rules of the place you are visiting. This guide walks you through the whole process, step by step, with beginner-friendly defaults and a few hard-earned shortcuts.
Step 1: Pick the right first trip
If you choose a trip that is too long or too remote, you will spend the whole time managing stress instead of learning skills. Your first goal is not “epic.” Your first goal is “repeatable.”
Beginner-friendly trip targets
- Length: 1 to 3 nights
- Daily distance: 5 to 8 miles (8 to 13 km) per day if you hike occasionally; 3 to 6 miles (5 to 10 km) if you are brand new
- Elevation gain: Under 2,000 ft (600 m) per day is a great starting point
- Water: Reliable sources on the map, ideally every few miles
- Bailout options: A trail that loops near roads or has clear exit trails
- Season: Shoulder season can be gorgeous, but your first trip is easier in stable summer weather
Choose popular on purpose
For your first outing, a well-traveled trail is a feature, not a flaw. Clear signage, a well-defined path, and nearby help reduce the odds that your learning curve turns into an unplanned night out.
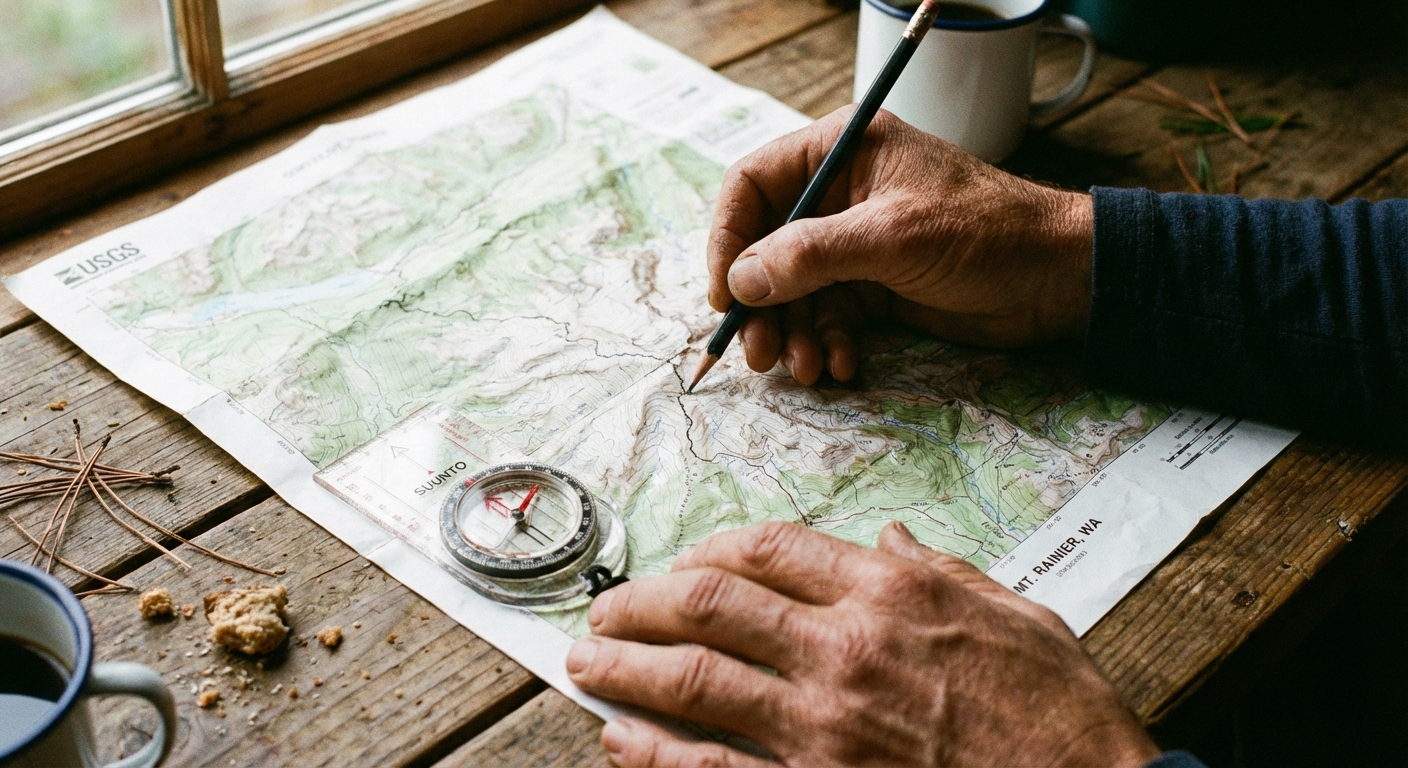
Step 2: Build a route you can actually hike
Route planning is less about drawing a pretty line and more about matching time, terrain, and daylight to your real-life pace.
Start with one map, then verify
Use a primary planning tool, then cross-check with an official source (park website, forest service page, local land manager updates). Trail apps are great, but closures and bridge washouts are not always updated quickly.
- Primary tools: CalTopo, Gaia GPS, AllTrails, official park maps
- Verification: Park alerts pages, ranger station notes, recent trip reports from local hiking groups
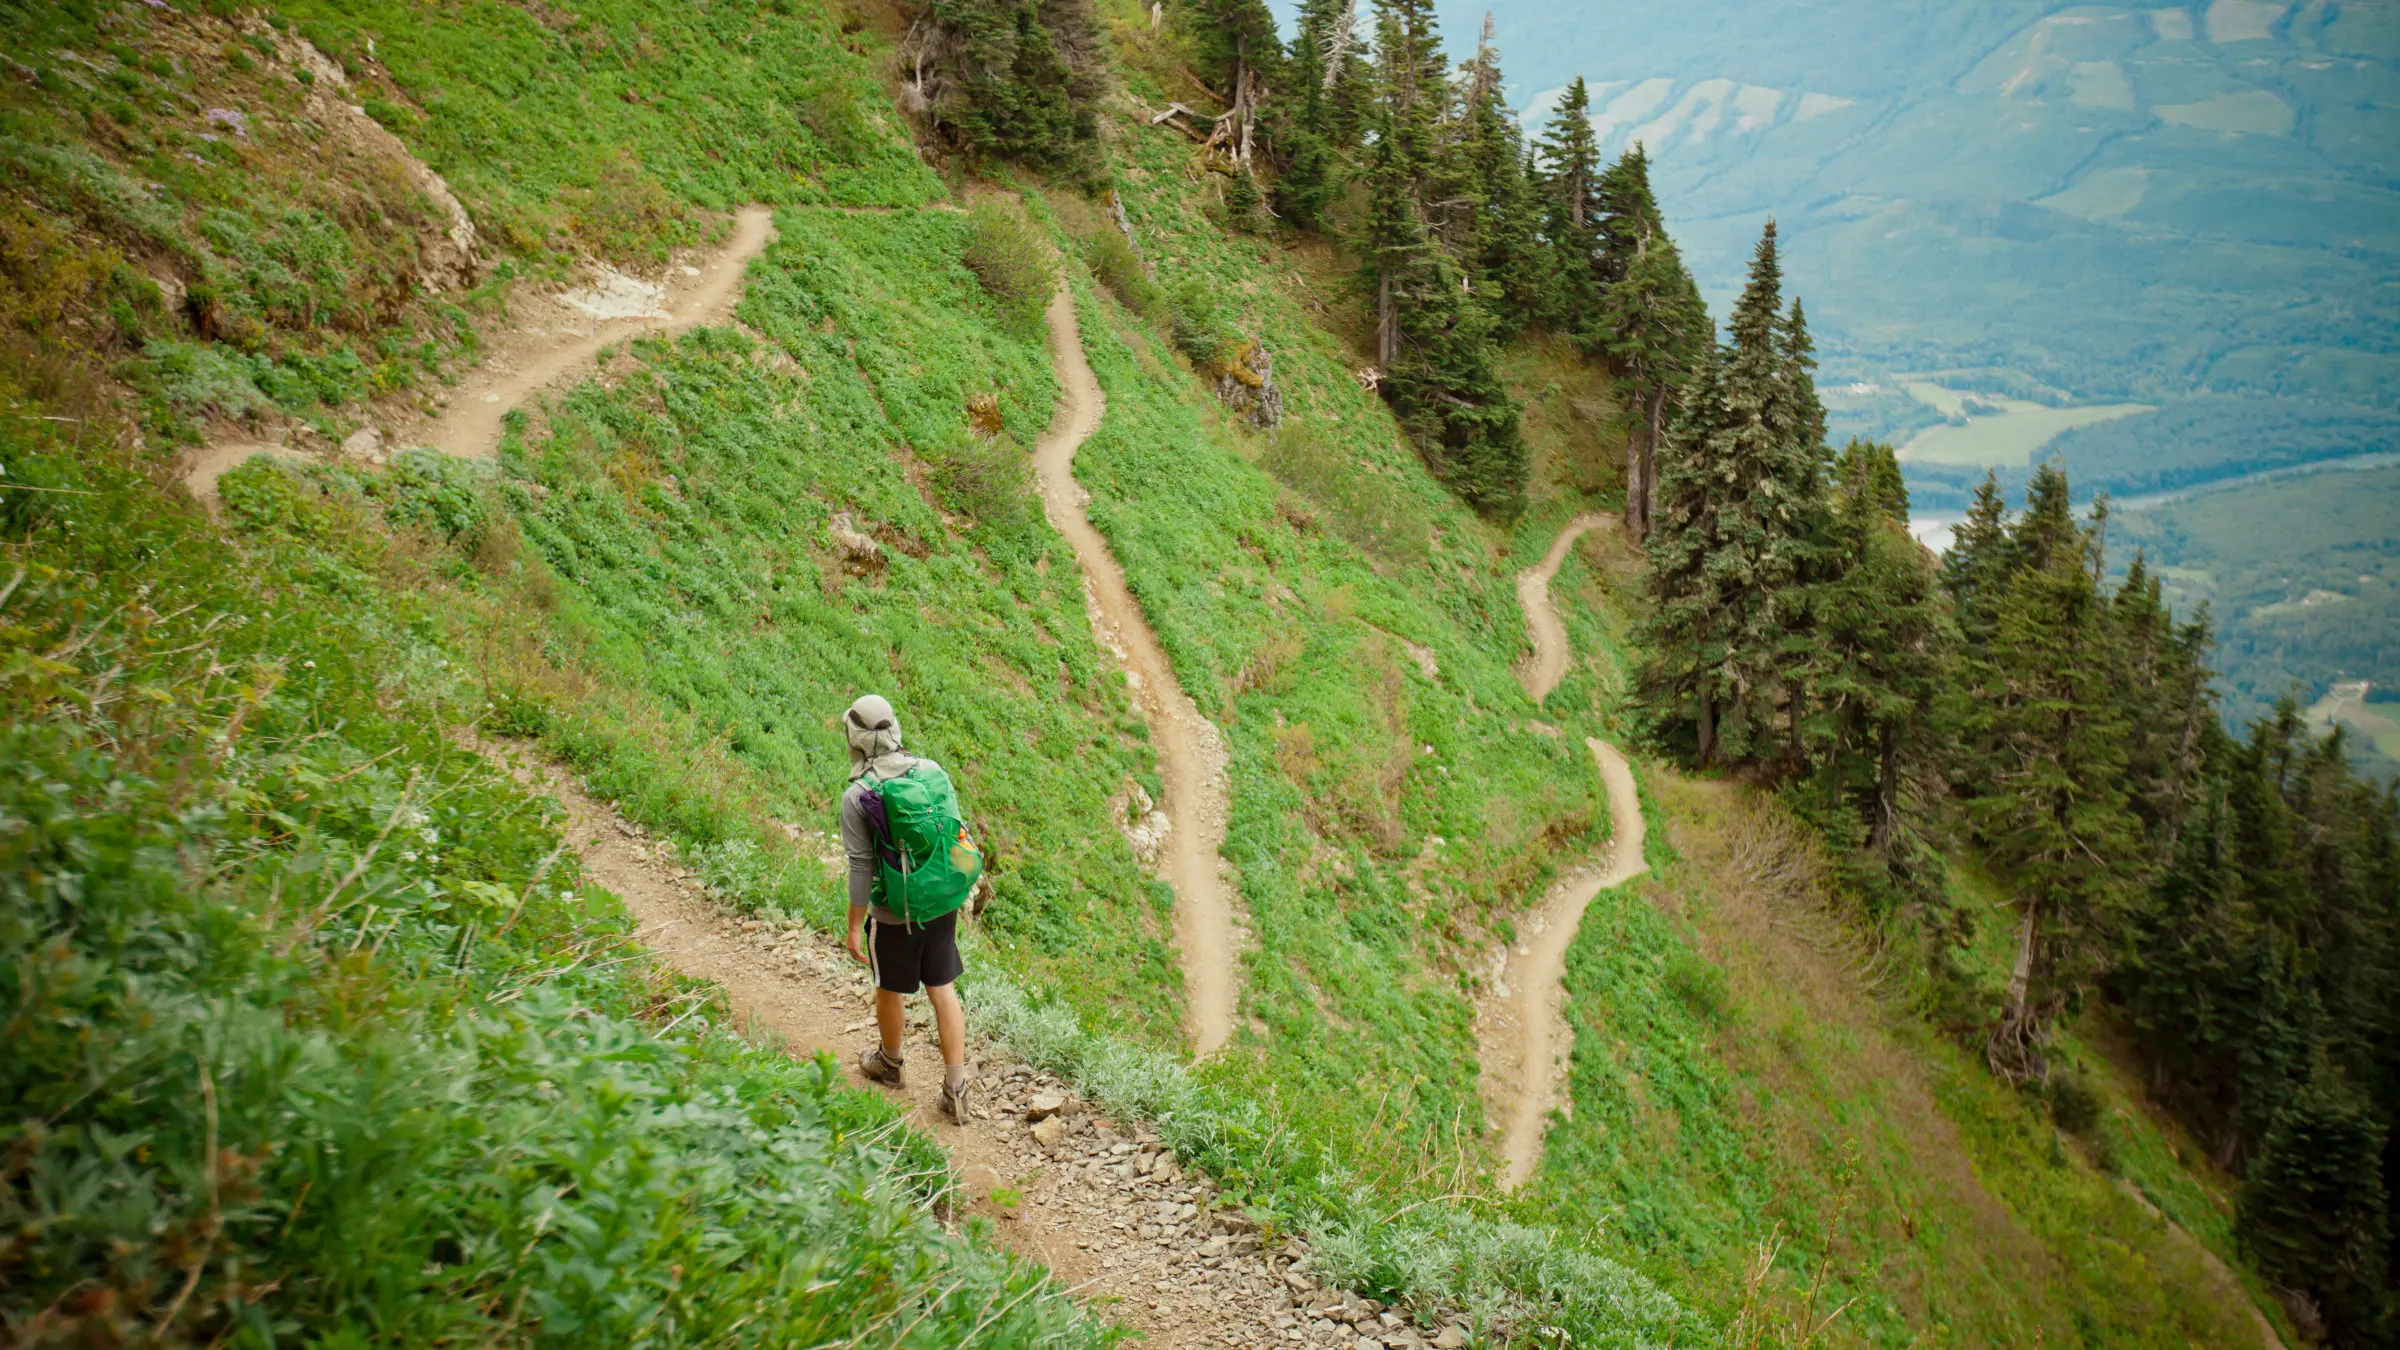
Use a simple pacing estimate
A conservative beginner estimate is: plan about 2 miles per hour (3 km/h) of moving time, then add about 1 hour for every 1,000 ft (300 m) of climbing. Terrain, altitude, heat, and pack weight can swing this a lot, especially on rocky descents or in mud.
Example: 7 miles with 1,500 ft of gain. Rough time estimate: 7/2 = 3.5 hours, plus 1.5 hours for climbing. Total: about 5 hours of hiking time, before breaks.
Design days around camps
Identify legal campsites first, then fit your daily distance around them. Many areas restrict camping to designated sites or require minimum distances from water and trails.
Step 3: Permits, reservations, and trail rules
Permits can feel like the least romantic part of backpacking. They are also the reason many wild places are still wild. Start this step early, especially for national parks and popular wilderness areas.
Common permit systems
- Quota permits: Limited number of overnight users per trailhead or zone, often reserved months ahead
- Designated camps: You must camp in specific sites that you reserve
- Self-issue permits: Fill out a form at a kiosk and carry it with you
- Wilderness permits plus fees: Some areas require both a permit and an overnight fee
Rules to check before you go
- Bear canister requirements: Mandatory in some parks and regions, even if you own a bear hang setup
- Campfire rules: Seasonal bans are common; some zones never allow fires
- Group size limits: Especially in wilderness areas
- Dogs: Often prohibited in national parks backcountry and some protected zones
- Bathroom rules: Some areas require pack-out systems (wag bags) instead of catholes
If you are unsure about one rule, call the ranger station. A two-minute conversation can save your whole trip.
Step 4: Plan your days like a calm, competent person
The difference between a fun trip and a slog is usually not fitness. It is day structure. I like plans that leave room for slow coffee, long views, and one wrong turn without panic.
A pacing plan that works
- Start hiking early: Aim to be moving within an hour of waking
- Take short breaks: 5 minutes every hour beats one long collapse break
- Arrive at camp with daylight: Target 2 to 3 hours before sunset
- Build in a buffer day: If you can, keep day 2 lighter or plan a shorter last day
Set a realistic daily max
On your first trip, avoid stacking big miles and big elevation on the same day. If the map says 10 miles with 3,500 ft of gain, your body will still be paying for it on day two. This is how small blisters become large life decisions.
Step 5: Pack the essentials (and skip the rest)
Carry-on only is my default in cities, and the same philosophy makes backpacking better: bring what you need, not what you fear. For beginners, the biggest mistake is overpacking “just in case” items, then underpacking warmth, water strategy, or calories.
The core systems checklist
- Shelter: Tent, tarp, or hammock system plus stakes and guylines
- Sleep: Sleeping bag or quilt rated for the expected low, sleeping pad, and a simple pillow solution
- Water: Filter or purifier, two 1-liter bottles or a bladder, and a plan for refills
- Food: Meals plus snacks, and a secure storage method (bear canister or hang system as required)
- Navigation: Offline maps on your phone plus a backup (paper map, compass)
- Safety: Headlamp, first aid, repair tape or patch kit (Tenacious Tape, duct tape wrap, sleeping pad patch), fire starter, whistle
- Bathroom kit: Trowel, toilet paper or wipes (pack out wipes), hand sanitizer, and a small zip bag for packing out used paper where required
- Layers: Insulation layer, rain layer, and a warm hat even in summer
Pack weight targets
If you want a sanity check, many beginners are happiest around 15 to 25 percent of body weight. Try to stay under about 25 to 30 percent if you can, especially if you are smaller-framed or new to carrying weight. If you can safely go lighter, your knees will not complain about it.
Test-pack at home
Do one full pack and unpack on your living room floor, then take a 30-minute walk with your loaded pack. Adjust fit. Notice hot spots. This is the easiest place to learn what your body will complain about.
If you can swing it, do a local overnight test run close to the car before you commit to a more complicated route. It is the lowest-stakes way to learn your stove, your sleep system, and your personal tolerance for “Is that a raccoon or just my imagination?”
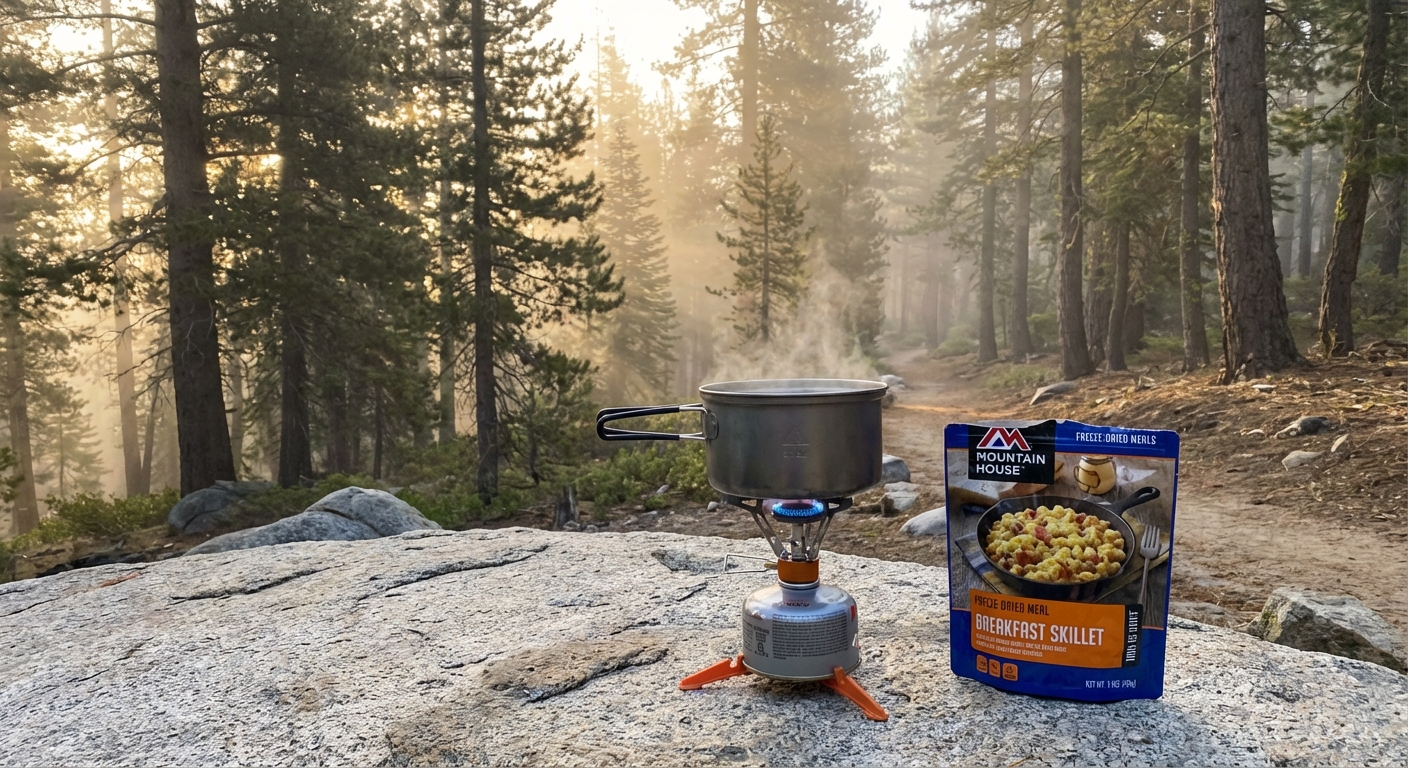
Step 6: Food planning and simple trail meal prep
Food is morale. Morale is mileage. You do not need gourmet, but you do need enough calories and enough salt to keep your body functioning and your mood stable.
How much food to bring
Most backpackers burn more than they expect. A practical starting point for many people is about 2,500 to 3,500 calories per day, and more if it is cold, steep, or long. Larger bodies and harder days can easily push that higher. If you are unsure, bring extra snacks and an electrolyte option. Snacks are lighter than suffering.
A foolproof meal structure
- Breakfast: Fast, warm if possible (oats, instant grits, or granola plus powdered milk)
- Trail snacks: Eat every 60 to 90 minutes (nuts, bars, dried fruit, jerky)
- Lunch: No-cook or minimal prep (tortillas with tuna or nut butter, cheese, crackers)
- Dinner: One-pot or boil-water meals (rice sides, ramen upgraded with protein, dehydrated meals)
Beginner meal ideas that taste like real food
- Ramen upgrade: Ramen + foil pouch chicken + dehydrated veggies + sesame oil packet
- Couscous bowl: Couscous + olive oil + chickpeas + dried herbs + sun-dried tomatoes
- Instant mash dinner: Instant potatoes + gravy packet + jerky chopped small
- Oatmeal that does not feel sad: Oats + peanut butter + cinnamon + dried banana
Pack food like a system
- Pre-portion meals into bags at home so you are not guessing on trail
- Put one full day of snacks in an easy-access pocket
- Label dinner bags with cooking instructions if you are new to your stove
- Bring one bonus treat like chocolate or instant cocoa for night one
Step 7: Water, weather, bathroom, and safety
These are the unglamorous details that keep a beginner trip comfortable and, more importantly, safe.
Water strategy
- Know your sources: Mark streams and lakes on your map and note long dry stretches
- Treat unless marked potable: Filter, purify, or boil, even if it looks pristine, unless the source is clearly signed or listed as treated drinking water
- Carry enough between sources: In hot or exposed terrain, you may need 2 to 3 liters at a time
Weather strategy
- Check the forecast for the nearest high-elevation point, not just the town
- Pack for nighttime lows, which can surprise you even in summer
- If storms are likely, plan earlier starts and avoid exposed ridgelines in the afternoon (lightning does not negotiate)
Bathroom logistics (the part everyone worries about)
This is normal first-trip anxiety. A simple plan fixes it.
- Know the rule: Some places require wag bags or pack-out systems. Follow local guidance even if you have a trowel.
- When catholes are allowed: Walk 200 feet (about 70 big steps) from water, trails, and camp. Dig a cathole 6 to 8 inches (15 to 20 cm) deep. Do your business, cover it completely, and disguise the spot with natural material.
- Pack out trash: Pack out toilet paper where required (and honestly, it is a good habit anywhere). Pack out wipes always.
- Wash hands: Use sanitizer or soap and water (again 200 feet from water), because “stomach bug” is the least romantic trail souvenir.
Safety habits worth adopting
- Tell a friend your route and when you expect to be out
- Carry a headlamp even for short days
- Know basic blister care and treat hot spots immediately
- Practice Leave No Trace: camp on durable surfaces, keep camps away from water per local guidance, pack out trash and food scraps, and respect wildlife distance
- For remote routes, consider a satellite messenger or PLB. You are not being dramatic, you are being efficient.
Step 8: The night-before checklist
This is where first trips often wobble. A calm 20-minute checklist beats frantic packing at 5 a.m.
- Download offline maps and confirm your phone is on low-power settings
- Print or screenshot permit details and any reservation codes
- Charge headlamp, phone, and battery bank
- Pack food so day one snacks are on top
- Confirm bear canister or hang kit is packed if required
- Confirm your bathroom kit is packed (trowel, paper plan, sanitizer)
- Set out clothes for the drive or shuttle
- Do one last weather check
Step 9: On-trail routine for your first multi-day trip
A steady routine is the secret sauce. It keeps you fueled, keeps your feet happy, and makes camp feel like a reward instead of a second job.
Morning
- Eat before you pack up, even if it is small
- Pack the same way every day so you can find things
- Start cool, not bundled. You will warm up fast
During the hike
- Snack early and often
- Drink consistently rather than chugging at breaks
- Stop to adjust layers before you are sweaty or chilled
At camp
- Set up shelter first if weather looks questionable
- Filter water before you are tired and grumpy
- Do food storage immediately after dinner
- Keep your sleep clothes dry and separate
Common beginner mistakes
- Planning miles like a day hike: Backpack weight and consecutive days change everything. Start shorter.
- Ignoring elevation: A “short” day with big climbs can feel like a marathon.
- Not testing gear: Set up your shelter once at home. Light your stove once. Learn now, not in wind.
- Bringing too little food: Hunger makes navigation sloppy and decisions worse. Pack extra snacks.
- Waiting to treat blisters: Hot spot equals stop now. Ten minutes of care saves your trip.
- Forgetting bathroom logistics: Know the local rules, carry a trowel or wag bag system, and keep it 200 feet from water.
A simple first-trip plan you can copy
If you want a template, here is a structure that works in most trail systems with established camps.
2 nights, 3 days
- Day 1: 5 to 7 miles to a campsite near reliable water
- Day 2: 4 to 7 miles, ideally a scenic day with time for exploring without a heavy push
- Day 3: 3 to 6 miles out, with a relaxed morning
After that, you can scale up by one variable at a time: longer distance, more elevation, higher altitude, or more remote terrain. Not all at once.
Final pep talk
The best first backpacking trips end with two feelings: tired legs and a clear sense that you could do it again, maybe with slightly better coffee and slightly fewer “why did I pack this” items.
Keep it simple. Respect permits and local rules. Plan conservative days. Eat more than you think you need. Then, when you get back to town, celebrate properly. Ideally with a shower that feels like a religious experience and the nearest local cafe that takes pastries seriously.
