Rio Grande del Norte: Gorge Bridge Views and West Rim Trail

Maya Lin
Maya Lin is a travel journalist and outdoor enthusiast who believes the best trips combine rugged adventures with urban comforts. After spending six years backpacking across four continents, she founded Trail & Town Guide to help fellow travelers navigate both hidden mountain passes and bustling city neighborhoods with confidence.
If you are road-tripping between Santa Fe and Taos, the Rio Grande Gorge Bridge is the kind of stop that can be a five-minute wow or a full, windblown mini-adventure. The trick is knowing which rim you are on, what the light is doing in the canyon, and how much energy you have at about 7,000 feet.
Below is a simple game plan for bridge views from the west rim and a short hike option on the West Rim Trail, with a few practical cautions that matter out here, especially gusts and altitude.
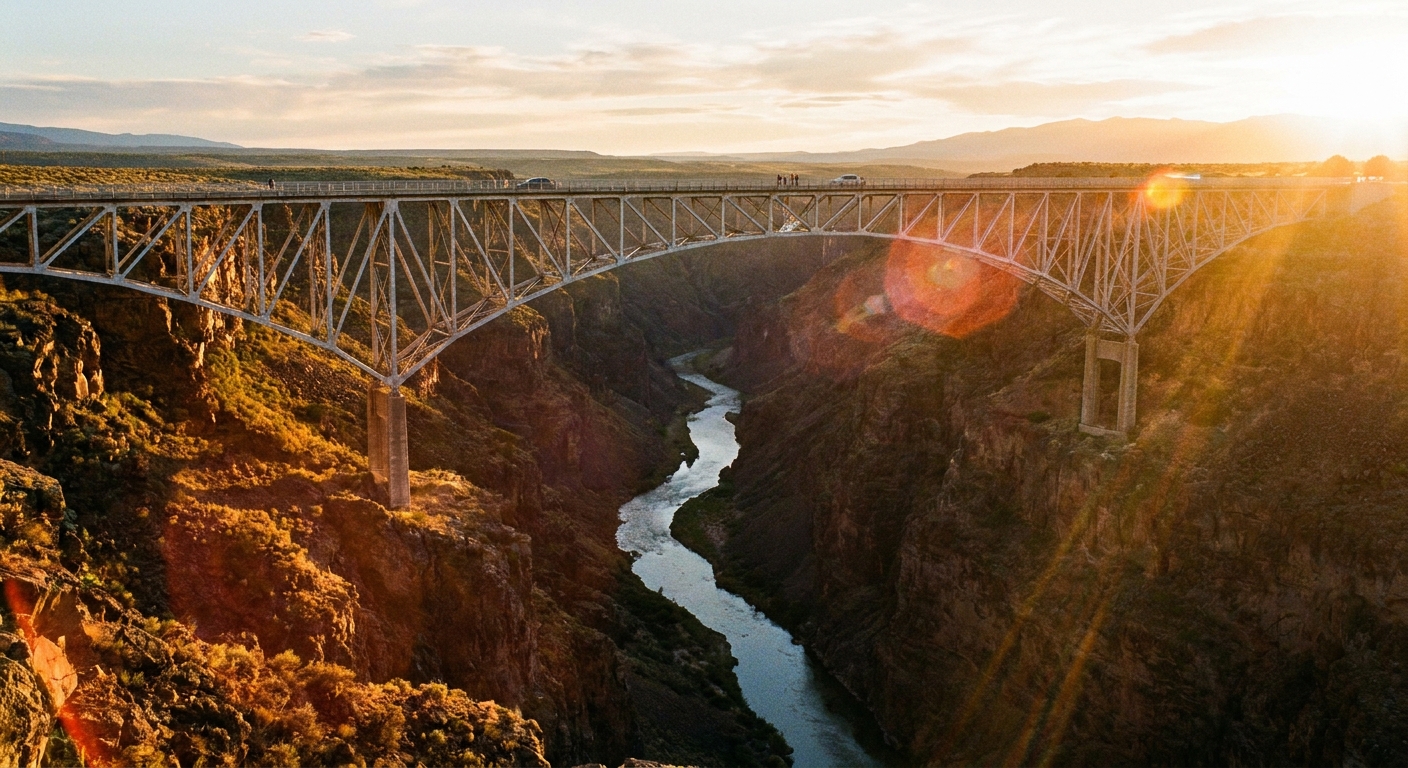
Quick orientation
The Rio Grande Gorge cuts a dramatic trench just west of Taos. The Rio Grande Gorge Bridge sits in the state park style overlook area (often referred to as Rio Grande Gorge Park), and it also overlooks landscapes that connect into the broader Rio Grande del Norte National Monument region managed by the BLM. In other words, you are at an easy, front-row viewpoint to a much bigger protected area, even if the boundary lines on a map get a little wonky.
- West rim: Where the bridge, main parking areas, and most “pull over for views” spots are. This is also where the signed West Rim Trail access begins.
- East side: More dispersed-feeling access points and trailheads. Think quieter walks and a little more navigation.
- West Rim Trail: A scenic high-desert rim walk that you can hop onto right from the bridge area if you want more than a guardrail viewpoint.
West rim
Where to park
The bridge area has designated lots and pull-offs on the west rim. On busy weekends, they fill quickly, and cars tend to circle while waiting for a spot to open. If you can, aim for earlier in the day or closer to golden hour when day-trippers start drifting back toward town.
- Main bridge lots: Easiest access to the sidewalks across the bridge and the classic straight-down gorge views.
- Rim pull-offs: Great for slightly different angles and quick photos without walking the full span.
Restrooms and basics
There are restrooms at the bridge area facilities, but do not count on cell service for last-minute planning. Treat it like you are heading into open country and get your info sorted in Taos first.
Accessibility notes
The bridge has pedestrian sidewalks, so you can get big views with minimal walking. Conditions change with weather and crowds, so if you are visiting with mobility needs, plan for wind exposure and narrow pinch points where people stop for photos.
Best time for photos
Light and breeze are the two bosses here.
- Morning: Crisp air, clearer visibility, and often calmer conditions. Great for sharp, contrasty canyon textures.
- Late afternoon to sunset: Warmer, more dramatic light on the rim and bridge. This is my favorite for “this place is unreal” depth.
- Midday: Bright and harsh, but still worth it if it is your only window. You will just work a little harder to avoid blown highlights and deep shadows in the gorge.
How long to budget
This is where most itineraries go sideways, because the bridge looks like a quick stop but the views keep pulling you back for “one more” angle.
- Fast stop (10 to 20 minutes): Park, step onto the bridge sidewalk, take a few photos, and go.
- Photo-forward stop (30 to 60 minutes): Walk partway across and back, try multiple viewpoints from both ends, wait for clouds to shift, and let your nerves settle if you are not thrilled about heights.
- Slow, soak-it-in stop (60 to 90 minutes): Add a short rim walk, sit with a coffee, and watch the light change in the gorge.
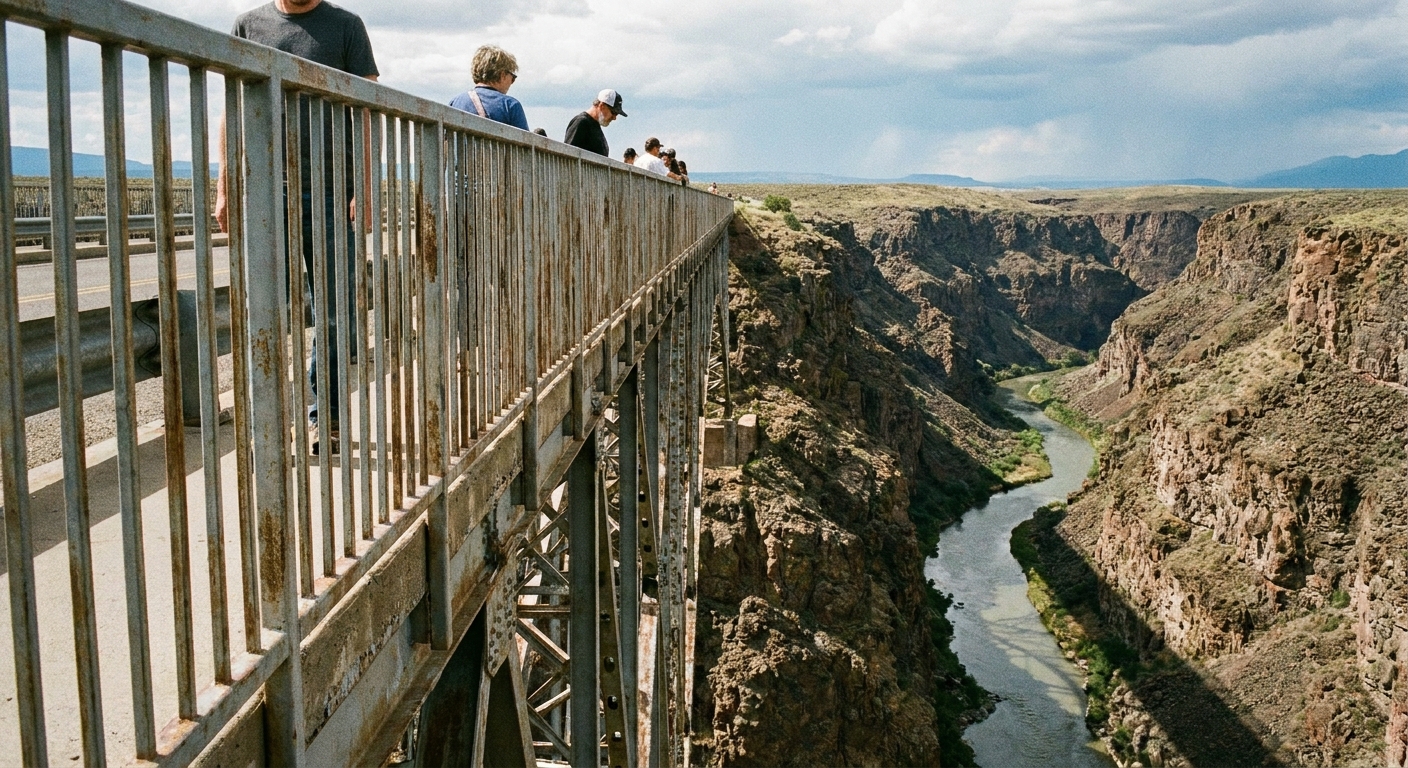
Wind and altitude
Breeze on the bridge
Gusts can be intense and unpredictable on the exposed span. If you are visiting with kids, a tripod, or a brimmed hat you actually like, plan accordingly.
- Hold onto phones and cameras. Sudden gusts are no joke.
- Tripod users: Keep legs low and weighted. Better yet, shoot handheld and stabilize with the rail only if it is safe and allowed.
- Heights plus gusts: If you feel wobbly, step back from the edge, breathe, and focus on the horizon. You do not need to “prove” anything here.
Altitude reality check
Taos sits at about 7,000 feet (roughly 6,970), and the rim can feel deceptively dry. If you just came up from Santa Fe or lower elevations, you may notice the difference.
- Drink water before you feel thirsty.
- Take the first uphill of any hike slower than your ego wants.
- Bring a layer, even in summer. Exposure makes temperatures feel cooler fast.
East-side basics
The east side of the gorge area tends to feel less “park-and-peek” and more like Northern New Mexico open space. Trailheads and access points can be more dispersed, services are limited, and coverage can be spotty.
- Download offline maps before you leave Taos.
- Start with a clear plan: know your turnaround time and do not rely on “we will figure it out out there” if weather is building.
- Pack basics: water, sun protection, snacks, and a light shell even for short walks.
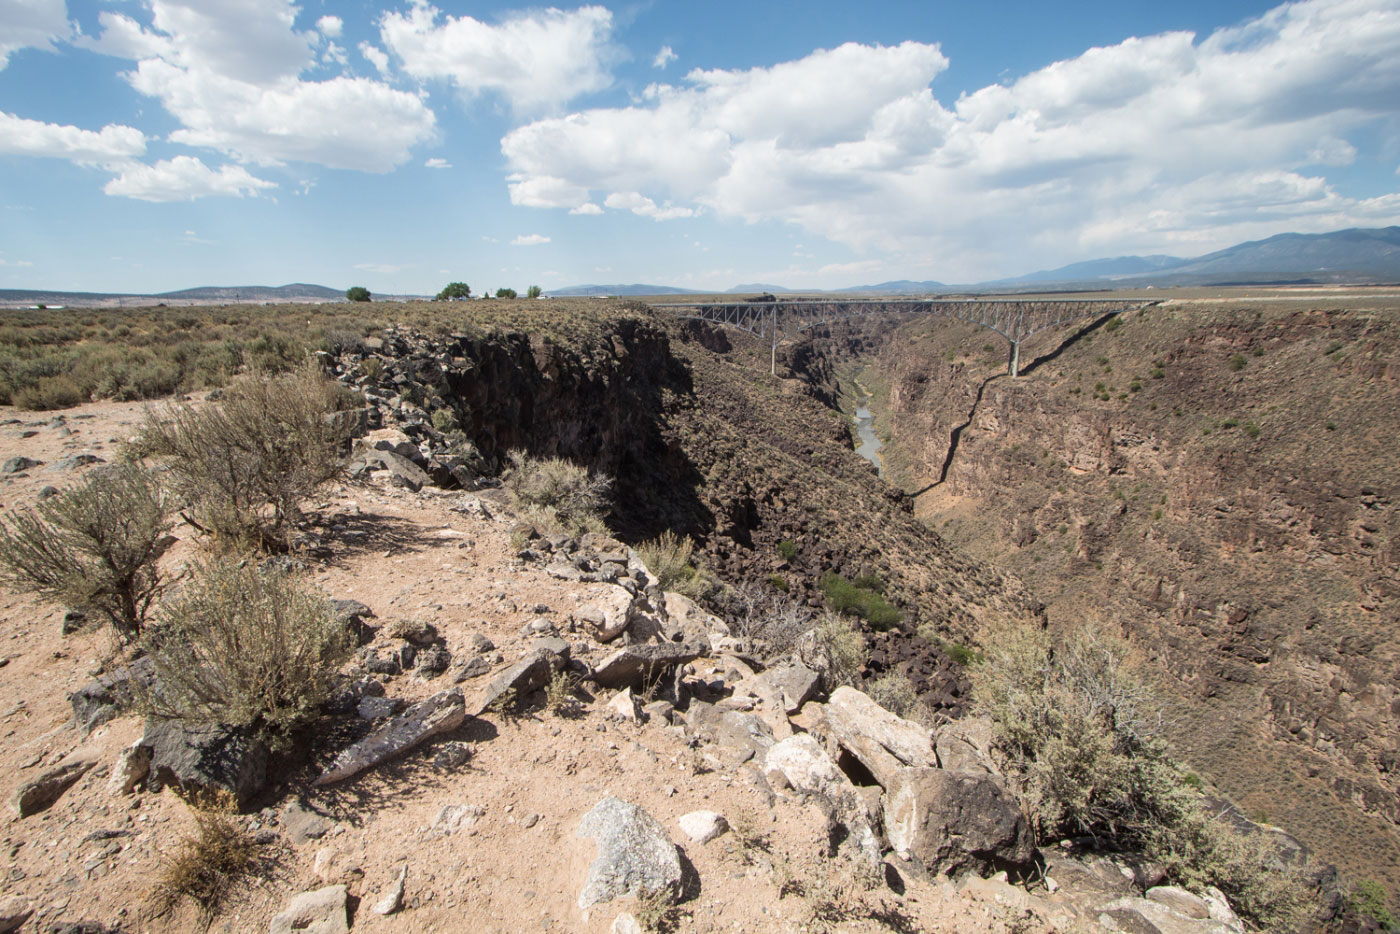
West Rim Trail
If the bridge stop is all adrenaline and angles, the West Rim Trail is the palate cleanser. It connects right to the bridge area on the west side, which means you can go from “wow” to “walk it off” in minutes, no extra driving required.
Where to start
From the main west-side parking and overlook area near the bridge, look for signage for the rim trail and follow the well-worn path heading along the canyon edge. If signage is limited on the day you visit, the simplest approach is to start from the bridge area and walk the obvious rim route away from the crowds, then turn around whenever it feels right.
What the walk is like
Expect classic high desert rim country: sun, exposure, big views, and that steady reminder that you are moving at altitude. The footing is generally straightforward, but the edge is real, so stay aware, especially with kids or dogs.
- Difficulty: Easy to moderate, mostly because of exposure and elevation rather than technical footing.
- Shade: Limited. Bring sun protection and start earlier on hot days.
- Wildlife: You may see birds of prey riding thermals over the gorge. Give all animals space and keep dogs under control where allowed.
Distance and time
You do not need a full half-day to make it worthwhile. A simple out-and-back of about 1 to 3 miles fits most people’s schedules and still delivers that “quiet rim” feeling.
- Trail taste (30 to 60 minutes): Walk out to a satisfying viewpoint, then turn around before sun and gusts start bossing you around.
- Solid stroll (60 to 120 minutes): Enough time to settle into a rhythm, take photos, and find a quieter stretch away from the bridge crowds.
My favorite combo: Golden hour at the bridge for photos, then a West Rim Trail walk on a calmer morning when you want the gorge without the peak-time bustle.
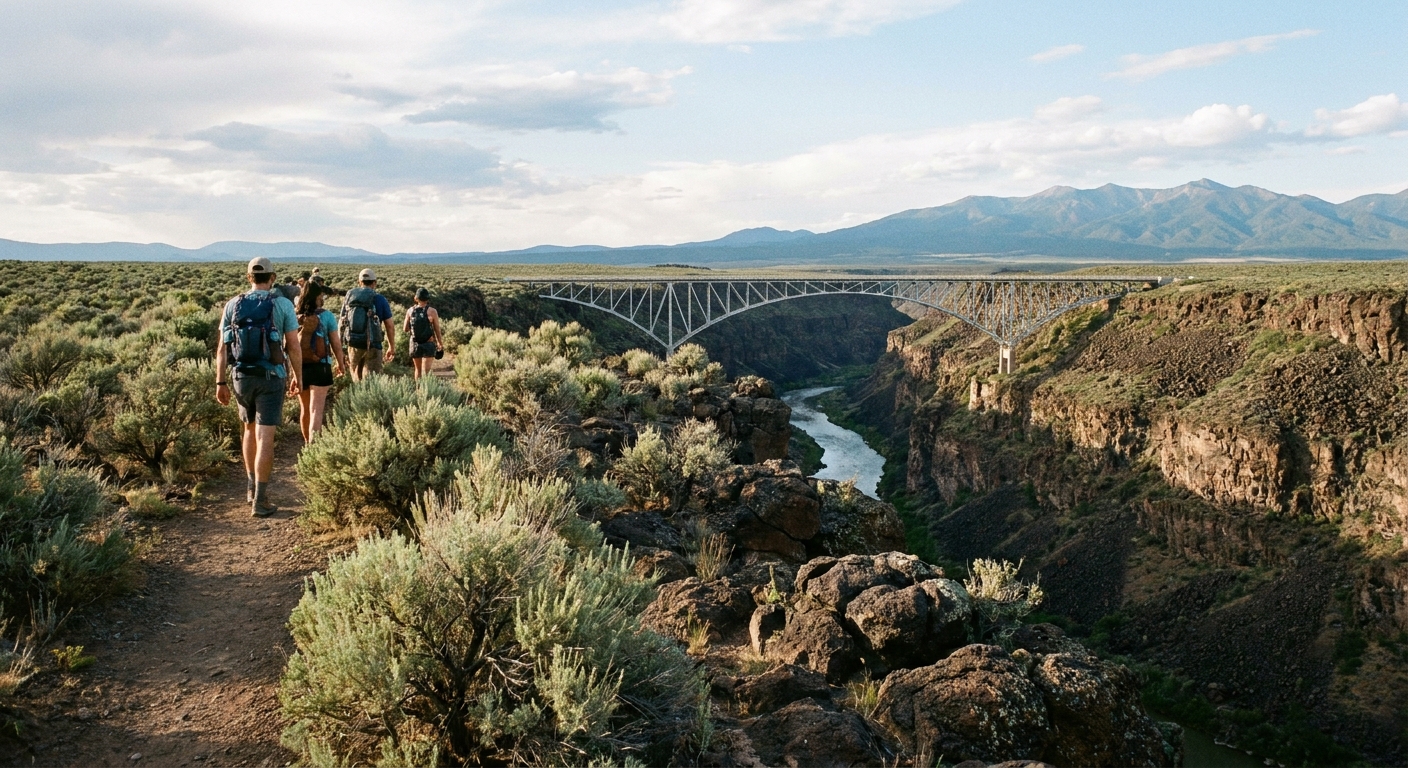
Respectful visiting
This corner of Northern New Mexico is not just scenic. It is culturally alive. Taos Pueblo is a living community with deep history and ongoing traditions, and the wider region includes areas where visitors should be especially mindful.
- Stay on established routes and obey posted signs. If an area is marked closed or restricted, treat it as non-negotiable.
- Leave no trace: pack out trash, avoid trampling fragile plants, and do not build rock stacks.
- Photography: Be respectful around communities and cultural sites. When in doubt, ask or refrain.
- Noise: Sound travels in open canyon country. Keep music off speakers and let the place be what it is.
Travel tip from someone who has learned this the hard way: a respectful, low-impact visit is not just ethical. It usually leads to a better experience, fewer conflicts, and a deeper sense of place.
Pick your itinerary
Option A: The bridge stop
- Total time: 20 to 60 minutes
- Best for: Road-trippers, families, sunset chasers, anyone easing into Taos
- Do not skip: Walking at least partway onto the bridge for the full “floating over the gorge” feeling
Option B: Bridge plus West Rim Trail
- Total time: 1.5 to 3 hours
- Best for: Travelers who want one leg-stretching walk without giving up dinner reservations in town
- Do not skip: Water and a light shell, even if the forecast looks calm in Taos
Option C: Photo-first bridge session
- Total time: 60 to 90 minutes
- Best for: Photographers and anyone who loves watching light move across a landscape
- Do not skip: Patience for gusty moments and space at the railing, especially near sunset
What to bring
- Water bottle or hydration bladder
- Light shell or wind layer
- Sun protection: hat, sunglasses, sunscreen
- Snacks, especially if you are walking the rim
- Closed-toe shoes with decent grip
- Phone with offline maps downloaded
- Camera or binoculars if you love details in the canyon
If you have extra room, toss in a small thermos of coffee. The bridge is one of those places where a warm sip makes you slow down and actually look.