The Layering Masterclass
Maya Lin
Maya Lin is a travel journalist and outdoor enthusiast who believes the best trips combine rugged adventures with urban comforts. After spending six years backpacking across four continents, she founded Trail & Town Guide to help fellow travelers navigate both hidden mountain passes and bustling city neighborhoods with confidence.
I used to pack for winter like I was preparing for a three-day blizzard, even if I was just going to a cold city with a one-day hike on the side. The result was always the same: a suitcase that weighed a ton, outfits that still somehow felt wrong, and a sinking realization that “warm” isn't the same thing as “wearable.”
Layering fixes that. Not in a gear-nerd way, but in a real travel way: you bring fewer pieces, you stay warmer, and you can pivot from a windy lookout point to a candlelit neighborhood dinner without looking like you escaped from a sleeping bag.
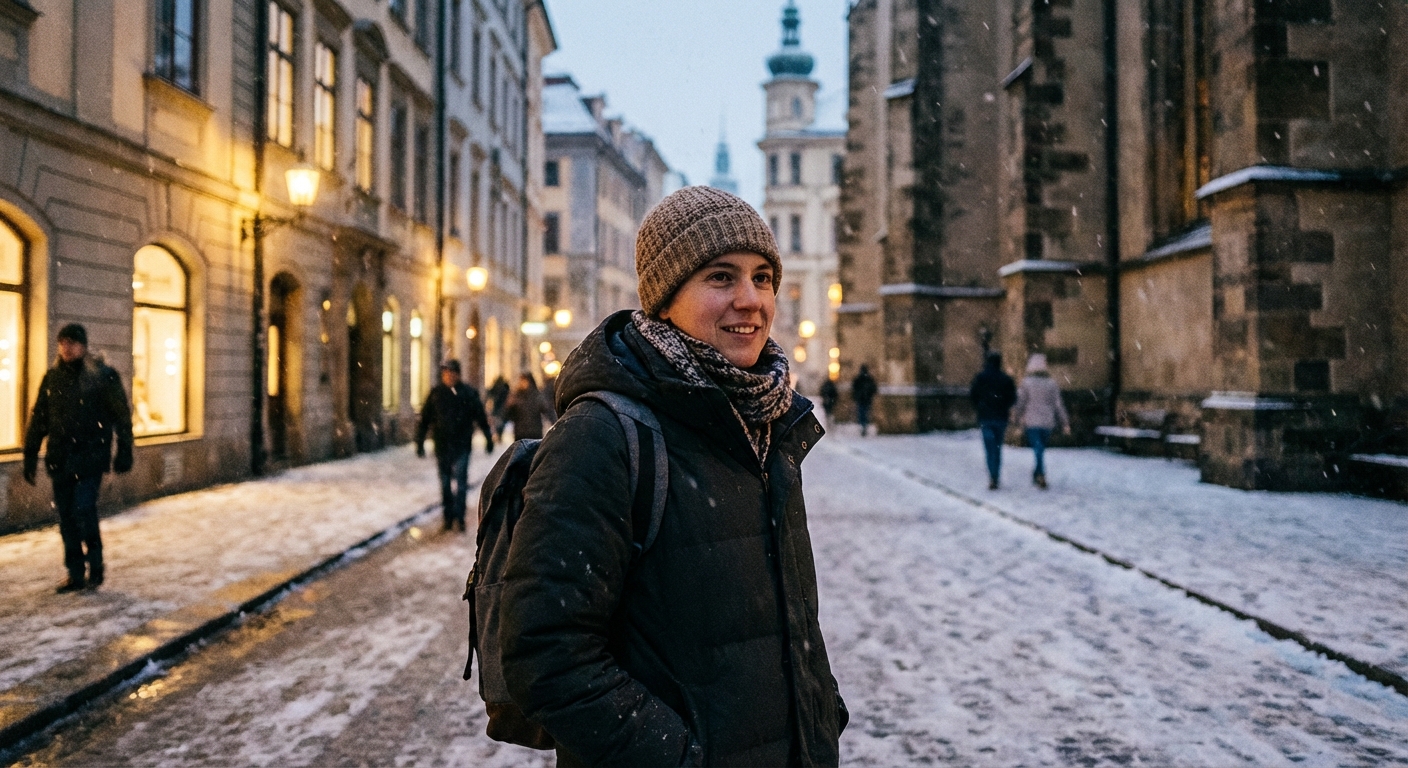
This is the cold-weather packing system I use for carry-on-only trips where the itinerary includes both freezing trail conditions and chilly urban environments.
Quick context: This system shines for typical winter travel, roughly 20 to 40°F (-6 to 4°C) with wind and occasional snow. If you're heading into below 10°F (-12°C) territory or you’ll be standing around outside for long stretches, jump to the Extreme cold notes section so you don't under-pack warmth.
The basics (plain English)
Your body loses heat in a few main ways, and every layer you wear is basically answering one question:
- Evaporation (sweat): Are you sweating and then getting chilled?
- Convection: Is wind stealing your warmth?
- Conduction: Are cold surfaces, wet fabric, or snow pulling heat away?
- Radiation: Are you simply losing body heat to the environment?
The goal isn't “thick.” The goal is a flexible system that manages sweat, traps warm air, and blocks wind and precipitation. That's base layer, mid layer, and outer layer.
One more science-y thing that matters: if your layers are too tight, you squeeze out the warm air you're trying to trap. Warmth likes a little breathing room.
Cold-weather travel gets easy when every item has a job and layers can swap roles.
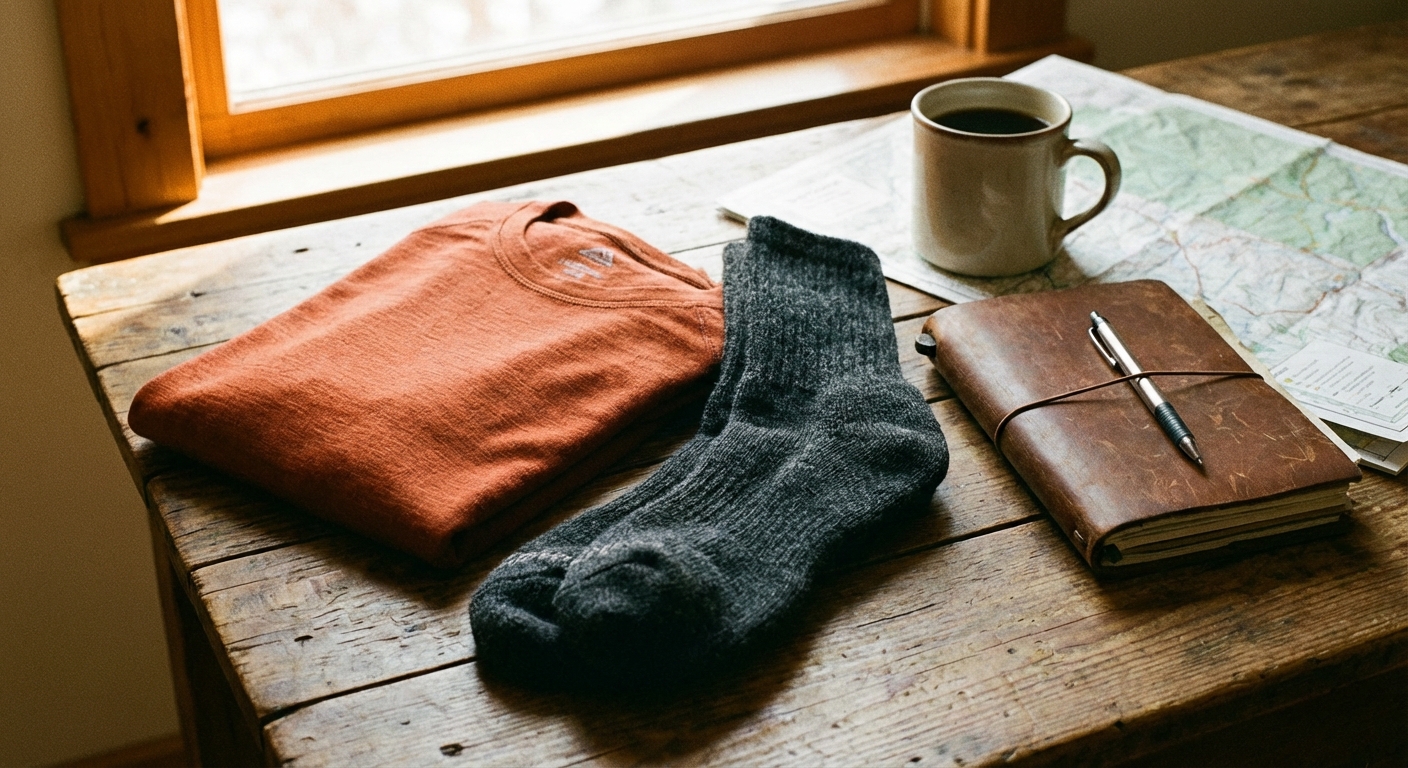
Base layers
Your base layer sits against your skin. Its whole purpose is to move sweat away so you don't get that damp, icy feeling the moment you stop walking.
What to look for
- Merino wool: My top pick for travel. It resists odor, regulates temperature well, and works across a wider range of conditions than most synthetics.
- Synthetic (polyester blends): Dries fast and is often cheaper. It can hold odor more, which matters on longer trips.
- Silk: Packs small and feels great, but it's less durable and not ideal for sweaty hikes.
What to avoid
Cotton. In cold weather, cotton is a sponge. Once it's wet, it dries slowly. That's how “a cute long-sleeve tee” becomes “why am I shivering indoors.”
My minimalist base layer set for most winter trips
- 2 long-sleeve base tops (one worn, one packed)
- 1 base bottom (only essential if you'll be outside for long stretches or temperatures are consistently below freezing)
- 3 to 4 pairs of wool socks (rotate, air out, repeat)
- 1 to 2 pairs of underwear that dry quickly (merino or synthetic)
Mid layers
Mid layers are insulation. They trap warm air close to your body. This is the layer you add when you stop for a view, when the sun drops, or when the city wind starts threading through side streets.
Main mid layer types
- Fleece: Breathable, reliable, and great for active days. Downsides: bulkier than it looks, and wind cuts through it unless it's under a shell.
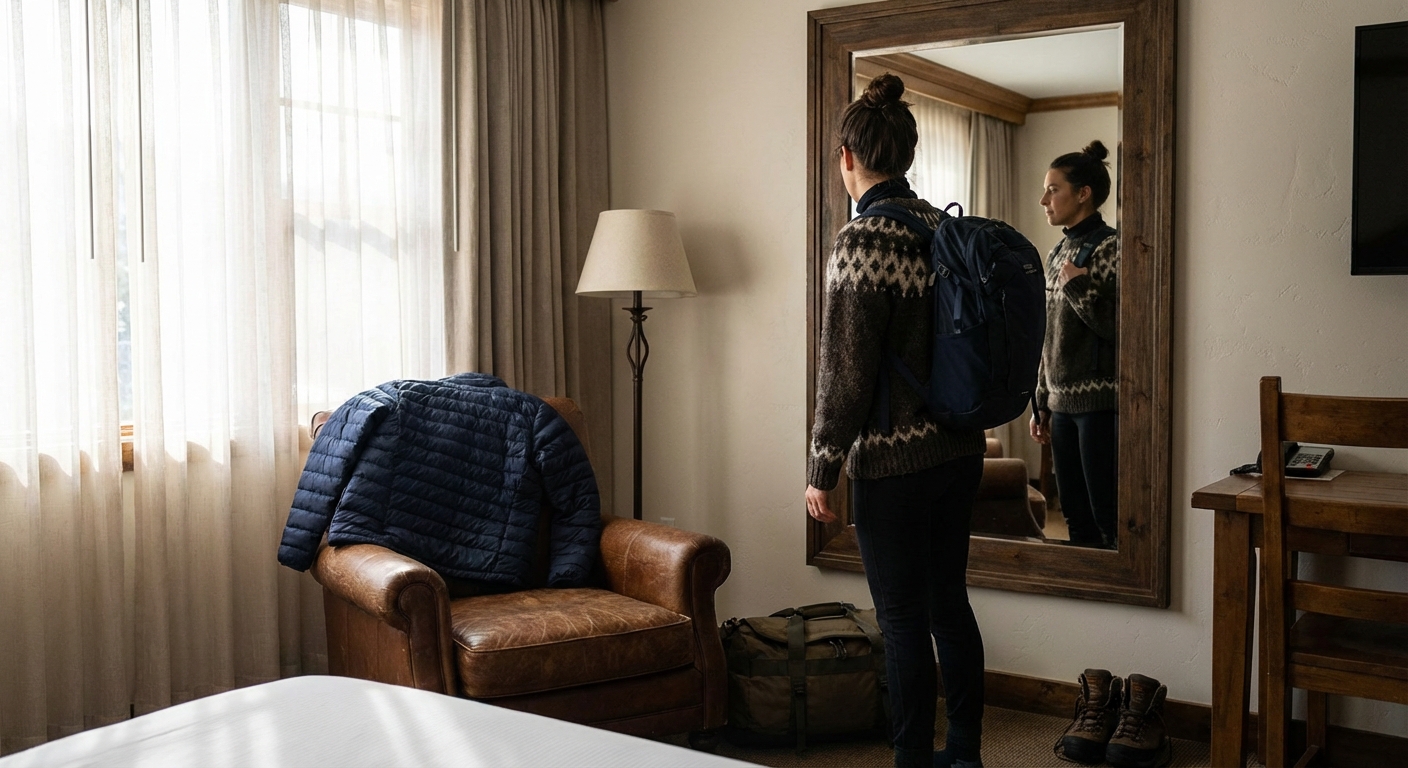
- Lightweight down or synthetic puffy: High warmth for the weight. Great for travel because it compresses and instantly boosts comfort.
- Wool sweater: Perfect for town days and café culture. It's less “technical,” but it's wildly practical if you build the rest of your system around it.
One mid layer or two?
For mixed trips, I like two mids with different personalities:
- Active mid: a breathable fleece or grid fleece
- Static mid: a packable puffy for cold stops and evenings
That combo covers the widest range without packing a whole closet.
Outer layers
Your outer layer blocks wind and precipitation. In cold climates, wind is the sneaky villain. You can be wearing plenty of insulation and still feel cold if your outer layer leaks air.
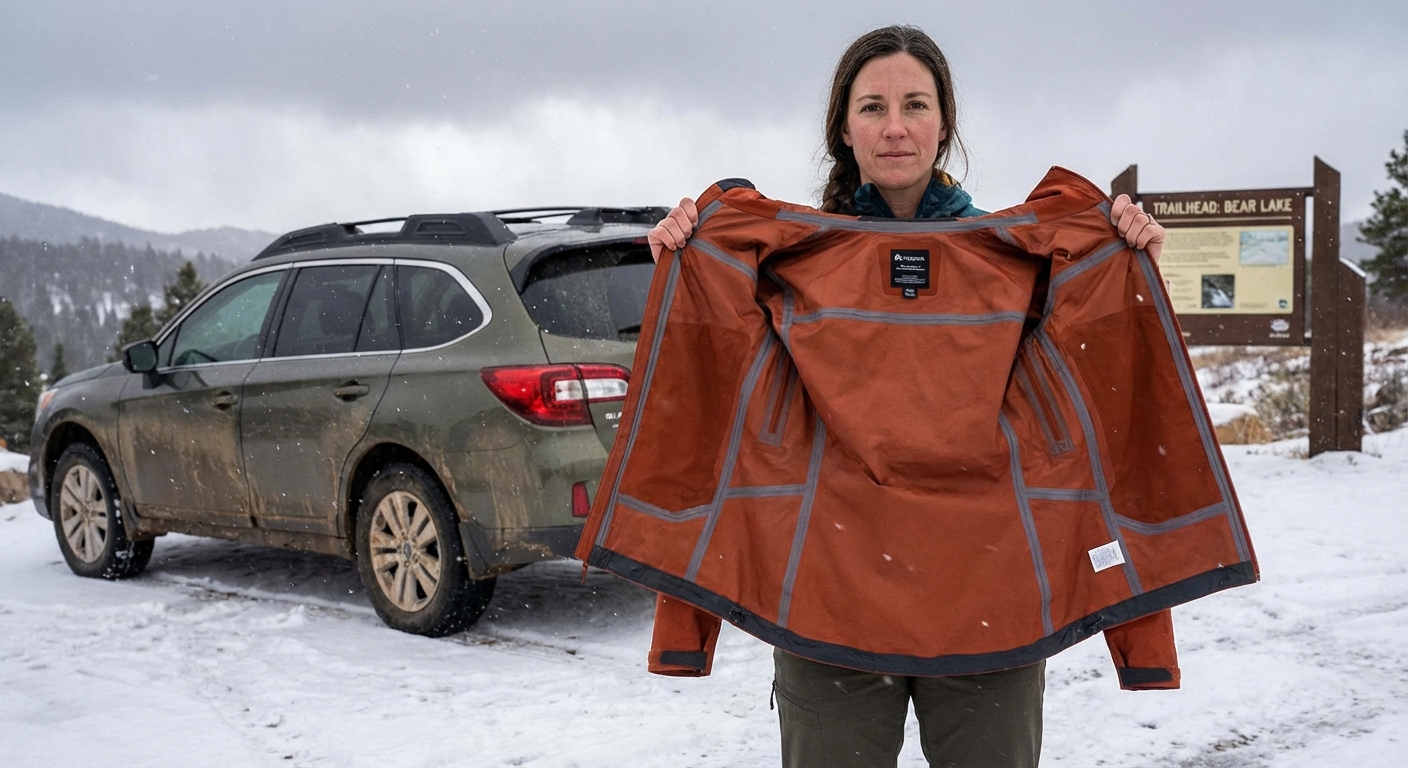
Shell vs insulated jacket
- Shell (rain jacket or hardshell): Best for variable weather and active days. It lets you tune warmth by changing what's underneath.
- Insulated jacket (parka or insulated shell): Cozy for city travel, but less adaptable if you're moving a lot or facing changing conditions.
If you're packing carry-on-only and doing both town and trail, the most versatile setup is usually:
- Packable puffy (mid layer insulation)
- Light shell (wind and wet protection)
Together, they behave like a warm winter jacket, but split into pieces you can mix and match.
Outer layer features that matter
- Hood: Highly recommended in wind and snow.
- Hem and cuff adjustment: Keeps drafts from crawling in.
- Pockets: Big enough for gloves or a phone that's losing battery to the cold.
Trail + Town capsule
This is the mix I use when I want one bag to work for icy sidewalks, museum days, and a couple of proper outdoor outings.
Tops
- 2 base tops (merino or synthetic)
- 1 mid layer fleece or wool sweater
- 1 packable puffy jacket
- 1 shell jacket (rain or hardshell)
- 1 “nice” top for dinner (thin knit, button-down, or turtleneck that layers)
Bottoms
- 1 pair softshell pants or lined travel pants (wear on travel days)
- 1 pair jeans or heavier trousers for city days (optional if your travel pants look clean and structured)
- 1 base bottom (pack if you'll be outdoors for long periods)
Accessories that do a lot of work
- Warm beanie (wool or fleece lined)
- Neck gaiter or scarf (gaiter packs smaller, scarf looks nicer in town)
- Gloves: one warm pair, plus thin liner gloves if you hate taking gloves off for photos
- Sunglasses (snow glare is real even in cities)
Shoes
- One pair do-it-all boots: water-resistant, good traction, comfortable for 15,000 steps
- Optional second pair: minimalist sneakers if your trip is mostly city and you have space
My personal rule: if your boots can't handle slush, your trip will feel twice as cold.
Bonus for truly icy trips: toss in a pair of microspikes or compact ice cleats. They weigh almost nothing and make frozen sidewalks and packed trails feel way less sketchy.
Fabrics made simple
Fabric is where winter packing goes from “cute outfits” to “I can actually enjoy this.” Here's the simplest decision tree I know:
If you'll sweat (hiking, stairs, fast walking)
- Base: merino or synthetic
- Mid: breathable fleece
- Outer: shell for wind and snow
If you'll be mostly still (markets, northern lights, outdoor cafés)
- Base: merino
- Mid: puffy or thick wool sweater
- Outer: shell or insulated coat depending on conditions
Down vs synthetic insulation
- Down: warmer for its weight, packs smaller, excellent for dry cold. It can still provide some warmth when damp, but it loses loft and comfort fast.
- Synthetic: retains warmth better when damp, often easier to care for, good for wet cold.
If your destination is “cold and wet” more than “cold and dry,” synthetic insulation starts to make a lot of sense.
Outfit formulas
I like packing systems that create repeatable outfits. These are my go-to formulas.
Cold city day (walking, museums, coffee shop hunting)
- Merino base top
- Wool sweater or fleece
- Puffy (if needed)
- Shell if windy or snowing
- Travel pants or jeans
- Boots, beanie, scarf
Active trail day (sweat happens)
- Base top (synthetic or lighter merino)
- Fleece mid
- Shell in the pack for wind or precipitation
- Softshell pants, wool socks
- Thin gloves plus warmer gloves for breaks
Freezing evening (standing around outside)
- Base top plus nicer top layered
- Wool sweater
- Puffy
- Shell on top if windy
- Base bottoms under pants if needed
Pack light tricks
1) Wear the bulky stuff
Boots, puffy, and your heaviest pants go on your body, not in your bag. You can always stash the puffy in your personal item once you're settled.
2) Build around two colors
Pick a neutral base (black, navy, or charcoal) and one accent. You get more outfits with fewer pieces, and you avoid the “nothing matches” problem when you're tired and it's 14°F outside.
3) Let merino repeat
Merino can often be worn multiple times before washing. Air it out overnight, especially near a window or vent. This is a major reason carry-on winter travel is possible.
4) Use compression wisely
Compression bags are great for puffies and soft layers, but don't over-compress down for long periods. Compression for a travel day is fine. Just avoid storing it compressed for weeks or months. I compress for transit days, then let insulation loft once I arrive.
5) Pack the small stuff
- Hand warmers: lightweight morale boost on bitter days.
- Lip balm and rich moisturizer: cold air and heated interiors can be brutal.
- Mini laundry soap sheet: for sink-washing socks or base layers.
- Thin travel clothesline: hotel rooms can be humid and base layers do not always dry overnight without a little help.
Mistakes to avoid
Mistake: wearing too warm of a base layer for active days
Fix: Go lighter on the base and add insulation during breaks. Sweating early is the fastest route to feeling cold later.
Mistake: relying on one huge coat for everything
Fix: Split warmth into puffy plus shell. You'll gain flexibility and usually save space.
Mistake: forgetting wind protection
Fix: Pack a shell even if the forecast looks dry. Wind makes a mild day feel punishing.
Mistake: packing extra sweaters “just in case”
Fix: Pack one mid layer you love, then repeat it. Put variety in accessories, not bulky knits.
Mistake: doubling socks until your boots feel tight
Fix: Wear one pair of warm socks at a time. If you cram in two pairs, you cut circulation and compress insulation, which can actually make your feet colder. If you need more warmth, upgrade the sock or the boot, not the number of layers.
Extreme cold notes
If your trip is dipping below 10°F (-12°C), or you're doing long, mostly-still activities (northern lights, winter festivals, sideline sports, long photo sessions), a standard “puffy plus shell” setup can start to feel thin.
What I add
- One extra insulating option: a warmer puffy, a thicker fleece, or a lightweight insulated vest to stack
- Better hand system: liner gloves plus warm gloves or mittens (mittens are often warmer)
- Emergency warmth for hikes: an extra insulating layer in your daypack, even if you think you will not need it
Conditions change fast on trails. If there's any chance you'll be out longer than planned, pack for the “stuck waiting” scenario, not just the “moving and warm” scenario.
Quick checklist
If you want the simplest version, save this list before you zip your bag:
- 2 base tops (merino or synthetic)
- 1 base bottom (optional, destination dependent)
- 1 fleece or wool sweater
- 1 packable puffy
- 1 shell jacket with hood
- 1 to 2 pants (one trail-friendly, one city-friendly)
- 3 to 4 wool socks
- Beanie, gloves, scarf or neck gaiter
- Water-resistant boots with traction
- Optional: microspikes or compact ice cleats for icy destinations
Layering isn't about looking like you own a mountaineering shop. It's about staying comfortable so you can do the real reason you came: hike the ridge, find the neighborhood bakery, and linger outside long enough to feel the place.