Tick Safety for Hikers
Maya Lin
Maya Lin is a travel journalist and outdoor enthusiast who believes the best trips combine rugged adventures with urban comforts. After spending six years backpacking across four continents, she founded Trail & Town Guide to help fellow travelers navigate both hidden mountain passes and bustling city neighborhoods with confidence.
Ticks are the ultimate tiny hitchhikers. They do not jump, they do not fly, and yet they still manage to turn a beautiful ridge walk into a late-night flashlight inspection in your bathroom mirror. The good news is that tick safety is very learnable. A few clothing choices, one smart repellent routine, and a consistent post-hike check can reduce your risk dramatically.
This guide is built for hikers in US parks and trail systems, from grassy Midwestern singletrack to humid East Coast woodlands to golden-hour chaparral out West. Keep it bookmarked, and share it with the person in your group who always “forgets” bug spray.
Why hikers get ticks (and why timing matters)
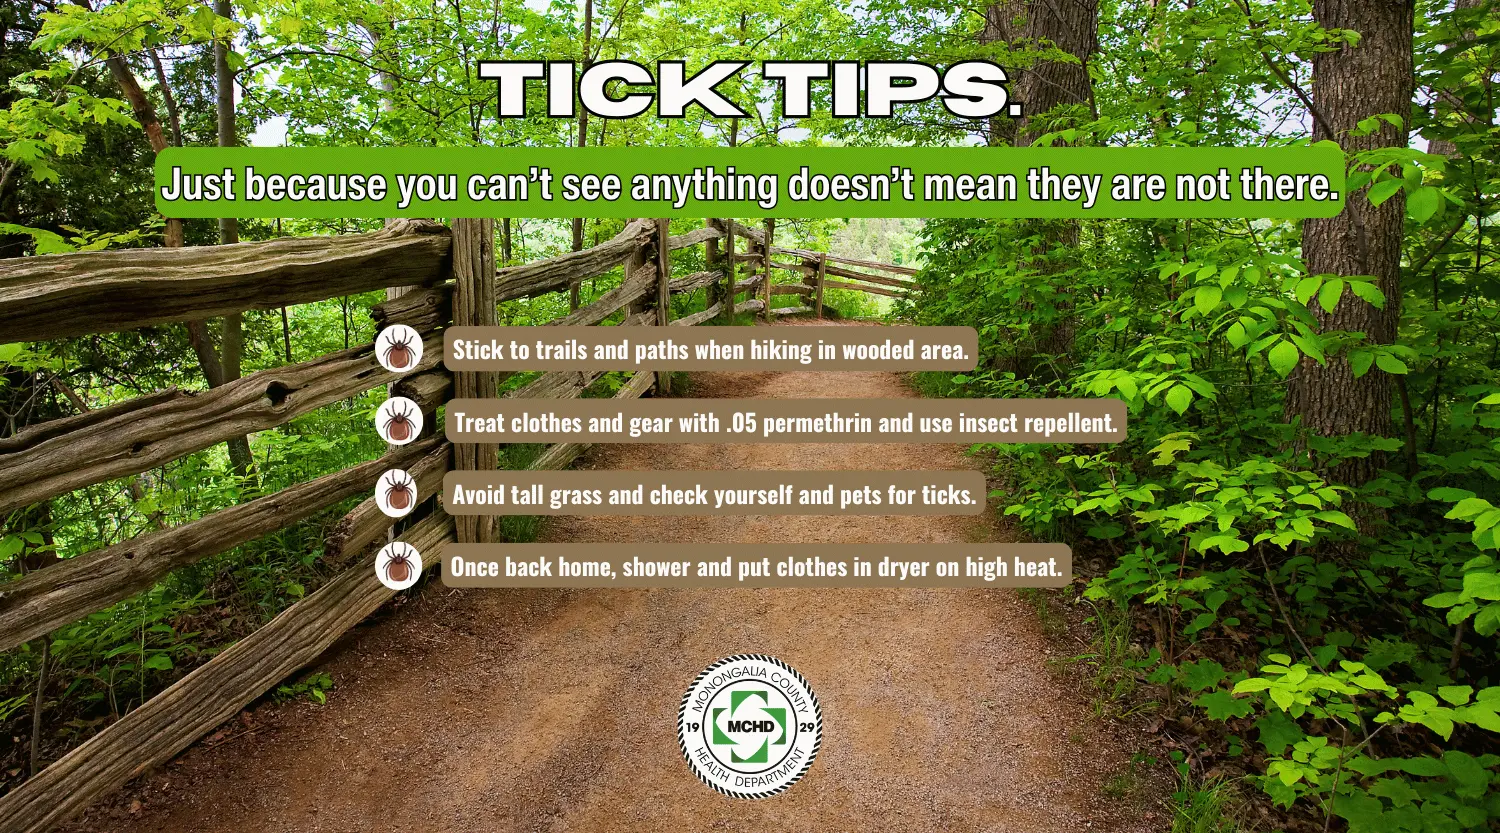
Ticks typically wait on grass tips, leaf litter, low shrubs, and brushy trail edges, then grab on when you pass. This is called questing. Once on you, they crawl to find a warm, protected spot like behind the knees, along the waistband, or at the hairline.
Not every tick bite leads to illness, and not every tick carries pathogens. Still, early prevention and prompt removal matter because the chance of infection can increase the longer a tick remains attached. For Lyme disease in particular, the risk is generally lower if an infected blacklegged tick is removed within about 24 hours, and it increases more notably after roughly 36 to 48 hours of attachment. Other illnesses can transmit faster, so the best policy is simple: treat any attached tick as a “remove it now” situation.
- Fastest win: prevent ticks from attaching in the first place with clothing barriers and repellents.
- Second-best win: find and remove ticks quickly after your hike.
- Best long-term win: know which symptoms require medical advice, especially after travel to higher-risk regions.
Common tick species hikers encounter in the US
You do not need to become a tick taxonomist to stay safe, but recognizing the usual suspects helps you understand regional risk and what illnesses to watch for.
Blacklegged tick (deer tick) (Ixodes scapularis)
Where hikers encounter it: especially the Northeast, Mid-Atlantic, Upper Midwest, and parts of the Appalachian region.
Why it matters: primary vector for Lyme disease in the eastern and midwestern US. It can also transmit anaplasmosis, babesiosis, and other infections in certain areas.
Western blacklegged tick (Ixodes pacificus)
Where hikers encounter it: along the Pacific Coast states, including coastal and many inland habitats in California, and parts of Oregon and Washington.
Why it matters: can transmit Lyme disease in the West, though overall Lyme incidence is lower than in many Northeastern states.
American dog tick (Dermacentor variabilis)
Where hikers encounter it: primarily east of the Rockies and across parts of the central US, often in grassy fields and trail edges.
Why it matters: can transmit Rocky Mountain spotted fever (RMSF) and tularemia in some regions.
West coast note: hikers in the West more often run into other Dermacentor species (for example, Rocky Mountain wood ticks or Pacific Coast ticks), depending on the state and habitat.
Lone star tick (Amblyomma americanum)
Where hikers encounter it: Southeast, Mid-Atlantic, and increasingly farther north and west as ranges shift over time.
Why it matters: associated with ehrlichiosis and can be linked to alpha-gal syndrome, a red meat allergy triggered after some bites. Lone star ticks are also known for being aggressive biters on brushy trails.
Brown dog tick (Rhipicephalus sanguineus)
Where hikers encounter it: more commonly around homes, kennels, and urban edges than deep wilderness, but it can show up near trail-adjacent neighborhoods and warm climates.
Why it matters: can transmit RMSF in certain settings, particularly where dogs and ticks interact closely.

Regional and seasonal tick risk for hikers
Tick risk is not uniform across the US, and it changes with weather. Use this section to plan your prevention level, especially for shoulder-season hikes when you might be tempted to skip repellent.
Northeast and Mid-Atlantic
- Highest concern: blacklegged ticks and Lyme disease risk in many states.
- Peak hiking risk: late spring through early fall, with a big bump in late spring and early summer when nymphs are active and hard to spot.
- Trail note: leaf litter, stone walls, and brushy edges near suburban trail networks can be prime tick habitat.
Upper Midwest (including Great Lakes region)
- Highest concern: blacklegged ticks and Lyme risk in many areas.
- Peak hiking risk: late spring through early fall.
- Trail note: wooded lakeshore trails and mixed forests can be high exposure zones.
Southeast
- Highest concern: lone star ticks and dog ticks in many areas; ehrlichiosis and RMSF risk varies by location.
- Peak hiking risk: long season, often spring through fall, and sometimes mild winter days.
- Trail note: dense undergrowth, warm humidity, and overgrown trail shoulders can increase encounters.
South-Central (including parts of Texas and Oklahoma)
- Highest concern: lone star and dog ticks in many regions.
- Peak hiking risk: spring through fall, especially after rains when vegetation is lush.
- Trail note: tall grass and brushy creek corridors are common tick zones.
Mountain West and Southwest
- Highest concern: tick species vary; overall Lyme risk is generally lower than the Northeast, but tick bites still happen and other diseases exist.
- Peak hiking risk: spring through early fall, especially in lower-elevation grasslands and foothills.
- Trail note: do not let dry air fool you. Ticks can be plentiful where deer and rodents move through brushy corridors.
Pacific Coast (including California, Oregon, Washington)
- Highest concern: western blacklegged ticks, plus other ticks (including some Dermacentor species) depending on habitat.
- Peak hiking risk: often late winter through spring in parts of California, and spring through summer farther north.
- Trail note: oak woodlands, coastal scrub, and grassy hillsides can be hotspots, especially after wet winters.
Trail rule I live by: If you brushed past knee-high vegetation, sat on a log, or bushwhacked even a little, treat that hike like a tick exposure and do a full check.
Tick bite prevention on the trail
Prevention works best in layers: clothing barriers, smart trail behavior, and repellents used correctly.
Dress for defense (without overdoing it)
- Wear long pants. Lightweight hiking pants beat bare legs in tall grass. If it is hot, choose breathable fabrics and vented styles.
- Tuck pants into socks. Not a fashion moment, but it blocks one of the easiest tick entry points.
- Choose light colors. It is easier to spot ticks crawling on tan or light gray than on black leggings.
- Wear closed-toe shoes. Trail runners are fine, sandals are not, especially in grass.
- Manage hair. If you have long hair, tie it back. Consider a cap in brushy areas.
Stay centered on the trail
- Avoid brushing against trail-edge vegetation when possible.
- Do not sit directly in leaf litter or tall grass for snack breaks. Choose a rock, a log with minimal vegetation contact, or use a sit pad.
- Keep packs and jackets off the ground in brushy areas. Hang them or place them on a clear rock.
Repellents that work (and how to use them)
Two options have the most evidence for hikers: permethrin on clothing and EPA-registered skin repellents like DEET, picaridin, IR3535, and oil of lemon eucalyptus (OLE) or PMD for exposed skin.
- Permethrin for clothing and gear: Use it on pants, socks, gaiters, and shoes. You can buy pre-treated clothing or treat items yourself with a permethrin product labeled for clothing. Let it dry fully before wearing. Do not apply permethrin directly to skin.
- DEET (skin): Effective and widely available. Follow label directions and wash off when you are done for the day.
- Picaridin (skin): Popular with hikers who dislike DEET feel or smell. Apply as directed.
- IR3535 (skin): Also an EPA-registered option in some products.
- Oil of lemon eucalyptus or PMD (skin): Plant-derived options that can be effective but are not the same as raw essential oils. Follow product guidance carefully, especially for kids.
Kids, pregnancy, and repellent: Always follow the product label. Some products (including OLE/PMD) have age limits, and pregnancy or nursing can change what is appropriate. When in doubt, choose an EPA-registered product and ask your clinician.
Carry-on-only tip: If you are flying to a tick-heavy destination and do not want to pack aerosols, bring a small pump bottle of picaridin or DEET in your liquids bag, and consider buying permethrin-treated socks or gaiters on arrival.
How to do a proper post-hike tick check
The tick check is your last line of defense, and it is more effective than most people realize. Do one check at the trailhead or car, then a more thorough check when you get home.
Quick check at the trailhead (2 minutes)
- Brush off your pants and socks and look for ticks crawling on fabric.
- Check ankles, sock cuffs, and the backs of knees.
- Do a quick waistband scan before you get back into the car.
- If you hiked with a dog, do a quick hands-on scan of ears, neck, chest, and between toes.
Full check at home (10 minutes)
Use bright light and a mirror. A shower can help you find ticks you missed, and it is a good excuse to do a head-to-toe scan.
- Scalp and hairline: especially behind ears and at the nape of the neck.
- Armpits and bra line: ticks like warm folds.
- Waistband and belly button: check where clothing presses.
- Groin and buttocks: yes, really. This is a common attachment area.
- Behind knees and between toes: slow down here.
- Back and shoulders: use a mirror or ask a partner.
What to do with clothes and gear
- Dryer first (high heat): Put hiking clothes in a dryer on high heat for about 10 minutes if they are dry (or longer if they are damp), then wash as usual. Washing alone may not kill ticks, especially in cold water.
- Contain gear: Keep your pack and shoes in a spot away from beds and couches until you have inspected them.
- Car seat reality: If you found ticks at the trailhead, check your car floor mats and seat fabric when you get home.
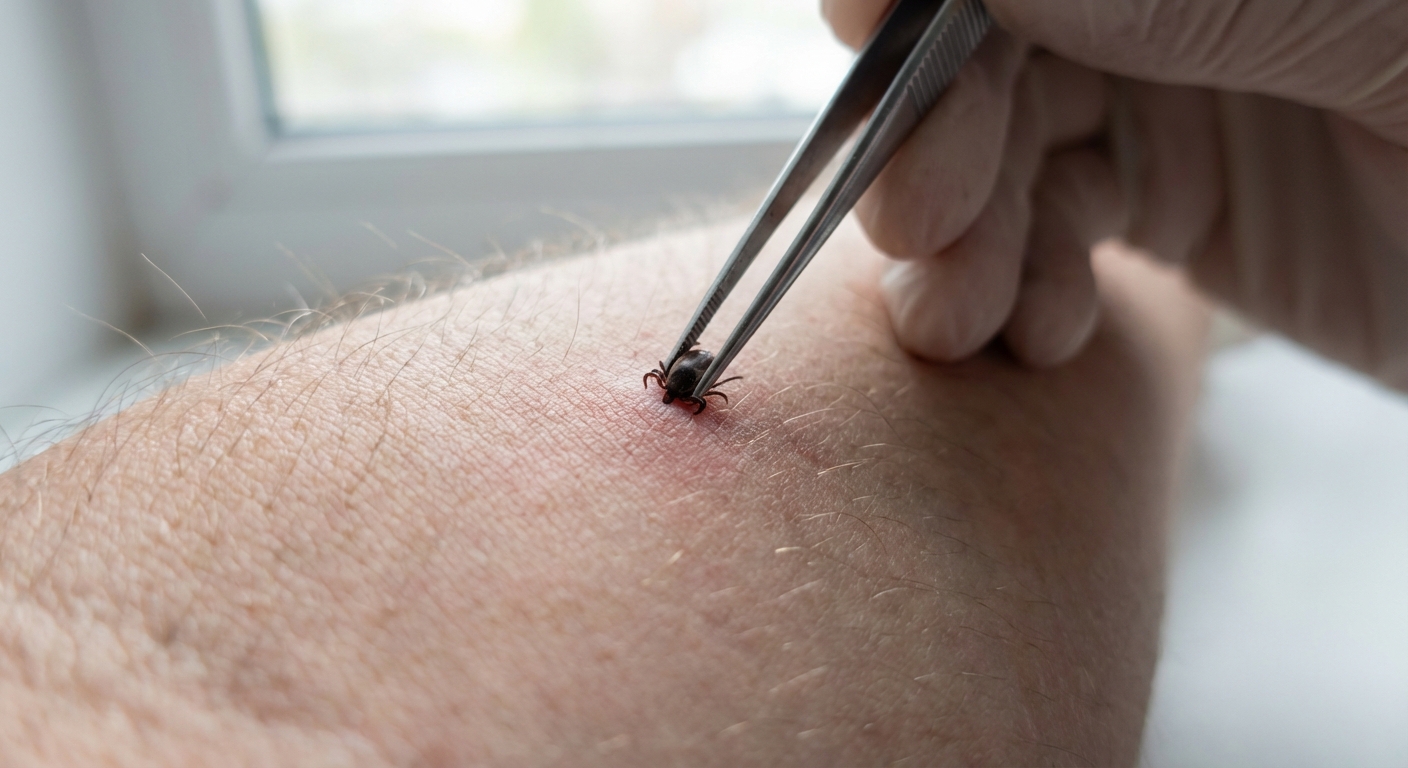
How to remove a tick safely (step by step)
If you find an attached tick, do not panic. The goal is simple: remove it promptly and cleanly, without crushing it or leaving mouthparts embedded.
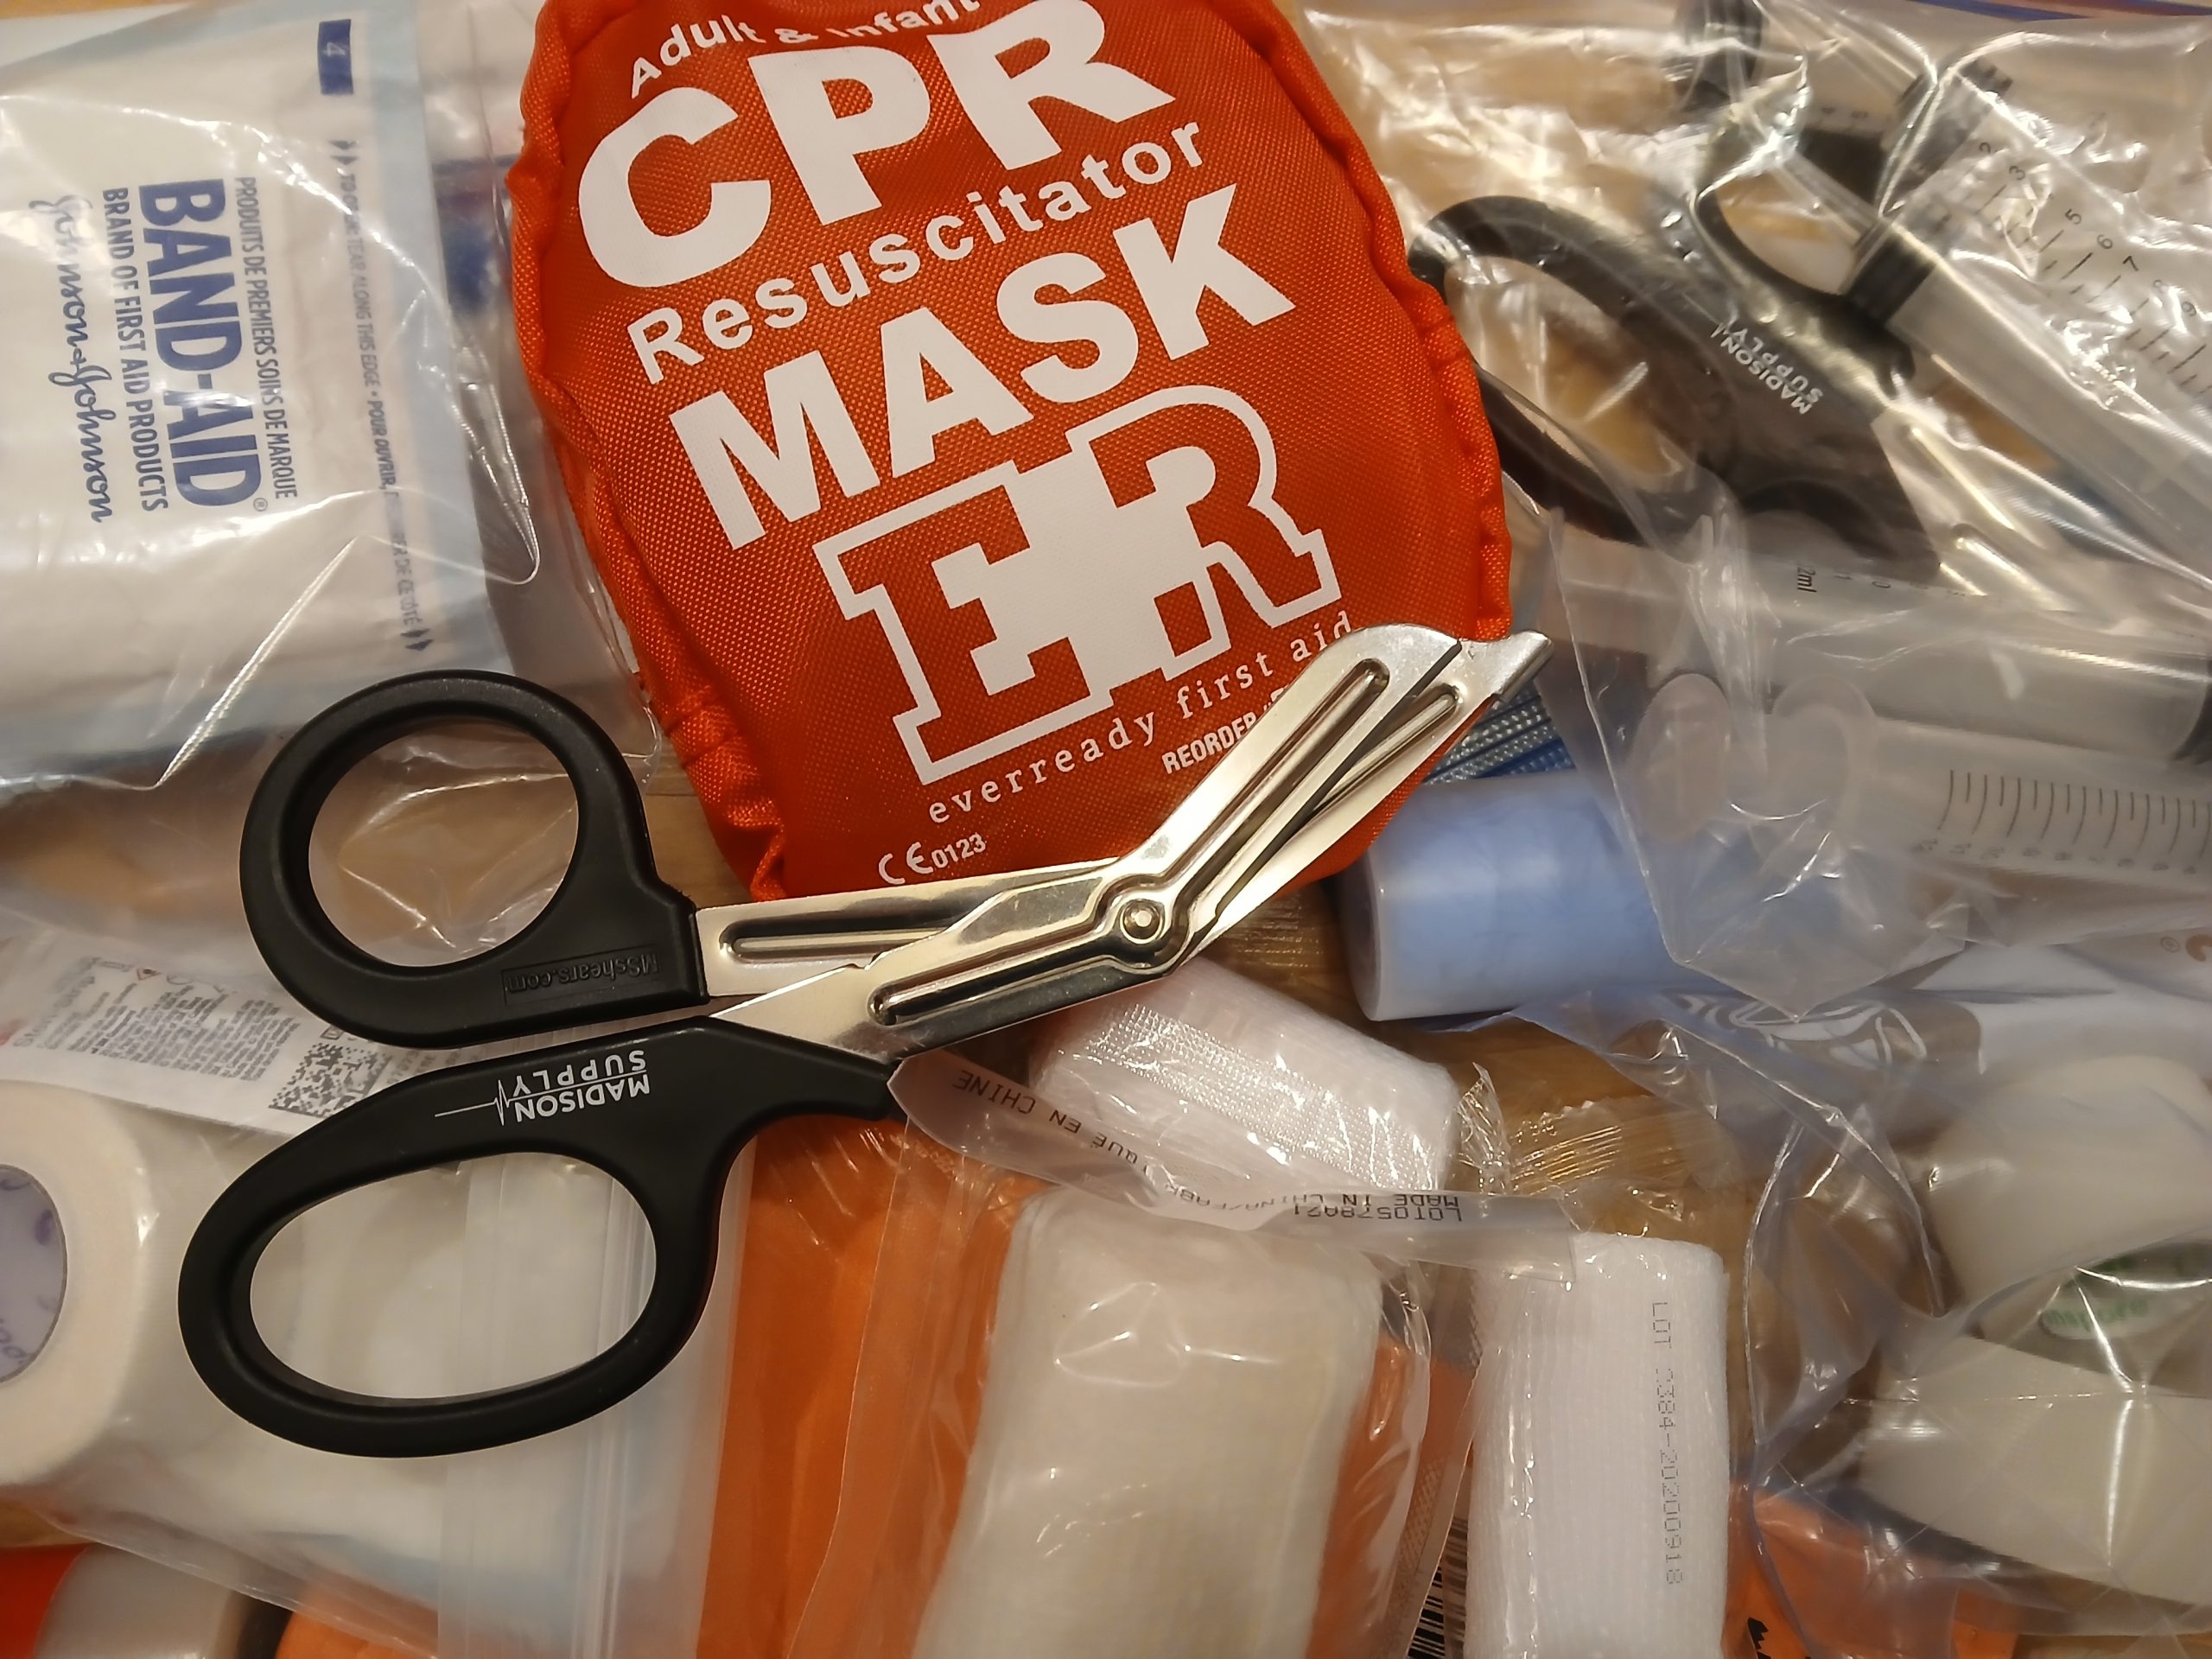
What you need
- Fine-tipped tweezers
- Soap and water or rubbing alcohol
- A small container or resealable bag (optional, for saving the tick)
Step-by-step removal with tweezers
- Grab the tick close to the skin. Use fine-tipped tweezers and grasp as close to the skin surface as possible, aiming for the mouthparts (not the swollen body).
- Pull upward with steady, even pressure. Do not twist or jerk. Slow and straight is the move.
- If parts remain, do not dig aggressively. If you cannot remove tiny remaining mouthparts easily with tweezers, clean the area and let the skin heal. If you see increasing redness, pain, or pus, seek medical advice.
- Clean the bite area and your hands. Use soap and water or rubbing alcohol.
- Save the tick (optional). Place it in a sealed bag with the date and where you were hiking. This can help if symptoms develop and your clinician wants more context. Some local health departments provide guidance on tick identification.
What not to do
- Do not use petroleum jelly, nail polish, or essential oils to “smother” the tick.
- Do not use heat like a match or lighter.
- Do not crush the tick with your fingers.
After removal: what to watch for
Most tick bites cause nothing more than a small, itchy bump. What you are watching for is a pattern of symptoms over the days and weeks after a bite, especially if you were hiking in a higher-risk region.
Quick documentation (seriously useful)
- Write down the date and location of the hike.
- Estimate how long the tick may have been attached (even a rough guess helps).
- Snap a photo of the bite site. If any rash appears later, take photos every day or two with something for scale (like a coin).
Normal, mild reactions
- Small redness right at the bite site
- Mild itching or irritation for a day or two
Symptoms that warrant medical advice
If any of the following occur, contact a healthcare professional. Mention the date of your hike, the region, and how long you think the tick was attached.
- Expanding rash that grows over days, especially one that reaches several inches across. A classic bullseye pattern can occur, but many Lyme rashes are not perfect rings.
- Flu-like symptoms such as fever, chills, fatigue, headache, or muscle aches after a tick bite or tick exposure.
- Joint pain or swelling, especially new or unexplained.
- Neurologic symptoms like facial droop, neck stiffness, or severe headache.
- Rash with fever after a tick bite, particularly in areas where RMSF is a concern.
- Signs of infection at the bite site such as increasing redness, warmth, swelling, pus, or worsening pain.
When to seek urgent care
- High fever with severe headache or stiff neck
- Shortness of breath, confusion, or severe weakness
- Rapidly spreading rash plus systemic symptoms
Note on preventive antibiotics: In some situations, a clinician may consider a single preventive dose of doxycycline after a tick bite. This is typically discussed when the tick is an Ixodes species (blacklegged tick), it was likely attached for about 36 hours or more, you are in or traveled to a higher-incidence area, the dose can be started within 72 hours of tick removal, and there are no contraindications. This is a decision to make with a healthcare professional, not a DIY move.
If symptoms are severe, do not wait. Tick-borne illnesses can escalate quickly, and early treatment matters.
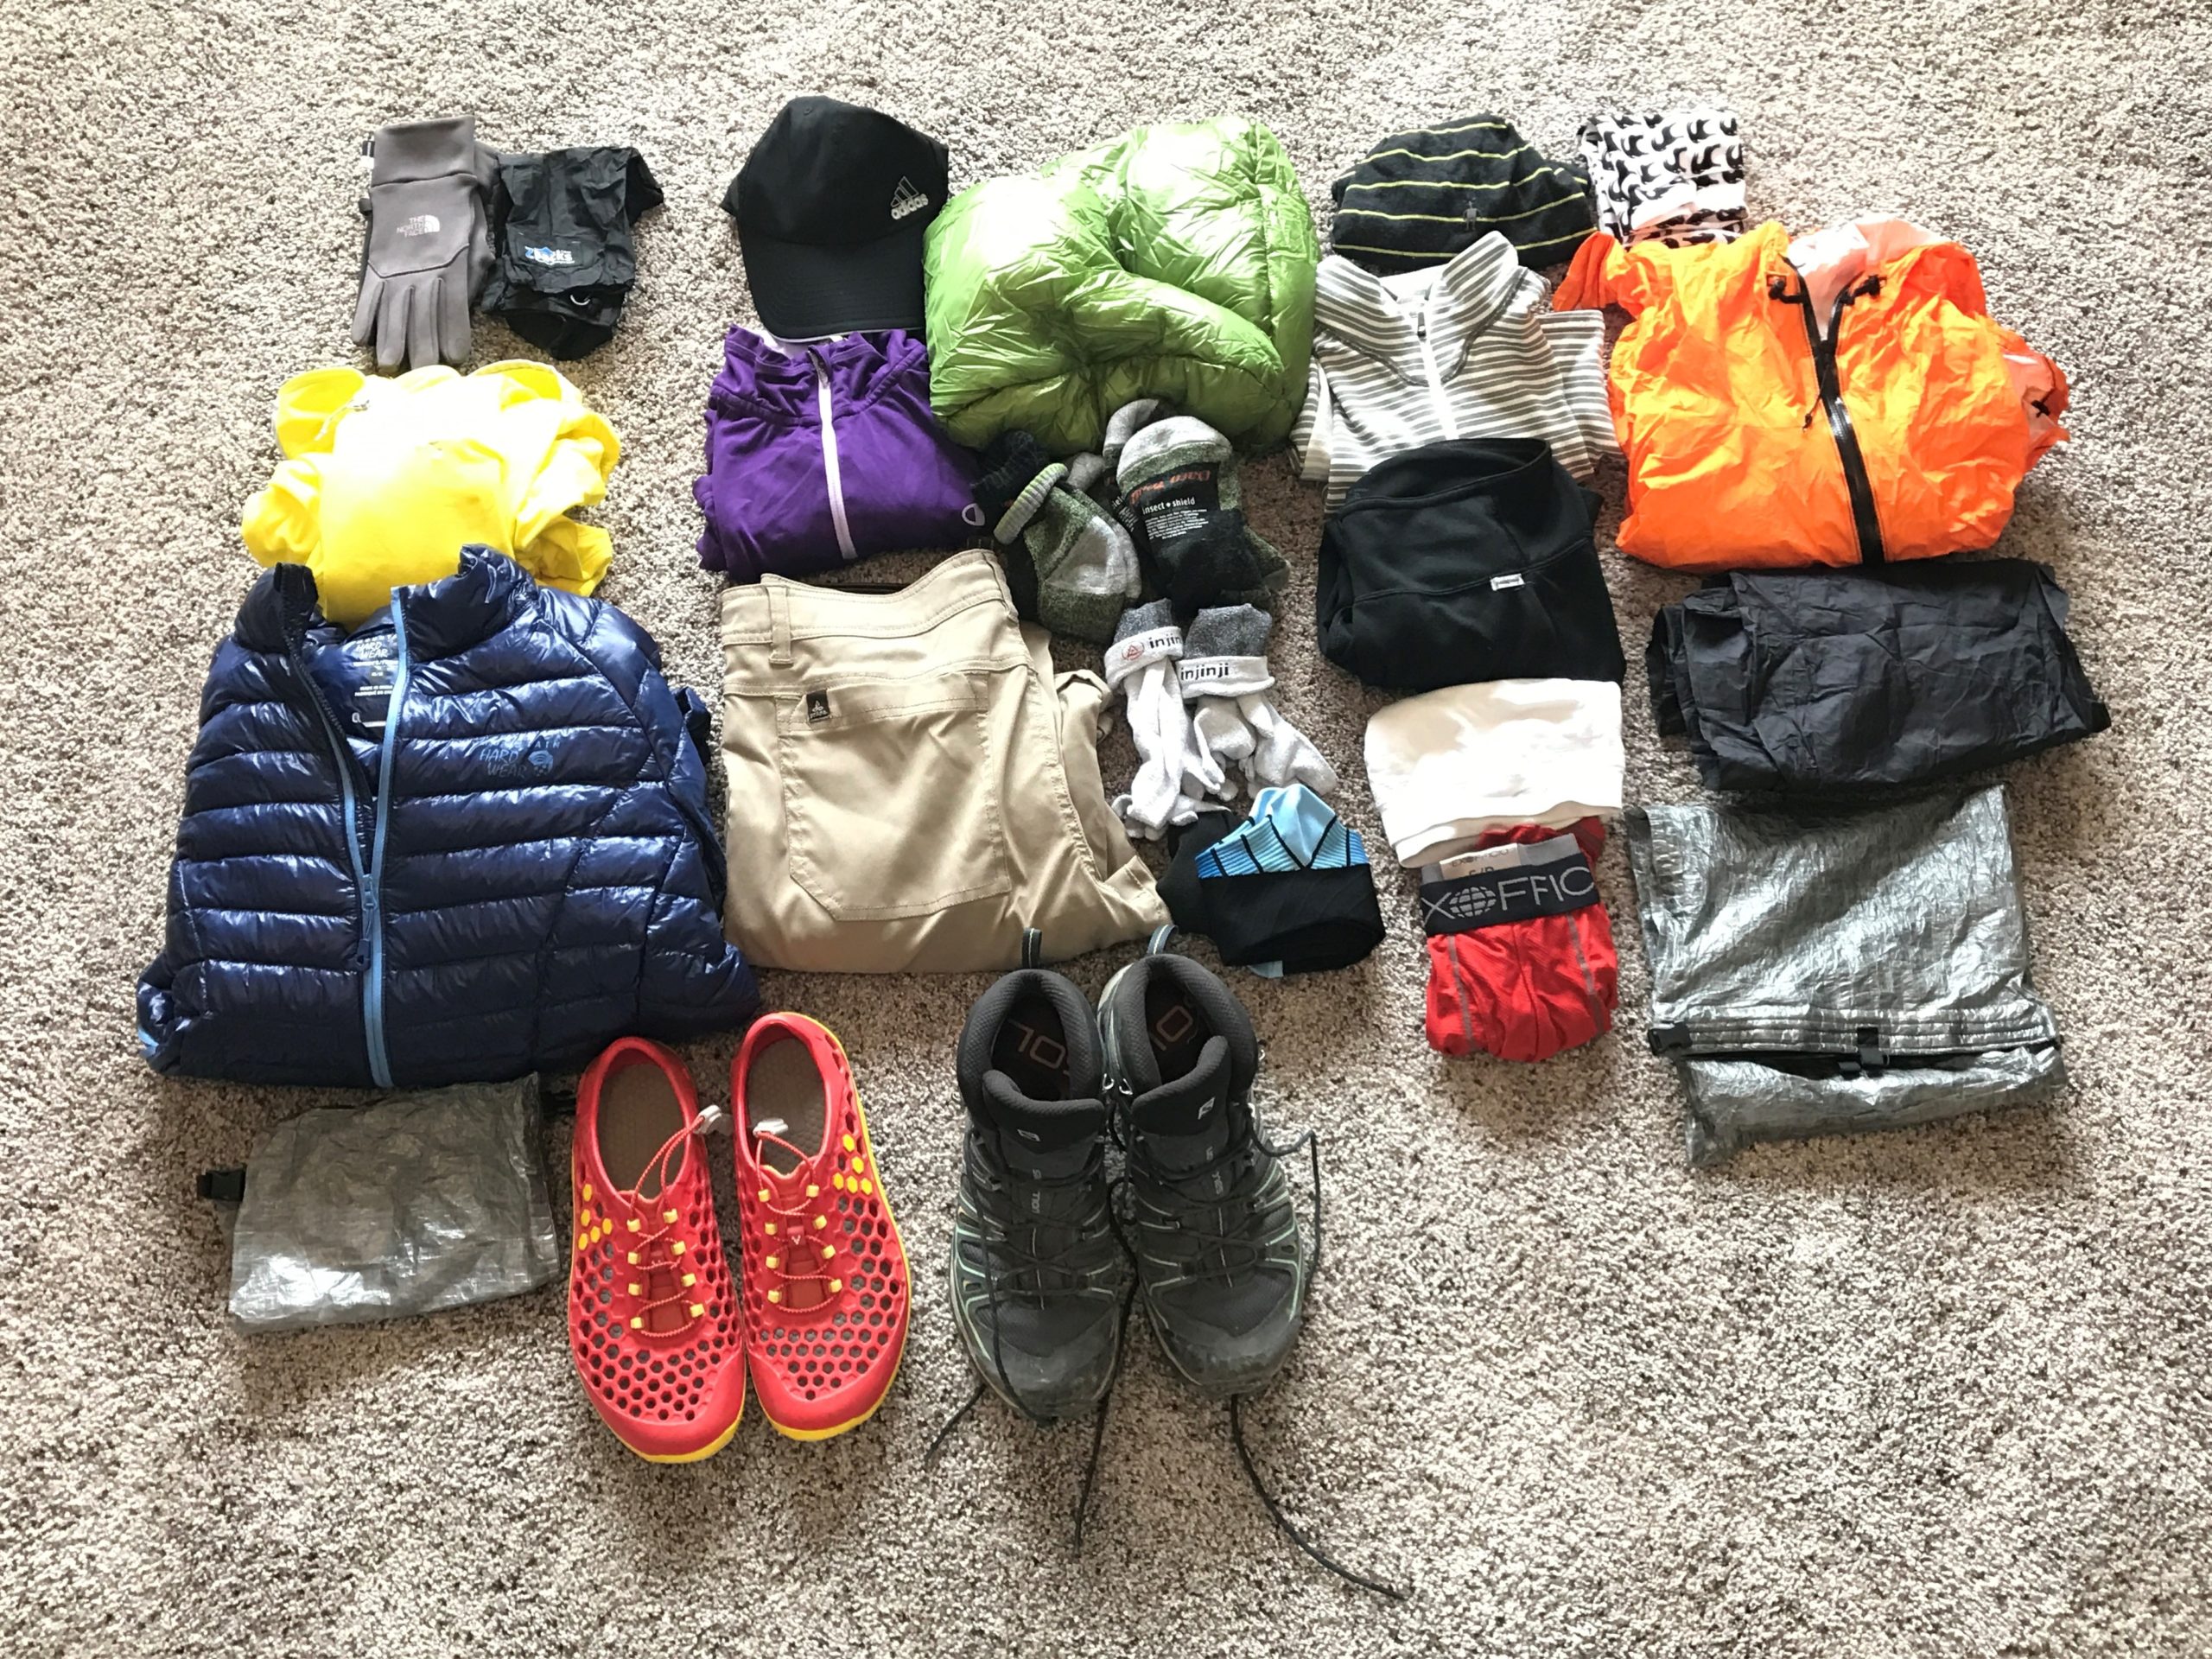
Trail-ready tick safety kit
This is the lightweight, no-fuss setup I recommend for day hikes and backpacking trips where ticks are possible. It fits in a small zip pouch and will not steal your pack space.
- Fine-tipped tweezers or a dedicated tick removal tool
- Alcohol wipes
- Small mirror (optional but helpful for solo travelers)
- Small bottle of EPA-registered repellent (picaridin or DEET)
- A couple of nitrile gloves (optional for squeamish removals)
- Resealable bag for storing a removed tick
Tick safety for hikers with dogs
If you hike with a dog, you already know they are basically a joy-powered brush-bashing machine. Dogs can bring ticks into tents, cars, and beds. That does not mean you stop hiking together. It means you add a routine.
- Talk to your vet about tick prevention appropriate for your dog and region.
- Use a quick post-trail scan before the car ride home, focusing on ears, collar area, armpits, belly, and between toes.
- Lint roller tip: A lint roller can sometimes pick up unattached, crawling ticks from short coats or from fabric (like your dog’s harness, your socks, or a car seat). It is not a reliable substitute for a hands-on check.
- Check your tent entry routine on backpacking trips: brush your dog off before they come inside.
Frequently asked questions
Do ticks fall from trees?
It is a common myth. Most ticks quest close to the ground on grass, leaf litter, and low vegetation. You can still encounter them in forested areas, but usually from brushing past trail-edge plants.
How small are the hard-to-see ticks?
Nymphal ticks can be tiny, sometimes closer to a poppy seed than a sesame seed. That is why light-colored clothing, a careful check, and a shower can make a real difference.
Should I send the tick for testing?
Tick testing availability varies by state and lab, and results do not always change what you should do next. If you develop symptoms, medical evaluation should not wait on a test result. Saving the tick and getting it identified locally can still be useful context.
If I got bitten once, am I immune?
No. You can be bitten again, and you can become ill from future bites. Keep your prevention routine consistent.
The bottom line
Tick safety is not about fear. It is about systems. Dress defensively, use repellents correctly, stay mindful at trail edges, and do the tick check like it is part of your cooldown stretch. Then go enjoy the hike, and later, reward yourself with the best local coffee shop you can find. You earned it.