Winter Hiking Gear: What Changes When It Gets Cold
Maya Lin
Maya Lin is a travel journalist and outdoor enthusiast who believes the best trips combine rugged adventures with urban comforts. After spending six years backpacking across four continents, she founded Trail & Town Guide to help fellow travelers navigate both hidden mountain passes and bustling city neighborhoods with confidence.
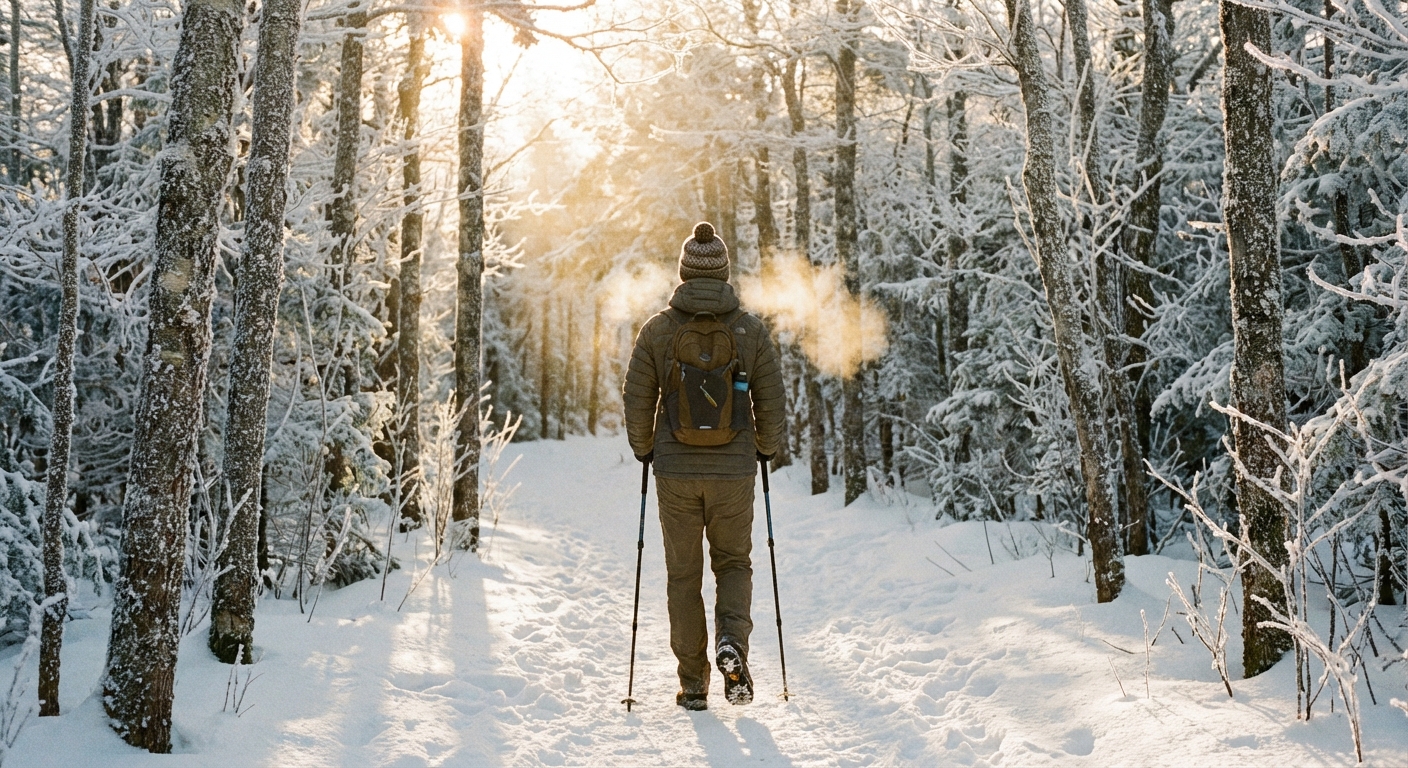
The first time I “just did my normal hike” in winter, I learned two things fast: snow turns a familiar trail into a different sport, and cold makes small gear mistakes feel huge. The good news is you don’t need a full mountaineering setup for most winter day hikes. You do need a few deliberate upgrades that cover traction, warmth management, hydration, and what happens if you stop moving longer than planned.
This guide is meant to complement your warm-weather day-hike kit and your layering system. Think of it as the winter add-on list: what changes, what matters most, and how to choose the right tools without overpacking.
The winter rule: slower, slicker, darker
Even on popular routes near town, winter conditions stack the odds toward slower pace and higher consequences.
- Slower: Postholing, cautious footing, and bulky layers all reduce speed. Build extra buffer into your turnaround time.
- Slicker: Packed snow can be as slick as ice. Traction is often essential once the trail is firm and shiny.
- Darker: Short days mean you can start in cold shade, hike into afternoon glare, and finish at dusk. Lighting and visibility matter more.
My practical test before leaving the trailhead: if I had to stop moving for 30 minutes due to an injury or a wrong turn, could I stay warm, hydrated, and visible?
Quick safety checks (worth 2 minutes)
- Weather and wind: check the forecast for temperature swings, precip, and wind chill.
- Recent conditions: skim trip reports or local updates for ice, blowdowns, and whether trails are packed.
- Avalanche terrain: if you hike in mountainous areas, check the local avalanche forecast. Some “safe” summer trails cross avalanche runouts in winter. Avoid avalanche terrain unless you have training and proper rescue gear.
Traction: microspikes, crampons, snowshoes
The biggest difference between warm-weather hiking and winter hiking is what’s under your feet. Traction devices are winter’s “must add” item, and choosing the right one is about matching the surface, not your ambition.
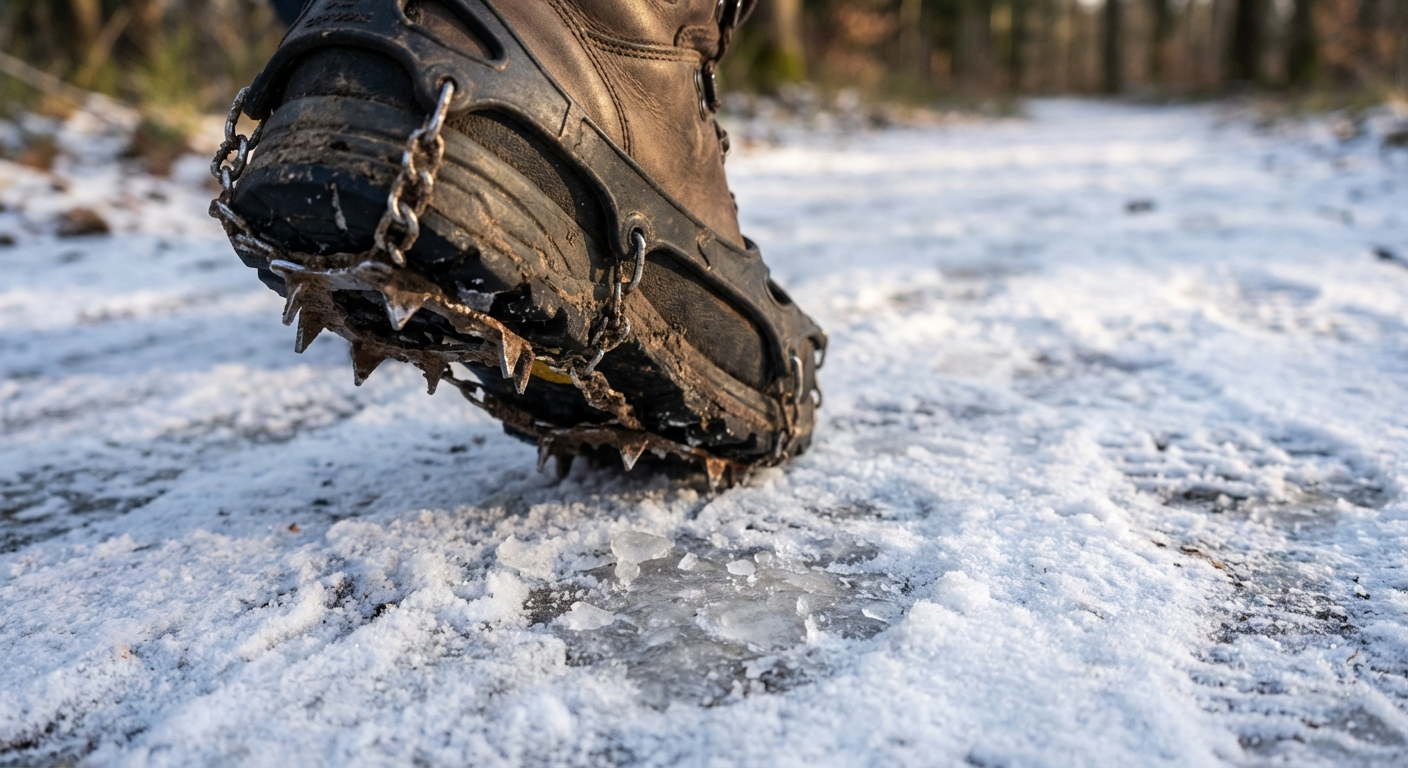
Microspikes (most common upgrade)
Best for: packed snow, icy patches, frozen footprints, and popular trails that get stomped down.
- Look for a secure harness that stays snug in cold temps.
- Bring a small bag so you can stow them without shredding other gear.
- Practice putting them on with gloves at home. Cold fingers are humbling.
Crampons (specialized)
Best for: steep, sustained ice or hard alpine snow where you need aggressive points and stability.
If you’re staying on moderate winter trails, you likely won’t need crampons. If you’re venturing into steeper terrain, don’t treat them as a “gear upgrade” alone. They pair with route choice, conditions knowledge, and sometimes an ice axe and training. Also note that many crampons work best with stiffer boots, so make sure your footwear matches the system.
Snowshoes (when you’re sinking)
Best for: soft, unconsolidated snow where you posthole above your ankles.
- If the trail looks fluffy and untouched, consider snowshoes early rather than “seeing how it goes.”
- On shared or packed routes, postholing leaves deep holes that make travel harder and can be a tripping hazard for others.
- Many snowshoes include basic traction, but on firm, icy routes microspikes can still feel better.
Trekking poles
If you already hike with poles, winter is when they really earn their spot. Swap in snow baskets so poles don’t plunge deep, and shorten them slightly on descents for balance. Poles plus microspikes is a classic, confidence-boosting combo on packed trails.
Layers: change the timing
You already know the layering fundamentals. Winter hiking changes the mix and the timing: you manage sweat more aggressively while moving, then trap heat fast when you stop.
No cotton
This is the winter reminder that saves a lot of beginners: skip cotton for base layers and socks. Cotton holds moisture, gets cold fast, and stays cold. Stick with wool or synthetics against your skin.
Add one “instant warmth” layer
Pack a puffy or synthetic insulated jacket that goes on during breaks, not after you start shivering. Synthetic insulation is often more forgiving in wet snow or mist, while down is lighter and very warm for its weight in dry cold.
- Down: warm, packable, best in dry cold.
- Synthetic: warmer when damp, great for variable conditions.
Venting is part of warmth
If you sweat, you eventually chill. Small moves help: unzip early, pull your hat off on climbs, and adjust layers before you are soaked. Winter comfort is often about staying slightly cool while moving.
Upgrade your extremities kit
Hands, feet, and face are where winter comfort is won or lost.
- Gloves system: a light liner glove for hiking, plus a warmer insulated glove or mitten for stops. If wind is strong, windproof shells matter.
- Head and neck: a warm beanie and a buff or neck gaiter. On exposed ridges, face protection is not just comfort, it’s safety.
- Socks: stick with wool, and avoid doubling up unless your boots have room. Tight boots reduce circulation and make feet colder.
Footwear
In shoulder seasons, trail runners can work. In true winter conditions, most hikers are happier with water-resistant hiking boots and gaiters to keep snow from pouring in at the ankles. If you do wear trail runners, accept that your margin for error shrinks fast if temps drop or snow deepens.
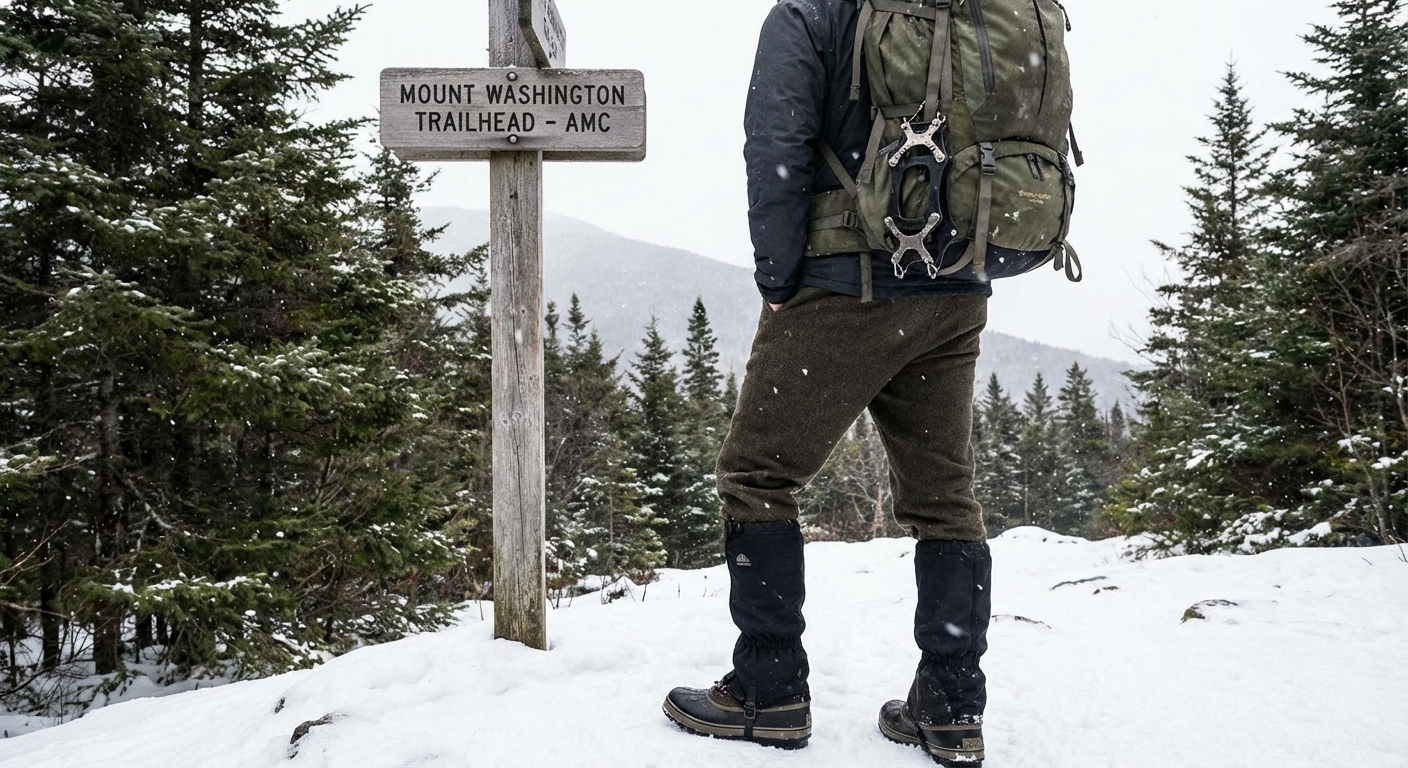
Gaiters
Gaiters block snow, slush, and mud from entering your shoes. They also help keep pant cuffs dry. If you’ve ever stopped mid-hike to dump out snow, you already understand why gaiters are a winter favorite.
Hydration: avoid frozen water
Cold weather makes you feel less thirsty, but you’re still losing water through breath and sweat. The twist is that winter tries to freeze your drink and your filter.
Use bottles, not a bladder (most of the time)
Hydration bladder hoses freeze easily. In cold temps, insulated sleeves help, but bottles are still simpler.
- Carry wide-mouth bottles that are easier to open with gloves.
- Store bottles upside down in your pack side pockets. Ice often forms near the top and threads first, so the drinking end stays usable longer.
- Add an insulated bottle parka or wrap a spare sock around the bottle.
Warm drinks are a morale hack
A small vacuum thermos with tea, broth, or just warm water can turn a windy summit break from miserable to genuinely pleasant. Think of it as the winter version of bringing a little comfort with you, without adding much fuss.
Water treatment: protect your filter
If you use a hollow-fiber filter, never let it freeze. Freezing can damage the fibers and make it unsafe without obvious signs.
- In near-freezing temps, keep the filter in an inner pocket close to your body.
- If you suspect it froze, treat it as compromised and follow the manufacturer’s guidance. When in doubt, use a backup method.
- Consider chemical treatment as a cold-friendly backup, but check the product instructions since reaction time slows in very cold water.
Food: eat before you feel empty
Cold burns energy, and winter hiking has a sneaky pattern: you feel fine until you suddenly do not. Pack a few extra calories and make them easy to access.
- Bring higher-calorie snacks you actually want to eat in the cold: nuts, chocolate, jerky, cheese, or a sandwich that won’t become a brick.
- Keep a couple snacks in an inner pocket so they stay chewable, especially bars and gels.
- A thermos also works for calories: soup or broth can double as hydration and warmth.
Emergency kit: winter additions
Your standard day-hike essentials still apply. Winter asks for a few extras because waiting becomes dangerous faster when the ground is cold and the sun disappears early.
Shelter and warmth
- Emergency bivy or compact tarp: blocks wind and traps heat if you’re stuck.
- Extra insulation: that “instant warmth” layer is part of your emergency plan, not a comfort luxury.
- Hand warmers: optional, but helpful for rewarming fingers or as a morale boost.
Light
- Headlamp with fresh batteries: short days and cold drain batteries faster.
- Lithium batteries: they tend to perform better in cold than alkalines.
- Backup light: a tiny spare headlamp or keychain light weighs almost nothing.
- Keep power warm: stash spare batteries in an inner pocket close to body heat.
Navigation
Snow smooths over blazes, signs, and tread. If you’re used to following a clear dirt path, winter can feel like someone erased it.
- Download offline maps before you leave service.
- Keep your phone warm in an inner pocket, and consider airplane mode to slow battery drain.
- Bring a simple compass and know the basics.
- Expect that your usual “just follow footprints” strategy fails after fresh snowfall.
First aid and repair
- Blister care: wet socks and friction can spike quickly in snow travel.
- Fire starter: waterproof matches or a reliable lighter plus tinder.
- Multi-tool and tape: useful for gear fixes like a loose snowshoe strap.
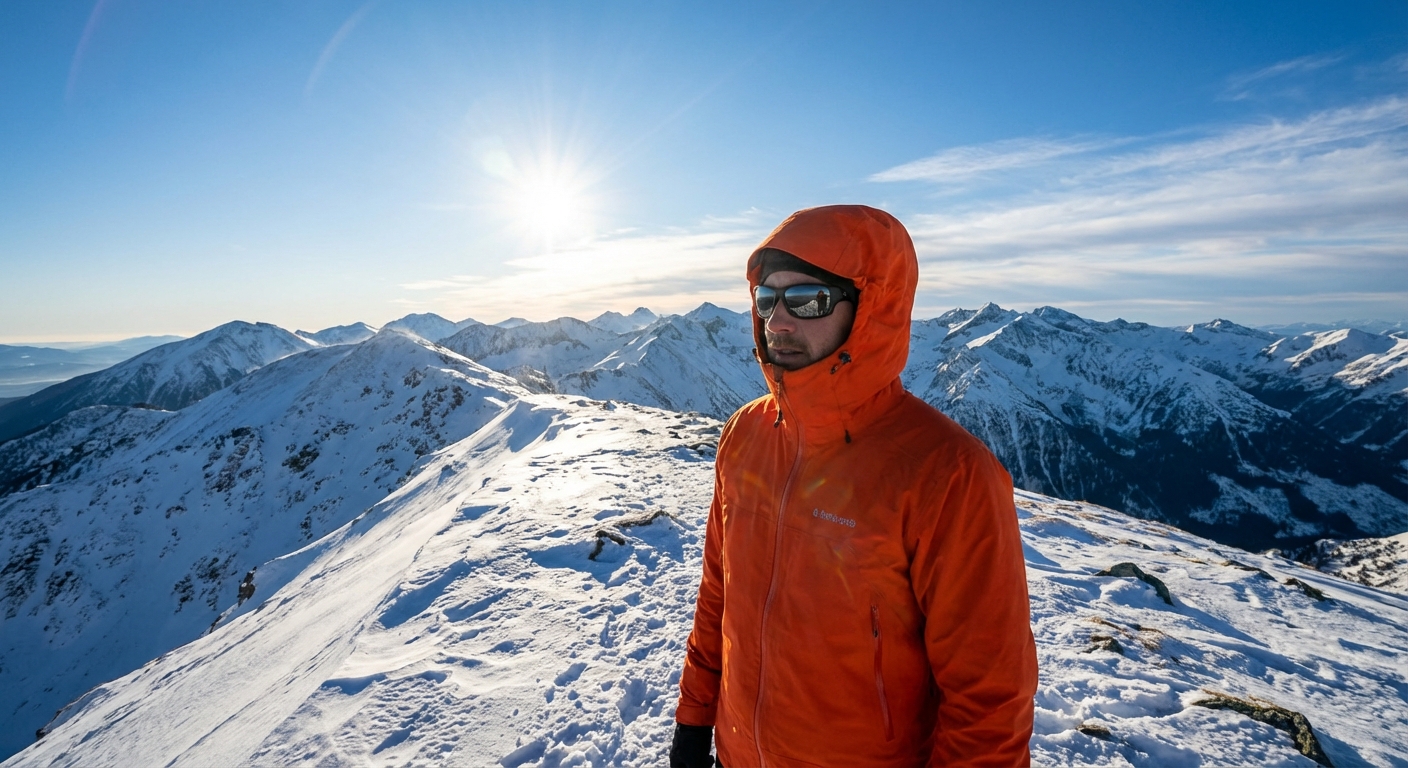
Sun and wind
Cold air does not mean low UV. Snow reflects sunlight, and wind strips heat even on “mild” days.
- Sunglasses: especially above treeline or on open snowfields.
- Sunscreen and lip balm: yes, even when it’s 25°F.
- Windproof layer: a shell that seals drafts makes a noticeable difference on ridges.
Quick checklist
If you already have a solid day-hiking kit, here’s the winter-specific overlay to keep it simple.
Add
- Microspikes (or snowshoes depending on conditions)
- Gaiters
- Insulated “stop layer” (down or synthetic puffy)
- Glove system (liners plus warm gloves or mittens)
- Warm hat and neck gaiter
- Emergency bivy or compact shelter
- Extra headlamp battery or backup light
- Insulated bottle sleeve or thermos
- Extra snacks (and a plan to keep a couple from freezing)
Swap or adjust
- Hydration bladder to bottles when temperatures are near freezing
- Trail runners to waterproof boots when snow is consistent or temps are low
- Cotton to wool or synthetics for base layers and socks
- Battery strategy: lithium if possible, and keep phone and spares warm
- Map strategy: offline maps and a plan for trail coverage under snow
My winter gear decision tree
When I’m deciding what to throw in my pack before a winter hike near town, I ask:
- Is the trail likely packed and shiny? Bring microspikes.
- Is it likely soft and deep? Bring snowshoes, plus gaiters.
- Will it be below freezing at any point? Bring bottles, protect any filter, pack an insulated stop layer.
- Is my turnaround time close to sunset? Bring a headlamp even if you “won’t need it.”
- Am I hiking somewhere exposed and windy? Prioritize windproof layers, face coverage, and warm gloves.
- Could this route touch avalanche terrain? Check the avalanche forecast and choose terrain that matches your training.
Winter hiking can be quiet, sparkling, and oddly luxurious when you’re prepared. You get the rugged adventure, then you can still end your day in town with warm soup and a great coffee shop. That is my favorite kind of balance.