Biking Yosemite Valley: Paths, Rentals, and Turnarounds

Maya Lin
Maya Lin is a travel journalist and outdoor enthusiast who believes the best trips combine rugged adventures with urban comforts. After spending six years backpacking across four continents, she founded Trail & Town Guide to help fellow travelers navigate both hidden mountain passes and bustling city neighborhoods with confidence.
The first time I biked Yosemite Valley, I expected an epic workout. What I got instead was something better: that rare National Park experience where you can move fast enough to feel the breeze off the Merced River, slow enough to notice the scent of sun-warmed pine needles, and skip a whole lot of parking stress.
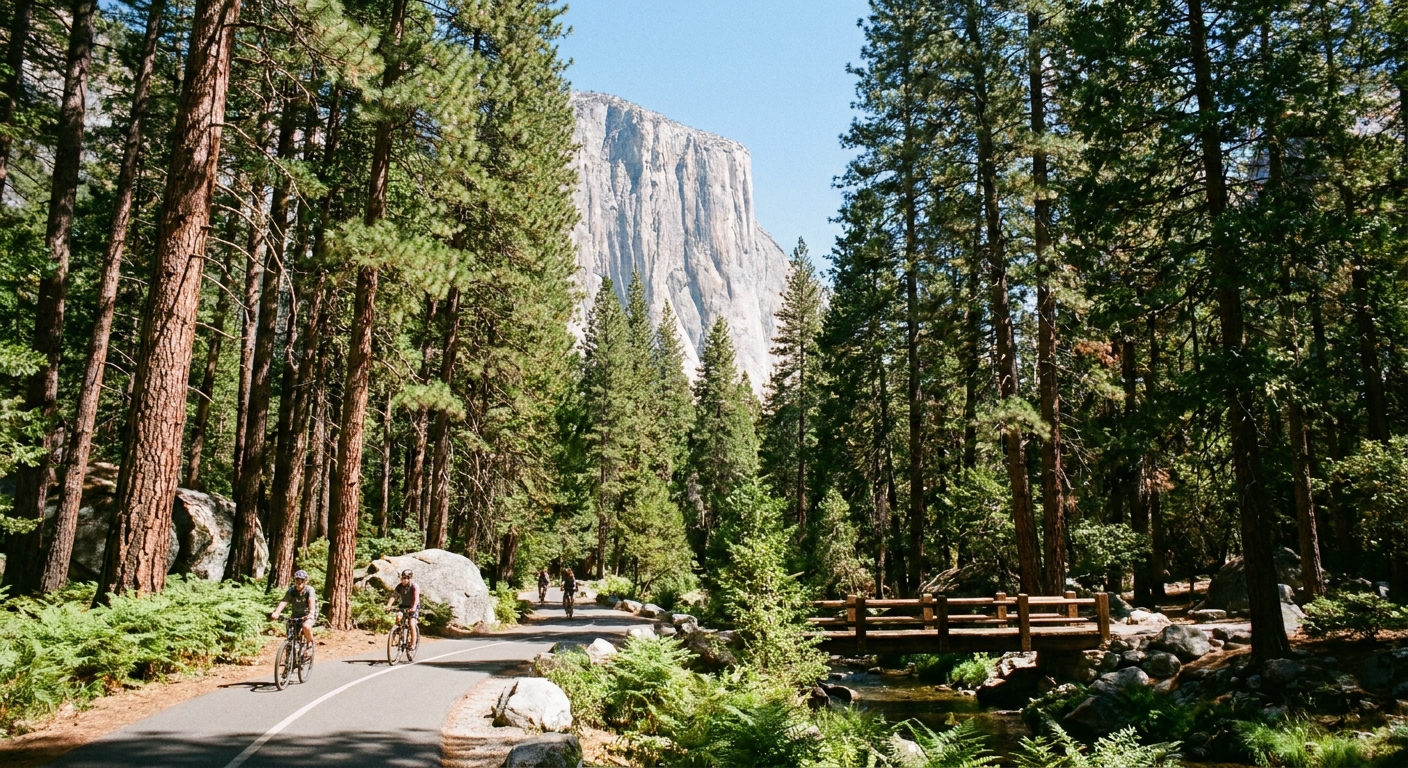
Yosemite Valley’s paved bike paths are one of the most family-friendly ways to see the big-ticket views. But the system is a little quirky: there are short gaps where you share the road, a few places where bikes are not allowed, and enough junctions near Yosemite Village that it helps to have a simple plan before you start pedaling.
Start here
If you want the low-stress version of a Yosemite bike day, here is the order that works for me:
- Arrive early: Traffic stacks up fast in peak season, and the Valley is much calmer on two wheels before the late-morning rush.
- Park once, then bike: Pick a legal parking spot near where you want to start (often around the Yosemite Village area, campgrounds, or day-use lots), then switch to bikes for the rest of your Valley sightseeing.
- Choose one turnaround: Happy Isles, Yosemite Falls area, or Mirror Lake trailhead are all solid. Having one target keeps the ride peaceful, especially with kids.
One more reality check: Yosemite entry requirements and traffic management can change by season. Before you go, check the official National Park Service Yosemite website for current entry and parking guidance so your bike day does not start with a surprise delay.
The paved bike path, explained
Yosemite Valley has a network of mostly paved, mostly flat multi-use paths that link major viewpoints, picnic areas, campgrounds, and village services. You can ride point-to-point, but most visitors do simple out-and-backs from wherever they parked or rented a bike.
What “paved” really means here
- Mostly paved paths: Wide, smooth sections that feel like a greenway ride.
- Short on-road connectors: A few spots where you ride on the Valley roads to reach the next path segment.
- Occasional rougher bits: Depending on where you detour, you may hit short stretches that feel bumpier, narrower, or more crowded than the main path.
If you are riding with kids, trailers, or newer riders, the gentle grades and predictable terrain are the magic. The biggest challenges are crowds near Yosemite Village and keeping everyone comfortable sharing space with walkers, runners, and other bikes.
Road rules for riders
Even if you plan to stick to the paths, you will likely use a road segment at least once. Yosemite Valley also uses one-way traffic patterns in places, which can affect how you return if you miss a turn.
Simple etiquette and safety
- Stay right, pass left: Call out when passing, especially in busy areas.
- Yield to pedestrians: On multi-use paths, slow down early and give people space. The Valley is not the place to practice squeezing by.
- Ride single file in crowds: The Village zone can feel like a moving sidewalk at peak times.
- Control your speed: Treat shaded corners and busy junctions as blind turns. Someone will step sideways without looking.
- Use lights in low light: Early morning and dusk rides are gorgeous, but shaded sections get dim fast.
- Wear a helmet: I treat this as non-negotiable, especially for kids. If you are renting, do a quick fit check before you roll out.
- Lock it every time: Bring a lock or confirm one is included with your rental if you plan to stop for food or short walks.
One-way road reality check: On one-way roads, bikes follow the same direction as vehicles unless posted signs tell you otherwise. If you find yourself facing the wrong way, do not ride against traffic. Hop back onto the nearest path, or turn around and follow the signed flow.
Common confusion zones: The area around Yosemite Village is where I see the most hesitating and U-turns, especially near road crossings and the cluster of services, shuttle stops, and parking lots. In practice, this is where the bike path can suddenly feel like it splits, then reunites, with lots of people walking in every direction. When in doubt, slow down, look for the bike path symbol signage, and follow the flow rather than trying to shortcut through foot traffic.
Where bikes are not allowed
Yosemite is bike-friendly, but it is not a free-for-all. In plain language that matches how the park tends to post it: bicycles are permitted on roads and designated bike paths, and not permitted on trails. If you are tempted to roll onto something that feels like a hiking route, assume it is a no unless signs clearly say bikes are allowed.
Common no-go areas
- Hiking trails: If it looks like a trail to a waterfall or up granite steps, plan to walk your bike-free version instead.
- Signed dismount zones: In the Village core, temporary or permanent dismount areas pop up where foot traffic is dense.
- Narrow, pedestrian-heavy walkways: Even where it is technically possible, it is often a bad idea at peak times.
How to confirm on the ground: Pay attention at junctions. If you see a “No bikes” sign, believe it. When in doubt, lock up at a rack and walk the last stretch.
E-bikes and shuttles
E-bikes
E-bike rules can change based on Yosemite’s current Superintendent’s Compendium and where you are riding. The evergreen rule to keep in your head is this: e-bikes are generally only allowed in places where traditional bicycles are allowed, unless Yosemite’s compendium further restricts them.
My practical advice: Before your trip, check the National Park Service Yosemite “Bicycling” page and the current Superintendent’s Compendium for Yosemite. If you are renting, ask the rental desk what is currently allowed on Valley bike paths and roads.
Shuttles
If you are picturing a seamless bike plus shuttle combo, pause and verify. Shuttle and bus policies for bicycles can be limited, seasonal, or not offered on certain routes. I plan my day as if I will be riding and walking, then treat any bike-on-shuttle option as a bonus only if Yosemite explicitly allows it that day.
Bike rentals in Yosemite Valley
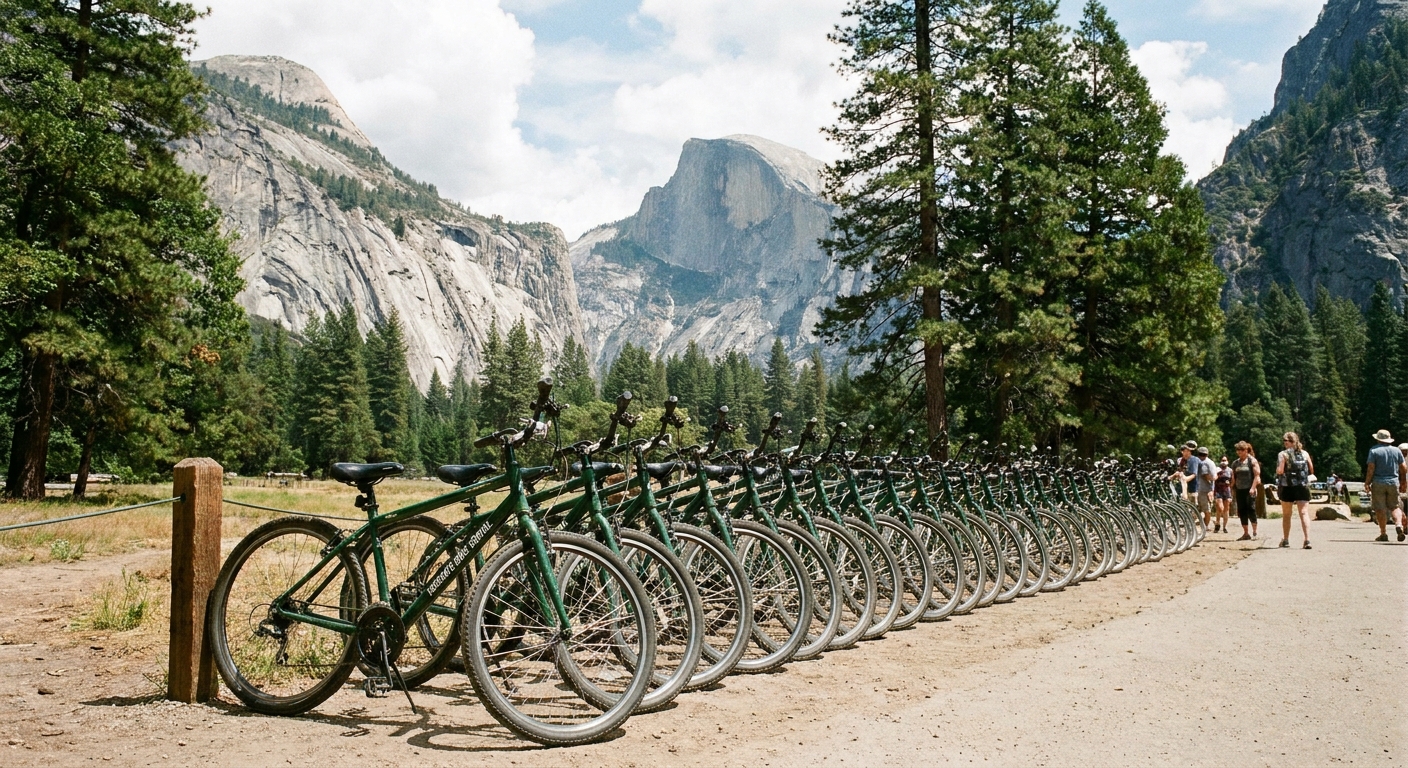
If you are staying in the Valley, renting is often easier than hauling your own bike and worrying about storage. Rentals also let you bike on the day you arrive without committing trunk space for your entire trip.
Where to rent
Bike rentals in Yosemite Valley are seasonal and usually centered around the Yosemite Village services area. Because operators and hours can shift, I do two quick checks before I build my day around a rental:
- Confirm rentals are open for your dates: Check the National Park Service Yosemite “Bicycling” page or “Services” information for current rental details and hours.
- Ask what is included: Helmet, lock, basket, and child seat availability varies. I also like to do a 30-second safety check: seat height, brakes, and tire firmness before we leave the counter.
- Start early: On busy days, getting your bike earlier makes everything else easier.
Three classic rides
Think of these as choose-your-own-effort routes. All three work as short spins or half-day cruises depending on how many stops you make for photos, snacks, and pebble-skipping by the river.
Quick mileage note: These distance ranges are intentionally broad because your exact mileage depends on where you start (which parking lot, which campground, which lodge), small detours, and the Valley’s connector segments.
1) Happy Isles
Why I love it: It is scenic, gentle, and easy to make into a simple out-and-back without anyone melting down.
What you will see: River views, shady sections, and a trailhead-heavy zone at the east end of the Valley.
Easy turnaround: Turn around at the Happy Isles area once the path funnels into heavier foot traffic and trailhead bustle. It keeps the ride relaxing and avoids awkward bike weaving where lots of people are walking.
Distance and time: From the Yosemite Village area, this is often roughly 4 to 7 miles round trip depending on your start point and detours. With kids, I plan by time: 45 to 90 minutes total with stops is a sweet spot.
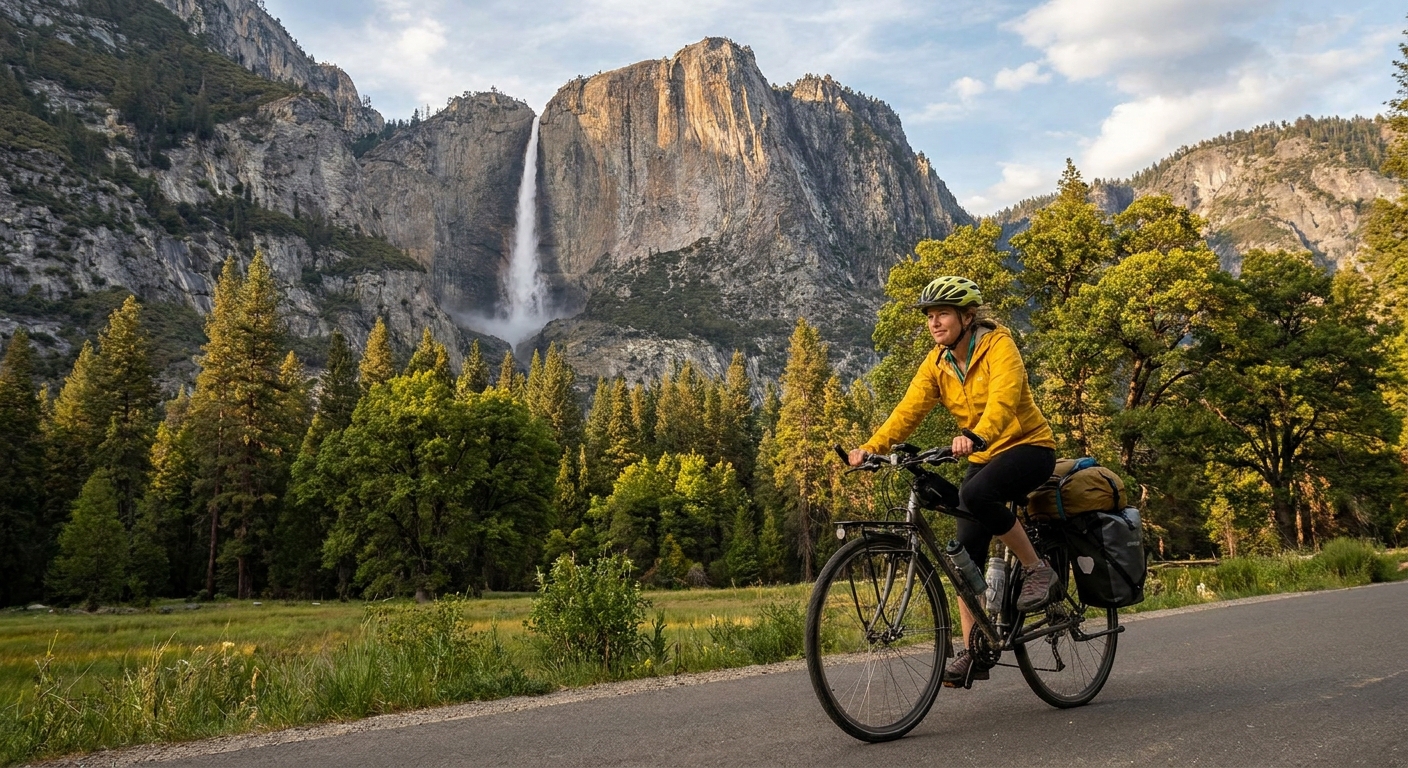
2) Yosemite Falls area
Why I love it: You get the payoff quickly. Even if you only have an hour, you can roll out, grab the view, and roll back.
What you will see: Open Valley meadows, classic granite walls, and viewpoints toward Yosemite Falls (flow is seasonal).
Easy turnaround: Turn around near the Yosemite Falls area where you find bike racks and footpaths that lead toward viewing spots. Park the bike and walk if you want a closer look.
Distance and time: From Yosemite Village, many riders can make this a 2 to 5 mile round trip depending on the exact viewing stop you choose. It is a great “short but memorable” option.
Pro tip: If the paths feel crowded midday, aim for earlier in the morning. The light on the cliffs is prettier, and you will spend less time braking for pedestrians.
3) Mirror Lake trailhead
Why I love it: It feels like you earned a destination. Mirror Lake is a classic, but it tends to be more pleasant when you arrive without the parking hunt.
What you will see: North Valley scenery beneath Half Dome, plus a popular walking area near the lake.
Know before you go: The approach to the Mirror Lake area can feel more complicated than the simplest Village-to-viewpoint spins because you may encounter short on-road connectors and heavier pedestrian concentrations near the trailhead. I treat this as a ride to the trailhead zone, then plan to lock up and walk rather than trying to thread a bike through dense foot traffic.
Easy turnaround: For most groups, the sweet spot is the Mirror Lake trailhead area. Look for bike parking near the trailhead and be ready to switch to walking if signage or crowds make biking feel like a bad call.
Distance and time: Depending on your start point, many riders will land in the ballpark of 5 to 10 miles round trip. The exact number varies a lot with routing, so I plan this one as a half-morning with stops rather than a tight mileage goal.
Best easy plan
If you want a single plan you can commit to without overthinking: bike from Yosemite Village toward Happy Isles, then turn around at Happy Isles.
- Why it works: It is flat, scenic, and flexible.
- Good for: Kids on their own bikes, casual riders, and anyone juggling snacks, water bottles, and a camera.
- Second-best easy plan: If you want a different payoff with similarly low effort, do a short out-and-back toward the Yosemite Falls area and treat it as a “ride, rack, walk a bit, ride back” loop.
What to pack
I am a carry-on-only traveler, but Yosemite makes even me loosen my minimalism rules a little. A few small extras make biking calmer, especially with kids.
- Water: More than you think. The Valley heat can sneak up on you. Top off when you can, because refill options can be busy or not where you hoped they would be.
- Sun protection: Sunscreen and sunglasses. Meadow sections can be surprisingly bright.
- Layers: Mornings can start cool, even in summer.
- Lock: Essential if you plan to stop anywhere. Confirm if rentals include one.
- Snacks: The bike path is not the place to discover a hungry meltdown.
- Offline map screenshot: Service is spotty. Screenshots save small arguments.
- Food storage awareness: If you picnic, follow Yosemite’s food storage rules. Do not leave food unattended while you wander off for a photo.
Timing and crowds
- Best time of day: Early morning for lighter crowds and prettier light.
- Best strategy: Start with a destination in mind (Happy Isles, Yosemite Falls area, or Mirror Lake trailhead), then wander on the return.
- Worst pinch points: Around Yosemite Village services and popular trailheads. Slow down and expect unpredictable foot traffic.
- After dark: I avoid it unless I have lights and a clear reason. The Valley gets very dim in shaded sections, and it is harder to see pedestrians and wildlife.
Closures and conditions
Yosemite Valley changes with the seasons, and the bike experience changes with it.
- Spring: High water and muddy shoulders can affect where you comfortably stop, and occasional flooding can trigger temporary closures or reroutes.
- Summer: Heat and crowds are the main issues. Start early and carry more water than you think you need.
- Fall: Cooler temps are ideal, but daylight shrinks quickly.
- Winter: Snow and ice can make paths slick or closed.
Before you ride, check Yosemite’s official conditions and alerts so you are not surprised by a closure, detour, or construction zone.
FAQ
Can I bike the whole Valley without riding on roads?
You can cover a lot of Yosemite Valley on paved paths, but expect a few short connectors where you will ride on the road to reach the next path segment. If you are riding with kids, choose one out-and-back route that stays mostly on the path network, like the Yosemite Village to Happy Isles ride.
Are e-bikes allowed on the Yosemite Valley bike path?
Sometimes, but do not guess. As a general rule, e-bikes are only allowed where traditional bicycles are allowed, unless Yosemite’s Superintendent’s Compendium further restricts them. Check the National Park Service Yosemite “Bicycling” page and the current Superintendent’s Compendium before you ride, or confirm at the rental desk if you are renting in the Valley.
Where should we turn around for an easy ride?
My favorite low-stress turnaround is Happy Isles. It is scenic, mostly flat, and straightforward to ride out and ride back the same way.