Granite Mountain Lookout via I-90

Maya Lin
Maya Lin is a travel journalist and outdoor enthusiast who believes the best trips combine rugged adventures with urban comforts. After spending six years backpacking across four continents, she founded Trail & Town Guide to help fellow travelers navigate both hidden mountain passes and bustling city neighborhoods with confidence.
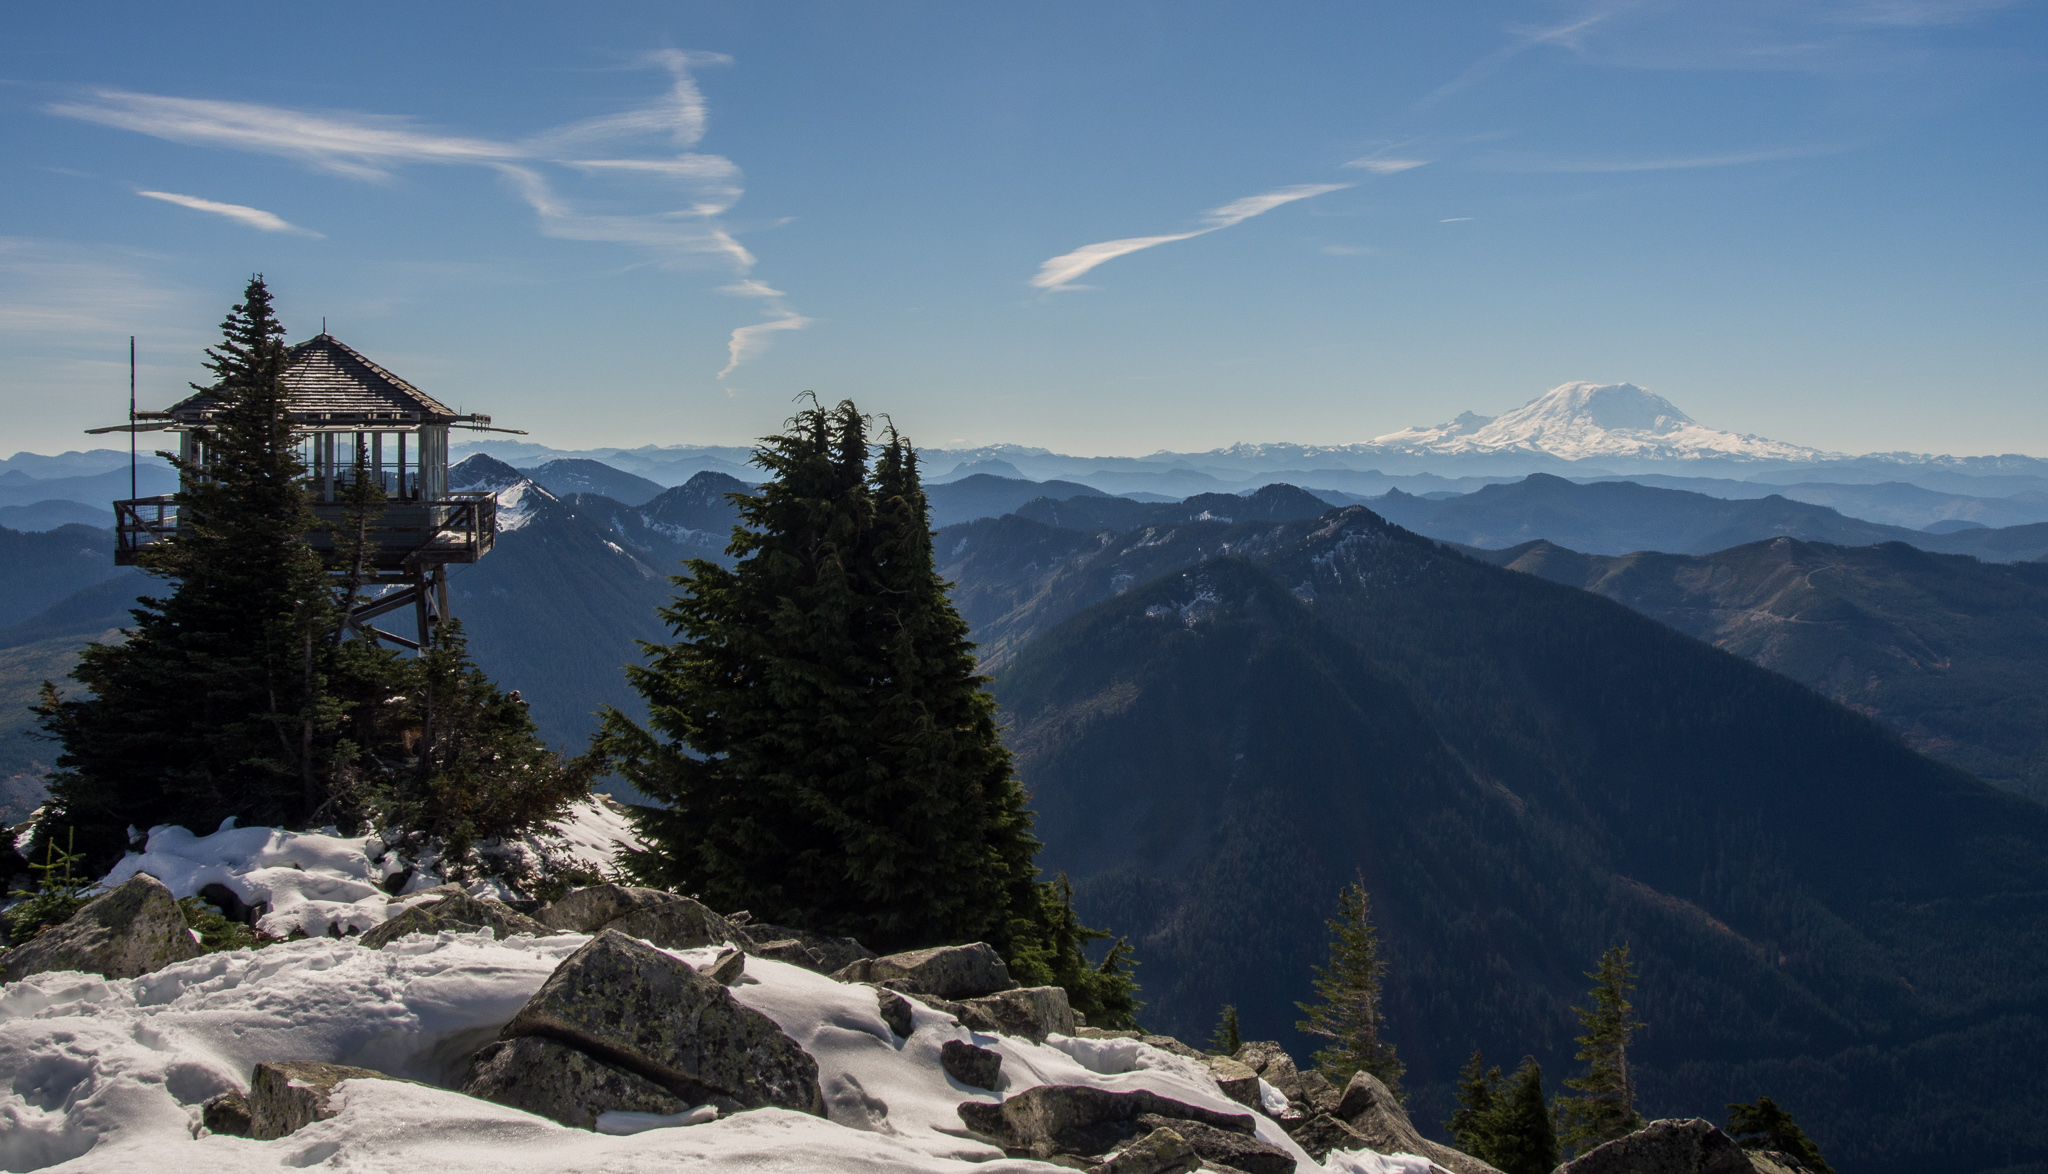
Granite Mountain Lookout is one of those Washington hikes that feels almost too good to be true: a real fire lookout perched high above I-90, big-sky views for days, and a trailhead you can reach without a complicated shuttle plan. The catch is that it is steep, it is relentless, and in winter it is not a casual snowshoe. If you have ever wondered why locals talk about turning around in snow season, this is the hike that teaches you.
Granite Mountain Lookout at a glance
- Round-trip distance: about 8.6 miles (devices vary, and small routefinding differences can change totals)
- Elevation gain: about 3,800 feet
- Time: plan 5 to 8 hours depending on pace, breaks, and conditions
- Difficulty: strenuous because it gains most of its elevation quickly
- Trail type: out-and-back to the lookout
- Best season: summer into early fall when the upper mountain is mostly snow-free
This hike is popular for a reason, so start early if you want quieter switchbacks and easier parking.
Getting there from I-90
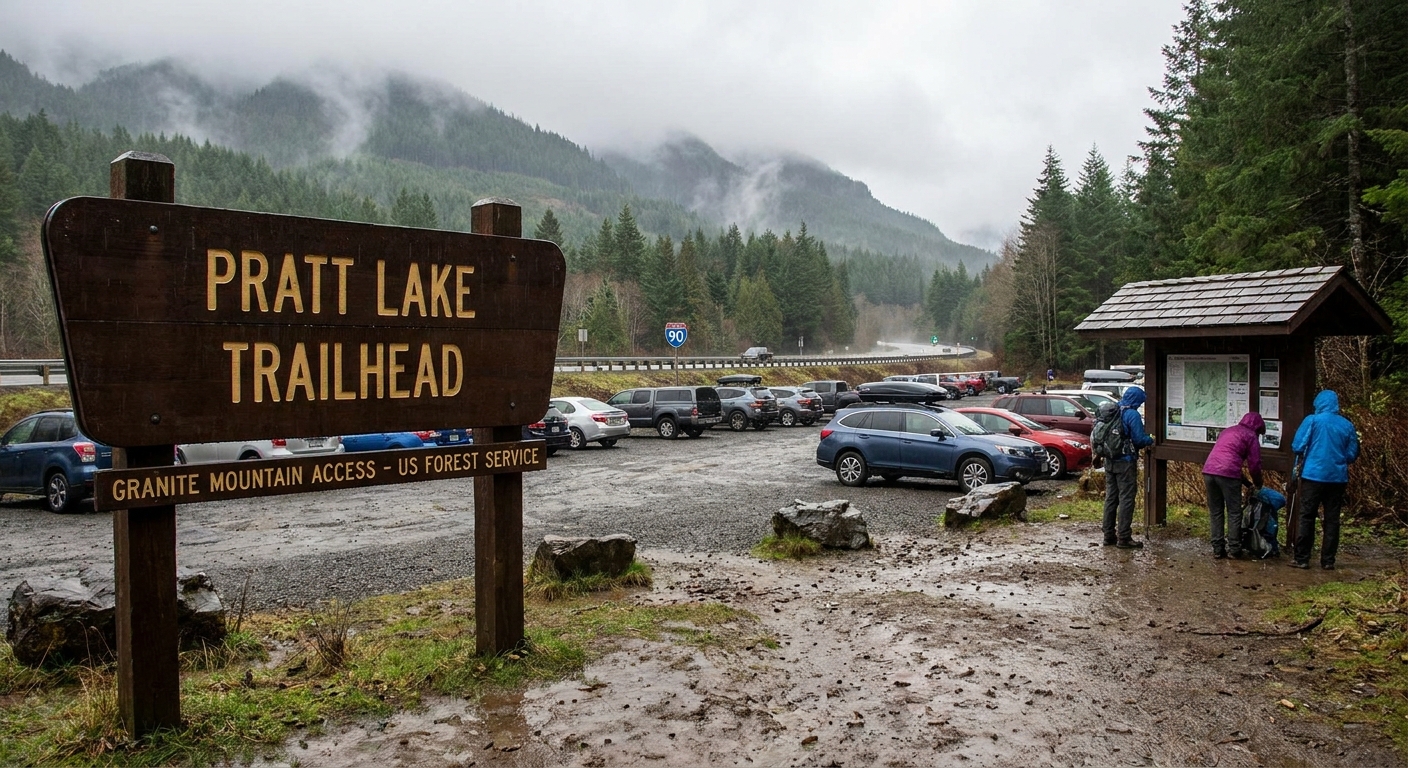
The Granite Mountain Trail starts from the trailhead lot off I-90 near Snoqualmie Pass that is commonly signed for Pratt Lake and used for multiple routes, including Granite Mountain. Use Exit 47 and follow signs for the trailhead parking. Depending on the map app you use, you may see it labeled as Pratt Lake Trailhead or Granite Mountain Trailhead. On the ground, the key is following the Pratt Lake signage into the shared lot.
Trailhead parking: The lot fills quickly on summer weekends, especially late morning onward. If you arrive to a full lot, do not improvise illegal roadside parking. That is how tow days and ticket days happen on I-90.
Pass and permits
Parking requirements at Snoqualmie Pass area trailheads can change, and some lots have different rules than you would expect from the name alone. Before you go, verify the current requirement for this specific lot using an official source (typically the Forest Service page for the trailhead or the local ranger district).
- What you might need: A Northwest Forest Pass is commonly required at many Mount Baker-Snoqualmie National Forest trailheads, and this lot is often treated the same way.
- Interagency passes: The America the Beautiful pass is accepted at many federal fee sites, but not every trailhead is a standard “fee site.” Confirm acceptance for this lot before relying on it.
If you want the simple, responsible move: check the managing agency listing the day before, then bring the pass it calls for.
Good to know
- Dogs: Typically allowed on this trail in the National Forest. Keep your dog under control and be ready to leash up around crowds, wildlife, and narrow trail sections.
- Toilets: Do not assume there will be a restroom at the trailhead, and do not count on anything at the summit. Plan accordingly and pack out all trash.
- Water: This hike is often dry in summer, especially higher up. Do not bank on streams being available when you need them.
- Lookout access: Treat the lookout as a historic structure, not a shelter. It may be closed or locked at times, and access can vary by season and management.
Trail breakdown
1) Steep forest climb
You start in dense evergreens and get right into it. The grade is consistently steep, the tread is well-used, and you will likely hear I-90 below for a while. This is a good place to settle into a slow, sustainable pace. Granite Mountain rewards people who do not sprint the first mile.
2) Long switchbacks
As you gain elevation, the trail leans into a series of long switchbacks. In summer these can feel like a warm-up for your lungs and a workout for your calves. They can also feel hot and exposed in places, even when it is cooler at the pass, so plan for sun and heat.
- Tip: I like to bring an extra half liter of water more than I think I need. On steep, sunny switchbacks, you drink it.
- Tip: Trekking poles help on the descent, when the steep grade is harder on knees than it looks from the lookout.
3) Upper mountain
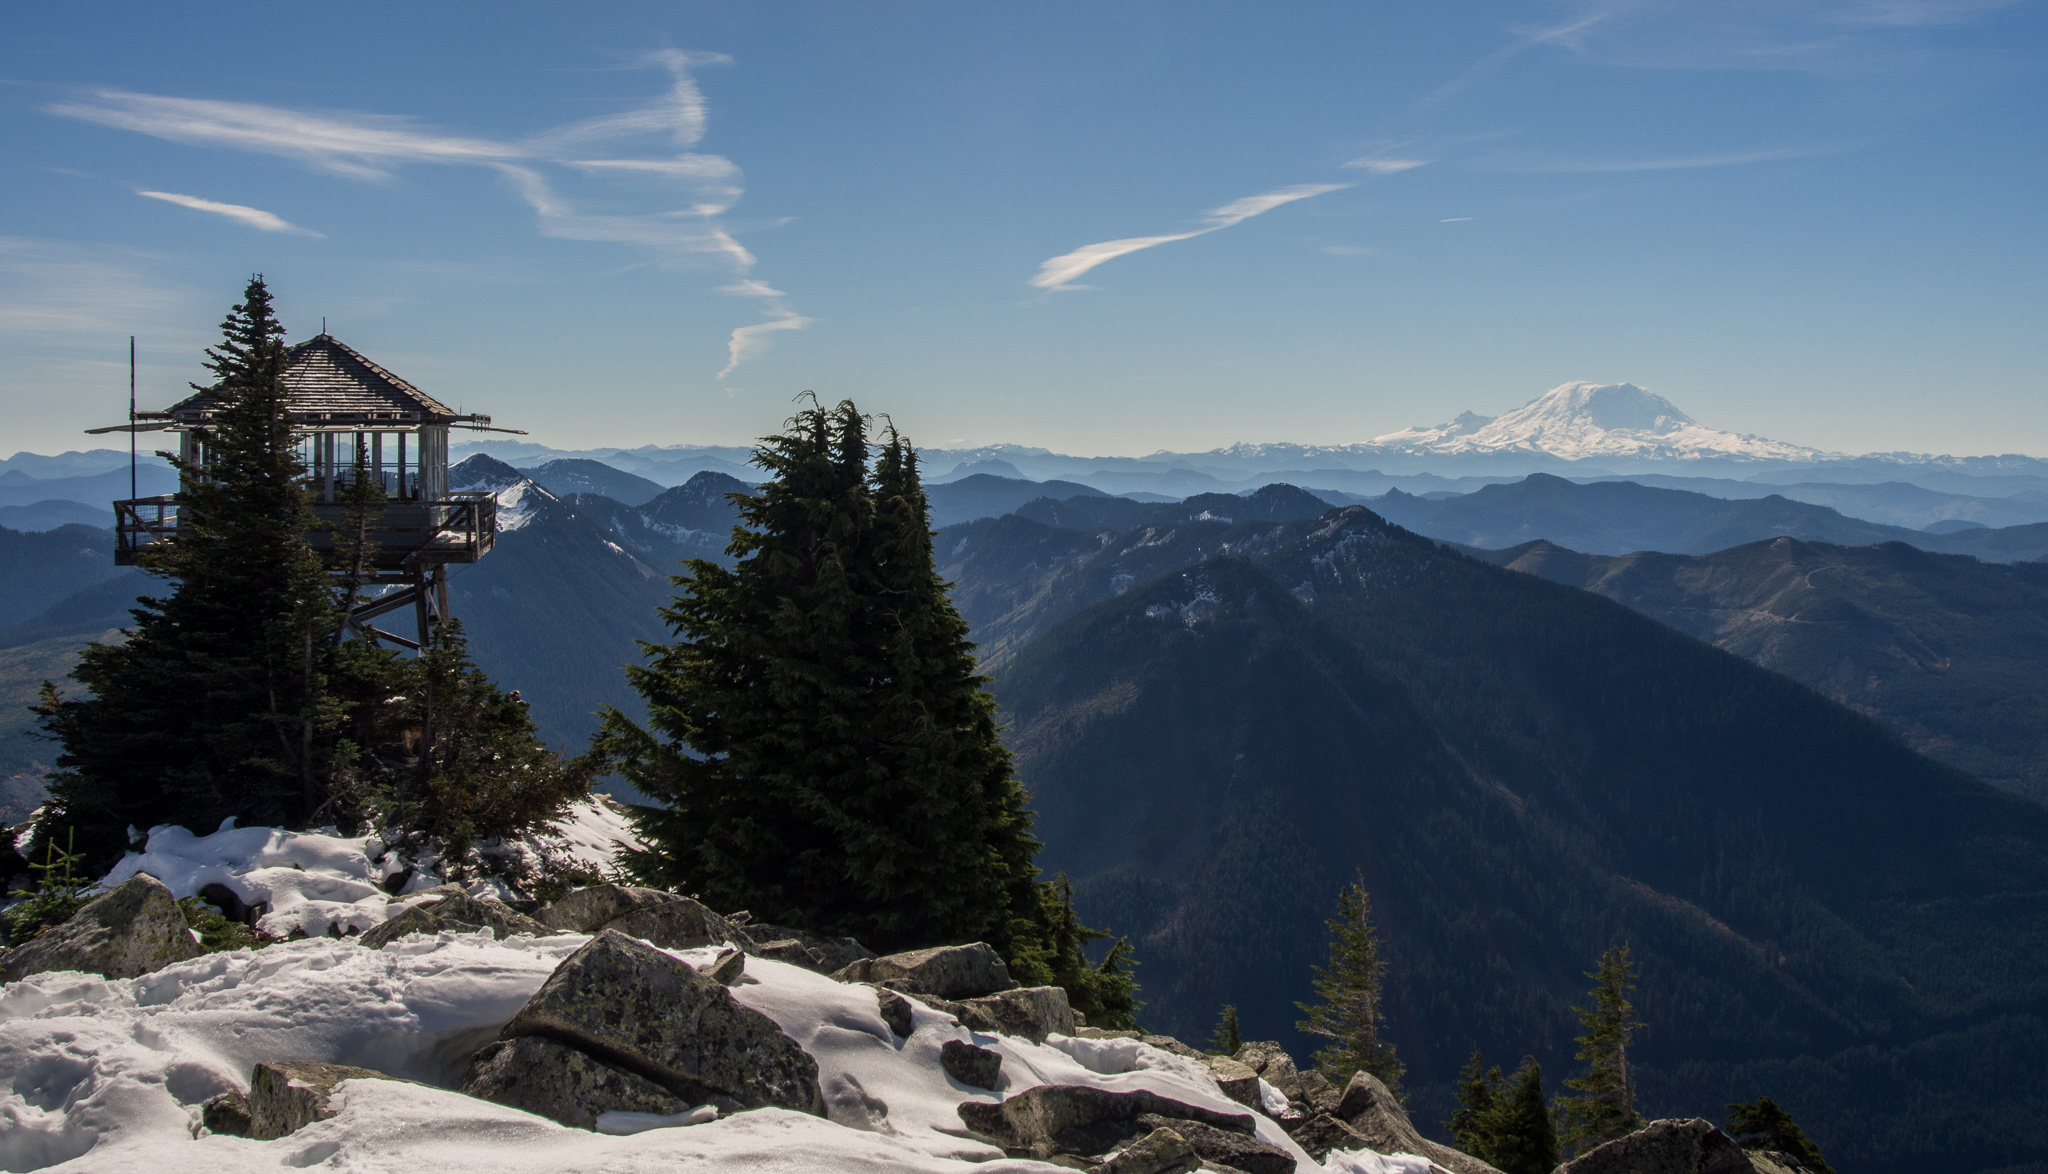
Near the top, the mountain opens up and the trail transitions into rock and alpine terrain. This is where the hike starts paying you back. On a clear day, the view list often includes big Cascade horizons and, yes, Mount Rainier. Depending on visibility and where you are standing on the summit rocks, you may also spot peaks and ridges down the I-90 corridor.
This is also where you want to be more deliberate about routefinding. One practical cue: stick with the most-worn path toward the rocky summit and lookout, and do not shortcut switchbacks. If you hit snow and cannot clearly follow the established track without guessing, that is a clean turnaround signal on this mountain.
4) The lookout
The Granite Mountain Lookout sits on the summit like a tiny cabin with a massive front yard. It is a historic fire lookout, and the summit area can feel windy and exposed. Bring a layer even on warm days.
Lookout note: Access can vary by season and conditions. Treat it respectfully, and do not assume the interior is open.
Summit etiquette: Space is limited. Share the best viewing spots, keep packs tucked out of the way, and remember that everyone up there worked for it.
What to pack
This is the gear list I reach for when I want to keep things light but still responsible in the Cascades. Carry-on-only mindset, trail edition.
- Water: 2 to 3 liters per person in summer, more if it is hot (do not count on reliable water sources late season)
- Food: a real lunch plus salty snacks
- Layers: light insulating layer and a windproof shell (the summit can be cold even on bluebird days)
- Sun protection: hat, sunglasses, sunscreen
- Navigation: downloaded map on your phone plus a backup plan (a battery pack is smart)
- Light: a headlamp, even for day hikes
- Basic safety: small first aid kit, whistle, and an emergency layer you do not hike in
- Emergency communication: expect spotty reception. If you have one, a satellite messenger is a nice-to-have, not a personality trait
- Footwear: grippy trail shoes or boots, depending on your comfort on steep descents
- Poles: optional, but very helpful on the way down
If you like simple rules, think “Ten Essentials,” then trim the duplicates. That keeps you fast without being reckless.
Winter avalanche risk
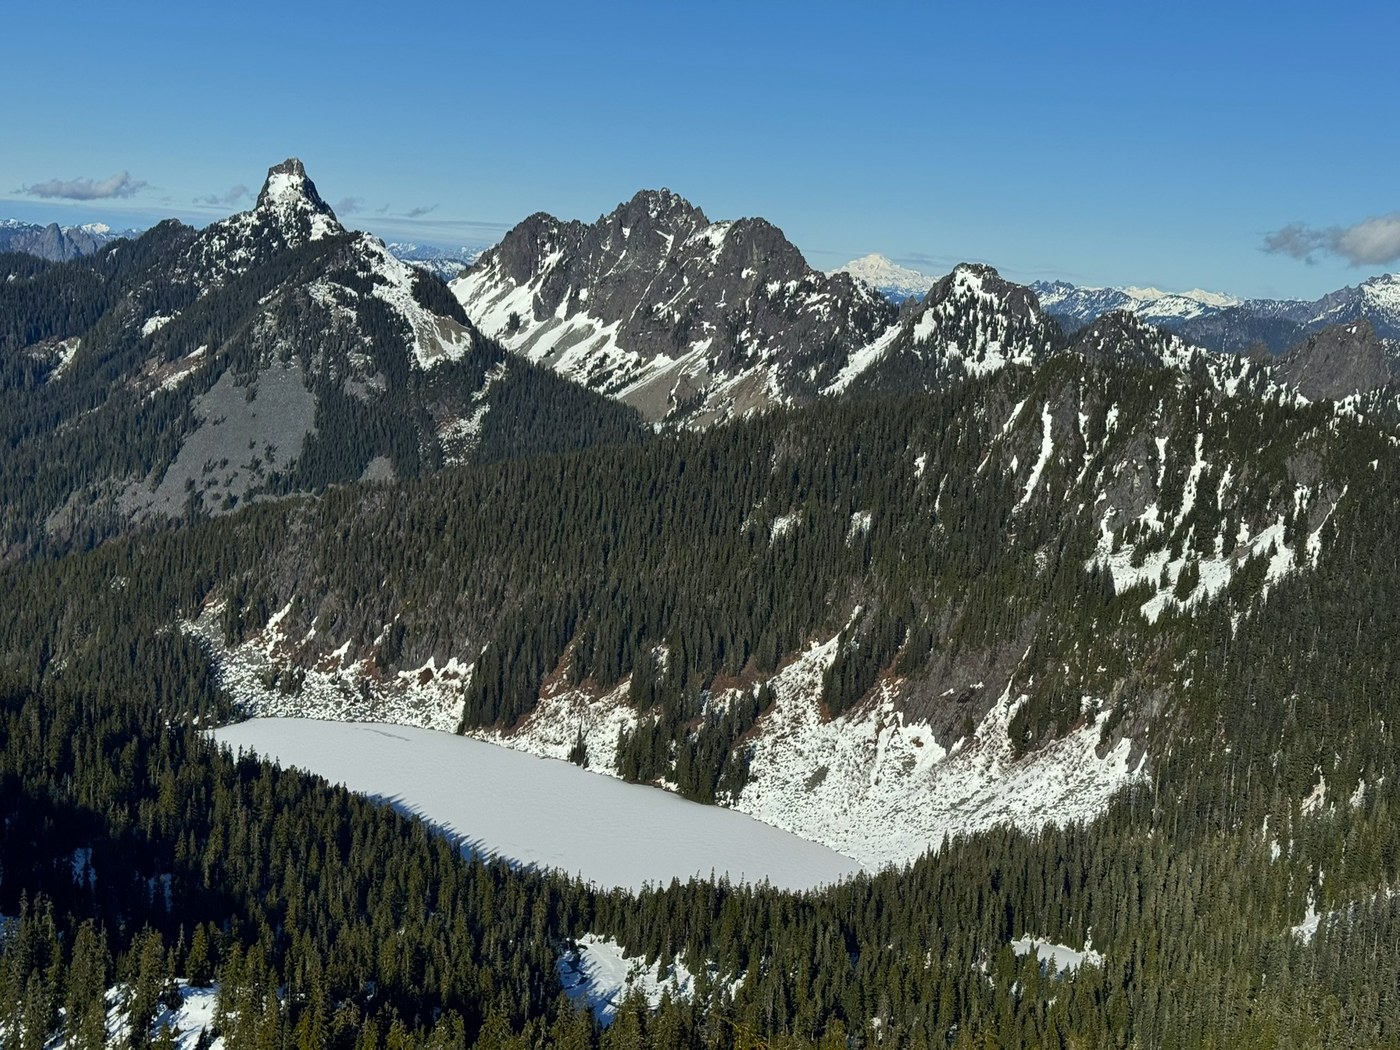
In winter and early spring, Granite Mountain is not “the same hike but with snow.” The upper route travels through and below steep alpine slopes that can slide. That matters because avalanche terrain is not solved by just wearing microspikes or following footprints.
If you are not trained and equipped for avalanche travel, the safest call for most hikers is simple: turn around before the terrain steepens and opens up, or choose a different objective that stays out of avalanche paths.
- Why people turn around: above treeline, the standard route gets steep and exposed, and conditions can change fast with storms, wind loading, or rapid warming.
- Red flags: recent heavy snowfall, wind-loaded ridges, warming temps, or any “whoomphing” or cracking in the snowpack.
- Bottom line: if you do not have avalanche education and the right tools, this is not the place to learn by trial and error.
When to go
Summer and early fall
- Best for: most hikers aiming for the lookout with minimal complications
- Go early: cooler climb, better parking odds, fewer crowds at the summit
- Watch for: lingering snowfields into early summer, especially near the top
- Also watch for: wind exposure at the summit, smoke later in the summer, and mosquitoes in buggy weeks
Shoulder season
- Expect variability: one weekend can be dry trail, the next can be slick snow patches
- Bring traction if needed: only if conditions warrant it and you know how to use it
- Be turnaround-ready: if you hit consistent snow on steep terrain, reassess
Summer vs winter
- Summer: Go if you are comfortable with a steep 8.6-mile hike and around 3,800 feet of gain. Start early, bring enough water, and plan for wind at the lookout.
- Winter (most hikers): Generally a no-go without avalanche training, proper rescue gear, and the ability to evaluate avalanche terrain and current conditions. Treat it as a turn-around hike well before exposed upper slopes.
If you want the fire lookout experience, make this your summer classic. In winter, respect what this mountain becomes and save your summit day for a safer season.