Upper Yosemite Fall Hike: Columbia Rock and Switchbacks

Maya Lin
Maya Lin is a travel journalist and outdoor enthusiast who believes the best trips combine rugged adventures with urban comforts. After spending six years backpacking across four continents, she founded Trail & Town Guide to help fellow travelers navigate both hidden mountain passes and bustling city neighborhoods with confidence.
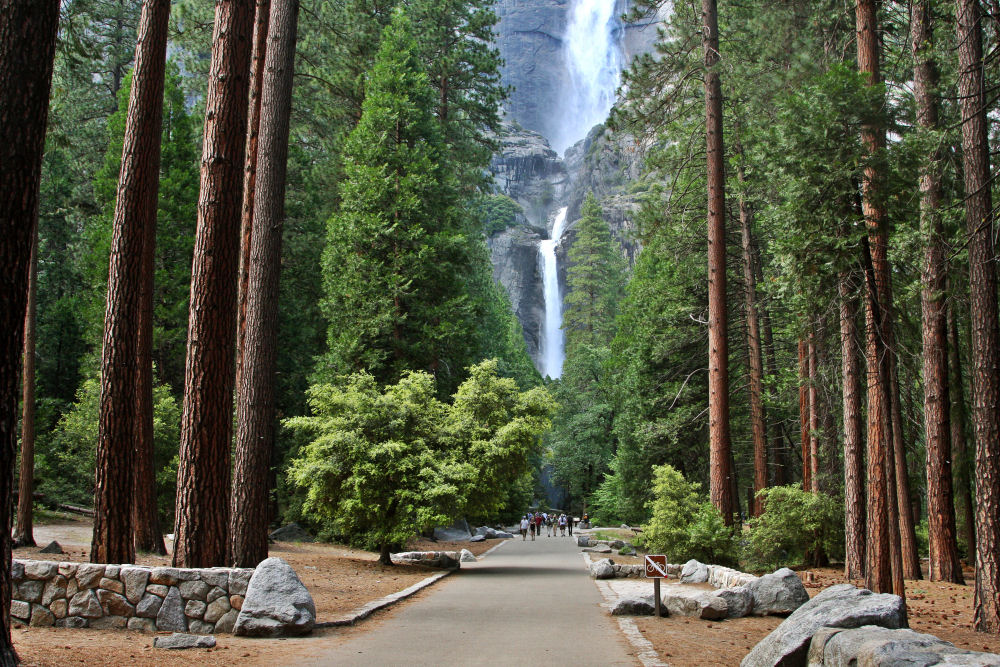
I love Yosemite days that start like a city morning. Coffee in hand, you are weaving past shuttle stops, tour buses, and the sleepy-bear-energy crowds in Curry Village hoodies. Then, within minutes, you are climbing into granite and oak woodland with the sound of Yosemite Falls somewhere above you like a distant train.
The Yosemite Falls Trail is one of the most iconic workouts in the park. It is also one of the most misunderstood. People hear “waterfall hike” and picture a shaded stroll. This one is a steep, sun-baked climb with serious elevation gain right out of the gate. The good news: you do not have to commit to the full haul to have a great day. Columbia Rock is a legit turnaround with a huge payoff, and the switchbacks above it have named milestones where you can reassess.
Quick facts
- Trail: Yosemite Falls Trail (Yosemite Valley to Columbia Rock, then onward toward Upper Yosemite Fall and Yosemite Point)
- Distance and gain (approx): Columbia Rock is about 1 mile one way with roughly 1,000 feet of gain. Upper Yosemite Fall is about 3.5 miles one way with roughly 2,700 feet of gain. Yosemite Point is about 4.7 miles one way with roughly 3,200 feet of gain.
- Turnaround options: Columbia Rock (shorter), top of the main switchbacks (strong half-day), Upper Yosemite Fall viewpoint (full classic), Yosemite Point (bigger day)
- Difficulty: Strenuous due to steep grade and heat exposure
- Exposure: Significant sun, especially above Columbia Rock
- Best time of day: Early morning for shade and fewer crowds
Those numbers are approximations for the standard route from the valley trailhead. Your actual mileage can vary depending on where you start, any spur viewpoints you take, and trail conditions. I focus below on how the route feels on the ground so you can make smart go or no-go decisions as you climb.
Know before you go
- Seasonality: Peak waterfall flow is usually in spring and early summer. Later summer and fall can be lower flow, which changes the “waterfall” part of the experience, but the heat can still be intense.
- Heat: In summer, this trail can feel brutally hot above Columbia Rock. Start early and plan your water like you mean it.
- Ice and snow: In colder months and shoulder seasons, the steps and shaded sections can be icy. Traction can be a smart call when conditions warrant.
- Water: Do not count on reliable potable water along the trail. Carry what you need for your planned turnaround plus a buffer.
- Permits and closures: No permit is required for day hiking this route, but trail conditions and closures happen. Check the National Park Service conditions page before you go.
Getting to the valley trailhead
The Yosemite Falls Trail starts in Yosemite Valley near the Yosemite Valley Lodge and Camp 4 area. In peak season, your biggest challenge may be logistics, not elevation.
My approach
- Start early: Earlier is cooler, calmer, and friendlier for parking and shuttle timing.
- Use the valley shuttle if you can: It can take the edge off parking stress and lets you focus on the climb instead of circling lots.
- Know your exit plan: This is an out-and-back for almost everyone. Whatever you climb, you descend the same way.
- Set your turnaround time before you start: If you are debating Columbia Rock versus higher, decide what time you will turn around no matter what. Your knees will thank you on the descent.
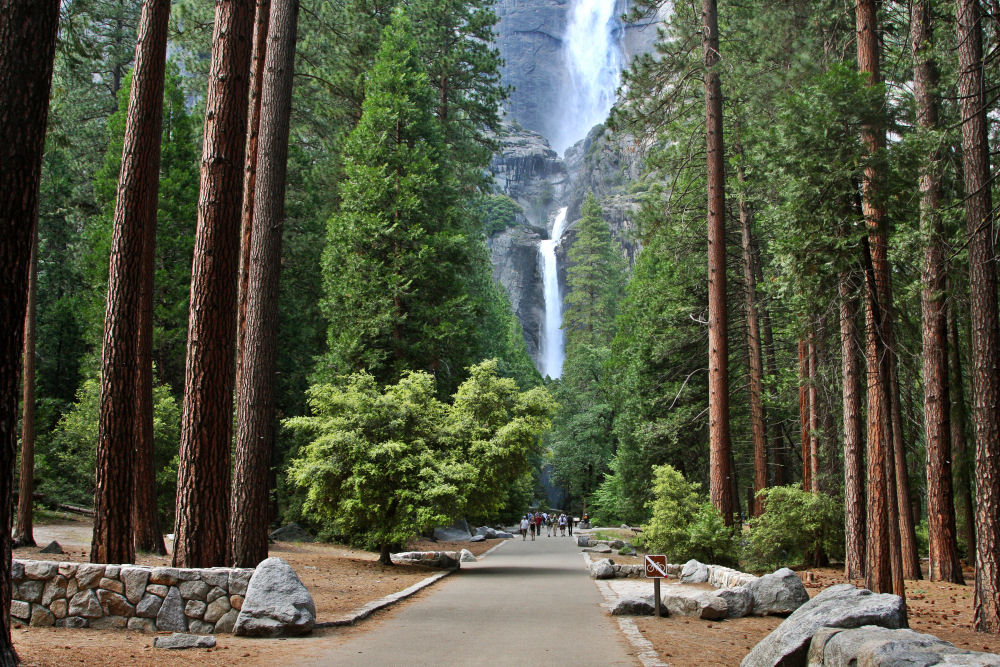
Trail breakdown: to Columbia Rock
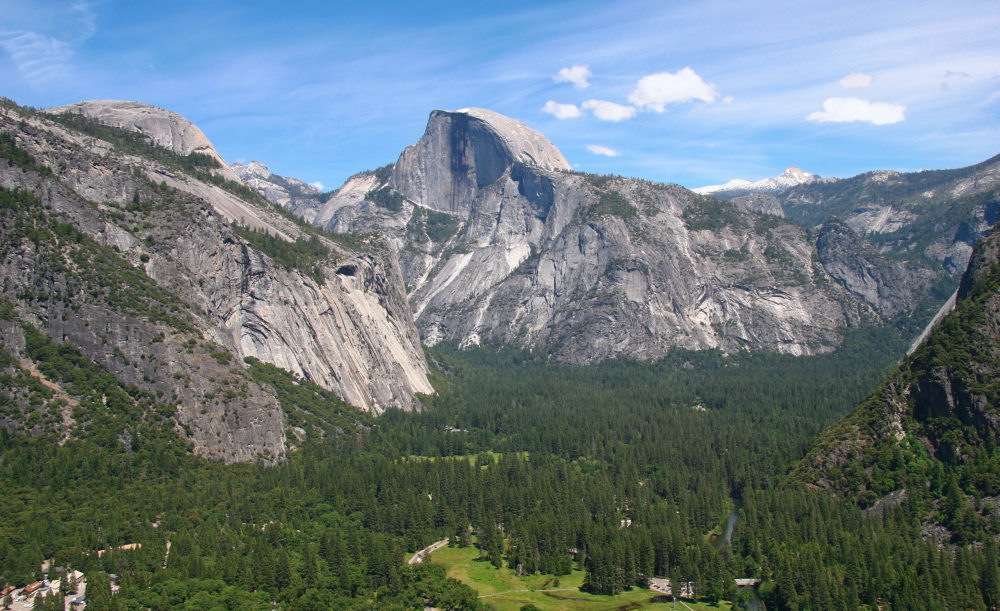
If you want the “I hiked Yosemite Falls” feeling without the full-body burn of going all the way up, Columbia Rock is your target. It is not a consolation prize. It is a real viewpoint with a big, open look across the valley. Depending on conditions, you can pick out major landmarks like Half Dome and the big walls and cathedrals of the valley, plus the general drama of being up and out over the treetops.
What the first stretch is like
The trail starts climbing quickly through mixed forest and granite steps. Expect a steady grade, frequent foot traffic, and plenty of places to step aside for uphill hikers. This section can feel deceptively tough because your body is still cold and you have not found your rhythm yet.
Pacing tips that actually work
- Use the “conversation test”: If you cannot say a full sentence, slow down. You will last longer.
- Short steps on steep granite: It saves your calves and reduces slipping.
- Micro breaks: Stop for 20 to 40 seconds, sip water, then keep moving. Long breaks can make you stiff.
Columbia Rock: a perfect turnaround
Columbia Rock is the first major psychological milestone on this trail. You are high enough to feel like you earned it, but you are not committed to the long exposed grind above.
Turn around here if:
- it is already hot in the shade
- your water is dropping faster than expected
- you are hiking with kids, first-timers, or anyone not loving the grade
- you planned a half-day and want to keep the rest of your itinerary relaxed
Above Columbia Rock: the switchbacks
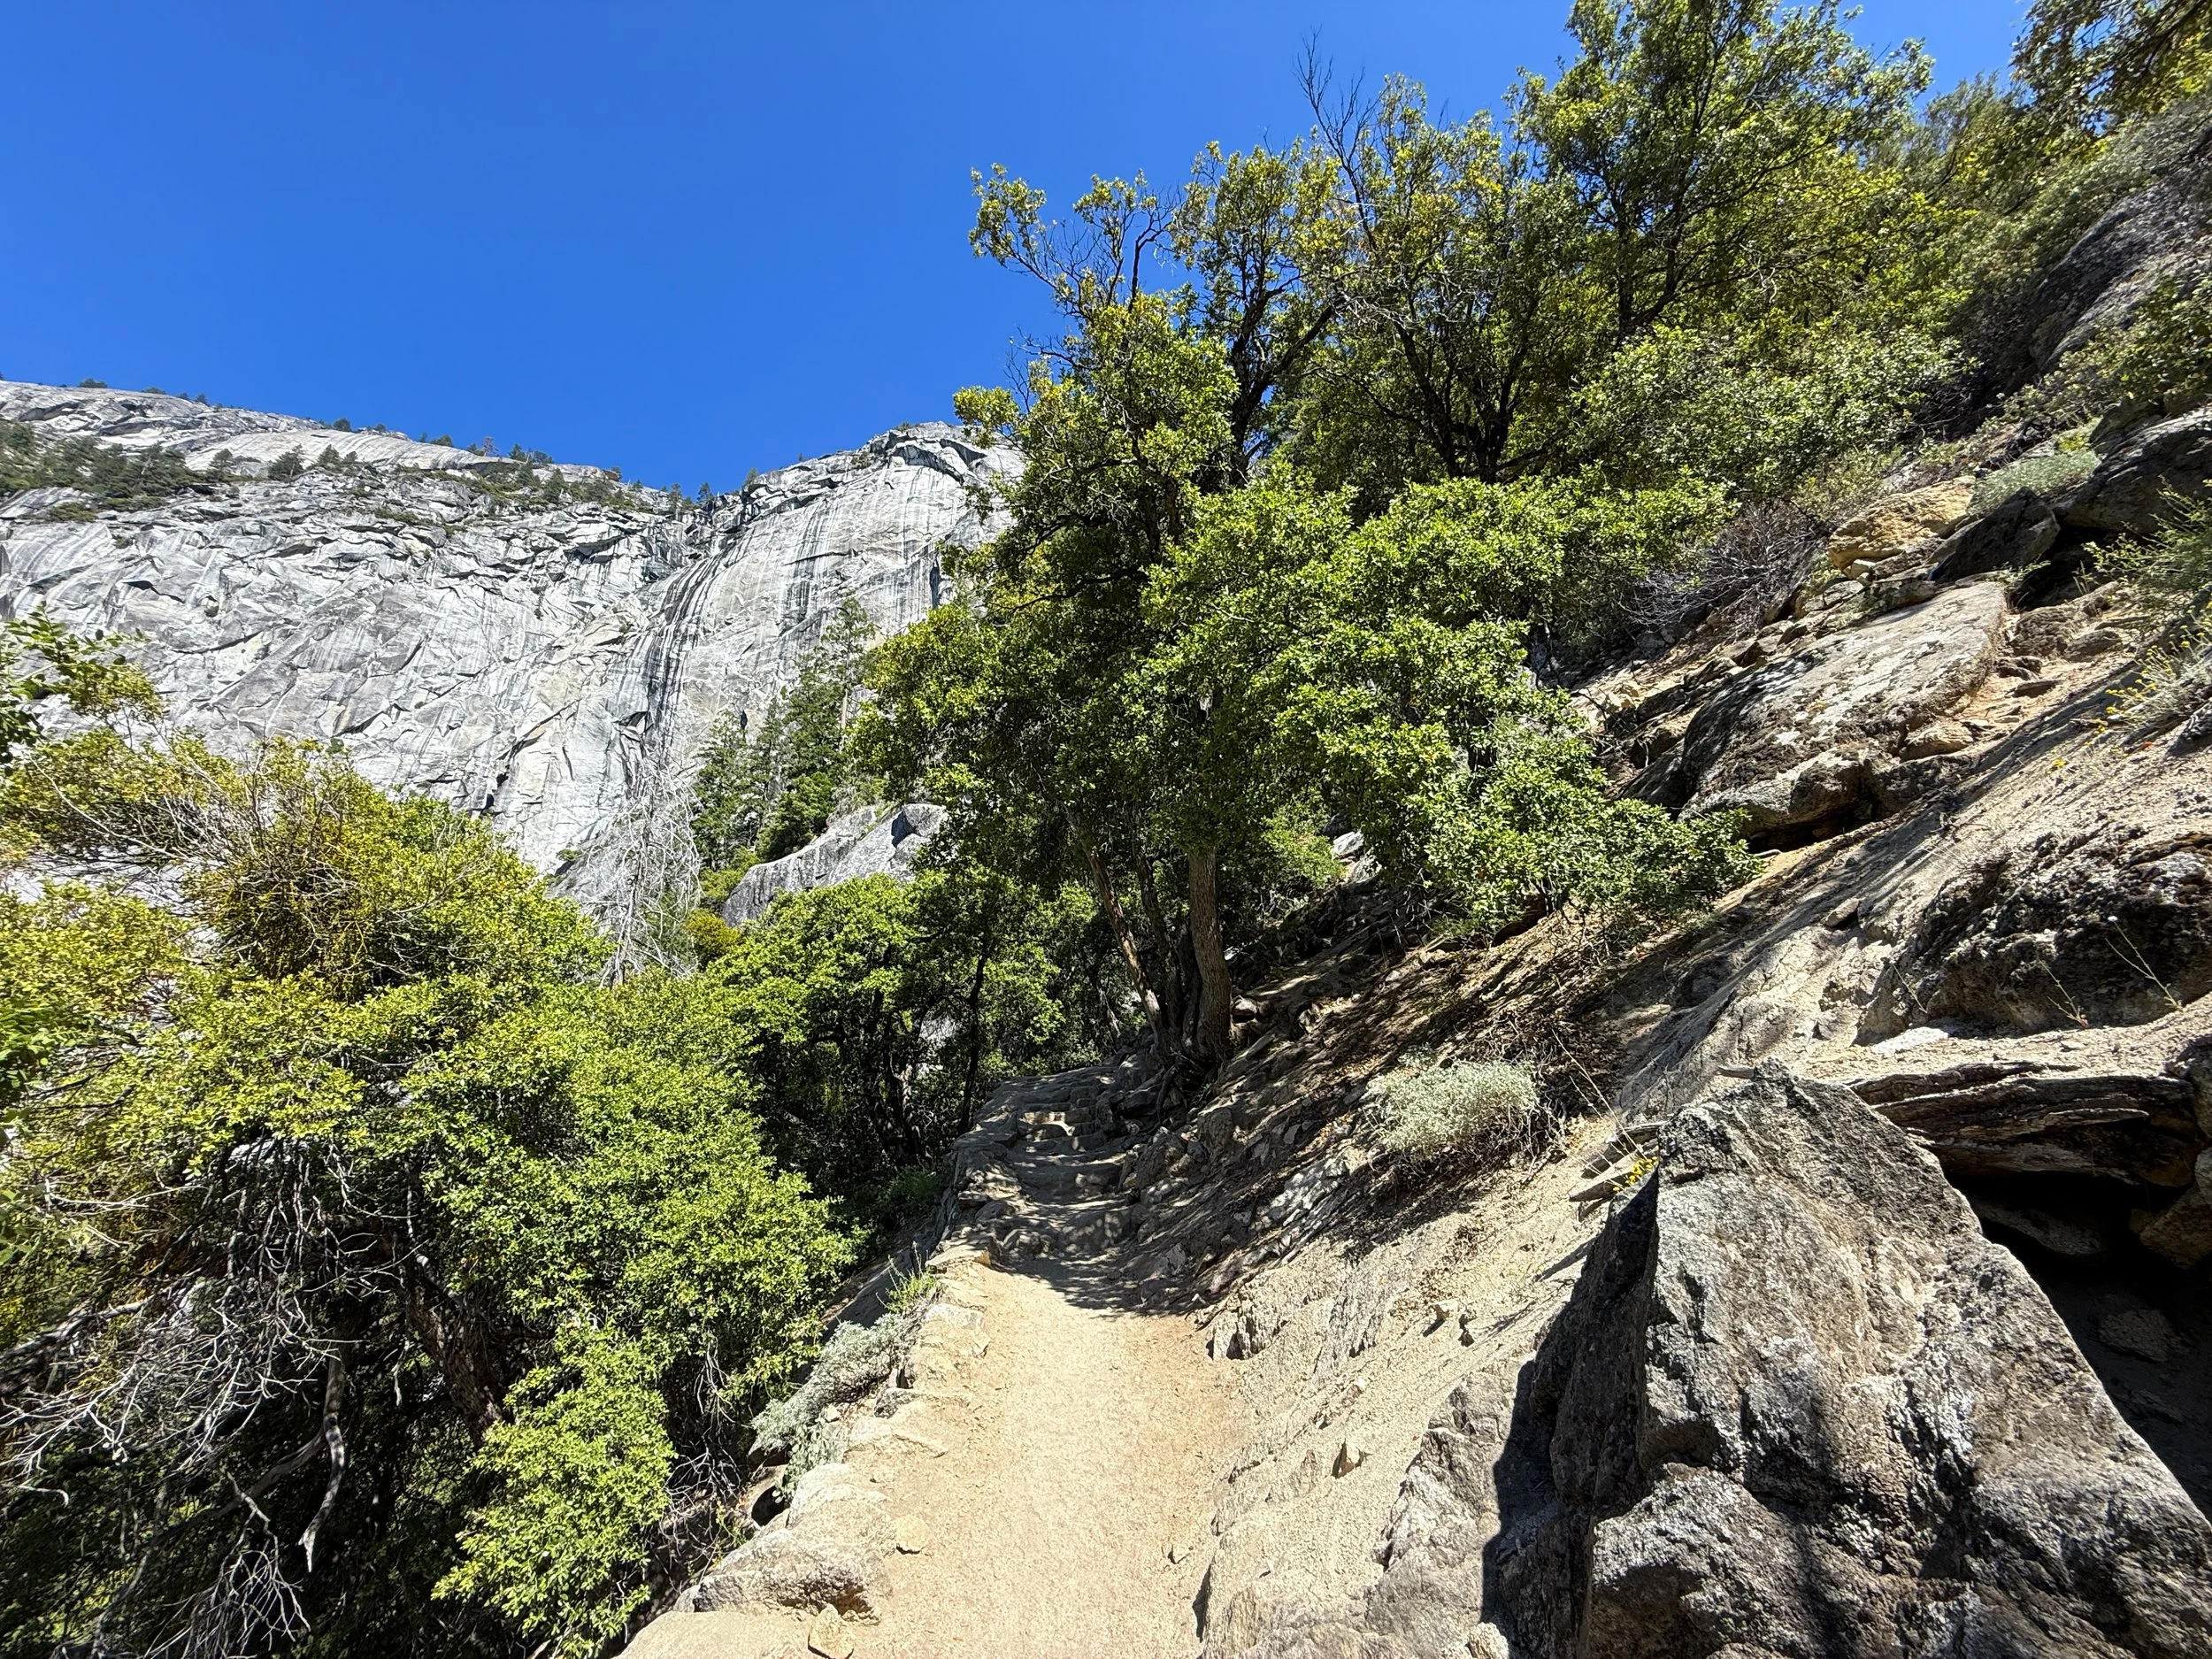
Past Columbia Rock, the character changes. The trail feels more exposed, more relentless, and more like a true mountain climb. If you have done steep switchbacks in the Rockies, this will feel familiar, just with Yosemite scale and a steady stream of people.
Milestones to watch for
- Columbia Rock: Your first big view and the most popular turnaround.
- The main switchback grind: A long, repeating staircase of sun and effort.
- Top of the switchbacks: A natural check-in point where people often stop, snack, and decide if they have the legs for the final push.
What to expect
- Long switchback sequences: You will climb in repeating patterns with occasional flatter breathing sections.
- Sun exposure: Even on pleasant valley days, it can feel surprisingly hot here.
- Sound shifts: You may hear the falls more, but you often will not see them for a while. Do not let that mess with your motivation.
Heat and sun: the make-or-break factor
This is where hikers get in trouble: not because the trail is technical, but because it is steep, dry, and bright. Granite reflects light and heat back at you. If it is a warm day, plan as if you are hiking in a giant, pale stone oven.
My non-negotiables:
- More water than you think: Bring enough to drink steadily, not just “save it for later.”
- Electrolytes: Even a simple mix or salty snack helps.
- Sun protection: Hat, sunscreen, and sunglasses matter here.
- Early start: Shade on the way up is the biggest comfort upgrade you can give yourself.
The clearest bailout
On this hike, the clean bailout is also the simplest: turn around. For most hikers, the safest, simplest return is back the way you came. There is no easy loop option that turns this into a gentler descent, and committing upward when you are already overheating is how a “maybe to the top” day turns into a miserable downclimb.
When I personally call it
- Half my water is gone before I feel halfway done
- I am seeking shade constantly
- Cramping or a headache starts
- The group is splitting and communication is getting sloppy
If any of those show up, I treat Columbia Rock or the next shaded rest spot as my decision point and I head down while I still feel strong. Descending steep steps on tired legs is where slips happen.
Going for the top
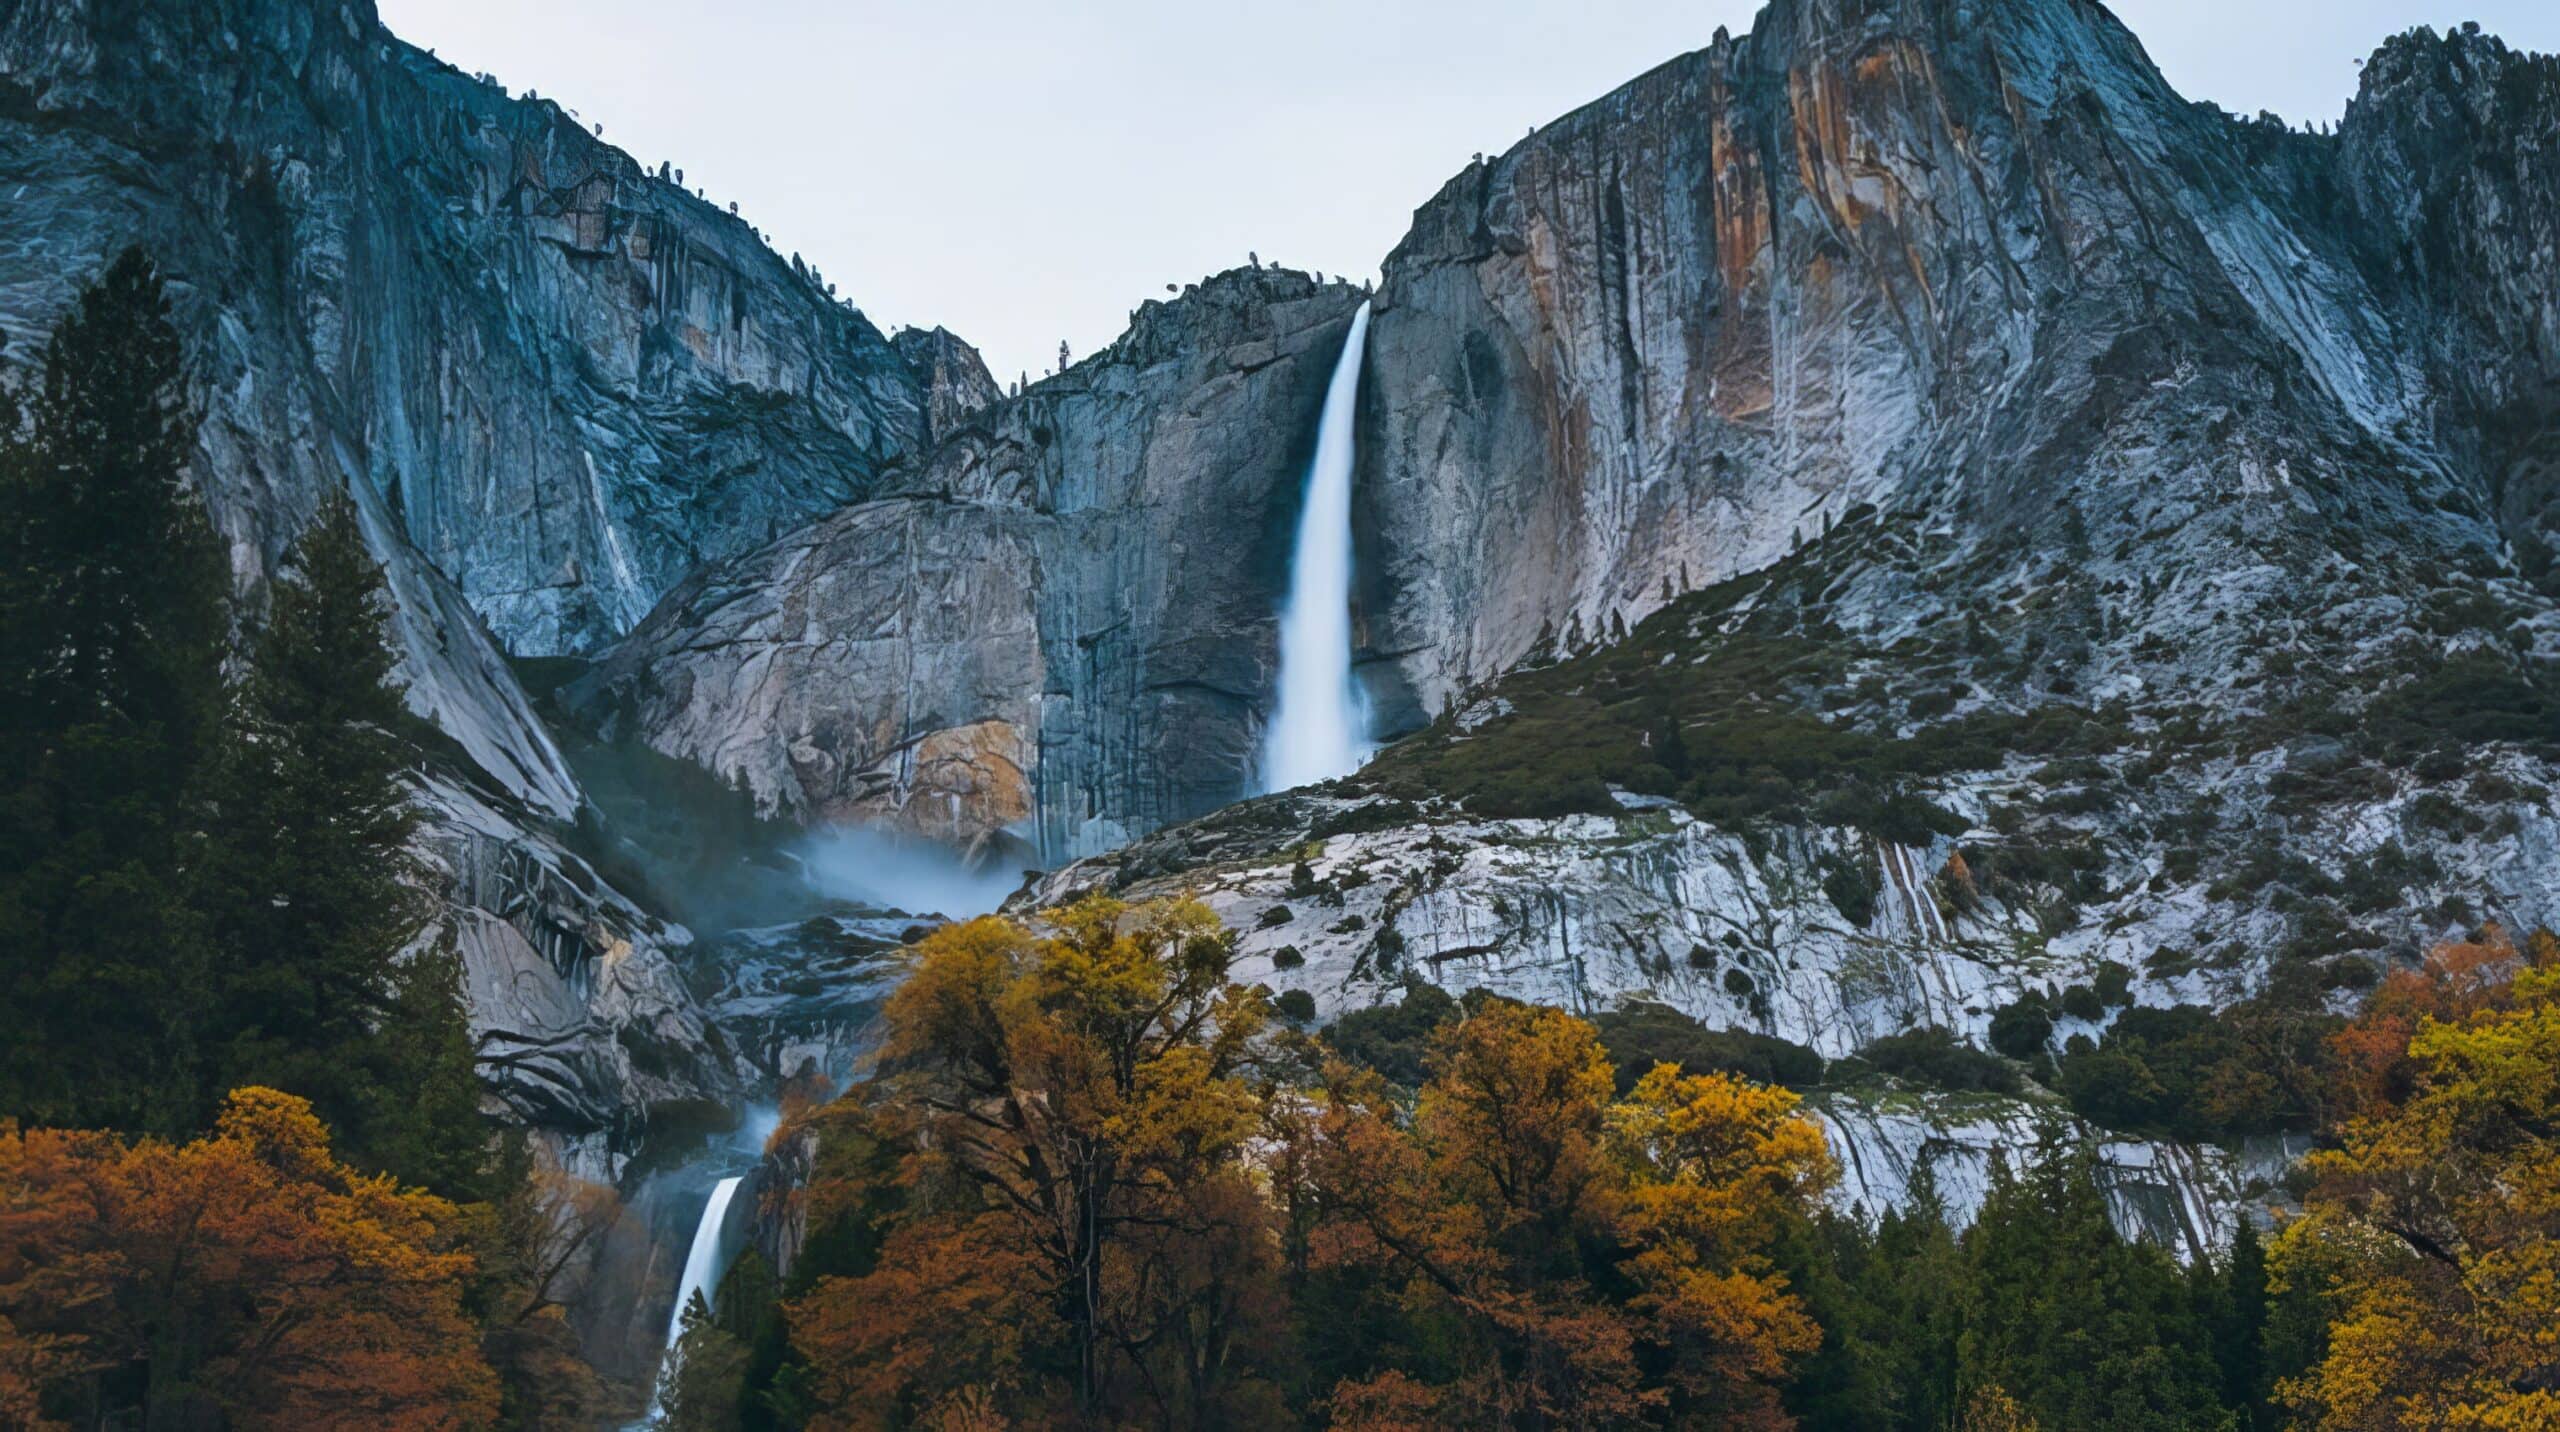
If you continue beyond the main switchback grind toward Upper Yosemite Fall, you are signing up for a big climb. The payoff is worth it for strong hikers: you get a dramatic sense of vertical distance, changing views back to the valley, and eventually the chance to stand near the top of one of the most famous waterfalls on earth.
Reality check before you commit
- Time: Plan plenty of daylight so you are not rushing down in the afternoon heat.
- Energy: Your descent can take longer than you think because the grade is hard on quads and knees.
- Conditions: Depending on season and water flow, the experience near the falls can range from roaring and misty to quieter and more exposed rock.
Top-of-falls safety
This is not the place to freestyle your route. Stay back from the creek and any polished granite near the fall lip. Wet rock is slick, dry rock can be slick, and the consequences here are not a twisted ankle story, they are fatal falls.
One of the best parts of this route is that it offers multiple “good enough” endpoints. You do not have to summit for it to count.
Etiquette and safety
This trail gets crowded, especially in the late morning and around weekends. A little courtesy keeps it flowing.
- Uphill usually yields less easily, so downhill hikers often step aside when it is safe. In practice, do what keeps the line moving and keeps you steady.
- Do not block the trail on switchbacks: Rest on the uphill side where others can pass.
- Keep an eye on footing: Downhill traffic can be fast, and loose gravel on granite steps is real.
- Stay on trail: Yosemite’s slopes erode easily, and shortcuts widen scars quickly.
What to pack
I pack this hike like a minimalist who has made hydration mistakes in the past.
- Water: Enough for your turnaround plan plus a buffer
- Electrolytes or salty snacks: Nuts, chips, jerky, or a mix
- Sun protection: Hat, sunscreen, sunglasses
- Layers: Valley mornings can be cool, but you will heat up fast
- Grippy footwear: Trail runners are fine if they have solid traction
- Small first aid basics: Blister care is the big one
If you are a “one bottle and vibes” hiker, this is the trail that will convert you.
My post-hike reset
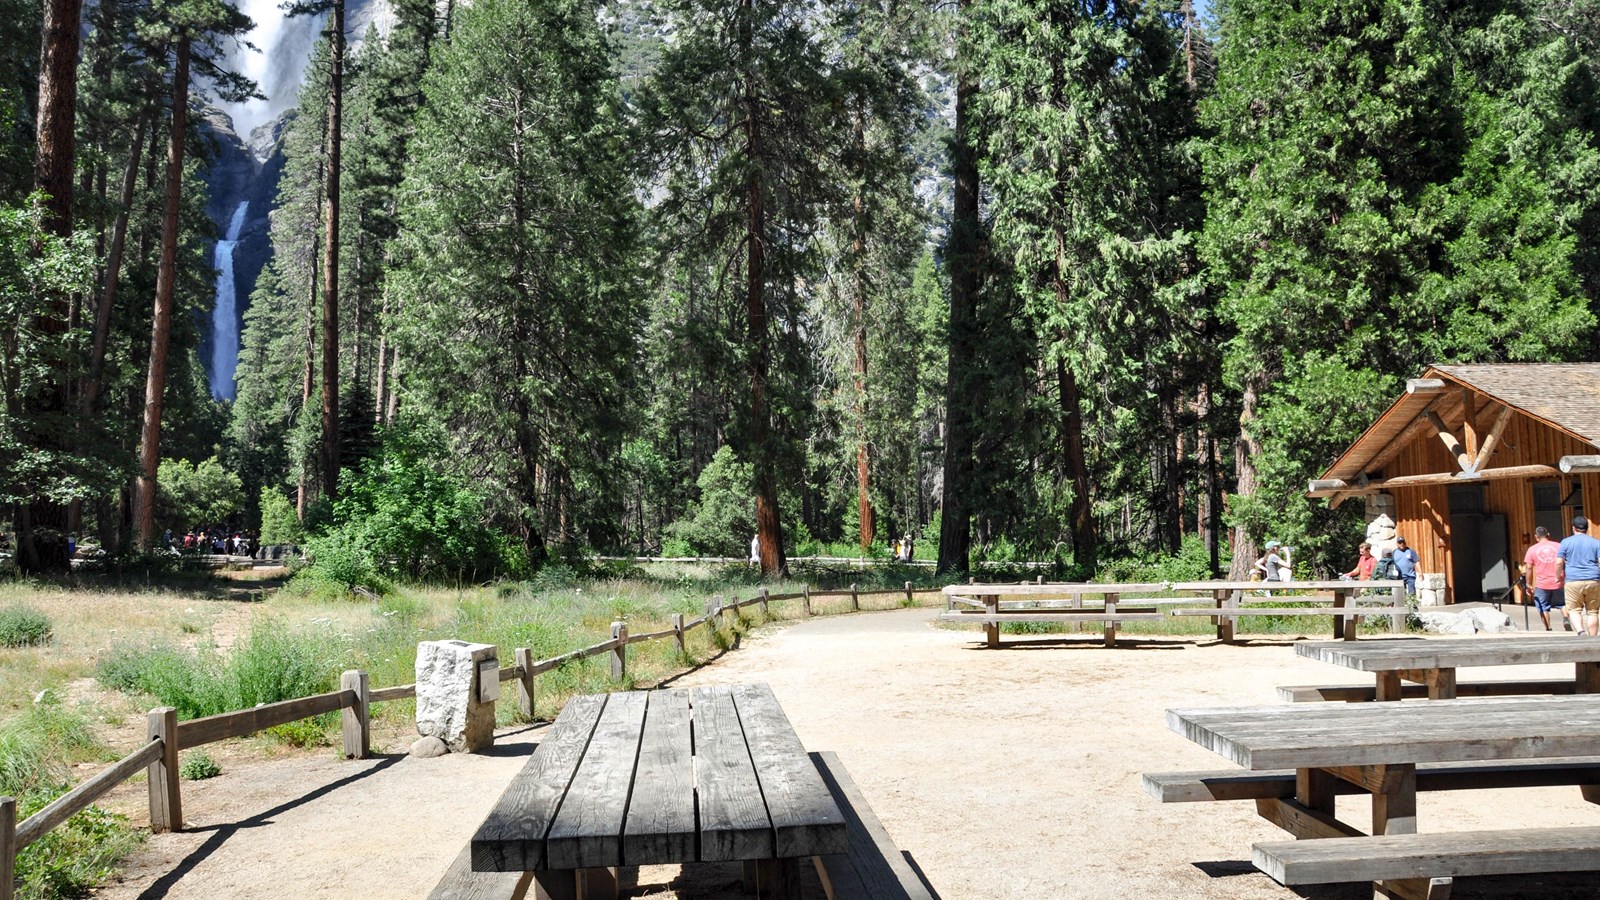
After a steep climb and a knee-heavy descent, I like to earn my urban comfort. Back in the valley, I aim for three things: shade, something cold to drink, and a slow wander. Even if you only went to Columbia Rock, you will feel like you did something real. Let the afternoon be easy.
FAQ
Is Columbia Rock worth it if I am not going to the top?
Yes. Columbia Rock is one of the best effort-to-view payoffs in Yosemite Valley. You get height, drama, and that satisfying sense of being above the crowds without committing to the full switchback grind.
How exposed is the trail?
Expect meaningful sun exposure, especially above Columbia Rock. Early morning starts help a lot, and sun protection is not optional on bright days.
Is there a loop or alternate return route?
There is no easy loop option for a typical Yosemite Valley day hike here. For most hikers, the simplest and safest plan is to return the same way you came, and the clean bailout is to turn around early while you still feel good.
Do I need a permit?
No permit is required for day hiking this trail. Still, check current conditions and any posted advisories before you start.
Can I combine this with the Mist Trail to Vernal and Nevada Falls?
They are separate trailheads and very different days. If you are looking for the Happy Isles route to Vernal and Nevada Falls, that is a different hike with its own planning considerations.