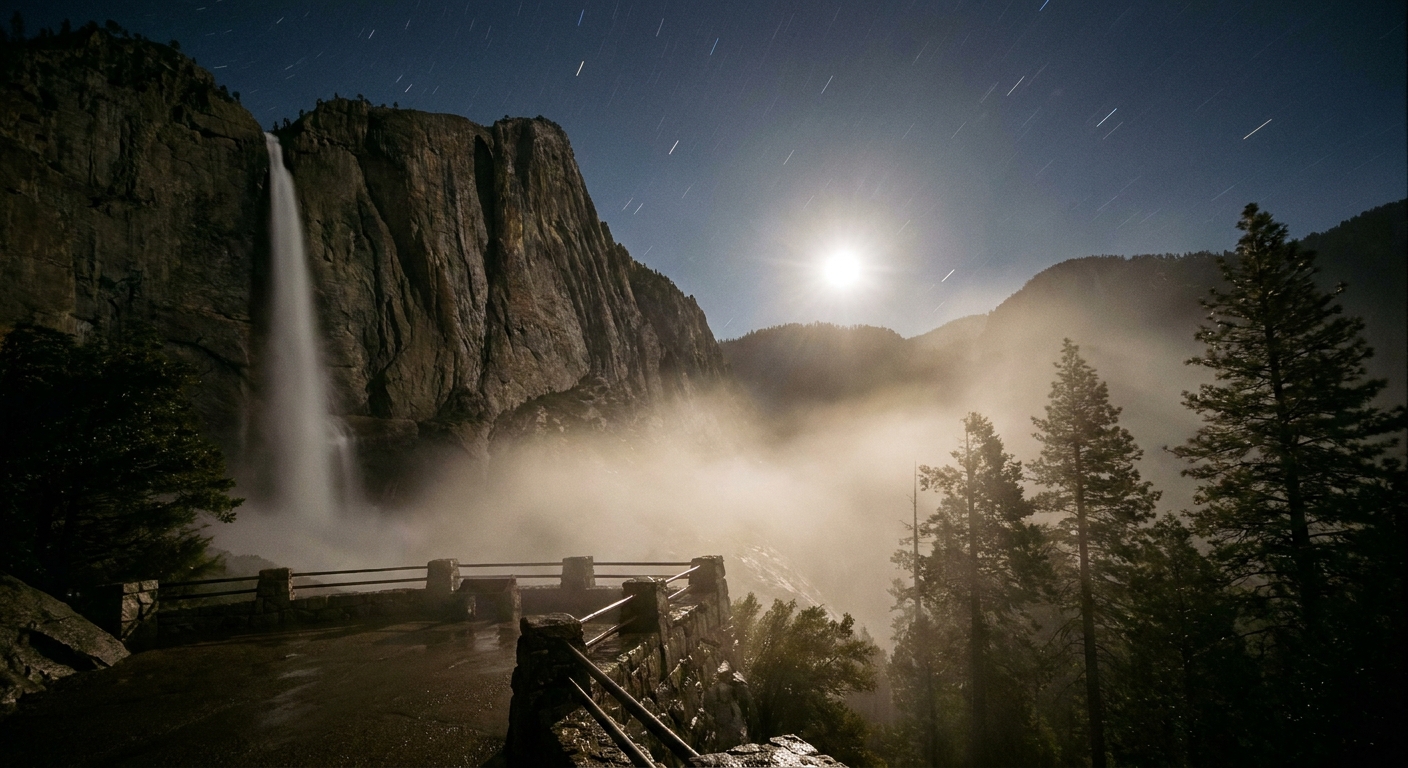
Yosemite Falls Moonbow: Which Nights and Where to Stand

Maya Lin
Maya Lin is a travel journalist and outdoor enthusiast who believes the best trips combine rugged adventures with urban comforts. After spending six years backpacking across four continents, she founded Trail & Town Guide to help fellow travelers navigate both hidden mountain passes and bustling city neighborhoods with confidence.
The first time I tried for a Yosemite Falls moonbow, I did everything right on paper. Full moon? Check. Spring runoff? Check. Headlamp? Check. What I did not do: put myself in the right patch of mist. I spent an hour staring at a very dramatic waterfall and a very bright moon, wondering why the internet made this look easy.
The good news is that moonbows are predictable once you know the ingredients: a near-full moon, a strong waterfall throwing off spray, and you standing in the mist at the correct angle. This guide is exactly that: which nights tend to work in spring, where to stand for Yosemite Falls (and how to get there in the dark), and what to bring so you can enjoy the magic without the chaos.
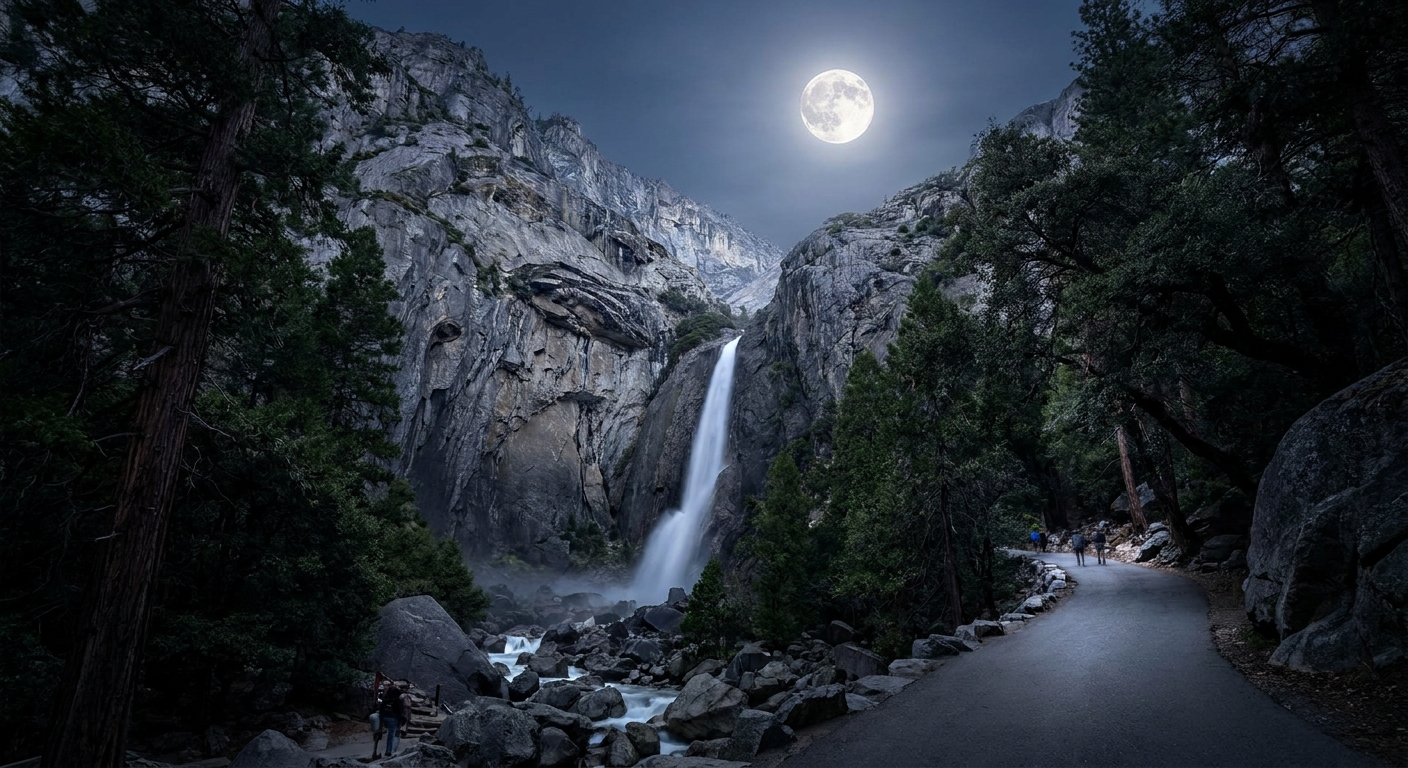
What a moonbow is
A moonbow is a rainbow created by moonlight instead of sunlight. The physics is the same as a daytime rainbow: light hits tiny water droplets, refracts, reflects, and separates into colors. The differences are practical:
- Moonlight is dimmer, so moonbows can look pale or white to your eyes. A camera often reveals more color.
- You need a lot of spray, which is why high-flow season is prime time at Yosemite Falls.
- The moon must be bright enough, usually around the full moon, and positioned so it can light up the mist.
Yosemite Falls is a great moonbow candidate because the drop is huge, spring flow can be powerful, and the Lower Yosemite Fall area often gives you easy access to the mist without technical hiking. “Often” is the key word. Conditions, ice, or temporary closures can change what is accessible in a given week, so always check current park updates before you go.
Best season
For Yosemite Falls, the moonbow sweet spot is typically spring, when the falls are throwing serious spray. In many years, that means April through early June, with May often feeling like a reliable middle ground. But it can shift earlier or later depending on snowpack, melt timing, and drought years.
Two reality checks that will save you a trip:
- Not every spring has the same water. Snowpack and melt timing change the amount of mist night to night.
- Not every “full moon” night is equal. The full moon date is a great anchor, but moonrise time and whether the moon clears the Valley’s surrounding cliffs matter a lot for what you can actually see from the Valley floor.
Best nights to try
If you only remember one planning rule, make it this: aim for the full moon night and the nights immediately around it. In practice, the best odds tend to be:
- Night of the full moon
- One night before
- One night after
Three quick checks
- Moon brightness: closer to full is better. A few nights away from full, the moonbow gets harder to spot with the naked eye.
- Moon position: you want the moon high enough and in the right place to illuminate the mist. Sometimes that is late evening, sometimes it is earlier, depending on the month and how quickly the moon clears the rim.
- Sky clarity: high clouds can wipe out the effect even when everything else is perfect. Check a forecast that includes cloud cover, not just precipitation.
My planning method: pick a full moon weekend, then give yourself two tries (full moon plus one adjacent night). If one night has clouds or low mist, you are not driving home empty-handed.
Where to stand
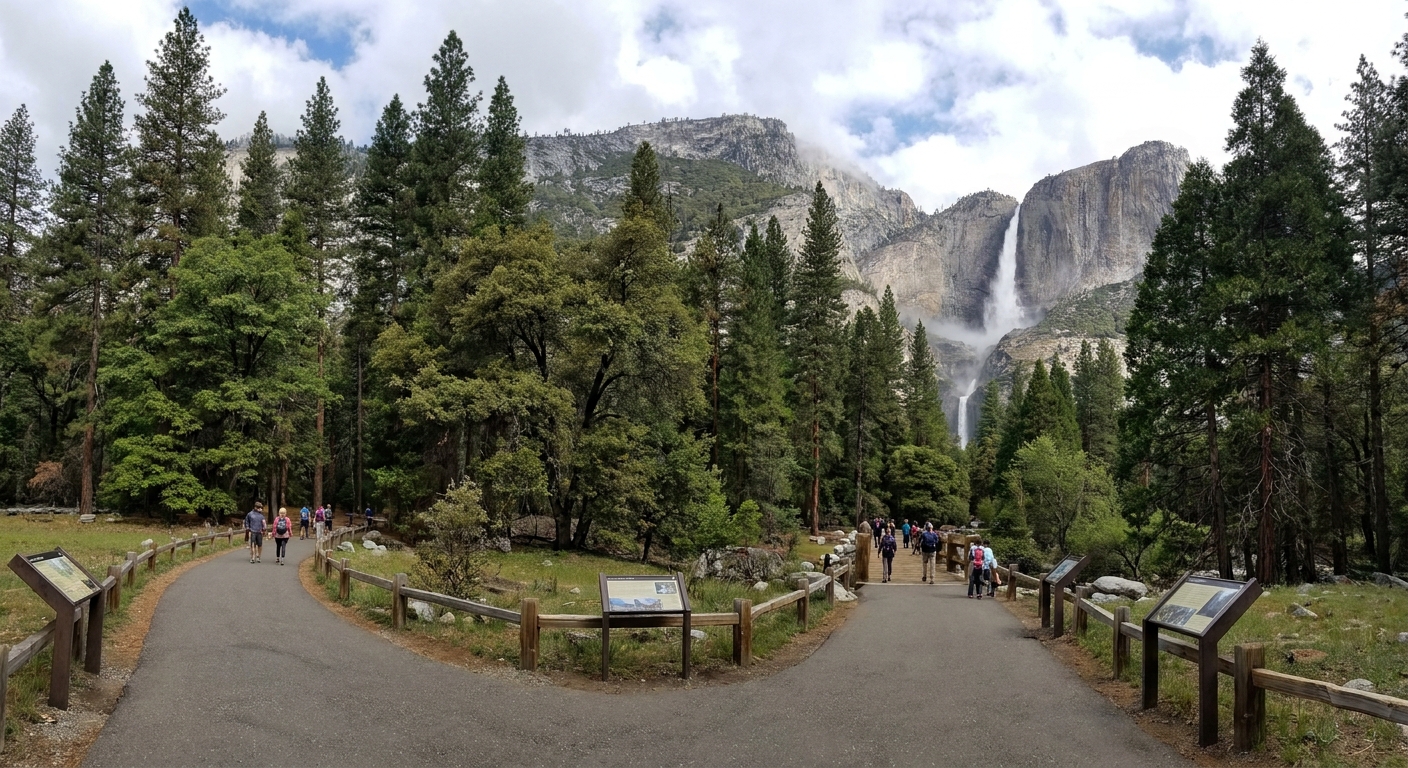
Most successful Yosemite Falls moonbow sightings in the Valley happen near Lower Yosemite Fall, where you can usually get close enough to the spray without a serious hike.
Best general area
Lower Yosemite Fall Trail (the paved, easy loop and adjacent viewing areas). Your goal is not a single “magic dot” on the map. Your goal is to move until you are in active mist while keeping the moon behind you or off to your back shoulder.
What the right spot feels like
- You can hear the falls more than you can see it.
- You can feel mist landing on your jacket sleeves and camera lens.
- You are positioned so the moonlight is hitting the spray in front of you, not shining into your eyes.
If you are staying dry, you are probably too far from the mist. If your headlamp beam looks like a snow globe in front of your face, you are in the right zone.
Find it fast
Once you arrive at Lower Yosemite Fall, do this quick routine instead of planting your tripod and hoping.
- Let your eyes adjust. Turn off bright lights for a minute. Use a red light mode if you have it.
- Find the mist field. Walk slowly until you feel consistent spray.
- Put the moon behind you. Moonbows appear roughly opposite the moon, like regular rainbows.
- Scan low through the mist. Look for a pale arc or a brightened band. Often you see “whiteness” first, then subtle color.
- Make micro-moves. Ten steps left or right can make the arc snap into view or disappear.
If you are photographing, expect to wipe your lens constantly. A small microfiber cloth becomes your most valuable piece of gear. Also, keep an eye on your phone and camera body. The spray can be intense, and moisture finds its way into everything.
Best time of night
Exact timing varies by month, but the pattern is consistent: you need the moon up, clear of the cliffs, and bright enough to light the mist, with the Valley dark enough for your eyes to pick up the arc.
- Start with moonrise. If the moon has not cleared the rim yet, you will not get much illumination in the Valley.
- Expect the best window to shift. Some nights the sweet spot is late evening, other times it is closer to midnight, and sometimes it happens earlier than you think once the moon is high and unobstructed.
- Plan to linger. Give yourself at least 60 to 90 minutes on site. Mist shifts with wind, and your first position is rarely the best one.
One more practical note: the Lower Yosemite Fall area is popular, and stray headlights, headlamps, and bright phone screens can mess with your dark adaptation. It will not feel like deep backcountry dark, and that is okay. Just plan for your eyes to take longer to settle.
Getting there
The simplest logistics are also the ones people forget because the hike is easy: you still have to get to the trailhead and back when it is fully dark.
- Start point: head for the Lower Yosemite Fall Trailhead area in Yosemite Valley and follow the paved loop and viewing areas.
- Have your own transport plan: shuttle service hours vary by season, and you should not assume a late-night ride is running. If you are not within walking or biking distance of the trailhead, plan how you will return to your lodging.
- Check for temporary closures: seasonal ice, high water, construction, or trail work can affect access. Confirm current conditions before you go.
What to bring
This is the sweet spot where my rugged-adventure side meets my city-comfort side. You do not need to suffer to see a moonbow, but you do need to be prepared.
Essentials
- Headlamp (ideally with red light mode) plus spare batteries
- Warm layers: nights near the falls feel colder because of mist and wind
- Waterproof shell or rain jacket, even if the forecast is clear
- Sturdy shoes with good traction (pavement can be slick with spray, and spring can mean icy patches)
- Microfiber cloth for glasses, phone, and camera lens
- Small towel or buff for your hands and face
- Water and a snack, because midnight hikes turn everyone into a toddler
If you are photographing
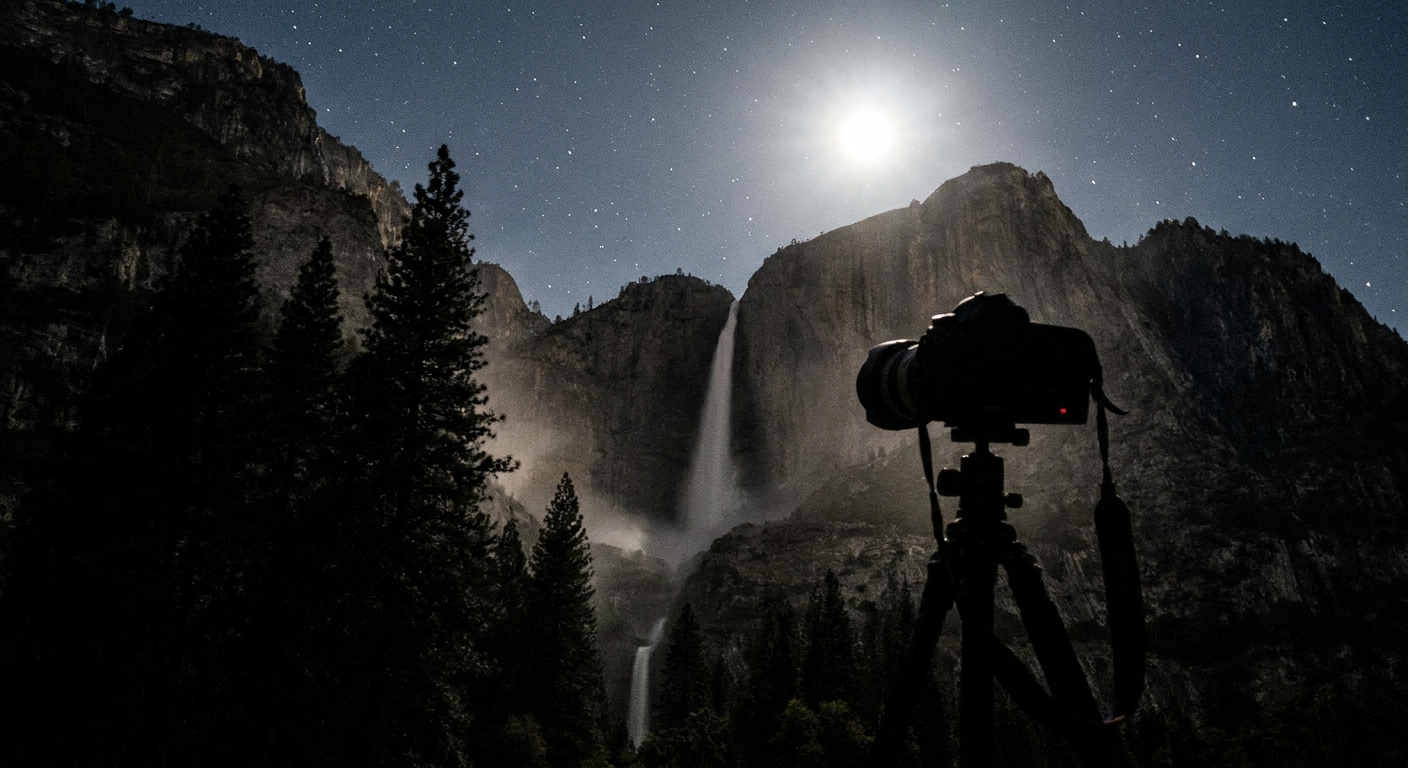
- Tripod (mist and low light push you toward longer exposures)
- Remote shutter or a timer setting to reduce shake
- Extra lens cloths (bring two, you will soak the first)
- Lens hood if you have one, to reduce droplets landing on the glass
- A simple rain cover for your camera, or even a plastic bag, because spray is relentless when the flow is strong
If you want a starter point for settings: try a wide lens, manual focus, and a several-second exposure on a tripod, then adjust ISO and shutter speed based on how bright the moon is and how much mist you have. Conditions change fast, so treat it like dialing in a night landscape, not following one perfect recipe.
Safety and etiquette
Lower Yosemite Fall is one of the more accessible night options in the park, but it is still nighttime in a national park. A few non-negotiables:
- Stay on paved paths and established viewing areas. Do not shortcut into brush or climb wet rocks.
- Expect slippery surfaces. Mist turns pavement glossy, especially near the viewing area.
- Mind the temperature swing. Spring days can feel like picnic weather, and nights can feel like winter once you are standing in spray.
- Keep food secured. Yosemite is bear country. Follow park rules for food storage in your vehicle and lodging.
- Be considerate with light. Point headlamps down, use red mode, and dim your phone screen.
- Skip light painting. The waterfall area often has photographers working long exposures. Bright beams aimed at the falls can ruin other people’s shots and your own night vision.
If you are traveling solo, this is one of the few Yosemite night experiences where I actually feel comfortable recommending it, because you are rarely completely alone. Still, trust your gut and keep your awareness up.
Why people miss it
- They go on the right night but the moon is not clearing the cliffs yet. You need direct moonlight on the mist.
- They stand too far from the spray. No droplets, no rainbow.
- They keep their headlamp on. Bright white light wrecks your night vision and washes out faint color.
- Thin clouds roll in. Even a hazy veil can flatten the contrast you need.
- They expect neon colors. To the naked eye, many moonbows look pearly or lightly tinted. Your camera often sees more.
FAQ
Do I need a permit or tour?
Usually, no. For typical night viewing on Valley trails, you generally just need park entry and a plan for being out after dark. Always follow current Yosemite National Park rules and any temporary closures or access limits.
Can I see it without a camera?
Yes, but set expectations. It may look like a pale arc rather than a bright daytime rainbow. If you want more obvious color, a camera with longer exposure can help.
Is it visible every full moon in spring?
No. You need enough waterfall spray, clear skies, and a favorable moon position. Think of the full moon as the key, not the entire lock.
Is Lower Yosemite Fall the only place?
It is the most approachable and commonly successful location because you can often get into the mist field safely. Other vantage points can work in some conditions, but if this is your first moonbow, start at Lower Yosemite Fall and keep it simple.
What if the falls are low?
If the mist is minimal, your odds drop fast. You can still enjoy a beautiful moonlit waterfall walk, but the moonbow may not show. In that case, treat it as a night scenery outing, grab a thermos drink, and try again on the next near-full-moon night during stronger flow.
Final note
The Yosemite Falls moonbow is one of those rare nature moments that feels both wild and oddly civilized: you are in a legendary valley, on an easy path, surrounded by hushed excitement, and suddenly there is a ghostly arc hovering in waterfall spray. Give yourself two nights around the full moon, dress warmer than you think you need, and be willing to shuffle a few steps at a time until the mist and moon line up. When it clicks, you will know.