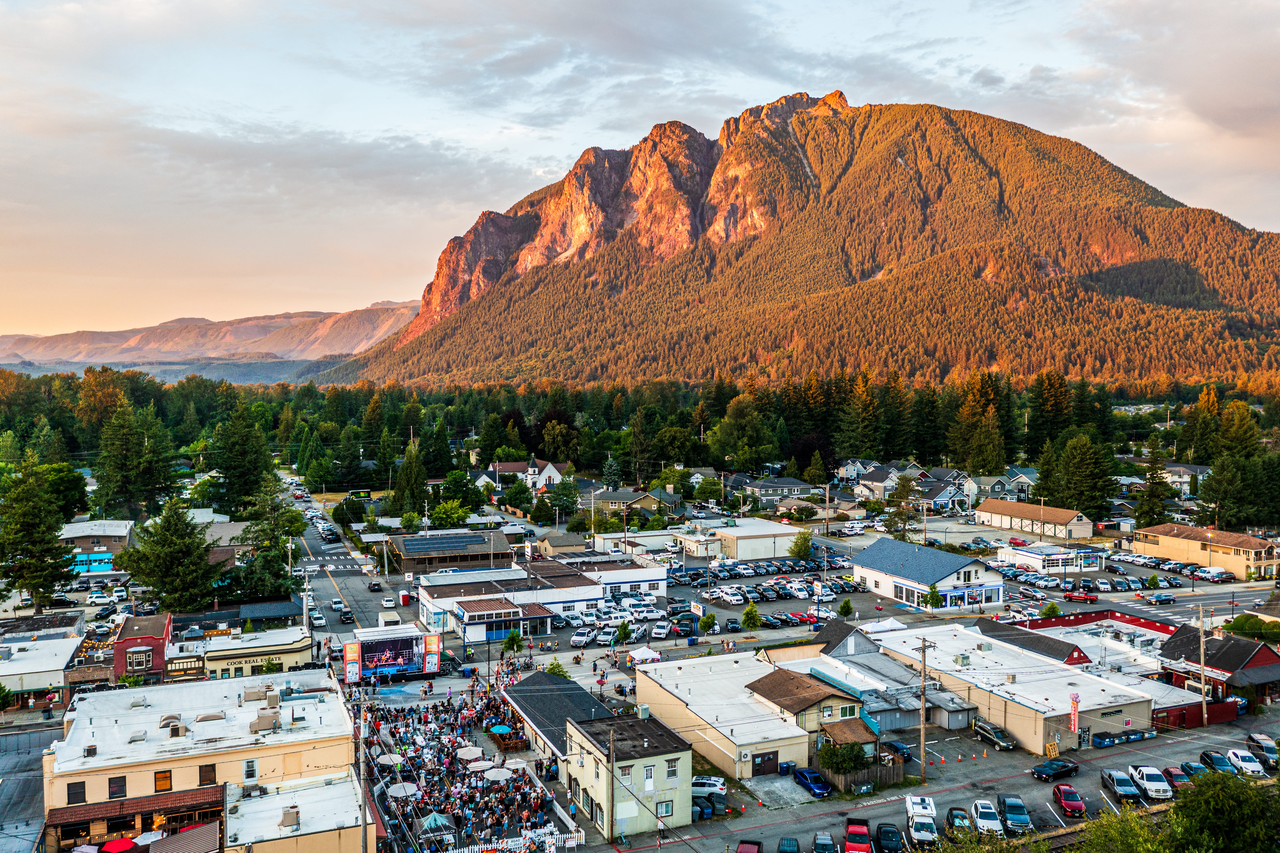
Rattlesnake Ledge via Rattlesnake Lake

Maya Lin
Maya Lin is a travel journalist and outdoor enthusiast who believes the best trips combine rugged adventures with urban comforts. After spending six years backpacking across four continents, she founded Trail & Town Guide to help fellow travelers navigate both hidden mountain passes and bustling city neighborhoods with confidence.
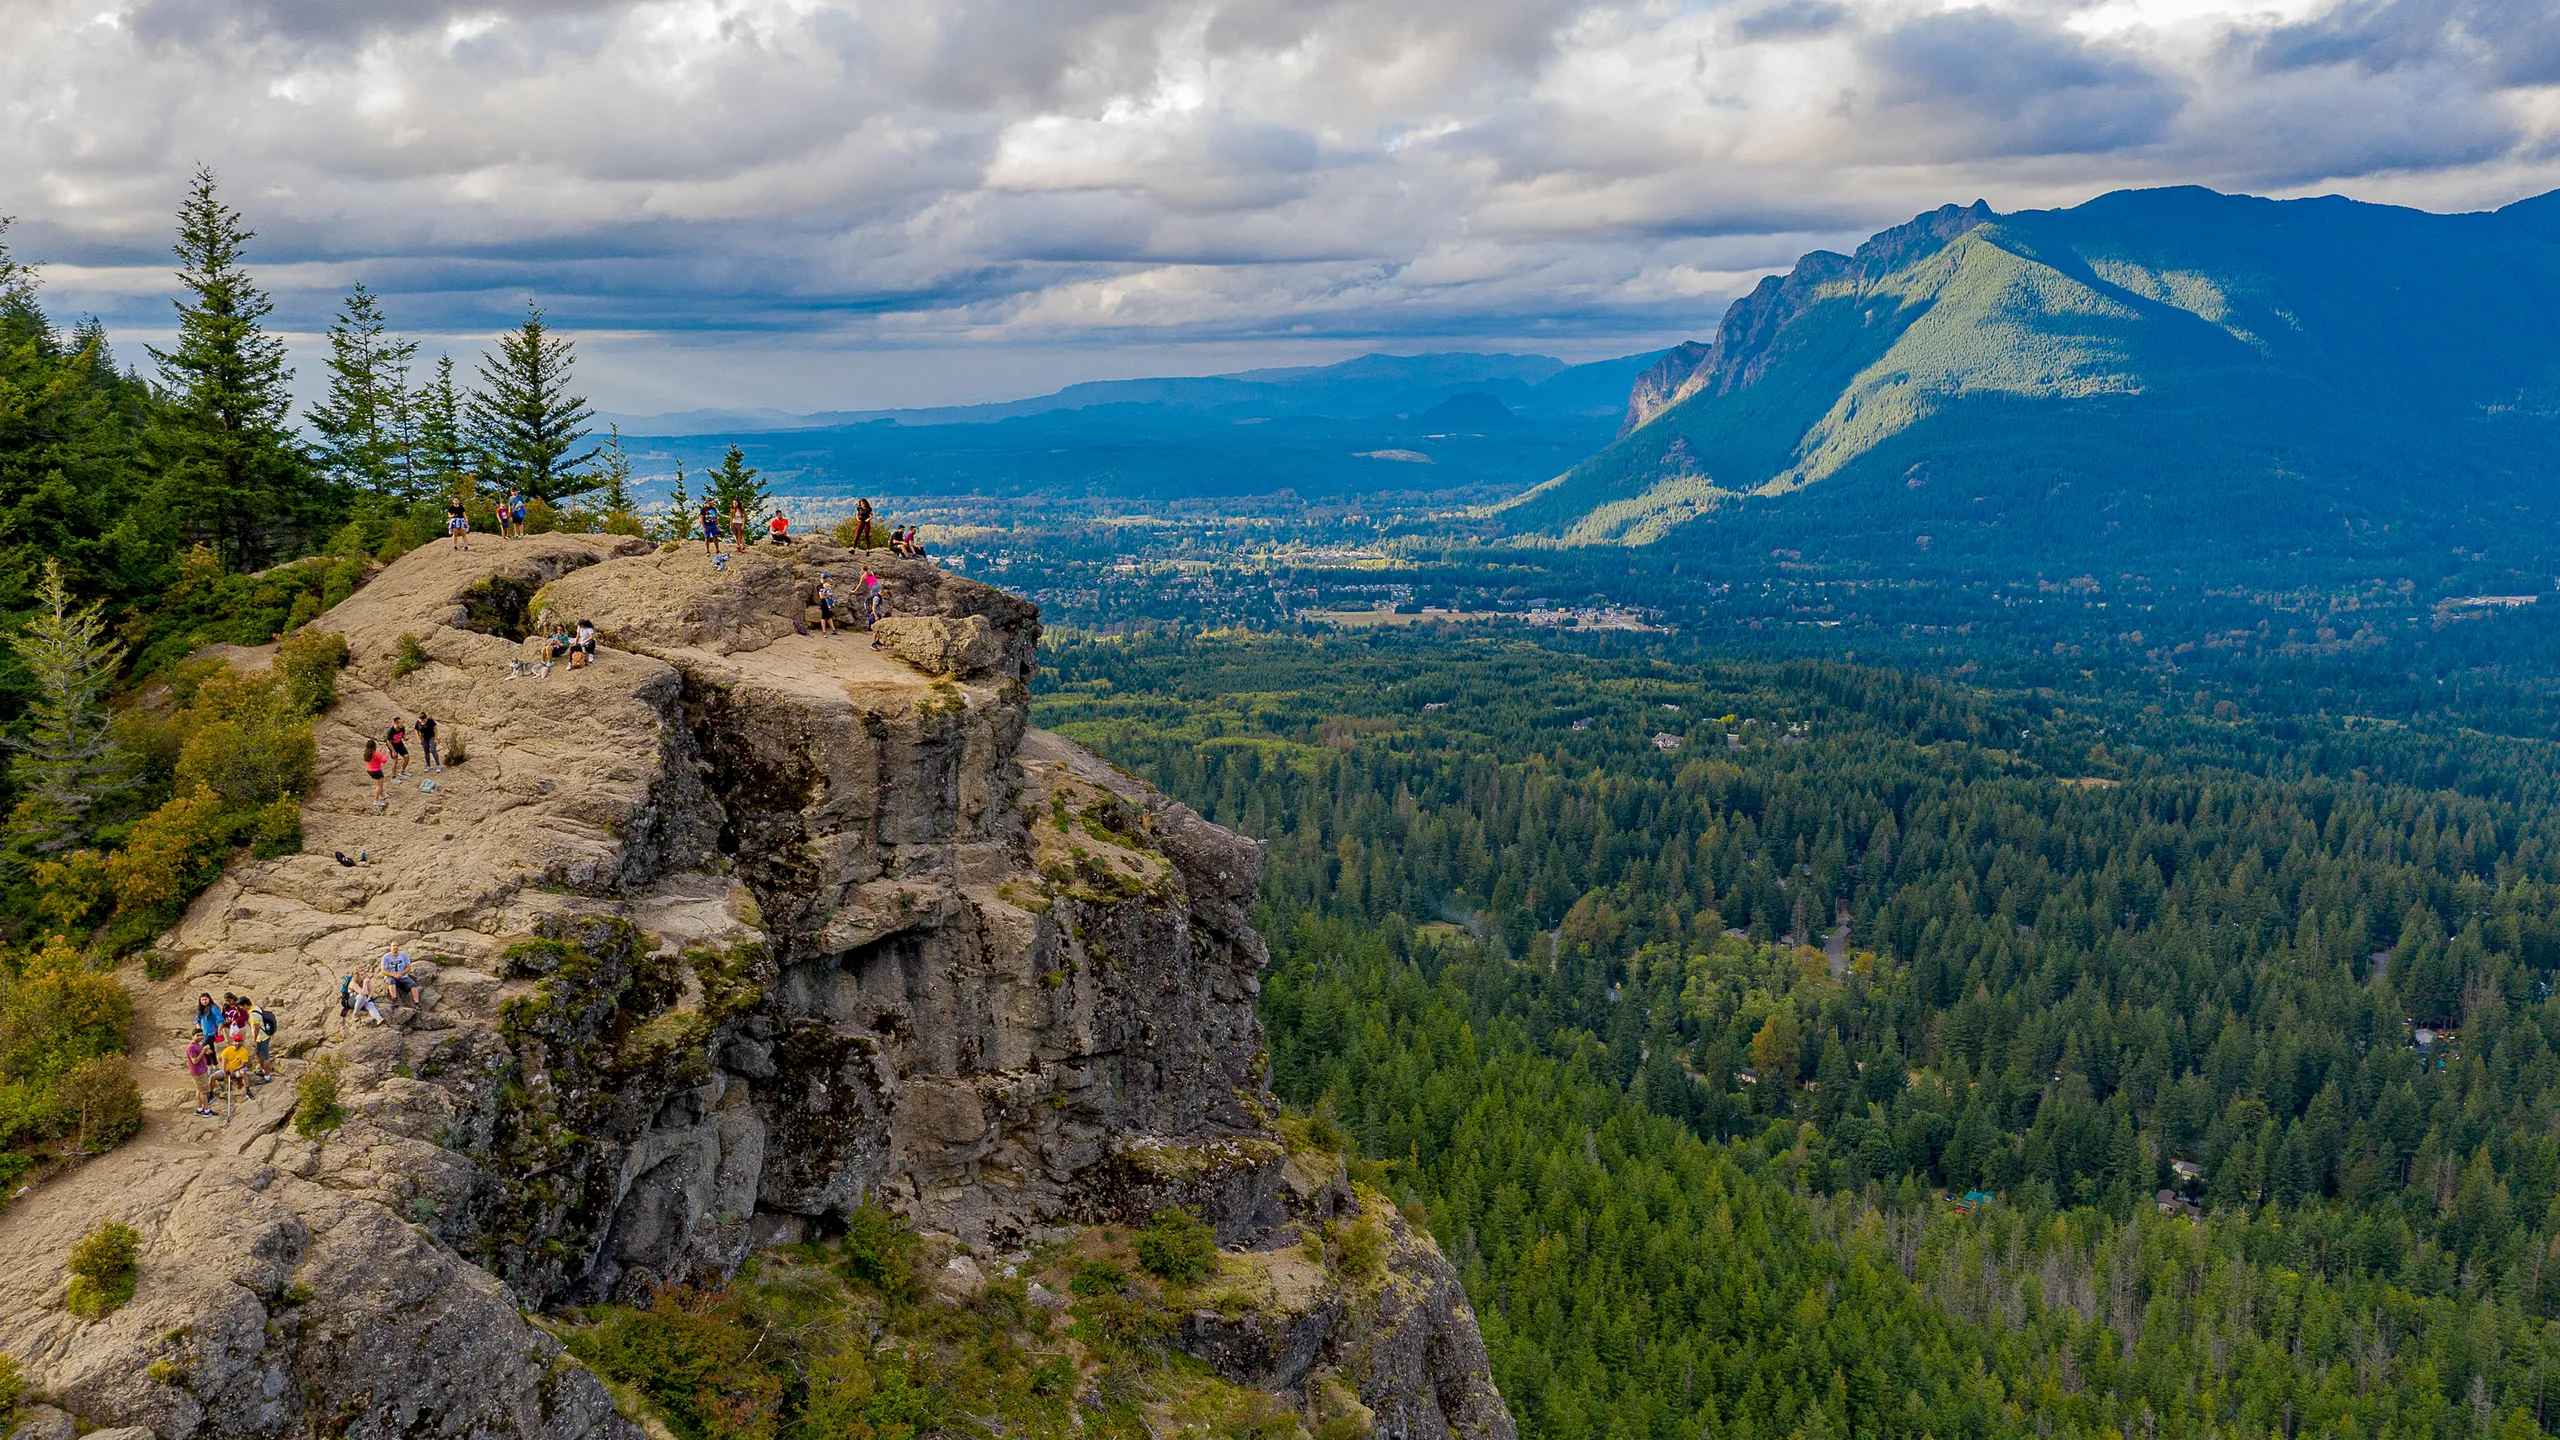
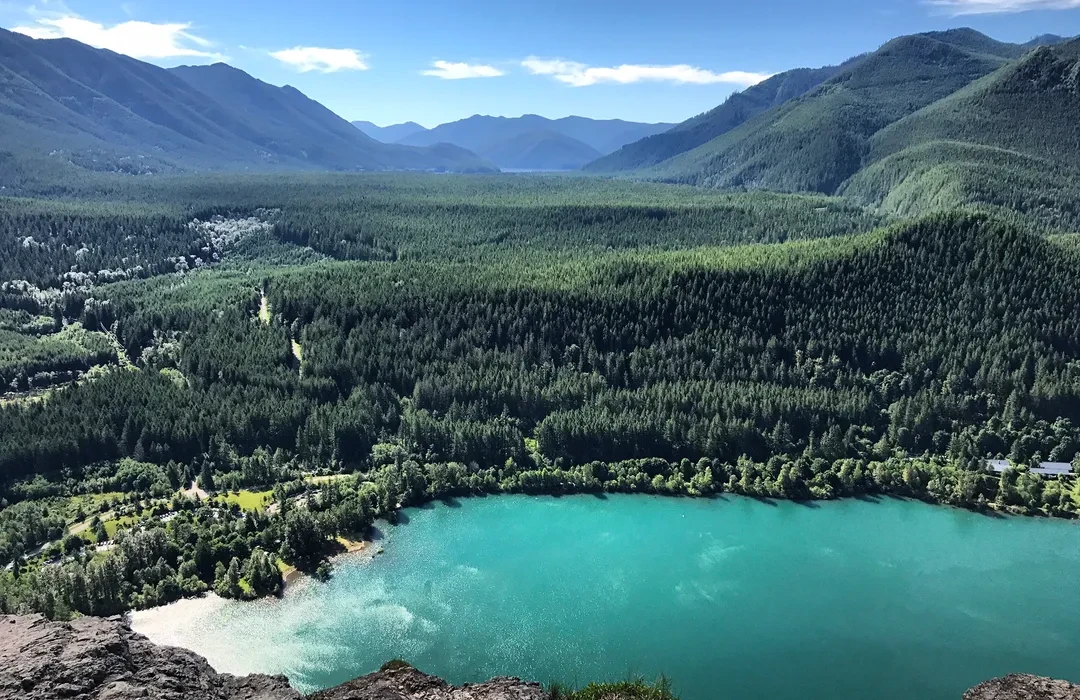
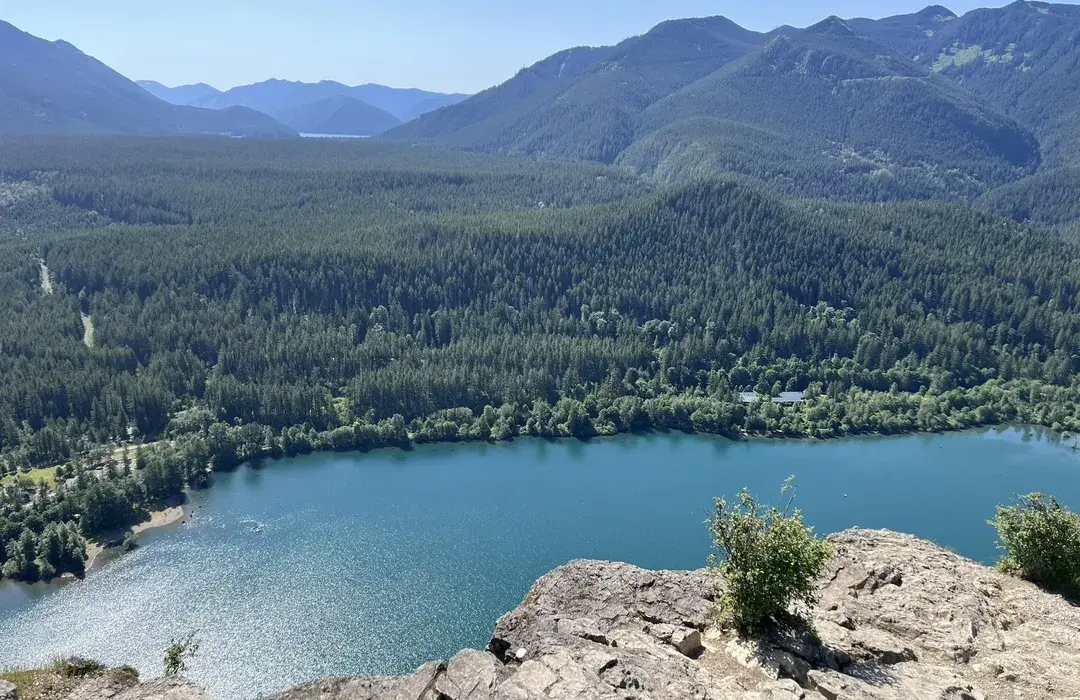
Rattlesnake Ledge is the hike I send to friends when they want a big-view payoff without turning it into a whole expedition. You start at a lake you can actually swim in on a hot day, climb through mossy forest that smells like cedar and damp earth, and pop out onto a stone balcony above the Snoqualmie Valley with I-90 threading below. It is close to Seattle, but it still feels like a proper little mountain outing.
At a glance
- Trailhead: Rattlesnake Lake Recreation Area (North Bend, Washington)
- Route: Out-and-back to Rattlesnake Ledge
- Distance: About 4 miles round trip to the main ledge (minor variations happen with reroutes and how much you wander around at the top)
- Elevation gain: Roughly 1,150 feet (expect small variations by device and track)
- Time: 2 to 3 hours for most hikers, plus extra if you linger or continue higher
- Difficulty: Moderate, steady climb
- Exposure: Low on the trail, moderate at the ledge depending on how close you get to the edge
- Best for: Quick half-day hike, sunset missions, visitors who want a classic Pacific Northwest viewpoint
Parking and trailhead
The hike begins at Rattlesnake Lake Recreation Area. The trailhead is well-signed, and the area feels more like a park than a remote forest pullout, which makes it an easy choice for newer hikers and visiting friends.
Parking tips
- Parking is typically free at the main lot. Pass requirements and policies can change, and overflow areas sometimes have different rules, so I always recommend checking the current signs at the entrance when you arrive.
- Go early on weekends. This is one of the most popular front-country hikes in the region, and parking can fill fast on sunny Saturdays and Sundays.
- Weekdays feel different. If you can swing a weekday morning or shoulder season timing, you get the same view with way less waiting at the rock.
- Do not create your own parking. Avoid stopping on shoulders or blocking roadways when the lot is full. It is unsafe, and it makes life harder for emergency access and locals.
- Respect posted signs and marked spaces. The recreation area is actively managed, and parking where you should not can block access or create safety issues.
Finding the trailhead
From the main parking area, look for signs for Rattlesnake Ledge and follow the wide, well-used path into the trees. If you end up just wandering the lakeshore, you are not on the hiking route yet. Head back to the signed trail entrance.
Bathrooms and water
Restrooms are typically available near the recreation area facilities. Still, I treat this as a standard hike: bring your own water, especially in summer when the climb feels warmer than you expect under the trees.
The climb
Rattlesnake Ledge is a straightforward grind with a few short breathers. There is not much route-finding stress, which is part of why it is such a reliable option when you want an after-work hike or you are taking someone out for their first Washington trail.
Trail feel
- Surface: Mostly dirt with plenty of roots and small rocks. After rain, expect slick patches and mud in the usual low spots.
- Grade: Steady uphill most of the way, with switchbacks that help you settle into a rhythm.
- Poles: Not required, but trekking poles can be a knee-saver on the descent, especially when it is wet.
Rough waypoints
- First half mile: You are in the forest quickly, and the trail starts gaining right away. It is a good time to find your pace.
- About halfway up: Classic Pacific Northwest understory: moss, ferns, and shade. In wetter months, watch for muddy corners and little water crossings.
- Final stretch: More foot traffic, a few small pullouts, and that sense you are close. Then the trees open and you step onto the rock.
The ledge
The main viewpoint is a broad slab of rock with plenty of places to perch. You do not need to go anywhere near the edge to enjoy the view. If exposure makes you nervous, stay back on the rock where it is flatter and wider and you will still get the valley panorama.
How exposed is it?
- On-trail exposure: Minimal. It is mostly forest hiking.
- At the viewpoint: The drop is real if you walk all the way to the edge, but there is a lot of rock to spread out on. You can choose your comfort level.
Safety notes
- Keep kids close. The ledge is not fenced and the rock can be crowded.
- Leash dogs at the viewpoint. Even friendly dogs can get excited in crowds, and the edge is not the place to test recall.
- Skip the edge when the rock is wet or icy. In shoulder seasons and winter, traction matters. If the rock looks slick, treat it like it is.
- Be conservative for photos. Wait your turn, give people space, and avoid climbing around on the cliffy edges. The view is excellent from safe spots farther back.
What to expect up top
You will probably hear I-90 down in the valley, especially when it is busy. Cell service can be spotty too. I would not count on a perfect signal if you are trying to coordinate a meetup at the top.
Turnaround plan
If you are hiking with mixed energy levels, or you are just here for the classic photo-and-snack moment, the simplest plan is to make the main ledge your turnaround point.
- Best for: Families, visitors, first-time hikers, anyone who wants the iconic view with minimal decision-making
- How to do it: Enjoy the viewpoint, take your photos from a comfortable spot away from the edge, then head back the way you came.
- Pro tip: If the ledge is crowded, walk a few steps along the rock, staying well back from the drop, to find a quieter perch for snacks.
Going higher
If you have extra energy, the trail network continues beyond the main ledge toward Rattlesnake Mountain. People sometimes call the next viewpoints an upper ledge or second ledge, but here is the key detail: the official route continues on established trail, and some of the extra viewpoints people talk about involve informal user paths near steep terrain.
My decision rule is simple: if you do not know exactly where you are headed, or you are short on daylight, make the main ledge your endpoint. The main ledge is the whole point for most hikers.
What to expect
- Rougher tread: Beyond the main viewpoint, the footing can feel more uneven and less polished than the ledge route.
- Fewer people: You can often find more breathing room once you get away from the primary viewpoint area.
- More commitment: It is easy to tack on just a little more and suddenly you are managing time, snacks, and daylight like it is a longer day hike.
- Stay on established tread: If you see boot-worn side tracks heading toward edges or viewpoints, think twice. Erosion is real here, and so are the consequences of a slip.
Who should skip it
- Anyone uncomfortable with heights or cliff edges
- Hikers with very young kids who like to sprint ahead
- Groups that are already tired or running out of daylight
When to go
This hike is popular year-round, but your experience changes dramatically depending on timing and conditions.
Best time of day
- Early morning: Cooler climb, better parking odds, calmer viewpoint.
- Late afternoon and sunset: Gorgeous light on the valley, but bring a headlamp and plan to descend in dim forest if you linger.
Season notes
- Summer: Expect crowds. Bring extra water. Pair it with a swim or lakeside picnic after.
- Fall: Crisp air, great visibility on clear days, and slightly lighter crowds once school is back in session.
- Winter: Conditions vary and can get legitimately hazardous. Ice near the top and on the ledge is common during cold snaps. If you see reports of ice, bring microspikes and be willing to turn around.
- Spring: Lush forest and rushing water crossings, with muddy patches common.
What to pack
I treat Rattlesnake Ledge like a short hike, not a casual stroll. Conditions change fast, and the descent is always easier when you packed for the obvious stuff.
- Water: Enough for a steady climb, plus a little extra on warm days
- Traction: Shoes with decent grip, especially if it has rained recently
- Layers: A light insulating layer even in shoulder season, since the viewpoint can be breezy
- Rain protection: A shell goes a long way in Washington
- Headlamp: If you are even considering sunset, or if you might continue past the main ledge
- Snacks: The ledge is basically a natural picnic table
- Dog essentials: Leash, water, and a bag for waste
Leave No Trace
The easiest way to keep this hike enjoyable for everyone is to treat the viewpoint like shared space.
- Pack out everything. Yes, including orange peels and snack crumbs.
- Give people room at the viewpoint. Take your photo, soak in the view, then rotate so others can do the same.
- Stay on durable surfaces. At the ledge, stick to rock and established tread to reduce erosion.
- Keep speakers off. Forest quiet is part of the point.
FAQ
Is Rattlesnake Ledge hard?
It is moderate. The climb is steady and you gain a little over a thousand feet in a relatively short distance, but the trail is non-technical and easy to follow.
Is it scary if I am afraid of heights?
The trail itself is not exposed. The viewpoint has a real drop at the edge, but the rock is broad enough that you can enjoy the view from well back. If heights are a serious concern, go with a confident friend and stay away from the cliff edge.
How long is the hike?
Plan on about 4 miles round trip and 2 to 3 hours total for most hikers, depending on breaks and how long you hang out at the viewpoint.
Can I swim at Rattlesnake Lake?
People do on warm days, and it can be a perfect post-hike cool-down. Swim at your own risk and pay attention to conditions. The water can be colder than it looks, and there are no guarantees about what the wind and weather are doing.
If you want my ideal half-day here: hike early, take your time at the ledge, then head back down for a lakeside snack and a quick coffee stop in North Bend before you hit the highway. Rugged views, urban comforts, and you are home in time for dinner.