Buffalo National River: Swim, Hike, Float
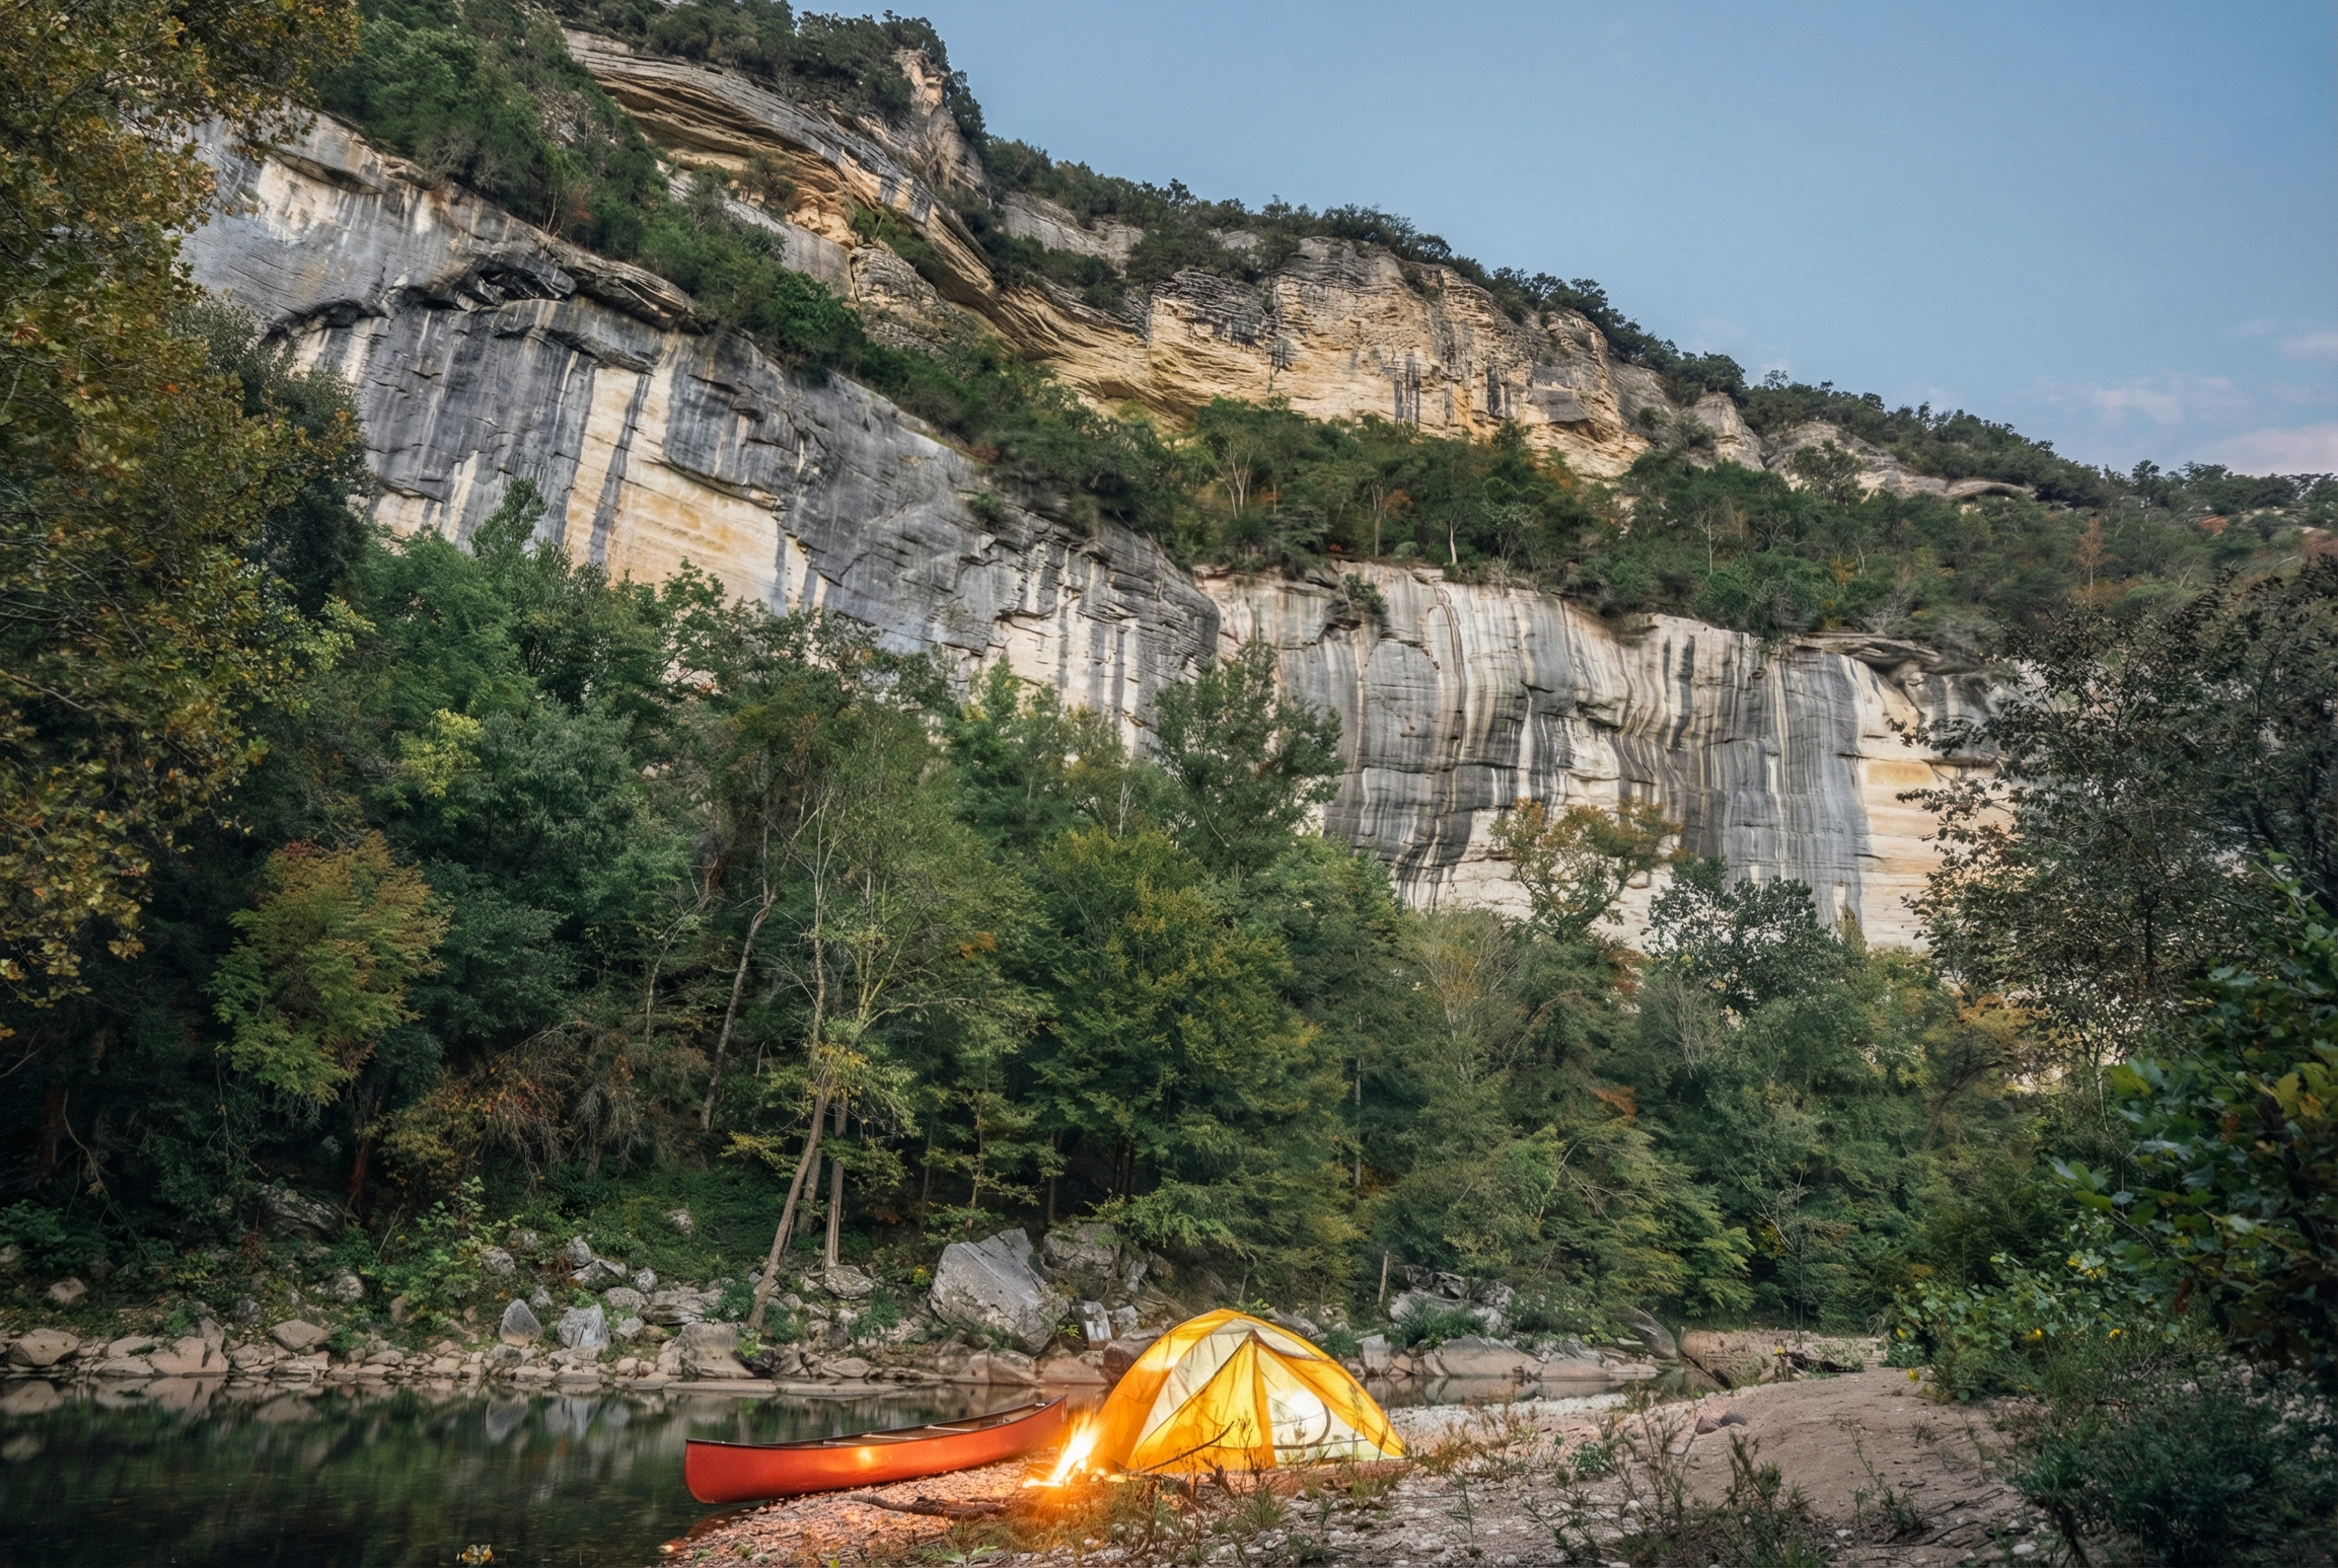
The Buffalo National River is the Ozarks at its most inviting: limestone bluffs glowing at golden hour, gravel bars that double as picnic spots, and that clear, tea-tinted water you can actually sink into on a hot day. The best part for a weekend trip is that you do not have to choose between a “real” outdoor adventure and a comfortable base with good food and a solid bed. You can float a mellow stretch, knock out a couple short walks to viewpoints and waterfalls, and still be back in town in time for dinner.
This guide focuses on the low-effort greatest hits where it truly applies, plus a few signature hikes that are worth it if you know what you are signing up for. You will get overlook and waterfall options, swimming hole know-how, and float season basics so you can plan a fun, safe weekend without accidentally treating the Buffalo like a whitewater park.

Know the river first
The Buffalo flows about 150 miles through northern Arkansas and is the first river in the United States designated as a National River. Locals often describe it in “upper,” “middle,” and “lower” sections, and that matters for planning:
- Upper Buffalo (near Ponca, Jasper, Boxley Valley): Iconic bluffs and scenery, more gradient, and water levels that can be fickle. Great for overlooks and wildlife watching. Floats here can be seasonal.
- Middle Buffalo (near Pruitt, Carver, Tyler Bend): A classic mix of scenery and more reliable paddling as you move downstream.
- Lower Buffalo (near Buffalo Point, Gilbert, Rush): Generally more dependable water later in the season, longer pool-and-riffle stretches, and big relaxed float energy.
Quick reality check: Water levels can change fast after rain, and late summer can bring low water that turns “floating” into “walking your canoe.” Build flexibility into your weekend and pick a stretch based on current conditions, not just a pretty photo.
Float season basics (without overpromising)
When is float season?
In broad strokes:
- Spring (March to May): Often the best flow, cooler water, and fewer swimmers. This is when the Buffalo can feel pushier. After storms, conditions can get advanced quickly.
- Early summer (June): Warm days, decent odds of floatable levels on many sections, and peak “weekend river” vibes.
- Late summer (July to August): Warmest water for swimming, but some stretches get shallow. Expect more scraping and walking in the upper sections.
- Fall (September to October): Gorgeous scenery, lighter crowds, and often lower water. Great for hiking and swimming on warm days, with floating more hit-or-miss.
What kind of float is it?
Most first-timers do well with a half-day to full-day float on a gentle, popular stretch. Think scenic paddling with occasional riffles, gravel-bar stops, and a lot of time to swim or snack. This is not the trip where you need to prove something.
How to fit floating into a weekend
- Day 1 afternoon: Drive in, settle into your base, then do a short sunset overlook walk.
- Day 2: Float day. Plan on 4 to 7 hours door-to-door when you include shuttles, gear pickup, and gravel-bar breaks.
- Day 3 morning: Waterfall or easy trail, then lunch in town and head home.
Do you need a whitewater guide?
For most summer visitor floats on standard outfitter routes, you are not booking a whitewater guide. That said, do not confuse “popular” with “risk-free.” If you see any of the following, upgrade your plan:
- Recent heavy rain or fast-rising water.
- Cold spring water plus air temps that feel “hoodie weather.”
- A group with weak swimmers or kids who are new to moving water.
- You are choosing a more technical section specifically for rapids, not scenery.
In those cases, consider a guided option, a more conservative section, or swapping the float for hiking and swimming in calmer access points.
What to pack for a float (carry-on-only energy)
- Coast Guard approved PFD that actually fits (many outfitters provide them, still check condition and sizing)
- Water shoes with a real sole for sharp rocks
- Dry bag for phone, keys, and a light layer
- Sun protection (hat, sunglasses retainer, reef-safe style sunscreen)
- Plenty of water and salty snacks
- Small trash bag so nothing gets left on the gravel bar
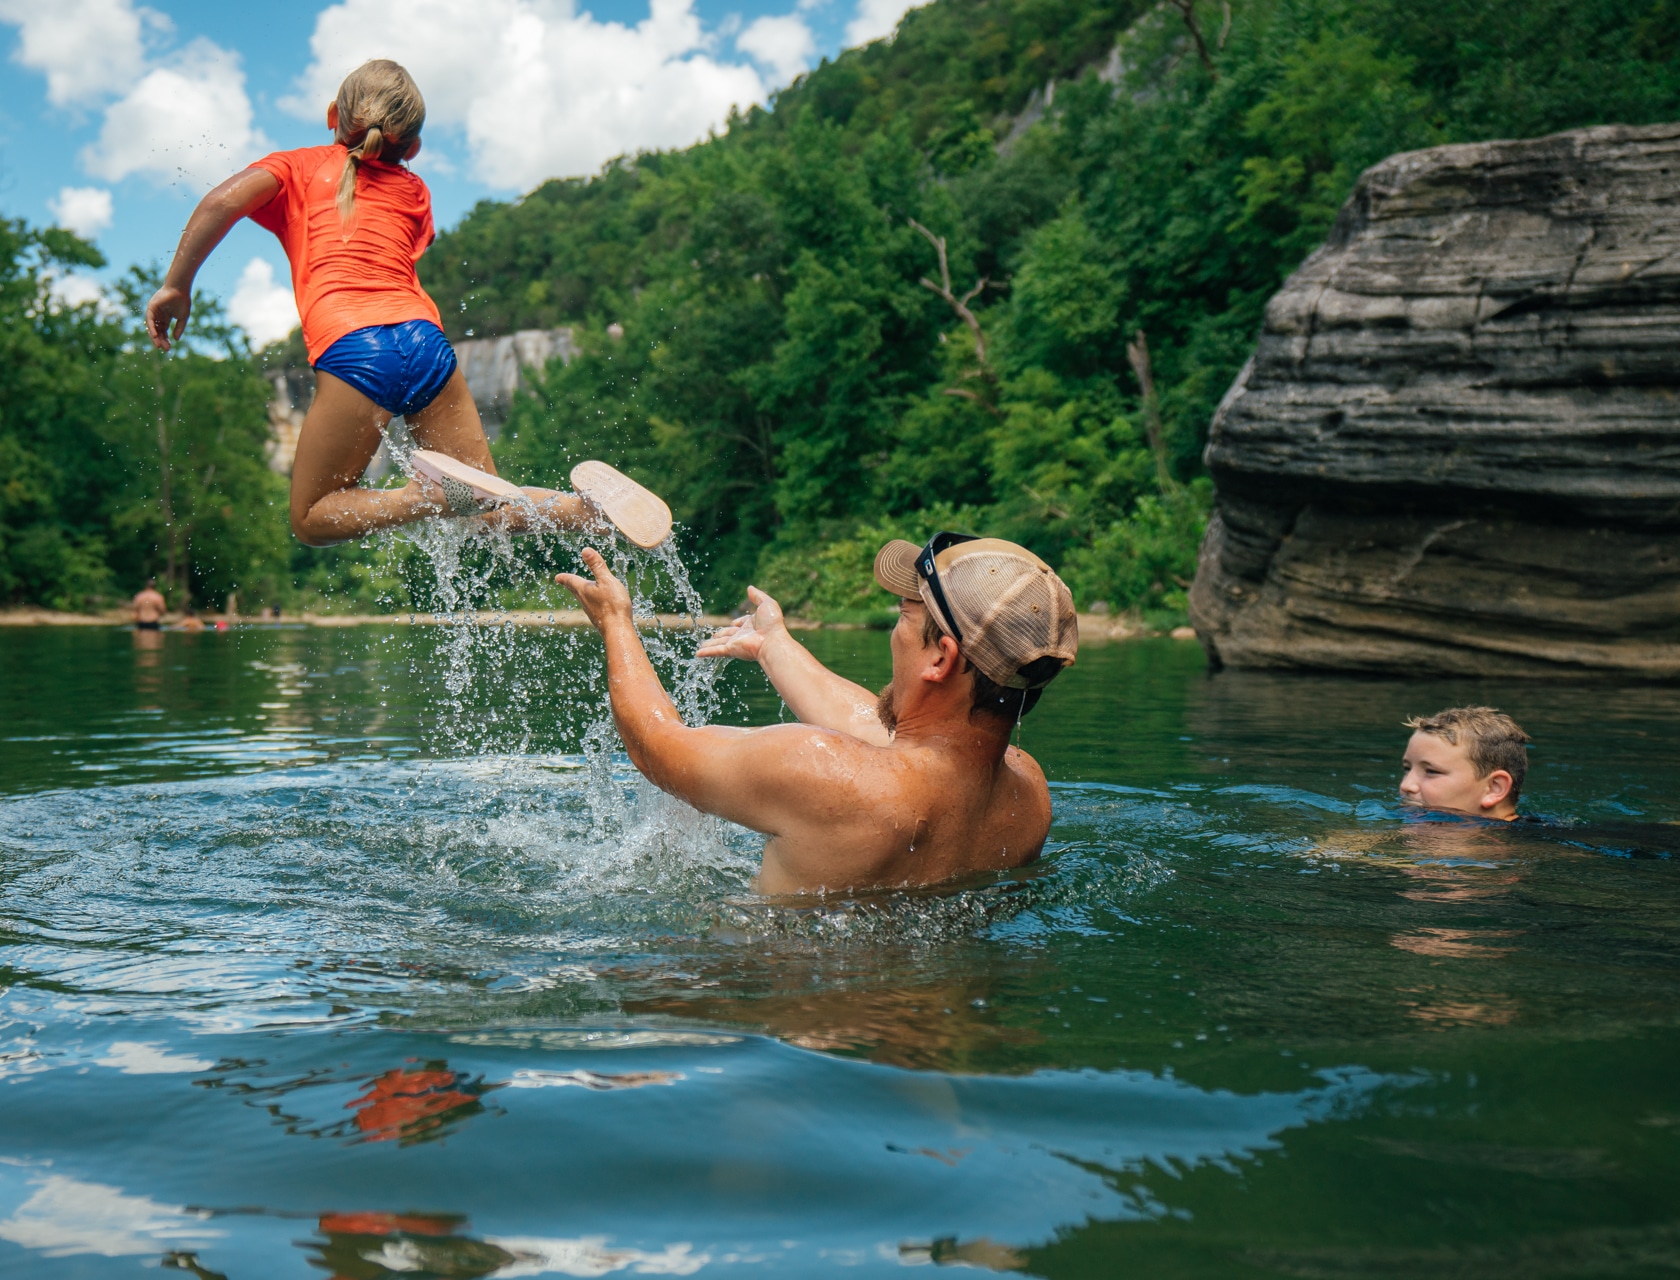
Swimming holes and safe river etiquette
Swimming is half the Buffalo’s charm, but rivers are not pools. Current, underwater rocks, and sudden depth changes are the deal. The good news is that a few habits make it safer for you and more pleasant for everyone else.
Pick the right spot
- Gravel bars and inside bends are often calmer and shallower, great for wading and cooling off.
- Deep blue-green pockets under bluffs can be tempting, but they can also hide currents and submerged hazards.
- Avoid strainers (downed trees and brush in the water). Even slow current can pin a swimmer.
Swimming etiquette that locals will thank you for
- Wear your PFD if you are not a strong swimmer or if the water is moving. There is no shame in it.
- Do not jump or dive unless you know the depth and what is underneath. River bottoms change after every flood.
- Keep soaps and shampoos out of the river, even “biodegradable” ones. Wash well away from the water’s edge.
- Give anglers space. If you see someone fishing, swim somewhere else.
- Leave no trace on gravel bars. Pack out cans, food scraps, and micro-trash like twist ties.
- Keep noise in check. Sound carries along water, and not everyone came for a floating party.
Safety basics for groups
- Designate a meet-up point on the gravel bar if kids or friends wander.
- Assume the water is colder than you think, especially in spring. Cold shock is real.
- Watch for rising water after rain upstream. If the river starts getting noticeably faster or higher, move off low banks.
Hikes: what to expect
Here is the honest version: the Buffalo has a few truly easy, low-commitment trails, and it also has a couple marquee hikes that are not long on paper but can feel big in heat, humidity, or if you are not used to rocky Ozark footing. Pick based on your group, your daylight, and the weather. Carry water and do not treat a “short” mile count like a guarantee of “easy.”
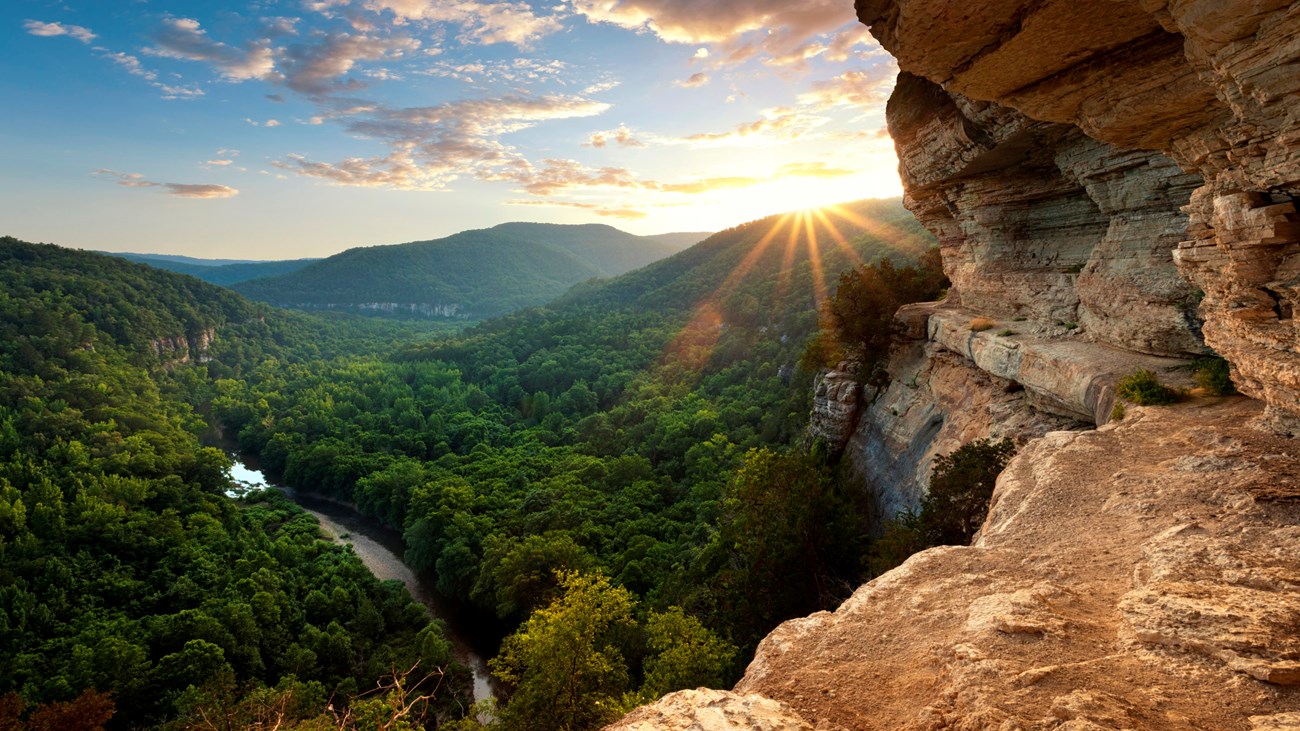
Big Bluff and Goat Trail (Ponca area)
This is the postcard view of the Buffalo, and it earns the hype. It is also not a casual stroll for most visitors. Plan on roughly 6 miles round trip with rocky footing and sections where the trail hugs a bluff. If exposure makes you nervous, this one can feel spicy. Start early or go late, wear shoes with grip, carry more water than you think you need, and take your time near the edge.
Lost Valley Trail to Eden Falls (near Ponca)
One of the best “short hike, big reward” options. The main out-and-back to the falls is roughly 2.2 miles round trip, mostly moderate with a few rocky bits. Popular means crowded on summer weekends, so aim for morning. Even if you skip the cave portion, the walk is still worth it for the scenery.
Hemmed-In Hollow Falls (Compton area)
This is the tallest waterfall between the Appalachians and the Rockies, and it is gorgeous. It is also the hike that most often gets mislabeled as “easy.” Expect roughly 5 to 6 miles round trip and a leg-burning climb out of the hollow on the return, commonly cited at 1,000 feet or more of elevation gain. In summer heat, it can feel grueling. Go early, bring serious water, plan extra time, and be honest about your group’s fitness. If anyone is already cooked from a float day, save this for another trip.
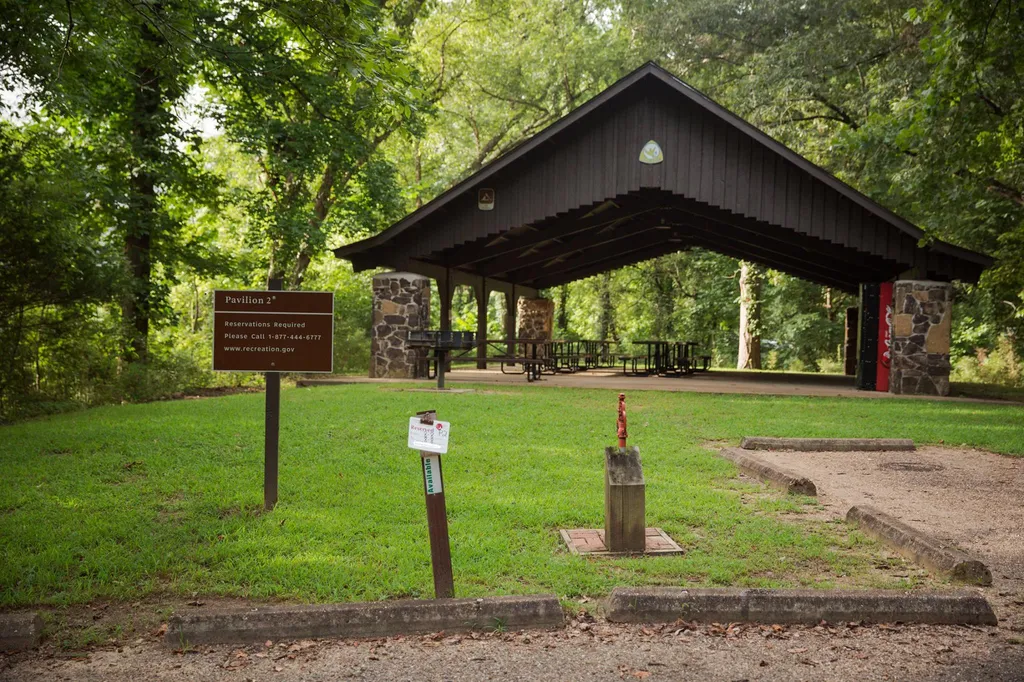
Buffalo Point trails (lower river)
If you are basing near the lower Buffalo, Buffalo Point has accessible trails and overlooks that work well as a morning add-on before you head home. These tend to be more forgiving and are a good match for a relaxed weekend pace.
Water levels: how to read the vibe before you commit
The single best planning move you can make is to check water levels and talk to an outfitter or ranger station about current conditions. The Buffalo changes personality with rainfall.
What low water looks like
- More scraping on rocks and dragging boats
- Longer time on the river than expected
- Some sections become impractical for casual floats
What high water looks like
- Faster current with fewer easy places to stop
- Stronger eddies around bends
- Cold, powerful water that can overwhelm beginners
A simple rule for weekenders
If you are not comfortable assessing moving water, pick a popular outfitter route, follow their recommendation for the day, and be willing to pivot to hiking and swimming if conditions are off. The Buffalo is a better trip when you work with it.
Build a relaxed weekend itinerary
Option A: Ponca and Jasper
- Friday: Arrive, grab dinner in Jasper, then catch sunset from a nearby pull-off or easy overlook walk.
- Saturday: Morning hike (Lost Valley is the classic), afternoon swim at a river access point, then an early night.
- Sunday: Float a recommended section if levels cooperate, or swap in a shorter trail and a slow brunch before heading out. If you are eyeing Big Bluff or Hemmed-In Hollow, consider making that your main event instead of squeezing it in.
Option B: Middle to lower river
- Friday: Arrive near your chosen access area, prep your float plan with an outfitter.
- Saturday: Full-day float with gravel-bar swim stops.
- Sunday: Buffalo Point style overlook stroll, then drive home.
Where town fits in
The Buffalo is rural, which is part of the magic. Your “town comforts” are simple but satisfying: a hearty post-float meal, ice for the cooler, and a no-stress morning coffee. Jasper is a common hub for the upper river, while smaller communities dot the middle and lower sections. Wherever you base, stock essentials the night before your float so you are not hunting for breakfast at dawn.
Responsible travel notes
- Stick to durable surfaces on gravel bars and established trails to limit erosion.
- Pack out everything, including fruit peels and bottle caps.
- Respect wildlife, especially in Boxley Valley where elk sightings draw crowds. View from a distance.
- Keep campfires minimal and follow any seasonal fire guidance.
- Support local outfitters and cafes that help keep river access and stewardship alive.
Quick checklist before you go
- Check forecast for your section and for upstream rainfall
- Confirm shuttle logistics with your outfitter
- Bring PFDs, water shoes, dry bag, sun protection, and extra water
- Download maps offline, cell service can be spotty
- Have a backup plan: an easy trail and a swim spot if the river is too low or too high
If you plan for flexibility, the Buffalo delivers. A little float time, a little trail time, and a lot of sitting on a warm rock with your feet in the water is the Ozarks formula that never gets old.