Sedona Devil’s Bridge: Shuttle Rules, Crowds, and Footwear
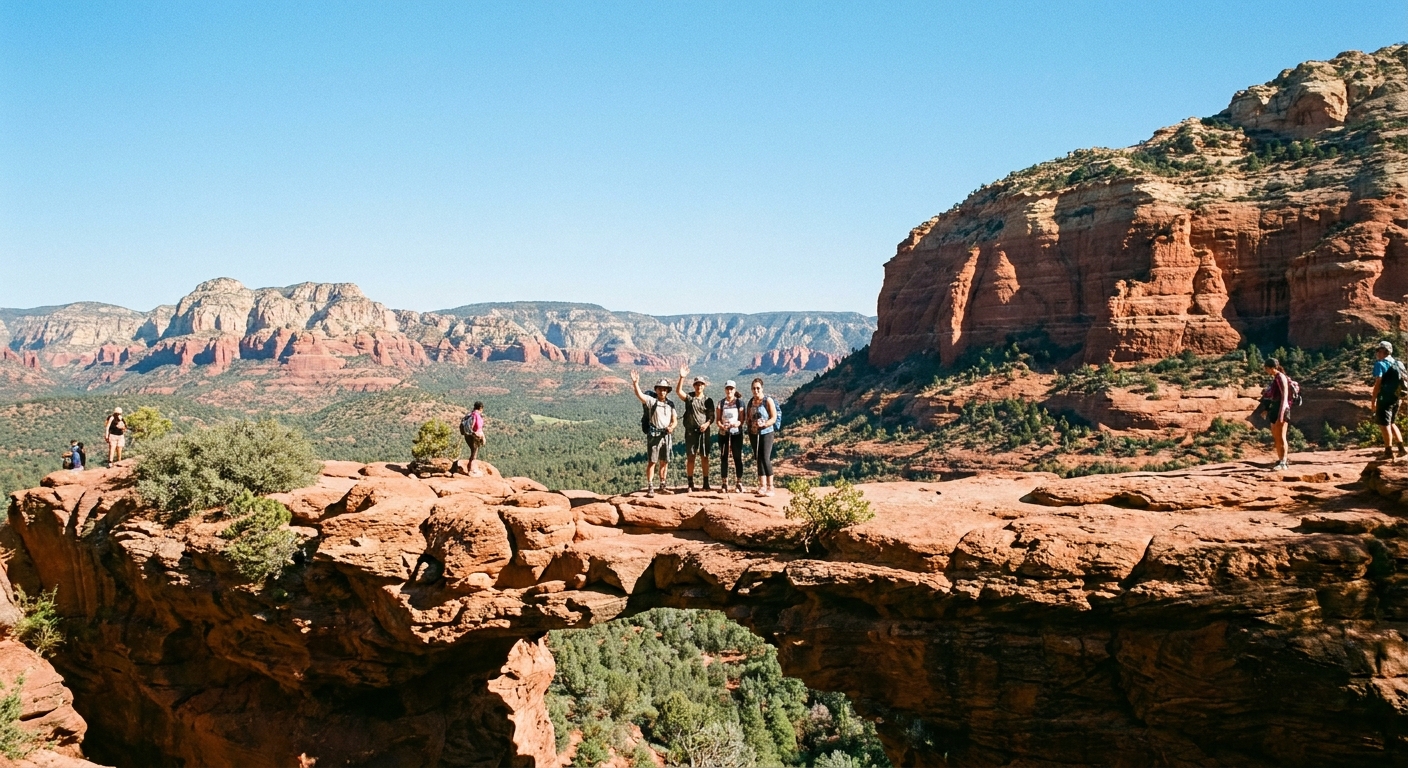
Devil’s Bridge is Sedona’s classic “how is that real?” photo spot: a natural sandstone arch you can stand on, with red rock walls dropping away on both sides. It is also one of the most congested popular hikes in Arizona, and your experience hinges on three things: how you get to the trailhead, what time you arrive, and whether your shoes can handle sand, slickrock, and a few rocky ledges.
This microguide focuses on what first-timers actually need: shuttle and parking rules, honest crowd curves, realistic difficulty and exposure notes, and how to handle the famous photo line without turning the trail into a stress test.
Quick stats (most common route): From Mescal Trailhead, plan roughly 4.0 to 4.2 miles round trip with about 400 to 500 feet of elevation gain, depending on small route choices and where you park.

Shuttle and parking rules
Access is the part that trips people up. Devil’s Bridge is reached via the Mescal Trail area and the Dry Creek corridor. Depending on season and day of week, parking near the trail can fill early, and Sedona’s shuttle system may be the easiest way to avoid circling dusty lots for an hour.
Where hikers start
- Mescal Trailhead (primary access): This is the most common starting point for Devil’s Bridge. Parking is limited and fills fast on peak days.
- Dry Creek Vista Trailhead (common alternative): Another popular starting point that many hikers use, especially when Mescal fills. It can add a bit of distance depending on the exact connection you take.
- 4x4 road option (you will see it): Some people use the rough 4x4 road that leads closer to the arch. It is not a hiking “secret,” it is a vehicle route. When it is open and busy, expect dust, noise, and occasional vehicle traffic. Most standard cars should not attempt it.
- Roadside parking restrictions: Sedona actively enforces no-parking areas near popular trailheads. Do not assume you can “just squeeze in” along the road if the lot is full.
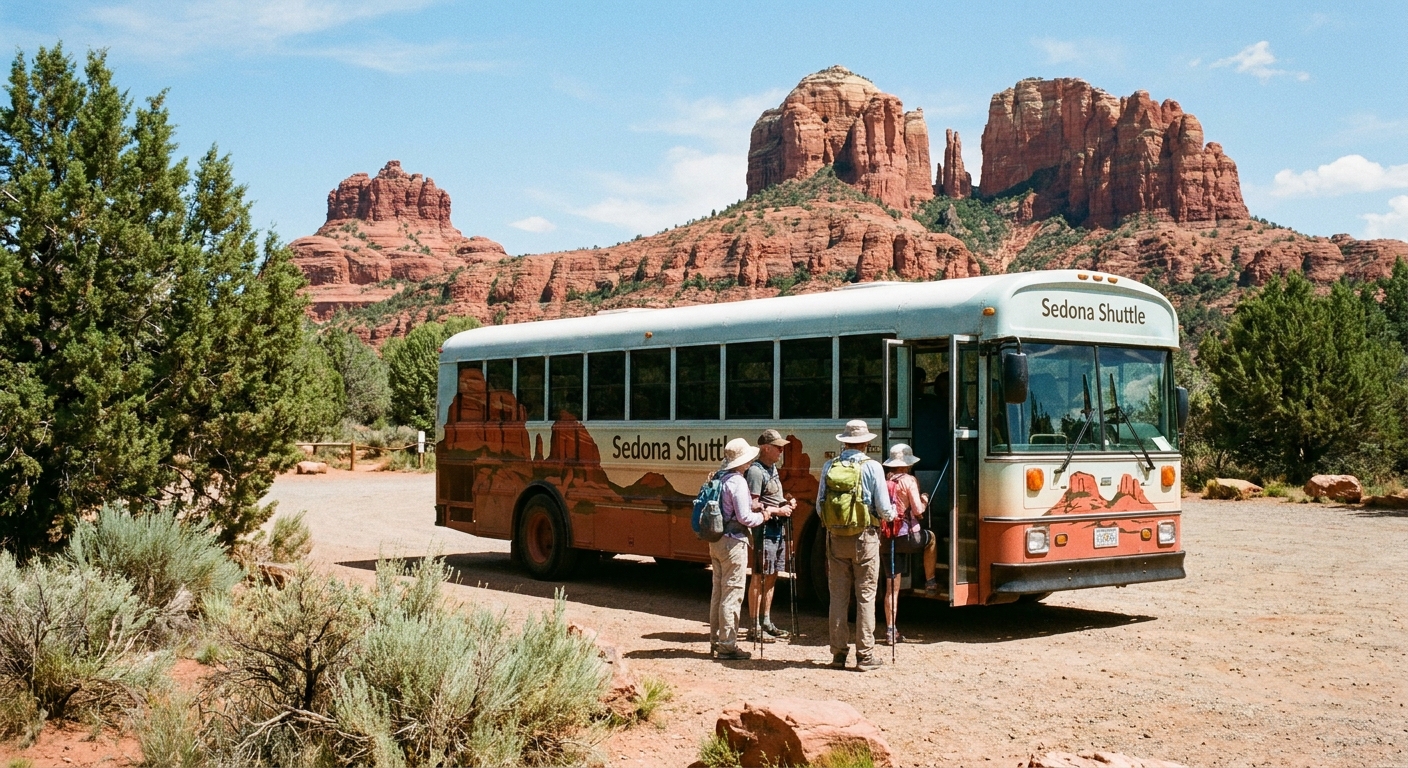
Sedona Shuttle basics (how to use it)
Sedona operates a seasonal, free shuttle system to reduce congestion at high-demand trailheads. Routes and operating dates change by season, so treat this as a planning framework and verify the current route map and hours before you go.
- Expect no-shuttle hours: Early morning and evening windows can fall outside shuttle service. If you plan a sunrise start, you may need to arrive before the shuttle runs and park legally, or choose a different lot and adjust your route.
- Know that “free” still means “capacity-limited”: You might wait in line at peak times, especially late morning.
- Plan your return: The hike is popular and relatively quick for many people, which means groups finish around the same time. Build buffer time so you are not sprinting for the last shuttle.
Red Rock Pass and permits
Many Sedona trailheads require a Red Rock Pass for day use (or an America the Beautiful interagency pass where accepted). Signage at the trailhead is your final word.
- Mescal Trailhead: As of current practice, the Mescal lot typically does not require a Red Rock Pass.
- Dry Creek Vista Trailhead: This trailhead typically does require a Red Rock Pass.
Rules can change, and enforcement is real, so always confirm via posted signs and official pages before you go.
Town Wander tip: Screenshot the official shuttle page and trailhead info before you lose cell service. Sedona coverage is usually decent, but the lots and canyon corridors can be spotty.
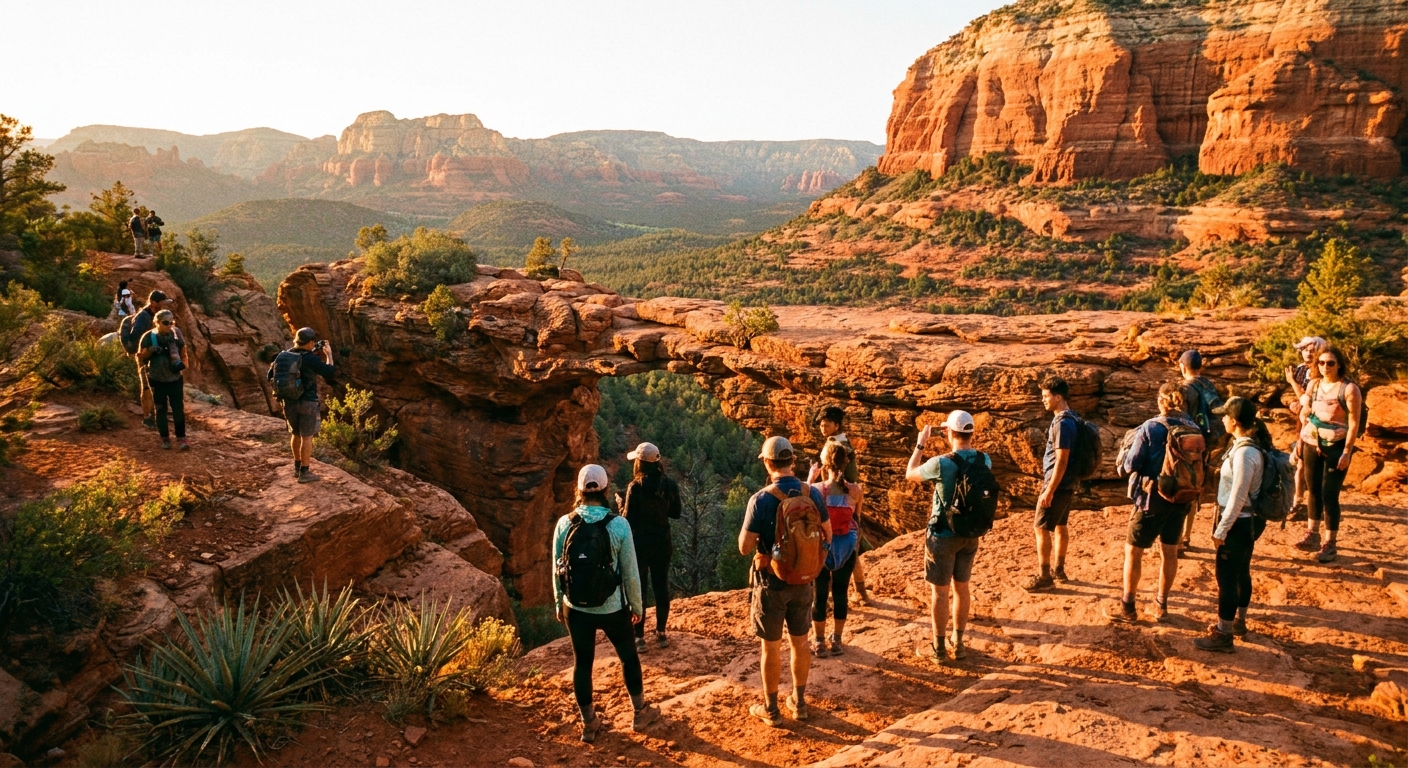
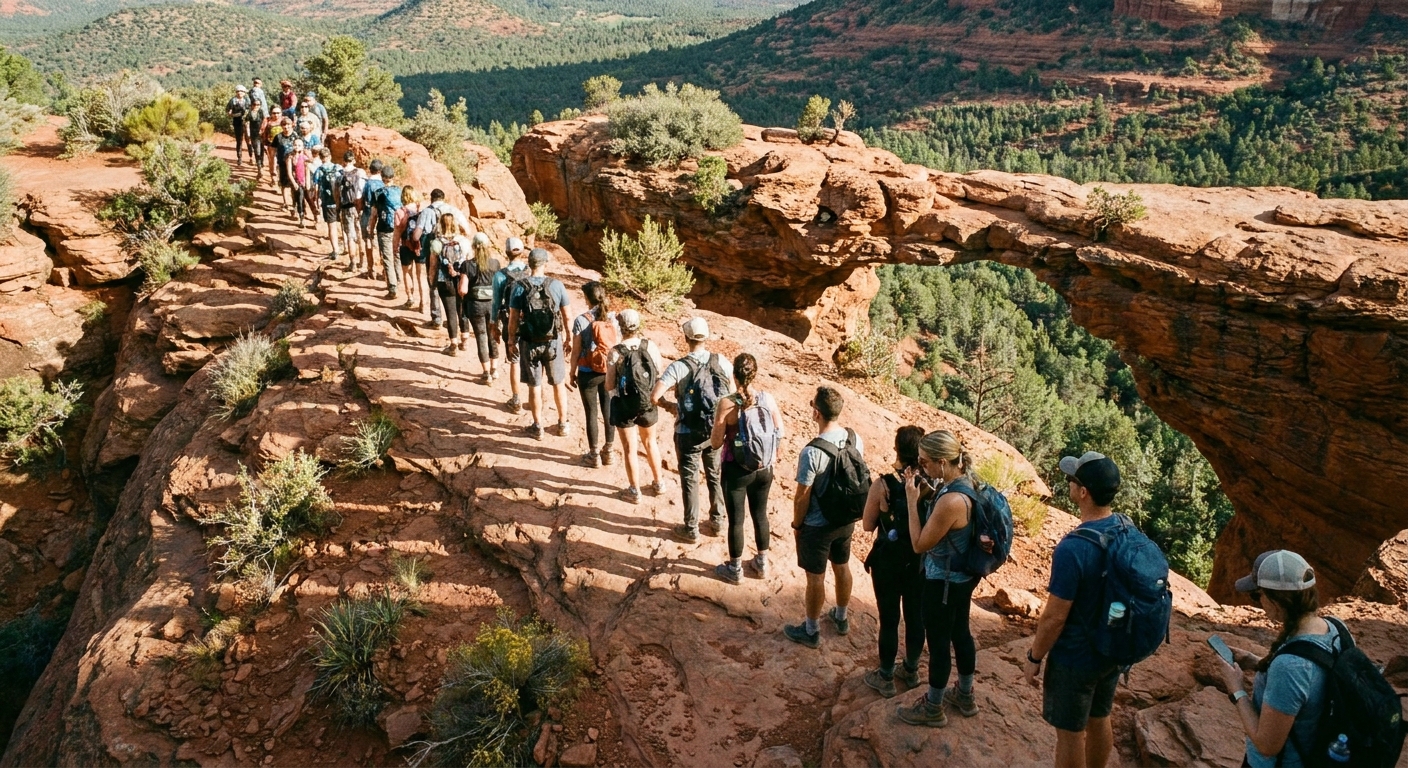
Crowd windows
Devil’s Bridge is popular enough that crowds stack quickly. The trail itself can still feel pleasant, but the bottleneck is the arch, where everyone naturally pauses, waits, and takes turns.
Typical crowd curve (most of the year)
- Quietest: First light to early morning. If you can be hiking shortly after sunrise, you will often beat the main wave and the photo line can be minimal.
- Busiest: Mid-morning through early afternoon. This is when tour schedules, brunch schedules, and “we just checked in” schedules converge.
- Calms down: Late afternoon into evening. The line often shrinks again as day-trippers leave and families head to dinner.
Holiday and spring break reality
On long weekends and during spring break, “quiet” is relative. Early is still best, but expect company. If your goal is a relaxed experience, choose a weekday outside peak seasons if you can.
Weather-driven surges
Sedona’s heat pushes hikers earlier in summer, which can create a surprisingly busy early morning. In cooler months, comfortable temperatures can keep trails busy all day.
If you want the classic photo and minimal waiting, aim to arrive at the arch before the main wave. If you want softer light and less pressure, go later and accept a little more trail traffic.
Difficulty and exposure
Devil’s Bridge is often described as “easy,” but that depends on your comfort with uneven footing and heights. The hike is moderate for many first-timers mostly because of footing, small scrambles, and heat management, not because the mileage is huge.
Reality check: From Mescal Trailhead, plan about 4.0 to 4.2 miles round trip and roughly 400 to 500 feet of elevation gain.
What the trail is like
- Terrain: Packed dirt, sand, slickrock, and rocky steps. After rain, some sections can be muddy and the slickrock can feel more slippery.
- Elevation: A steady climb, not a brutal one. You will notice it, especially in heat, but it is manageable for most moderately active hikers.
- Scrambly bits: Near the end, you will use hands for balance on a few rock ledges and steps. It is not technical climbing, but it is not stroller-friendly either.
Exposure at the arch
The bridge itself is wide enough for careful foot placement, but there are real drop-offs. If heights make you freeze up, you can still enjoy the viewpoint near the arch without stepping onto the span. No photo is worth overriding your nervous system.
Kid and dog considerations
- Kids: Many families do this hike, but you will want close supervision near the arch and on the rocky approach.
- Dogs: Dogs are common on Sedona trails, but the rock steps and traffic can be stressful. Consider whether your dog is calm around crowds and confident on slickrock. Bring water and be mindful of hot ground in warm months.
Footwear that works
I am firmly in the “carry-on only” camp, which means I pick shoes that can handle both trails and town. Devil’s Bridge is not a mountaineering objective, but the wrong shoes can make it feel harder than it needs to be.
Best footwear choices
- Trail runners: Great traction, lighter on your feet, and ideal for the sandy approach and rock steps. Look for a grippy outsole.
- Light hiking shoes: A solid option if you like more structure and toe protection.
- Hiking sandals (only for experienced wearers): Possible in ideal conditions, but you will want secure straps and confident footing. Sand plus rock edges can be unforgiving.
What to avoid
- Smooth-soled fashion sneakers: The slickrock and loose gravel sections are where these fail.
- Flip-flops: You will hate the rocky steps and you will slow down everyone behind you.
- New boots that are not broken in: Short hike, yes. Blisters still happen.
Socks and small gear that matter
- Socks: A simple pair of hiking socks helps with grip and blister prevention, even in trail runners.
- Water: Bring more than you think for a relatively short hike, especially in warm weather. Sedona sun is sneaky.
- Sun protection: Hat and sunscreen. There is little shade.
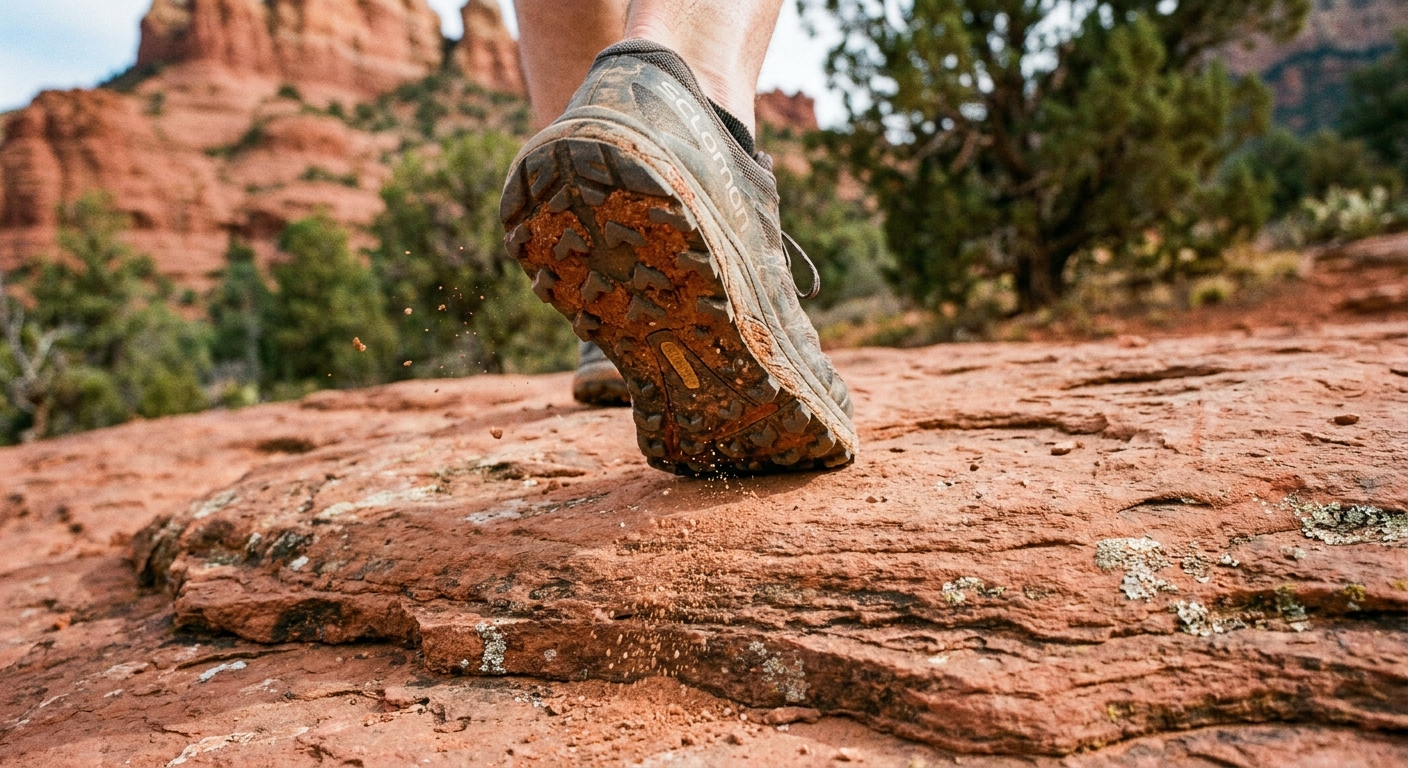
Photo-queue etiquette
The arch is a shared space, and the vibe can either be joyful and supportive or tense and chaotic. A little etiquette goes a long way.
How the line works
- One group at a time on the main photo spot: Most people naturally take turns where the classic photo is framed.
- Wait off the main path: Step aside to let through-hikers pass and to keep the approach from clogging.
- Have your camera ready: Decide your shot before it is your turn. The line moves faster when everyone is prepared.
How long to take
A good rule: one to two minutes per group when others are waiting. If the bridge is empty, enjoy it. If there is a line, take a few quick photos, then step down and let the next person have their moment.
Safety over aesthetics
- No running, no jumping poses, no backing up blindly. Keep a low center of gravity and move deliberately.
- Give space: Do not crowd people who are visibly nervous.
- Drones: Follow local regulations and posted rules. Even where legal, drones can be disruptive in a tight, crowded area.
The best Devil’s Bridge photos look relaxed. The easiest way to get that is to move slowly, breathe, and ignore the imaginary clock in your head.
Quick plan
If you want minimal waiting
- Go early and aim to be on trail around sunrise to early morning.
- Wear trail runners and bring a light layer. Desert mornings can be cool.
- Take your photos fast if a line has formed, then linger at nearby viewpoints instead.
If you are not a morning person
- Go late afternoon for warmer light and often shorter lines.
- Hydrate and watch footing on the descent when fatigue kicks in.
- Be shuttle-smart and confirm last-run timing if you rely on it.
Leave no trace
Devil’s Bridge is a poster child for sustainable travel challenges: breathtaking, accessible, and heavily loved. Help keep it open and enjoyable.
- Stay on trail: Social trails widen quickly in fragile desert soil.
- Pack out everything: Yes, even orange peels and “biodegradable” snacks.
- Keep noise down: Let the canyon be the soundtrack.
- Be kind in the queue: Everyone is here for the same reason.
If you nail the timing, bring the right shoes, and treat the arch like a shared space, Devil’s Bridge can feel less like a tourist ordeal and more like what Sedona does best: a straightforward hike that ends in something wildly beautiful.