The Subway (Zion): Permits, Seasons, and Gear
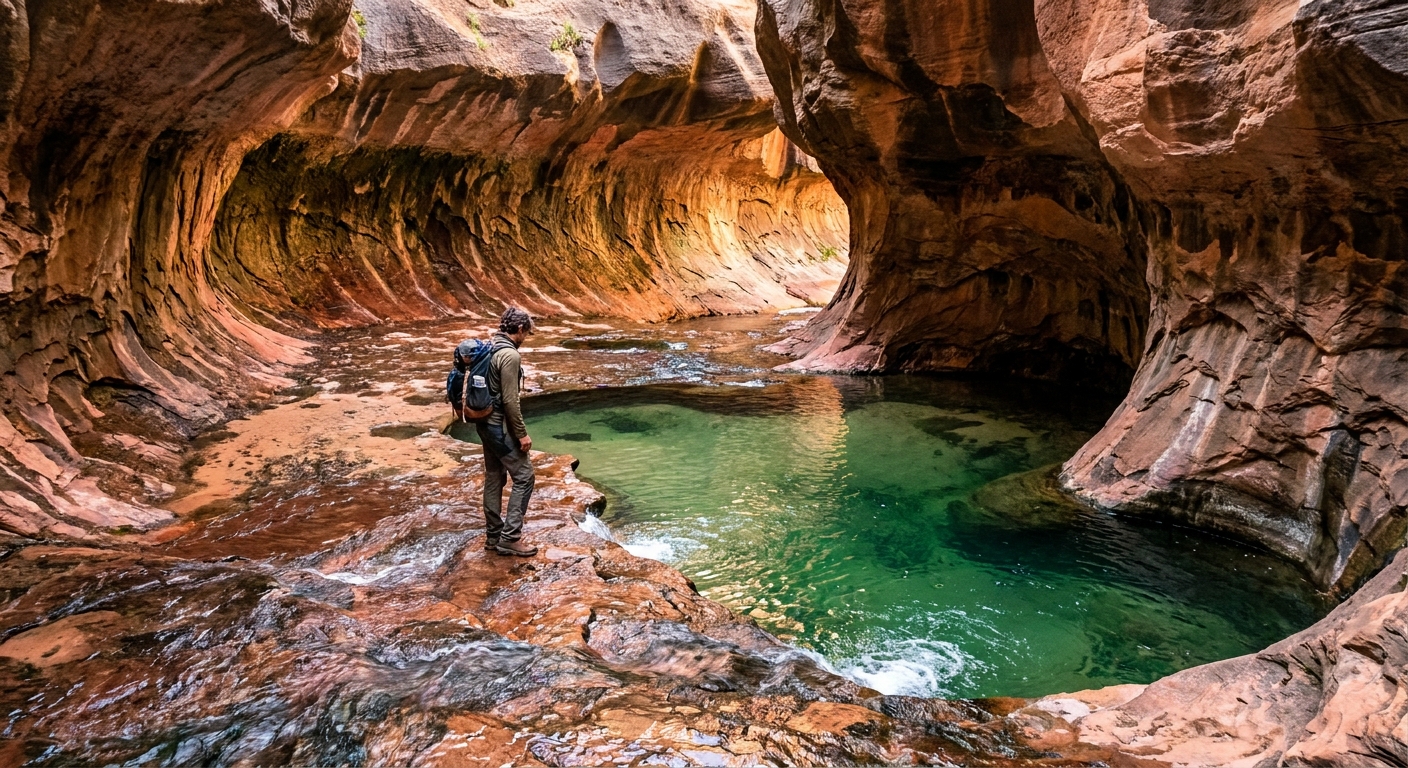
The Subway is Zion’s signature technical canyon day, a sinuous corridor of sculpted sandstone, cold pools, and glowing reflected light that makes you whisper even when nobody is around. It is also one of the easiest places in the park to underestimate. The water is often colder than you expect, routefinding is real, and the permit system is strict.
This guide breaks it down the way I plan it for friends who want rugged adventure without chaos: permits first, then choose your direction, then match your season and gear to the actual conditions, not the Instagram version.

What The Subway is (and why it is different)
The Subway refers to the iconic tunnel-like section of the Left Fork of North Creek. The full experience is a canyon route, not a maintained trail, and it involves walking in and out of a drainage with frequent water, slick rock, and obstacles.
- Not a boardwalk hike: expect scrambling, routefinding, and wet feet at minimum.
- Not “just like The Narrows”: the Subway is smaller, more technical, more navigational, and less trafficked, with a different permit system.
- Not a chain-assisted viewpoint like Angels Landing: no fixed aids, no staffed choke points, and rescue is slower.
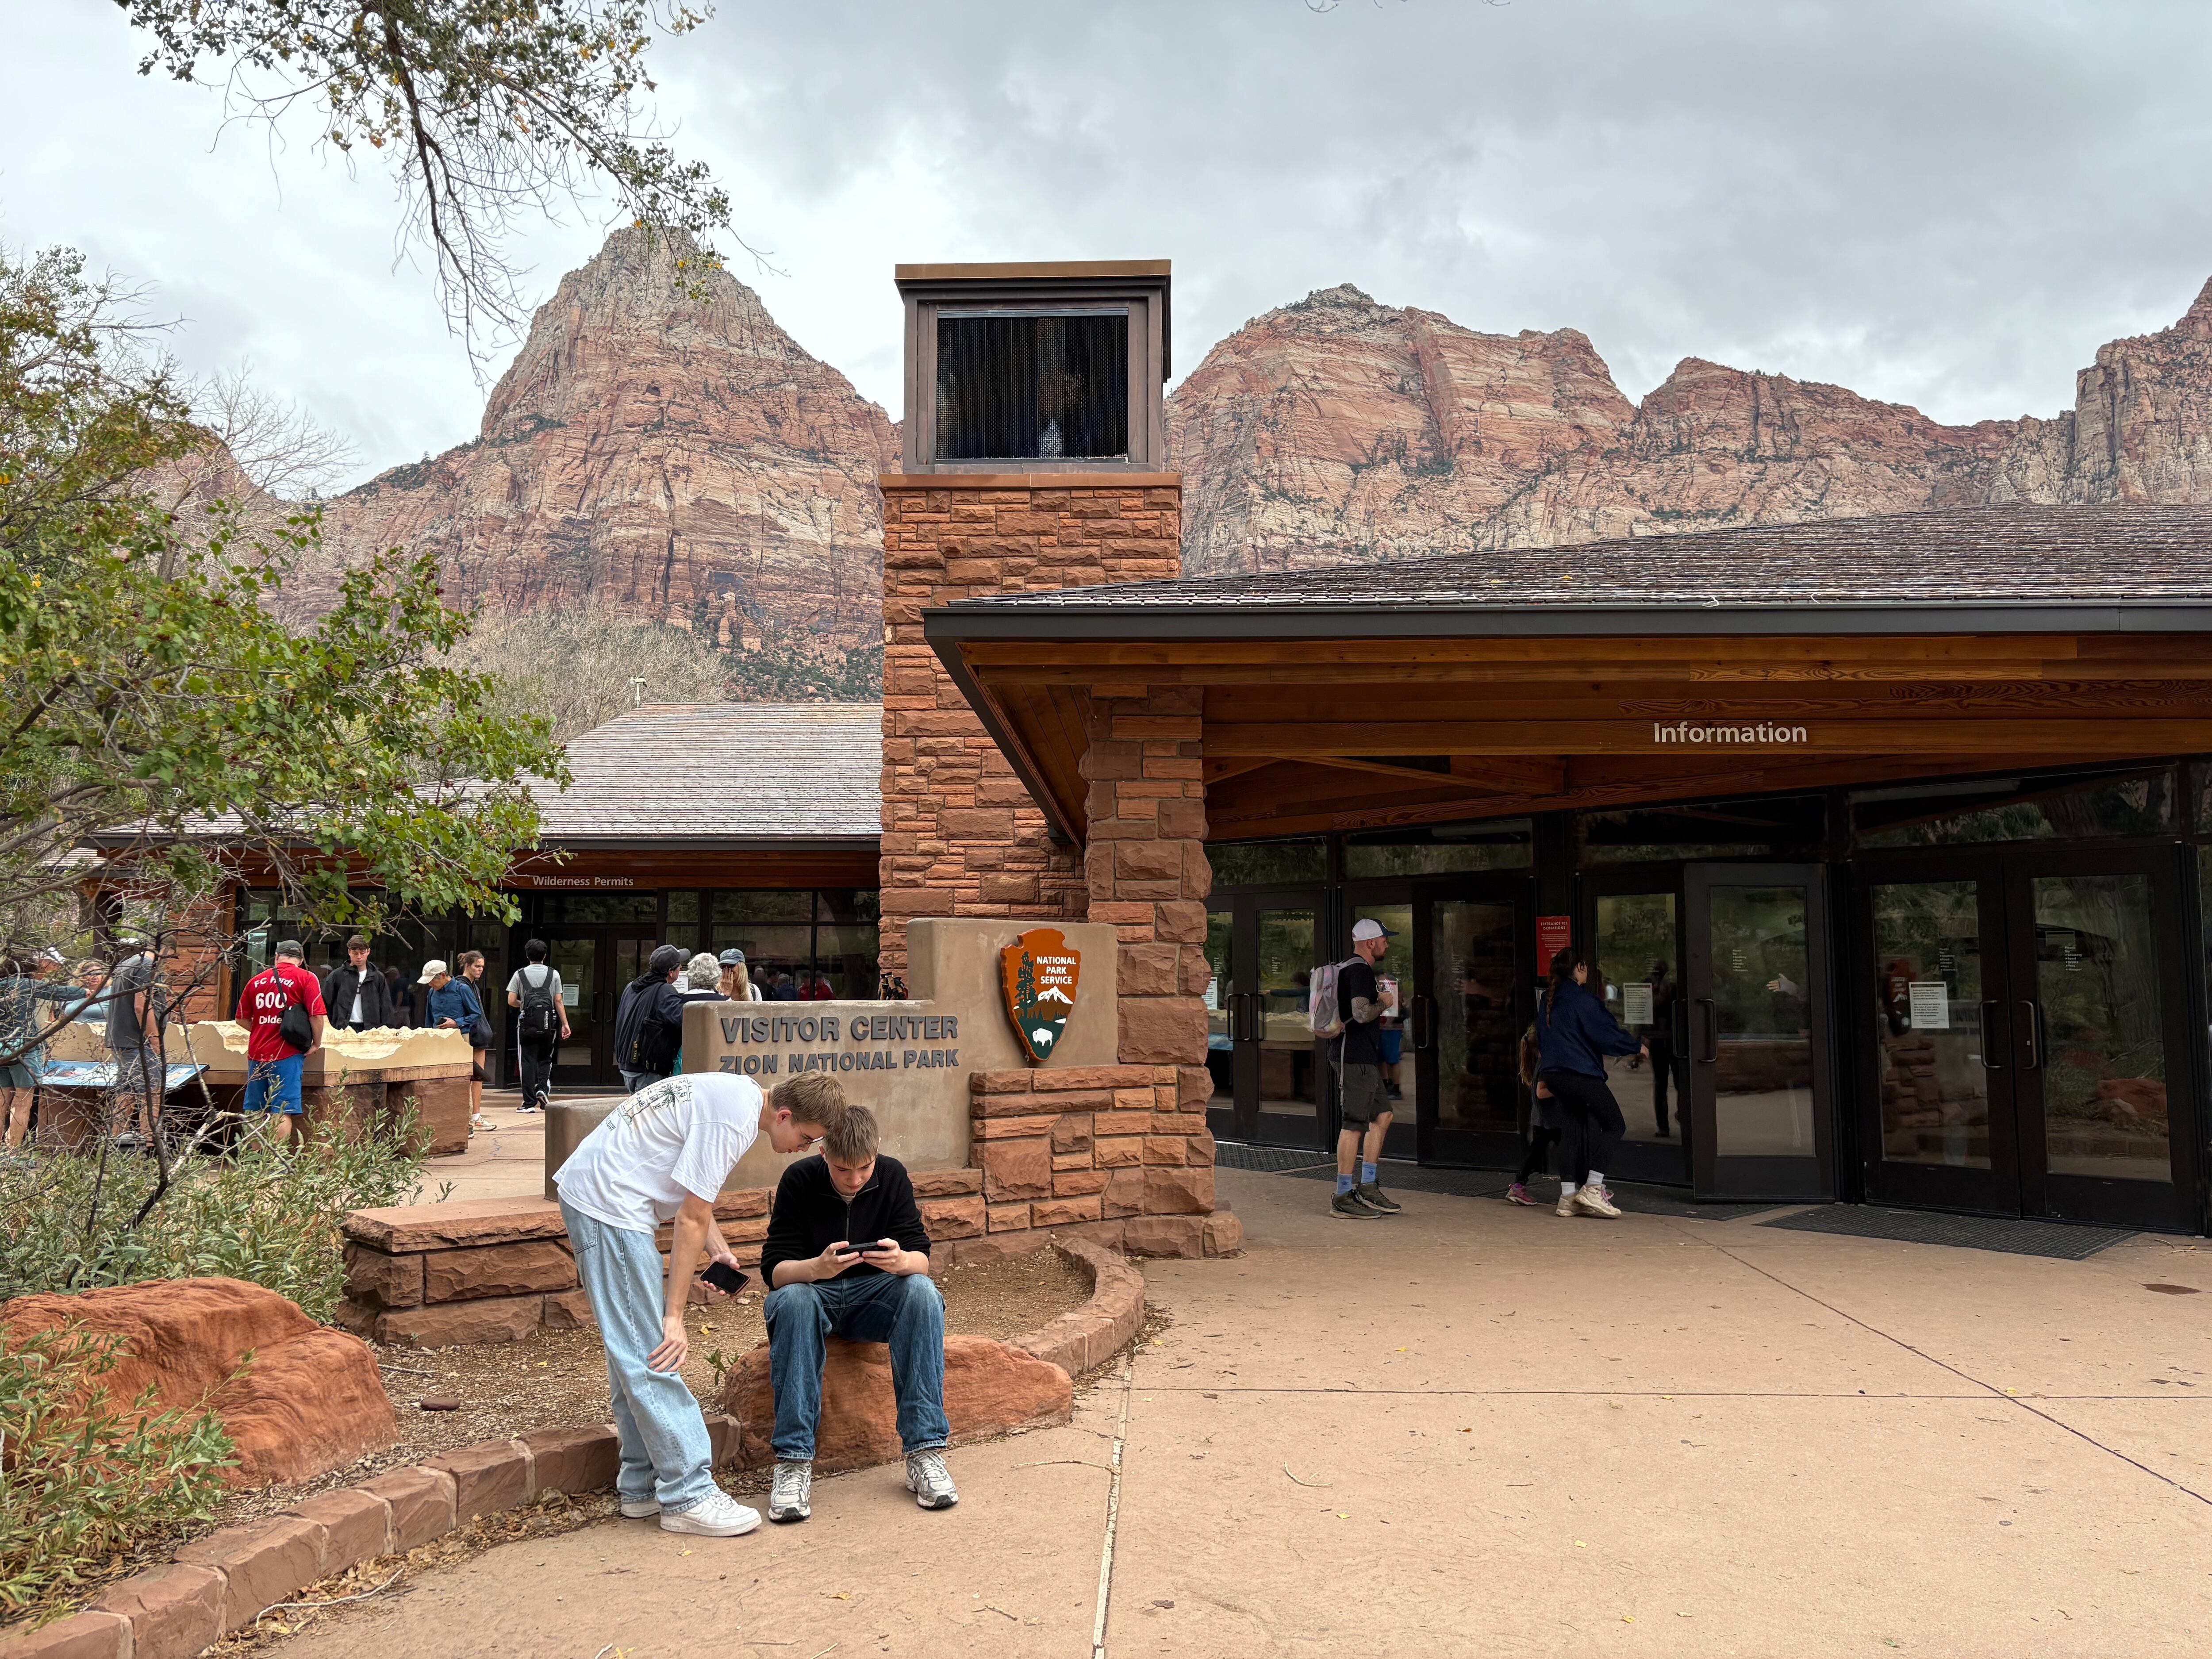
Permits: how the Subway lottery works
You need a permit for the Left Fork (Subway) whether you go top-down (technical canyoneering route) or bottom-up (out-and-back from the Left Fork trailhead). Zion enforces this.
Two main ways to get a permit
- Seasonal Lottery: best for peak season and weekends. You apply for a specific date window and group size, then pay fees if you win.
- Daily Lottery: for near-term trips when you are already in the area and can be flexible.
Exact windows, fees, and rules can change, so confirm details on the official Zion National Park Subway permit page before you commit flights or lodging.
Group size and ethics
The Subway is fragile. Smaller groups move faster, disturb less silt, and have an easier time making conservative decisions. If you are on the fence about conditions, splitting a big group into two permit groups is usually not allowed as a workaround. Plan responsibly.
How Subway permits differ from Angels Landing and The Narrows
- Angels Landing: day-hike permit for a single route segment with chains and heavy ranger presence. The risk is exposure and crowd management.
- The Narrows (Bottom-Up from Temple of Sinawava): generally no permit for the classic day hike, but water levels and flash flood risk management are the main constraints.
- The Narrows (Top-Down through hike): requires a wilderness permit and usually an overnight plan.
- The Subway: requires a permit for both common day-trip approaches. The risk profile is cold water, routefinding, slick rock, and potential for flash floods.
Choose your route: top-down vs bottom-up
This is the single biggest planning decision. The two routes share the same iconic Subway section, but the day feels completely different.
Bottom-up (out-and-back): simpler, still serious
Best for: strong hikers who want to see the Subway without ropes or technical anchors.
- Start: Left Fork trailhead (Kolob Terrace area).
- Character: trail fades into creek travel, multiple crossings, slick rock, and short scrambles.
- Why people choose it: no rappels, easier to turn around early, and fewer technical skills required.
- Common mistake: treating it like a casual “walk to the photo spot.” Time adds up fast in wet canyons.
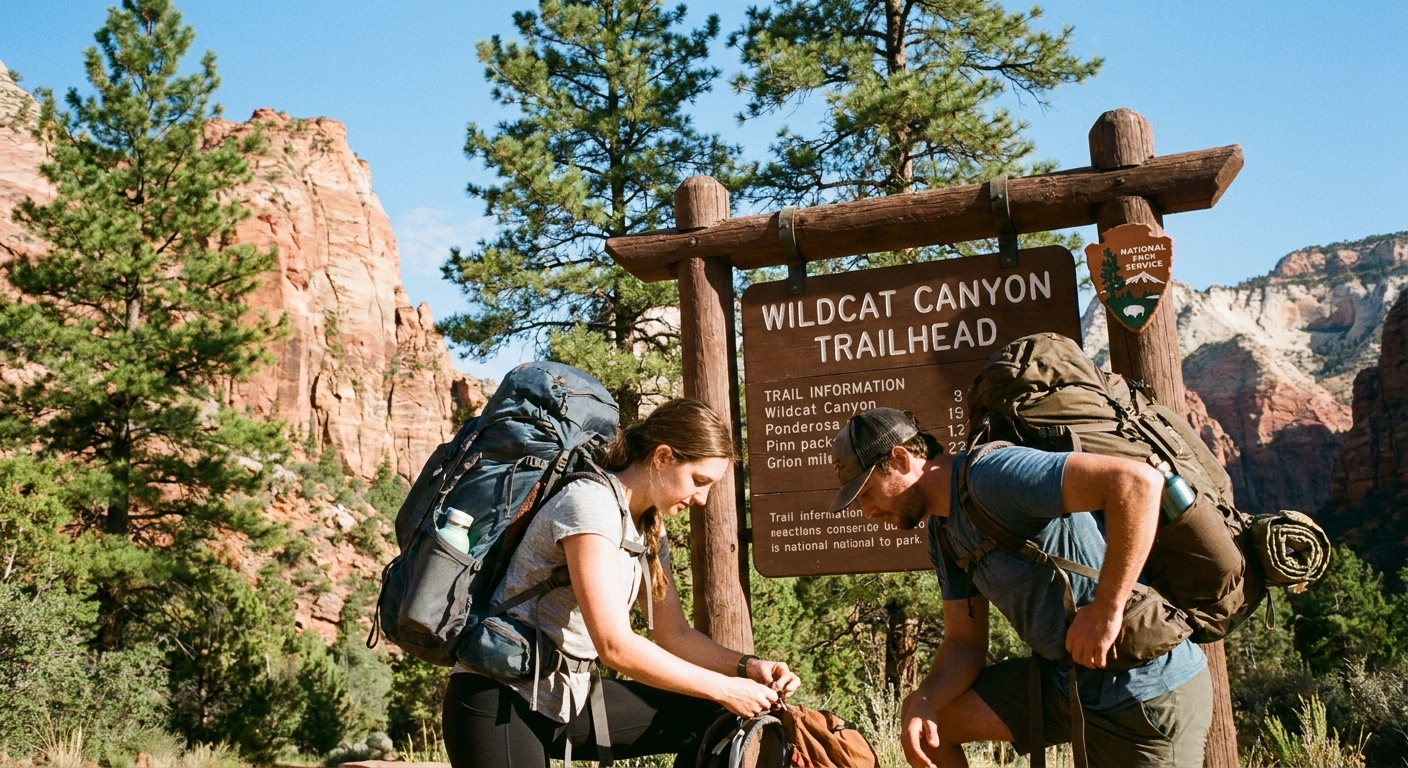
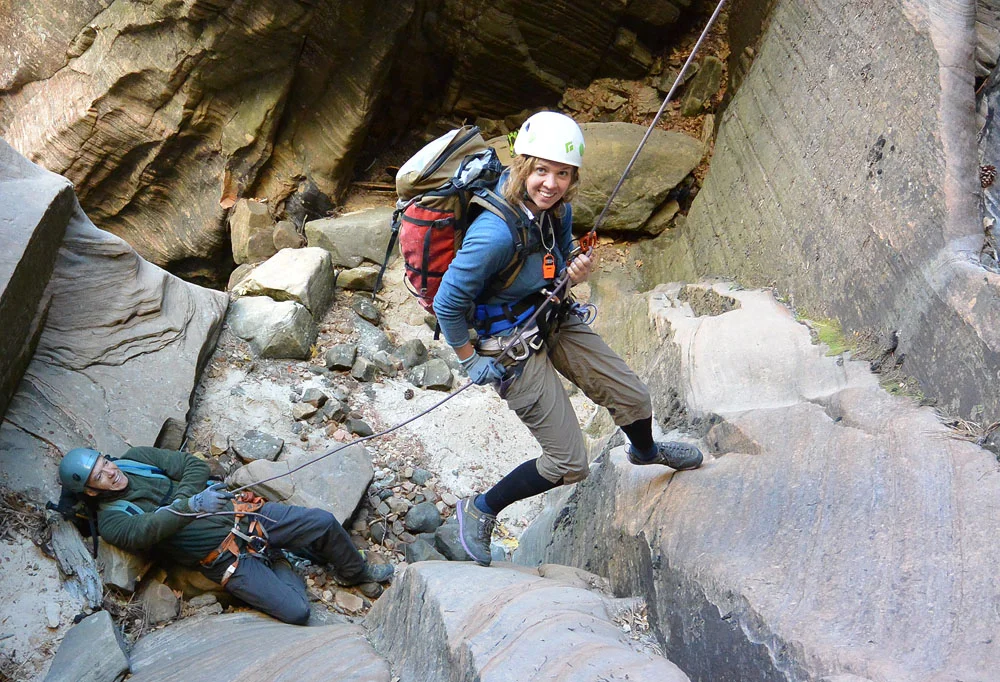
Top-down: full canyoneering day
Best for: experienced canyoneers comfortable with rappels, anchor evaluation, problem-solving in water, and committing to the route.
- Start: Wildcat Canyon trailhead.
- Character: long approach, then a committing canyon descent with rappels and obstacles, often involving swims depending on season.
- Why people choose it: the complete canyon experience and fewer backtracks.
- Common mistake: underestimating how slow cold water plus gear transitions can be.
Quick decision guide
- If nobody in your group can confidently manage rappels and anchor judgment, choose bottom-up or hire a certified guide.
- If water is cold or high and you do not own or know how to use proper thermal protection, reconsider the date or route.
- If storms are possible, both routes are vulnerable, but committing sections in top-down can reduce your options to retreat.
Dry vs wet season: what it means here
In Zion, “dry” and “wet” are less about comfort and more about water temperature, flow, and risk. A bluebird day can still mean shockingly cold water in a shaded slot.
Drier conditions (often late spring through early fall)
- Pros: generally warmer air temps, lower flow, fewer mandatory swims.
- Cons: heat exposure on approaches, less dramatic water reflections, and higher demand for permits.
- Reality check: you can still have deep pools, especially top-down, and the rock stays slick year-round.
Wetter and colder conditions (often late fall through early spring)
- Pros: moody light, potentially fewer crowds, and dramatic water features when safe.
- Cons: higher flow, colder water, more swims, and a much greater hypothermia risk.
- Reality check: cold water plus shade plus wind in the canyon is a classic recipe for people getting in trouble fast.
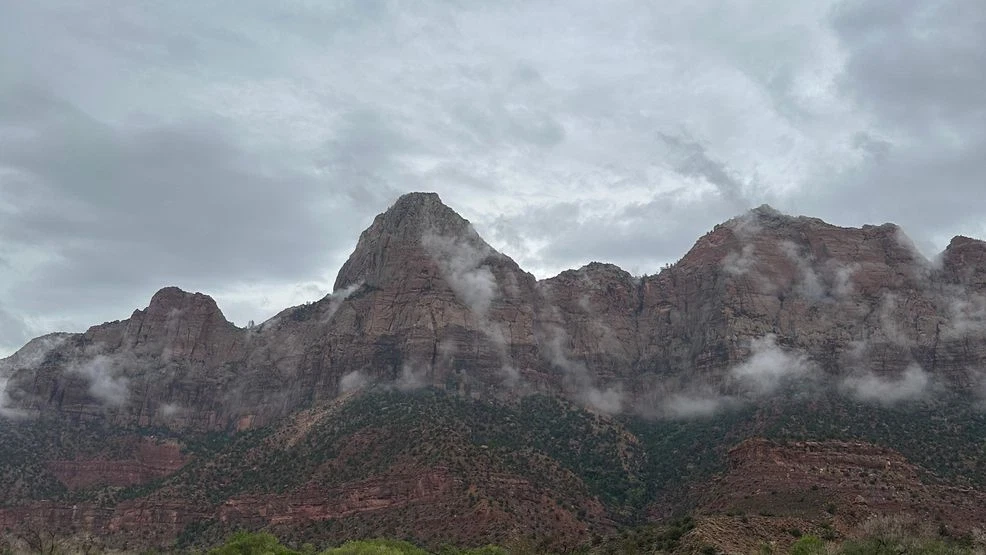
Flash floods: the non-negotiable hazard
Zion’s narrow drainages can flood even if the sky above you is blue. Always check the National Weather Service forecast for the specific area and read the park’s current conditions updates. If thunderstorms are in the mix, pick a different adventure for the day. Coffee in Springdale tastes better than a bad decision.
Cold water and hypothermia: take it personally
Most Subway mishaps I hear about start with someone saying, “We thought it would be refreshing.” Cold water immersion changes your strength, coordination, and decision-making. Add wet clothes, shade, and a breeze, and hypothermia can creep in long before you feel “cold.”
Know the warning signs
- Uncontrollable shivering, fumbling hands, clumsy steps
- Confusion, irritability, or zoning out
- Slow speech or poor decisions like skipping layers or food
Make your plan before you get wet
- Set a turnaround time that accounts for moving slower on the return.
- Pack insulation that still works when damp (synthetic or wool, not cotton).
- Bring high-calorie snacks you can eat quickly without a full stop.
- Consider thermal protection (wetsuit or drysuit) for colder seasons or higher water.
If anyone in your group starts trending cold and slow, your mission becomes getting warm and getting out, not “just one more bend for photos.”
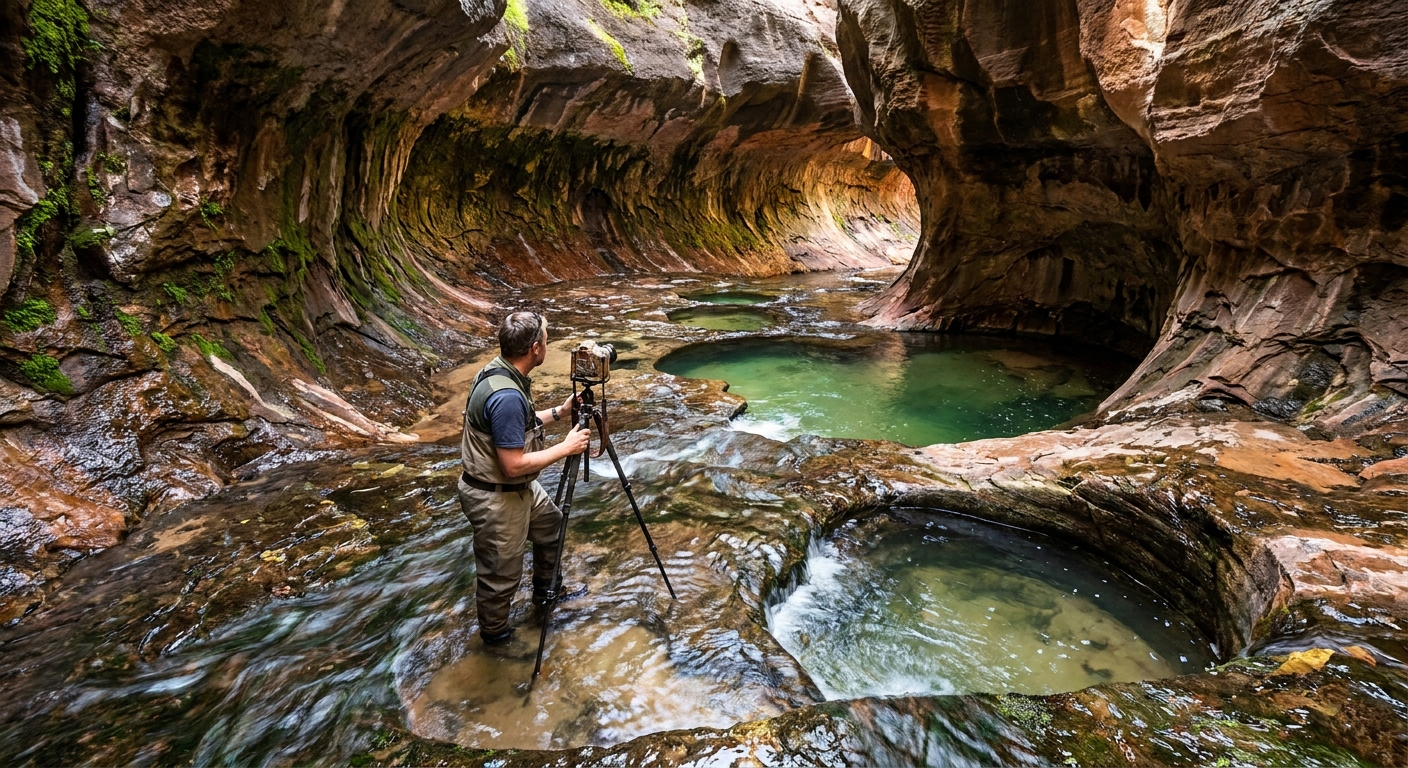
Photography ethics in a fragile canyon
The Subway is famous for reflected light, emerald pools, and those impossibly smooth walls. It is also a living drainage with delicate algae, sandy banks, and microbial life that does not love being trampled for a better angle.
How to shoot it without loving it to death
- Stay in the watercourse or on durable rock when possible. Avoid crushing vegetation and cryptobiotic soil on banks.
- Do not move rocks or build cairns for compositions. Leave navigation to maps and skill, not rearranging the canyon.
- Keep soaps and lotions out of pools. Even “biodegradable” does not mean “okay in waterways.”
- Yield the iconic spots. Get your frames, then step aside. The canyon is better when everyone gets a turn.
Tripods and crowded moments
If you carry a tripod, treat it like a tool, not a territorial claim. Set up quickly, avoid blocking the narrowest passages, and never plant legs in fragile banks just to avoid getting them wet.
Gear checklist (carry-on minded, canyon realistic)
I am a carry-on only person in cities, but canyons do not care about your minimalist aesthetic. Pack for the conditions you might face when things slow down.
Essentials for both routes
- Permit confirmation (downloaded offline) and photo ID
- Navigation: offline map (GPS app) plus a paper map as backup
- Headlamp with fresh batteries
- First aid kit and blister care
- Emergency warmth: lightweight insulating layer and an emergency bivy or space blanket
- Food: more than you think, including quick sugars and salty snacks
- Water plan: carry enough drinking water for the day
- Cyanobacteria alert check: Zion waterways can have toxic cyanobacteria. Standard filters and chemical treatments do not remove cyanotoxins. Do not rely on creek water for drinking unless the park specifically indicates it is safe.
- Sun protection: hat, sunglasses, sunscreen (apply before entering water-heavy sections)
- Dry storage: waterproof phone case or dry bag for electronics and layers
- WAG bag: pack out solid human waste. In narrow canyon environments, this is essential and often required by local rules and best practice.
Footwear and clothing
- Canyon-friendly shoes with sticky rubber and toe protection. Expect wet traction needs.
- Neoprene socks can be a game changer in cold water.
- Non-cotton base layers. Cotton stays cold and heavy.
- Light gloves for scrambling on cold rock, depending on season.
Thermal protection (season-dependent, not optional when cold)
- Warmer months, low water: you may be fine with quick-dry layers, but pack insulation for stops.
- Shoulder seasons or sustained cold water: consider a wetsuit. Thickness depends on conditions and your tolerance.
- Coldest or high-flow conditions: many experienced groups use drysuits, especially top-down.
If you are unsure, call it early or hire a guide. “We will tough it out” is not a thermal strategy.
Top-down specific technical gear (experienced canyoneers)
- Helmet
- Harness, rappel device, and safety tether
- Ropes and contingency cord appropriate for the route
- Webbing and quick links for anchor building and replacement
- Dry bags for rope management and keeping insulation usable
- Partner check system and the skill to evaluate anchors
If any of that list feels vague, that is your sign to go bottom-up or go with a reputable guide service.
Timing, shuttles, and recovery
Getting there
The Subway trailheads are in the Kolob Terrace area. Access can be affected by weather, road conditions, and seasonal closures, so check the park’s road updates.
Shuttle logistics (top-down)
Top-down is not an out-and-back, which means you need a plan for the two trailheads. Most groups use one of these:
- Two vehicles: leave a car at the Left Fork (exit) trailhead, then drive the other car to Wildcat Canyon (start).
- Private shuttle: hire a local shuttle service to handle the car spot so your day starts calm instead of logistical.
Do not assume there is a park shuttle to solve this. Build the car spot into your timeline, because being “done with the canyon” is not the same thing as being back at your vehicle.
Start early
Early starts buy you cooler approach temps, more margin for slow terrain, and better light in the canyon. They also reduce the chance you are hiking out in the dark.
Post-hike recovery in Springdale
Even if you are staying simple, plan something warm and easy for after: dry clothes in the car, a thermos, and a low-effort meal plan. The Subway has a way of making “quick dinner” feel like a mountain objective.
Before you go: final gut-check
- Weather: no storms in the forecast that could trigger flooding
- Water conditions: checked the park updates and recent trip reports
- Cyanobacteria: checked current park alerts and planned to carry your drinking water if there is any uncertainty
- Group fitness: everyone comfortable with uneven terrain and long hours
- Warmth plan: insulation and thermal protection match the season
- Turnaround time: agreed on in advance
- Waste plan: everyone knows how to use and pack out a WAG bag
The Subway is worth the effort when you treat it like a wilderness route, not a photo stop. Do that, and you get the best version of Zion: wild, quiet, and strangely soothing, even when your shoes are squelching.